1
Important safeguards
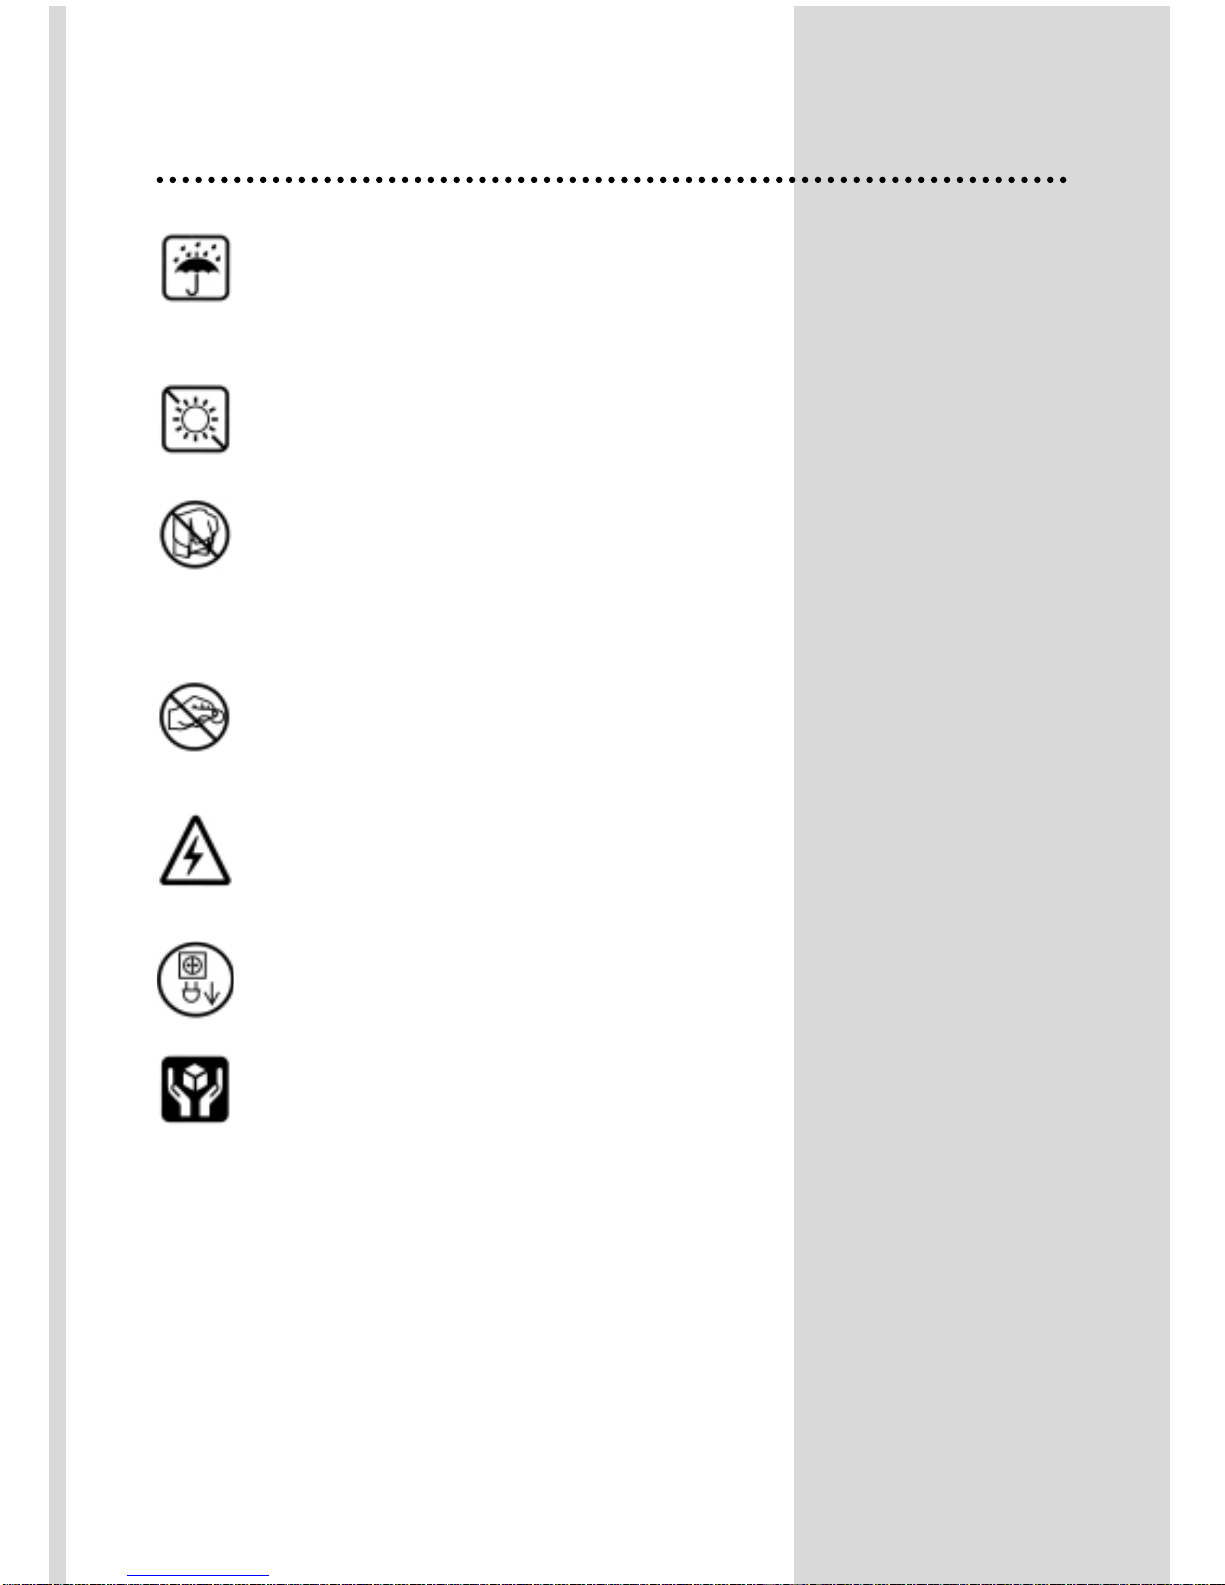
WATER AND MOISTURE
Never install the set in the following places : In a wet
basement, bathroom. Do not place any container with
liquid on the set.
HEAT
Never place the set near heat sources.
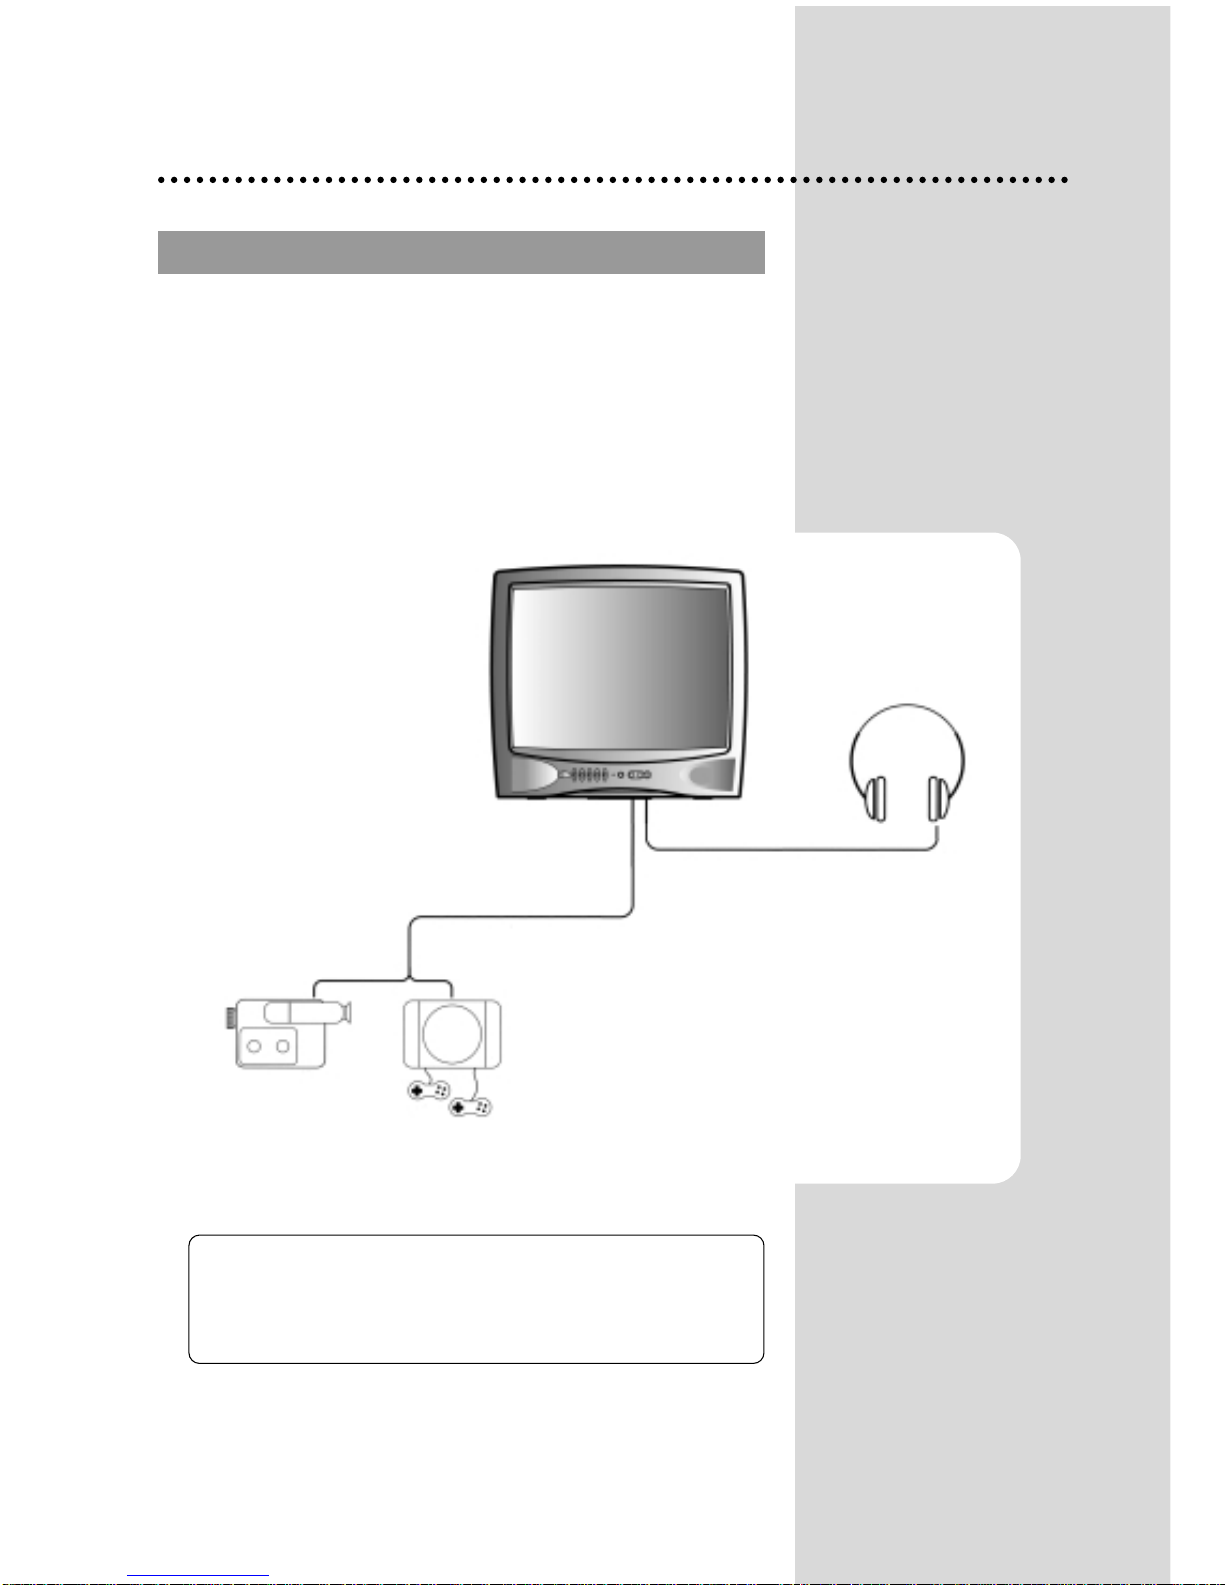
VENTILATION
Do not cover the ventilation openings in the cabinet and
never place the set in a confined space such as a
bookcase or built-in unless proper ventilation is provided.
Leave a minimum 10cm gap all around the unit.
OBJECT ENTRY
Do not insert foreign objects, such as needles and coins,
in the ventilation openings.
LIGHTNING STRIKING
You should disconnect the set from the mains and the
aerial system during thunderstorms.
CLEANING
Unplug the set from the mains during cleaning.
AFTER MOVING THE SET
If the set is moved in a different direction, the MAIN
POWER button must be switched off for at least 15
minutes in order to take out a colour strain on the screen.
The appliance is not intended for use by young
children or infirm persons without supervision.
Young children should be supervised to ensure that
they do not play with the appliance.