manuals.online logo
Brands
  1. Home
  2. •
  3. Brands
  4. •
  5. Neomitis
  6. •
  7. Thermostat
  8. •
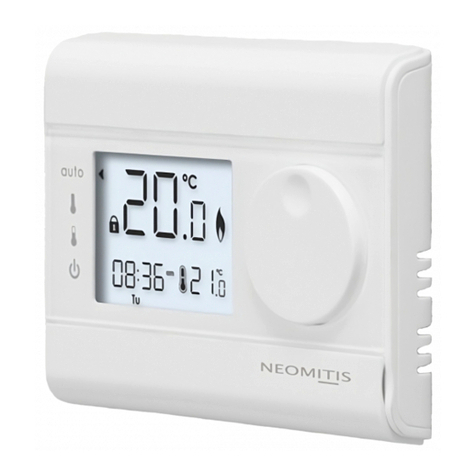
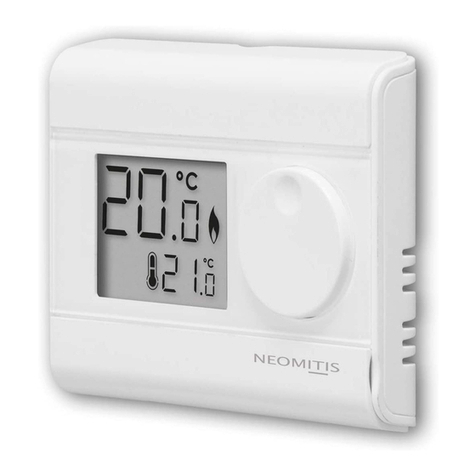
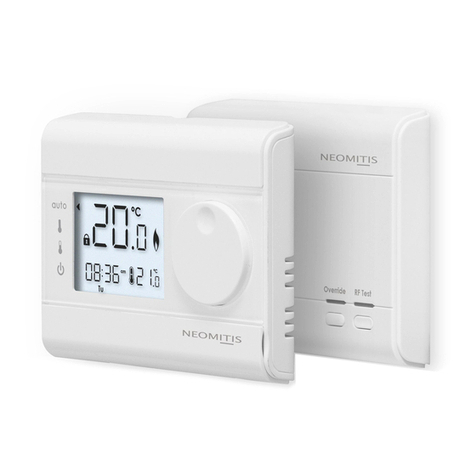
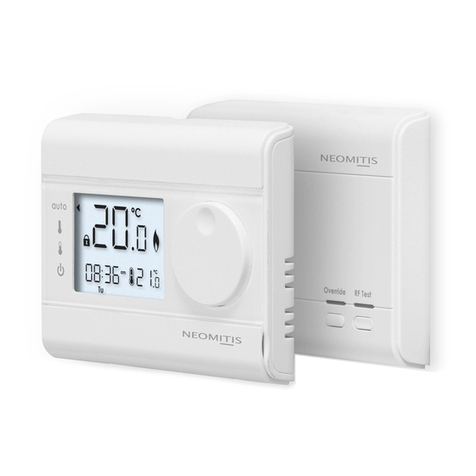
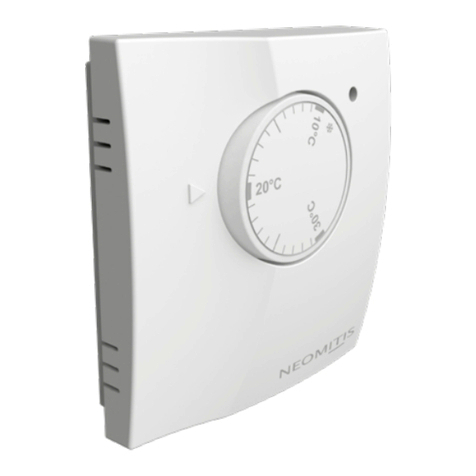
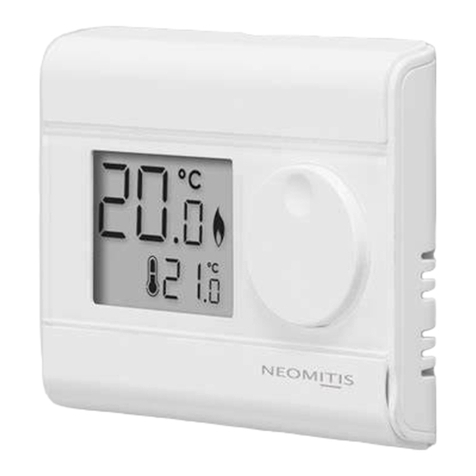
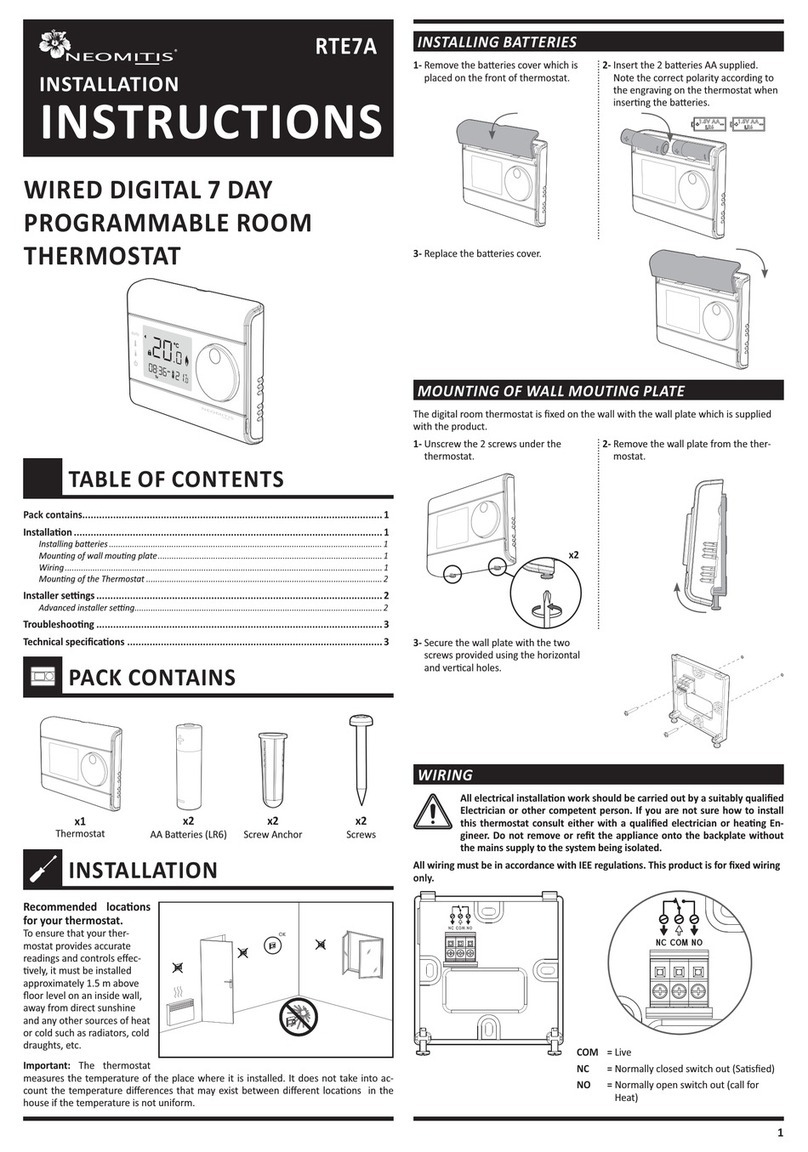
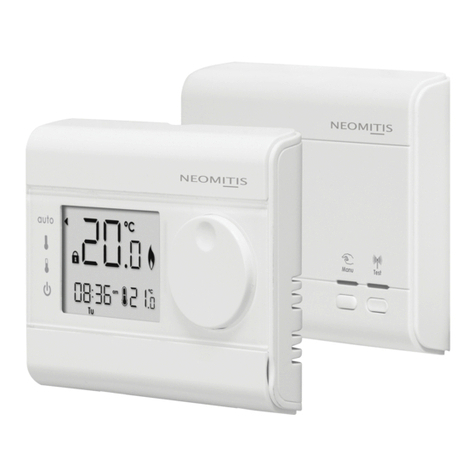
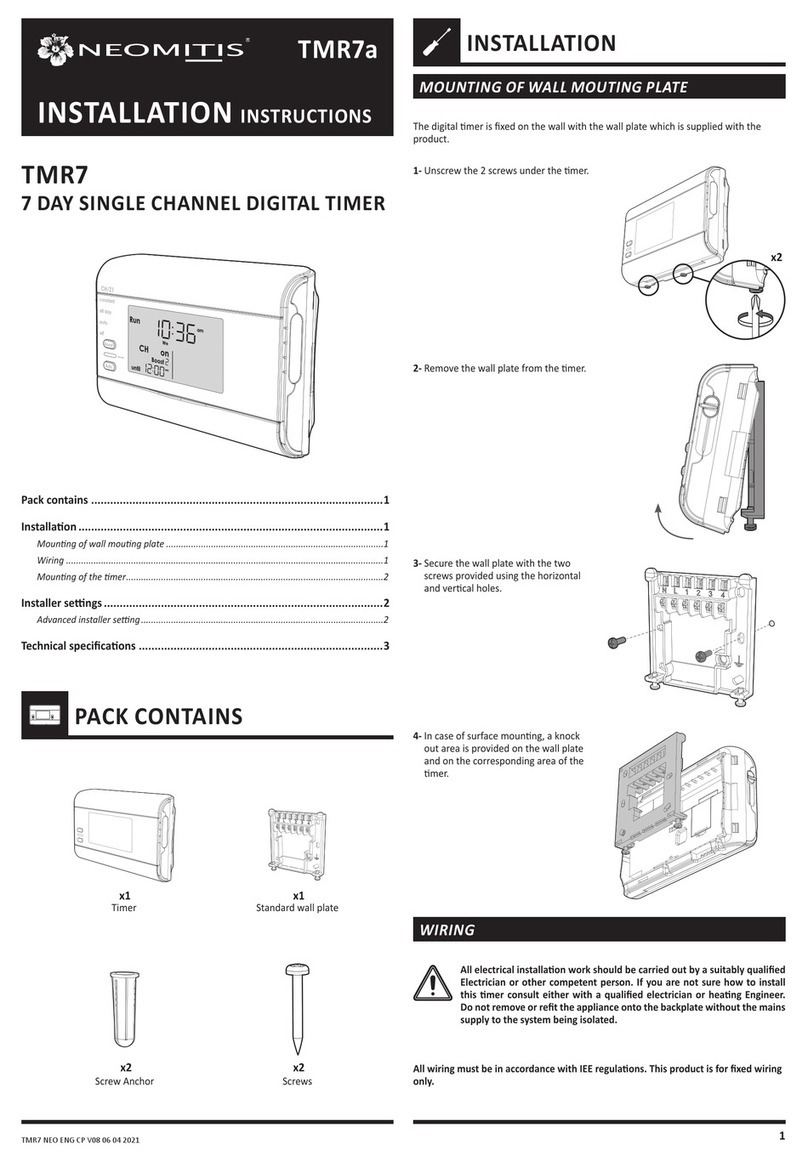
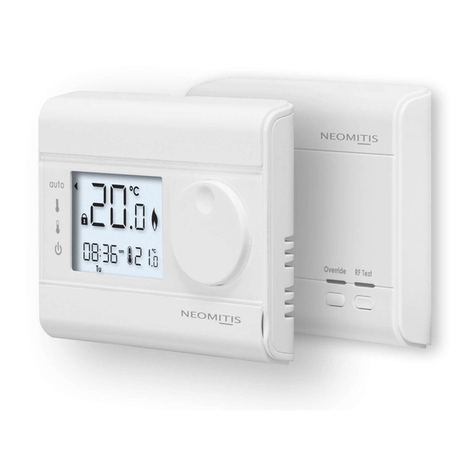
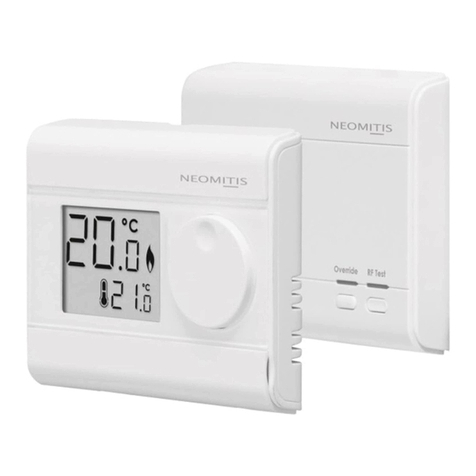
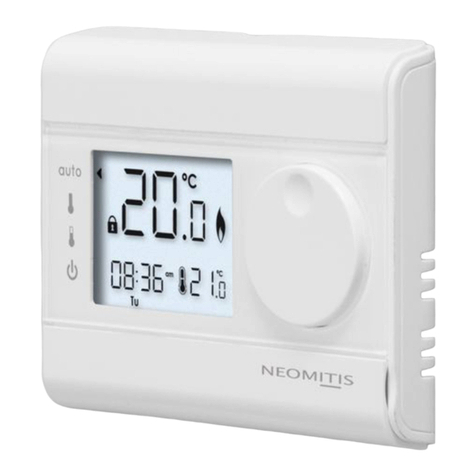
  9. Neomitis RTE0A User manual

Neomitis RTE0A User manual

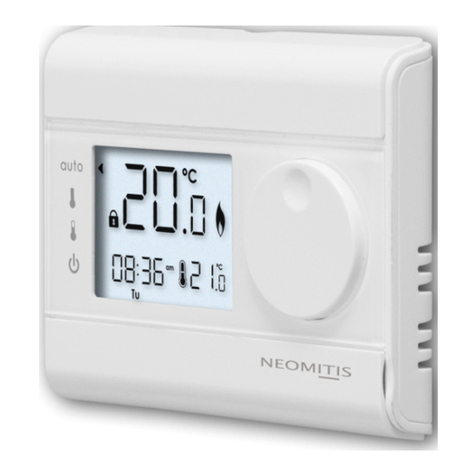
WIRED DIGITAL ROOM
THERMOSTAT
Pack contains ............................................................................................1
Installaon ................................................................................................1
 Installingbaeries.............................................................................................................1
 Mounngofwallmoungplate .......................................................................................1
 Wiring ...............................................................................................................................1
 MounngoftheThermostat.............................................................................................2
Troubleshoong ........................................................................................2
Technical specicaons .............................................................................2
RTE0REA NEO ENG DH V05 18 08 2020
PACK CONTAINS
1
INSTALLATION
INSTRUCTIONS
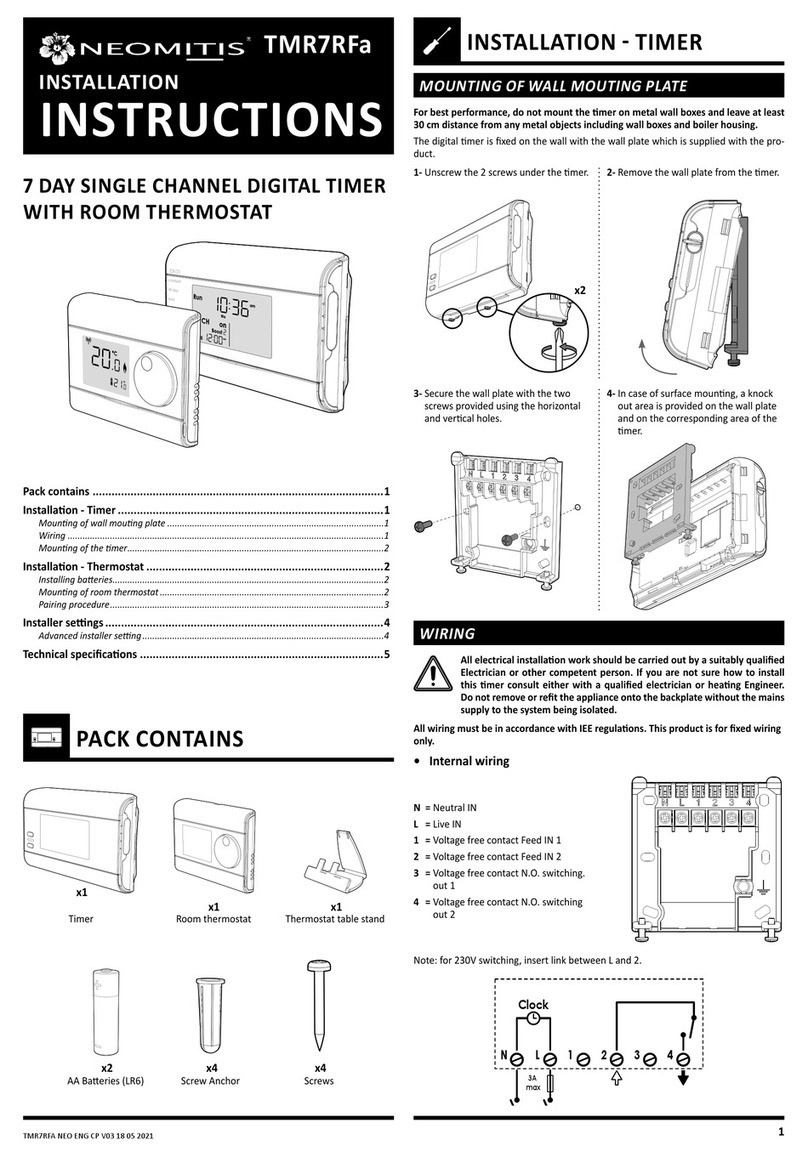
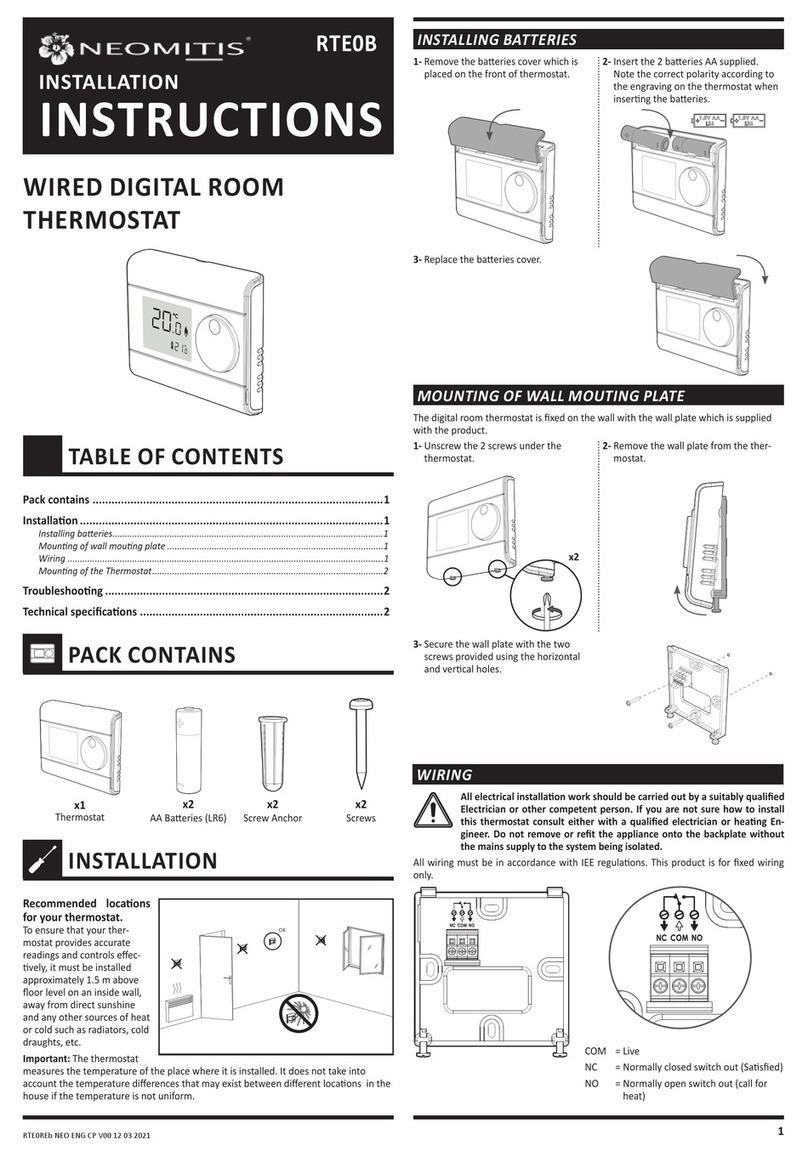
The digital room thermostat is xed on the wall with the wall plate which is supplied
with the product.
MOUNTING OF WALL MOUTING PLATE
INSTALLATION
INSTALLING BATTERIES
3- Replace the baeries cover.
3- Secure the wall plate with the two
screws provided using the horizontal
and vercal holes.
TABLE OF CONTENTS
x2
AA Baeries (LR6)
x1
Thermostat
x2
Screw Anchor
x2
Screws
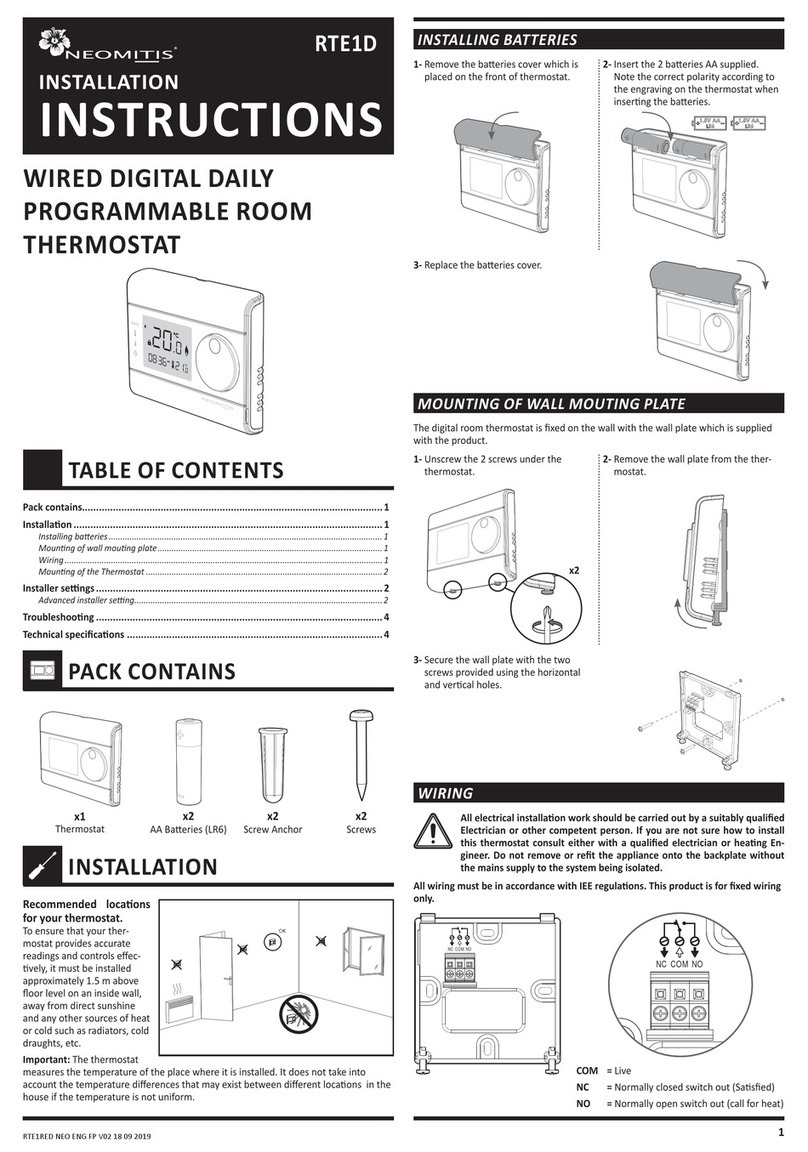
1- Remove the baeries cover which is
placed on the front of thermostat.
2- Insert the 2 baeries AA supplied.
Note the correct polarity according to
the engraving on the thermostat when
inserng the baeries.
1- Unscrew the 2 screws under the
thermostat.
2- Remove the wall plate from the ther-
mostat.
x2
WIRING
All wiring must be in accordance with IEE regulaons. This product is for xed wiring
only.
All electrical installaon work should be carried out by a suitably qualied
Electrician or other competent person. If you are not sure how to install
this thermostat consult either with a qualied electrician or heang En-
gineer. Do not remove or ret the appliance onto the backplate without
the mains supply to the system being isolated.
COM = Live
NC = Normally closed switch out (Sased)
NO = Normally open switch out (call for
heat)
RTE0A
Recommended locaons
for your thermostat.
To ensure that your ther-
mostat provides accurate
readings and controls eec-
vely, it must be installed
approximately 1.5 m above
oor level on an inside wall,
away from direct sunshine
and any other sources of heat
or cold such as radiators, cold
draughts, etc.
Important: The thermostat
measures the temperature of the place where it is installed. It does not take into
account the temperature dierences that may exist between dierent locaons in the
house if the temperature is not uniform.
NEOMITIS
®
LIMITED - 16 Great Queen Street, Covent Garden, London, WC2B 5AH UNITED KINGDOM
Registered in England and Wales No: 9543404
Tel: +44 (0) 2071 250 236 - Fax: +44 (0) 2071 250 267 - E-mail: contact_uk@neomis.com
Creang innovave soluons for ambient comfort
Registered trademarks - All rights reserved
2
www.neomitis.com
2- Secure the thermostat by screwing
the both locking screws under the
thermostat.
x2
Display disappears on thermostat.
- Check baeries.
- Replace the 2 baeries. Only use alkaline 1.5V AA (LR6) baeries.
Do not use rechargeable baeries.
The heang does not come on or does not go o.
- Your room thermostat may have been set up close to a source of heat or on a cold
wall – put it in a recommended locaon (see the “Installing” secon on page 1 for
these locaons).
- Check that the communicaon works between the thermostat and the boiler.
TROUBLESHOOTING
EU declaraon of conformity: We hereby declare under our sole res-
ponsibility that the products described in these instrucons comply with
the provisions of Direcves and harmonized standards listed below :
- LVD 2014/35/EU : EN60730-1 / EN60730-2-7/EN60730-2-9/ EN62311 ;
- EMC 2014/30/EU : EN60730-1 / EN60730-2-7/ EN60730-2-9 ;
- Direcve RoHS 2011/65/EU, amended by Direcves 2015/863/EU and 2017/2102/EU
: ROHS: EN50581:2012
Products are manufactured using processes that are cered ISO 9001: 2015
TECHNICAL SPECIFICATIONS
- Power supply: 2 alkaline 1.5 V AA (LR6) baeries.
- Baery life: approx. 2 years.
- Relay outputs: 5(2)A.
- Rated impulse voltage: 4000V.
- Micro disconnecon: Type 1B.
- Polluon degree: 2.
- Automac acon: 100,000 cycles.
- Class II.
Note: It is recommended to replace annually as part of the normal system service and
before leaving the property empty for a prolonged period.
Environment:
- Operaon temperature: 0°C to +40°C.
- Manual temperature seng range: from +5°C to +30°C.
- Storage temperature: from -10°C to +60°C.
- Humidity: 80% at +25°C (without condensaon)
- Protecon rang: IP30.
Manufactured by: Neomis Ltd (contact_uk@neomis.com)
MOUNTING OF THE THERMOSTAT
1- Replace the thermostat on the wall
mounng plate.
The on the product indicates that you must dispose of it at the end of its useful
life at a special recycling point, in accordance with European Direcve WEEE 2012/19/
EU. If you are replacing it, you can also return it to the retailer from which you buy the
replacement equipment. Thus, it is not ordinary household waste. Recycling products
enables us to protect the environment and to use less natural resources.
Overview......................................................................................................... 1
Controls and display ........................................................................................ 1
Sengs ........................................................................................................... 1
 Inialpowerup ................................................................................................................1
Operang ........................................................................................................ 1
 Temperaturesseng ........................................................................................................1
 Factorysengs .................................................................................................................1
Troubleshoong .............................................................................................. 2
Technical specicaons ................................................................................... 2
What is a room thermostat.............................................................................. 2
RTE0REa NEO ENG DH V05 18 08 2020
WIRED DIGITAL ROOM
THERMOSTAT
The desired temperature can be set.
TABLE OF CONTENTS
1
OPERATING
INSTRUCTIONS
RTE0A
Note: When the baeries must be changed, a low baery level indicator lights up on the
device.
Remember to take used baeries to baery collecon points so they can be recycled.
• LCD Display
Thank you for purchasing our RT0, digital room
thermostat.
It is by listening to your requirements we have
created and designed our products to be easy to
operate and install.
It is this ease of operaon that is intended to make
your life easier and help you save energy and money.
INITIAL POWER UP
SETTINGS
• Thermostat
C
C
Baeries
compartment
Rotary dial
Reset
buon
LCD display
C
C
Measured room
temperature
Pairing icon
(RF version)
Low baery
icon
Frost protecon
icon
Call for heat
icon
Temperature
setpoint
TEMPERATURES SETTING
OPERATING
1- To start: insert the two AA baeries
provided into the baery compart-
ment.
Once baeries are ed all symbols
will be displayed on the LCD screen as
shown for two seconds.
2- Aer 2 seconds, the LCD will show:
- The ambient temperature (°C) solid.
- The icon is solid when the heang
is turned ON.
- The setpoint temperature (°C) solid.
OK
Boost
Prog 1 2 3 GO
C
C
OK
Boost
Prog 1 2 3 GO
To set the temperature, turn the dial
clockwise, to increment the temperature,
turn the dial counter-clockwise, to decre-
ment the temperature.
The default temperature is 20°C (68°F).
C
C
OVERVIEW
CONTROLS AND DISPLAY
FACTORY SETTINGS
All LCD display will be turned ON for 2 seconds and the factory sengs will be res-
tored.
Note: To restore factory sengs, press and hold down this part for more than 3
seconds using the p of a pen.
C
C
Sengs Factory sengs
Set temperature 20°C
NEOMITIS
®
LIMITED - 16 Great Queen Street, Covent Garden, London, WC2B 5AH UNITED KINGDOM
Registered in England and Wales No: 9543404
Tel: +44 (0) 2071 250 236 - Fax: +44 (0) 2071 250 267 - E-mail: contact_uk@neomis.com
Creang innovave soluons for ambient comfort
Registered trademarks - All rights reserved
2
www.neomitis.com
The boiler is not heang:
- Check that the Thermostat is calling for heat if yes then the thermostat would appear
to be working check that the boiler has not switched itself o.
If no increase set temperature.
- Check the posion of the baeries. Remove them for 30 seconds and reinsert them. If
the problem persists, replace the 2 baeries.
Nothing in the display :
- Check the posion of the baeries. Remove them for 30 secondes and reinsert them.
If the problem persists, replace the 2 baeries.
The room temperature is not high enough, the boiler is not providing enough heat:
- Check the acve desired temperature and increase it if needed (see page 1).
You made a mistake while seng:
- You just need to restore factory sengs, as explained in the “Factory sengs” secon
(see page 1). This will reverse any changes you might have made.
The system is not heang but is on:
- If and indicator light is on but the system remains cold, then you should contact
your installer.
If the problem persists, then contact your installer.
Please refer to the installing instrucons for any informaons about baeries life, stan-
dards and product environment.
TROUBLESHOOTING
... an explanaon for householders
A room thermostat simply switches the
heang system on and o as necessary.
It works by sensing the air temperature,
switching on the heang when the air
temperature falls below the thermostat
seng, and switching it o once this set
temperature has been reached.
Turning a room thermostat to a higher set-
ng will not make the room heat up any
faster. How quickly the room heats up de-
pends on the design of the heang system,
for example, the size of boiler and radiators. Neither does the seng aect how quickly
the room cools down.
Turning a room thermostat to a lower seng will result in the room being controlled at
a lower temperature, and saves energy.
The heang system will not work if a me switch or programmer has switched it o. The
way to set and use your room thermostat is to nd the lowest temperature seng that
you are comfortable with, and then leave it alone to do its job. The best way to do this
is to set the room thermostat to a low temperature – say 18ºC – and then turn it up by
one degree each day unl you are comfortable with the temperature. You won’t have
to adjust the thermostat further. Any adjustment above this seng will waste energy
and cost you more money.
If your heang system is a boiler with radiators, there will usually be only one room
thermostat to control the whole house. But you can have dierent temperatures in indi-
vidual rooms by installing thermostac radiator valves (TRVs) on individual radiators. If
you don’t have TRVs, you should choose a temperature that is reasonable for the whole
house. If you do have TRVs, you can choose a slightly higher seng to make sure that
even the coldest room is comfortable, then prevent any overheang in other rooms by
adjusng the TRVs.
Room thermostats need a free ow of air to sense the temperature, so they must not
be covered by curtains or blocked by furniture. Nearby electric res, televisions, wall or
table lamps may prevent the thermostat from working properly.
WHAT IS A ROOM THERMOSTAT
TECHNICAL SPECIFICATIONS

Other Neomitis Thermostat manuals

Neomitis RTE7SD User manual

Neomitis

Neomitis RTE7SD User manual

Neomitis RT0 RF User manual

Neomitis

Neomitis RT0 RF User manual

Neomitis RTE1RFD User manual

Neomitis

Neomitis RTE1RFD User manual

Neomitis RT7 RF User manual

Neomitis

Neomitis RT7 RF User manual

Neomitis RTANEOA User manual

Neomitis

Neomitis RTANEOA User manual

Neomitis RTE7D User manual

Neomitis

Neomitis RTE7D User manual

Neomitis RTE1D User manual

Neomitis

Neomitis RTE1D User manual

Neomitis RT7 User manual

Neomitis

Neomitis RT7 User manual

Neomitis RTE0RFA User manual

Neomitis

Neomitis RTE0RFA User manual

Neomitis RTE7A User manual

Neomitis

Neomitis RTE7A User manual

Neomitis RTE7D User manual

Neomitis

Neomitis RTE7D User manual

Neomitis RTEORFA User manual

Neomitis

Neomitis RTEORFA User manual

Neomitis TMR7 User manual

Neomitis

Neomitis TMR7 User manual

Neomitis RT1 RF User manual

Neomitis

Neomitis RT1 RF User manual

Neomitis RTE7RFD User manual

Neomitis

Neomitis RTE7RFD User manual

Neomitis RTMA User manual

Neomitis

Neomitis RTMA User manual

Neomitis RTE7C User manual

Neomitis

Neomitis RTE7C User manual

Neomitis TMR7RFa User manual

Neomitis

Neomitis TMR7RFa User manual

Neomitis RTE0B User manual

Neomitis

Neomitis RTE0B User manual

Popular Thermostat manuals by other brands

Siemens Powers TH 192 S Technical instructions
Siemens

Siemens Powers TH 192 S Technical instructions

Johnson Controls T6634-TE21 installation instructions

Johnson Controls

Johnson Controls T6634-TE21 installation instructions

Lightstat e-stat Hardware installation and operation manual

Lightstat

Lightstat e-stat Hardware installation and operation manual

Vimar Elvox 02900 quick start guide

Vimar

Vimar Elvox 02900 quick start guide

Immergas 3.019229 manual

Immergas

Immergas 3.019229 manual

Trane BAC-1000 user manual

Trane

Trane BAC-1000 user manual

Tyco DigiTrace RAYSTAT-EX-02 installation instructions

Tyco

Tyco DigiTrace RAYSTAT-EX-02 installation instructions

Johnson Controls TEC2103-2 installation instructions

Johnson Controls

Johnson Controls TEC2103-2 installation instructions

Hugo Müller GS 10.00 PRO instruction manual

Hugo Müller

Hugo Müller GS 10.00 PRO instruction manual

Mapei MAPEHEAT THERMO BASIC user guide

Mapei

Mapei MAPEHEAT THERMO BASIC user guide

Honeywell RTH8500 Series owner's manual

Honeywell

Honeywell RTH8500 Series owner's manual

Nordyne iQDrive user manual

Nordyne

Nordyne iQDrive user manual

Comfort Sentry OH-1202H instruction manual

Comfort Sentry

Comfort Sentry OH-1202H instruction manual

HAI RC-100 installation instructions

HAI

HAI RC-100 installation instructions

Tekmar D 508 Data brochure

Tekmar

Tekmar D 508 Data brochure

Imit 6007548 instruction manual

Imit

Imit 6007548 instruction manual

ELEKTROBOCK BT725 user manual

ELEKTROBOCK

ELEKTROBOCK BT725 user manual

Honeywell Home T3 manual

Honeywell Home

Honeywell Home T3 manual

manuals.online logo
manuals.online logoBrands
  • About & Mission
  • Contact us
  • Privacy Policy
  • Terms and Conditions

Copyright 2025 Manuals.Online. All Rights Reserved.