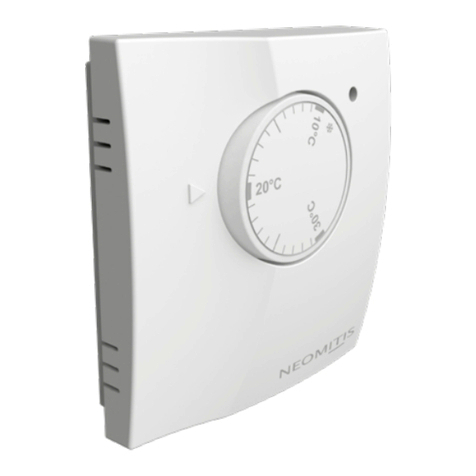
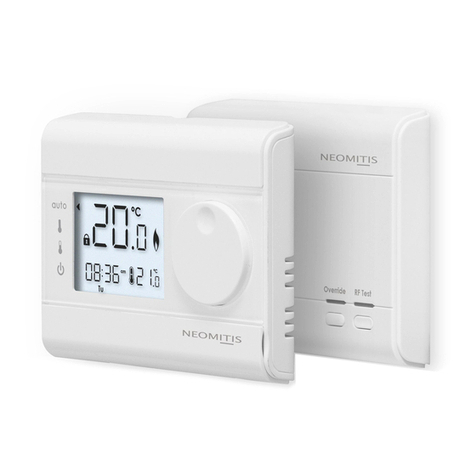
Neomitis RTE0RFA User manual

WIRELESS DIGITAL ROOM
THERMOSTAT AND RECEIVER
Pack contains........................................................................................................... 1
.............................................................................................. 1
Mounngofwallmoungplate................................................................................................. 1
Wiring ......................................................................................................................................... 1
Mounngofthereceiver ............................................................................................................ 1
......................................................................................... 2
Installingbaeries ...................................................................................................................... 2
Mounngofthermostat ............................................................................................................. 2
.................................................................................................... 2
Operangstatesofthesystem................................................................................................... 3
...................................................................................................... 3
........................................................................................... 3
RTE0RFA NEO ENG DH V08 18 08 2020 1
INSTALLATION
INSTRUCTIONS
TABLE OF CONTENTS
PACK CONTAINS
Override RF Test
x1 x1 x1
Thermostat Receiver Thermostat table stand
x4x2 x4
Screw AnchorAA Baeries (LR6) Screws
RTE0RFA
WIRING
MOUNTING OF WALL MOUTING PLATE
The receiver is xed on the wall with the standard wall plate which is supplied with the
product.
Unscrew the 2 screws under the
receiver.
Remove the wall plate from the
receiver.
x2
Secure the wall plate with the two
screws provided using the horizontal
and vercal holes.
In case of surface mounng, a knock
out area is provided on the wall plate
and on the corresponding area of the
receiver.
MOUNTING OF THE RECEIVER
Replace the receiver on the wall
mounng plate.
x2
Secure the receiver by screwing the
both locking screws under the receiver.
N = Neutral
L = Live
1 = Not used
2 = Not normally used
3 = Common - Power In: Voltage Free Connec-
ons
4 = Call for heat - Power Out: Voltage Free
Connecons
Standardwallplate
suppliedwiththe
receiver
N = Neutral
L = Live
1 = Not used
2 = Not normally used
3 = Common - Power In 230V
4 = Call for heat - Power out 230V
Standardwallplate
suppliedwiththe
receiver
2N L 1 43
Power supply
230V~ 50Hz
Power out
230V~ 50Hz
2N L 1 43
230V Connecon In out
In / out : Voltage
Free Connecons
NOTE: The unit is double in insulated so does not require and earth but a terminal is
supplied for the spare wire.

2
PAIRING PROCEDURE
The thermostat and the receiver are not bonded together at the factory.
To bond the transmier and the receiver together, proceed as below:
Within 1 minute, press and hold for
the RF test buon on the
thermostat. Pairing icon is ashing.
Press and hold for the RF
test buon on the receiver. RF test
green light is blinking.
C
C
Override RF Test
Override RF Test
OK
Boost
Prog 1 2 3 GO
MOUNTING OF THERMOSTAT
Unscrew the 2 screws under the
thermostat.
Remove the wall plate from the
thermostat.
x2
Secure the wall plate with the two
screws provided using the horizontal
and vercal holes.
Replace the thermostat on the wall
mounng plate.
Secure the thermostat by screwing the
locking screws under the thermostat.
x2
To ensure that your
thermostat provides
accurate readings and
controls eecvely, it must
be installed approximately
1.5 m above oor level on
an inside wall, away from
direct sunshine and any other
sources of heat or cold such
as radiators, cold draughts,
etc.
NB: In order to ensure proper operaon of the product, ensure that the thermostat is
not posioned near to an area which could be aected by interference from another
source. E.g.: a wireless transmier or receiver, TV, PC, etc.
The thermostat measures the temperature of the place where it is installed.
It does not take into account the temperature dierences that may exist between die-
rent locaons in the house if the temperature is not uniform.
INSTALLING BATTERIES
Remove the baeries
cover which is placed on
the front of thermostat.
Insert the 2 baeries AA
supplied. Note the cor-
rect polarity according
to the engraving on the
thermostat when inser-
ng the baeries.
Replace the baeries
co v er.
Insert the 2 pins inside the wallplate. Slide the stand to the right.
Fold the stand and lock it into the
wallplate.
Tilt the thermostat according to its
placement in the room. 2 lts are
available.
30° 37°

3
TECHNICAL SPECIFICATIONS
Power supply: 2 alkaline 1.5 V AA (LR6) baeries.
Manual temperature seng range: from +5°C to +30°C.
Baery life: approx. 2 years.
- Power supply: 230V~50/60Hz.
- Relay outputs: 5(2)A.
- Rated impulse voltage: 4000V.
- Micro-disconnecon: Type 1B.
- Polluon degree: 2.
- Automac acon: 100,000 cycles.
- Class II.
15m is typical but this varies depending on the building
construcon eg plasterboard lined with metal foil the number of walls and ceilings that
the signal has to pass through and by the surrounding electromagnec environment.
every 10 minutes, maximum me-lag 1 minute aer set-point
temperature has been changed.
- Operaon temperature: 0°C to +40°C.
- Storage temperature: from -10°C to +60°C.
- Humidity: 80% at +25°C (without condensaon)
- Protecon rang: IP30.
N.B.: this room thermostat is one part of a complete radio system and will only work
with the 230V AC receiver. Radio emier, frequency from 2.40 to 2.48 GHz.
Manufactured by: Neomis Ltd (contactuk@neomis.com)
- Check baeries.
- Replace the 2 baeries. Only use alkaline 1.5V AA (LR6) baeries.
- Your room thermostat may have been set up close to a source of heat or on a cold
wall – put it in a recommended locaon (see the “Installing” secon on page 2 for
these locaons).
- Check that the radio communicaon works between the thermostat and the receiver.
- Check if the boiler controlled by the programmable room thermostat is properly con-
nected to the receiver.
- Check and replace thermostat baeries .
- Pair the room thermostat transmier with the receiver again See Pairing secon.
- Re site the transmier.
- If possible, re site the receiver away from the source of the interference.
- Check the baery level status.
- Check that the radio communicaon works between the thermostat and the receiver.
If the radio communicaon does not work between the receiver and the thermostat.
- Repeat the pairing between the thermostat and receiver (refer to the user instruc-
ons).
- Thermostat sensor may be inuenced by a source of heat or cold.
- Check that the radio communicaon works between the thermostat and receiver.
TROUBLESHOOTING
Thermostat RF icon and receiver
green light will be solid when pairing
is complete.
Thermostat RF icon and receiver
green light are blinking.
OK
Boost
Prog 1 2 3 GO
Override RF Test
OK
Boost
Prog 1 2 3 GO
Override RF Test
Note: the receiver is usually located near your
boiler.
If you want to check the signal strength, press and
release the RF test buon. The RF icon blink and
the signal strength appears. 10 is the best signal
strength.
OK
Boost
Prog 1 2 3 GO
The on the product indicates that you must dispose of it at the end of its useful
life at a special recycling point, in accordance with European Direcve WEEE 2012/19/
EU. If you are replacing it, you can also return it to the retailer from which you buy the
replacement equipment. Thus, it is not ordinary household waste. Recycling products
enables us to protect the environment and to use less natural resources.
OPERATING STATES OF THE SYSTEM
Receiver is connected to the thermostat
System is calling for heat
RF Signal has been lost, no connecon between thermostat and
receiver. In order to re-bond the thermostat and receiver refer
to the installaon instrucons (page 2).
EU declaraon of conformity: We hereby declare under our sole respon-
sibility that the products described in these instrucons comply with the
provisions of Direcves and harmonized standards listed below :
Thermostat
- RED 2014/53/EU:
Arcle 3.1a (Safety): EN60730-1/ EN60730-2-9/ EN62311
Arcle 3.1b (EMC): ETSI EN 301489-1 / ETSI EN301489-3
Arcle 3.2 (RF): ETSI EN 300440
Direcve RoHS 2011/65/EU, amended by Direcves 2015/863/EU and 2017/2102/EU :
ROHS: EN50581:2012
Receiver
- RED 2014/53/EU:
Arcle 3.1a (Safety): EN60730-1/EN60730-2-9 / EN62311
Arcle 3.1b (EMC): ETSI EN301489-1/ ETSI EN301489-3
Arcle 3.2 (RF): ETSI EN 300440
Direcve RoHS 2011/65/EU, amended by Direcves 2015/863/EU and 2017/2102/EU :
ROHS: EN50581:2012
and are manufactured using processes that are cered ISO 9001 : 2015
Class I - On/o Room Thermostat.
A room thermostat that controls the on/o operaon of a heater. Performance param-
eters, including switching dierenal and room temperature control accuracy are deter-
mined by the thermostat’s mechanical construcon.

Overview................................................................................................................. 1
Controls and display ................................................................................................ 1
^ĞƫŶŐƐ ................................................................................................................... 1
/ŶŝƟĂůƉŽǁĞƌƵƉ.......................................................................................................................... 1
WĂŝƌŝŶŐƉƌŽĐĞĚƵƌĞ ...................................................................................................................... 1
KƉĞƌĂƟŶŐ ................................................................................................................ 2
dĞŵƉĞƌĂƚƵƌĞƐƐĞƫŶŐ.................................................................................................................. 2
KƉĞƌĂƟŶŐƐƚĂƚĞƐŽĨƚŚĞƐLJƐƚĞŵ................................................................................................... 2
KǀĞƌƌŝĚĞ ...................................................................................................................................... 2
&ĂĐƚŽƌLJƐĞƫŶŐƐ........................................................................................................................... 2
dƌŽƵďůĞƐŚŽŽƟŶŐ ...................................................................................................... 2
dĞĐŚŶŝĐĂůƐƉĞĐŝĮĐĂƟŽŶƐ ........................................................................................... 2
What is a room thermostat...................................................................................... 2
RTE0RFa NEO ENG CP V05 07 08 2020
WIRELESS DIGITAL ROOM
THERMOSTAT AND RECEIVER
1
OPERATING
INSTRUCTIONS
Note: tŚĞŶƚŚĞďĂƩĞƌŝĞƐŵƵƐƚďĞĐŚĂŶŐĞĚĂůŽǁďĂƩĞƌLJůĞǀĞůŝŶĚŝĐĂƚŽƌĂƉƉĞĂƌƐŽŶƚŚĞ
ĚĞǀŝĐĞ
ZĞŵĞŵďĞƌƚŽƚĂŬĞƵƐĞĚďĂƩĞƌŝĞƐƚŽďĂƩĞƌLJĐŽůůĞĐƟŽŶƉŽŝŶƚƐƐŽƚŚĞLJĐĂŶďĞƌĞĐLJĐůĞĚ
• Thermostat
dŚĂŶŬLJŽƵĨŽƌƉƵƌĐŚĂƐŝŶŐŽƵƌZdϬZ&ǁŝƌĞůĞƐƐĚŝŐŝƚĂů
ƌŽŽŵƚŚĞƌŵŽƐƚĂƚ
/ƚŝƐďLJůŝƐƚĞŶŝŶŐƚŽLJŽƵƌƌĞƋƵŝƌĞŵĞŶƚƐǁĞŚĂǀĞ
ĐƌĞĂƚĞĚ ĂŶĚ ĚĞƐŝŐŶĞĚ ŽƵƌ ƉƌŽĚƵĐƚƐ ƚŽ ďĞ ĞĂƐLJ ƚŽ
ŽƉĞƌĂƚĞĂŶĚŝŶƐƚĂůů
/ƚŝƐƚŚŝƐĞĂƐĞŽĨŽƉĞƌĂƟŽŶƚŚĂƚŝƐŝŶƚĞŶĚĞĚƚŽŵĂŬĞ
LJŽƵƌůŝĨĞĞĂƐŝĞƌĂŶĚŚĞůƉLJŽƵƐĂǀĞĞŶĞƌŐLJĂŶĚŵŽŶĞLJ
INITIAL POWER UP
SETTINGS
• LCD Display
C
C
DĞĂƐƵƌĞĚƌŽŽŵ
ƚĞŵƉĞƌĂƚƵƌĞ
WĂŝƌŝŶŐŝĐŽŶ
>ŽǁďĂƩĞƌLJ
ŝĐŽŶ
&ƌŽƐƚƉƌŽƚĞĐƟŽŶ
ŝĐŽŶ
ĂůůĨŽƌŚĞĂƚ
ŝĐŽŶ
dĞŵƉ ĞƌĂƚƵƌĞ
ƐĞƚƉŽŝŶƚ
C
C
ĂƩĞƌŝĞƐ
ĐŽŵƉĂƌƚŵĞŶƚ
ZŽƚĂƌLJĚŝĂů
ZĞƐĞƚ
ďƵƩŽŶ
C
>ĚŝƐƉůĂLJ
Z&ƚĞƐƚďƵƩŽŶ
PAIRING PROCEDURE
dŚĞƚŚĞƌŵŽƐƚĂƚĂŶĚƚŚĞƌĞĐĞŝǀĞƌĂƌĞŶŽƚďŽŶĚĞĚƚŽŐĞƚŚĞƌĂƚƚŚĞĨĂĐƚŽƌLJ
dŽďŽŶĚƚŚĞƚƌĂŶƐŵŝƩĞƌĂŶĚƚŚĞƌĞĐĞŝǀĞƌƚŽŐĞƚŚĞƌƉƌŽĐĞĞĚĂƐďĞůŽǁ
2-tŝƚŚŝŶϭŵŝŶƵƚĞƉƌĞƐƐĂŶĚŚŽůĚĨŽƌ
ϱƐĞĐŽŶĚƐƚŚĞZ&ƚĞƐƚďƵƩŽŶŽŶƚŚĞ
ƚŚĞƌŵŽƐƚĂƚWĂŝƌŝŶŐŝĐŽŶŝƐŇĂƐŚŝŶŐ
1-WƌĞƐƐĂŶĚŚŽůĚĨŽƌϱƐĞĐŽŶĚƐƚŚĞZ&
ƚĞƐƚďƵƩŽŶŽŶƚŚĞƌĞĐĞŝǀĞƌZ&ƚĞƐƚ
ŐƌĞĞŶůŝŐŚƚŝƐďůŝŶŬŝŶŐ
ϱƐĞĐ
Override RF Test
Override RF Test
ϱƐĞĐ
1- dŽƐƚĂƌƚŝŶƐĞƌƚƚŚĞƚǁŽďĂƩĞƌŝĞƐ
ƉƌŽǀŝĚĞĚŝŶƚŽƚŚĞďĂƩĞƌLJĐŽŵƉĂƌƚ-
ŵĞŶƚ
KŶĐĞďĂƩĞƌŝĞƐĂƌĞĮƩĞĚĂůůƐLJŵďŽůƐ
ǁŝůůďĞĚŝƐƉůĂLJĞĚŽŶƚŚĞ>ƐĐƌĞĞŶĂƐ
ƐŚŽǁŶĨŽƌƚǁŽƐĞĐŽŶĚƐ
2- ŌĞƌϮƐĞĐŽŶĚƐƚŚĞ>ǁŝůůƐŚŽǁ
ͲdŚĞĂŵďŝĞŶƚƚĞŵƉĞƌĂƚƵƌĞ;ΣͿƐŽůŝĚ
ͲdŚĞŝĐŽŶ ŝƐƐŽůŝĚǁŚĞŶƚŚĞŚĞĂƟŶŐ
ŝƐƚƵƌŶĞĚKE
ͲdŚĞƐĞƚƉŽŝŶƚƚĞŵƉĞƌĂƚƵƌĞ;ΣͿƐŽůŝĚ
ͲZ&ŝĐŽŶŇĂƐŚĞƐ
C
C
TABLE OF CONTENTS
OVERVIEW
CONTROLS AND DISPLAY
EŽƚĞƚŚĞƌĞĐĞŝǀĞƌŝƐƵƐƵĂůůLJůŽĐĂƚĞĚŶĞĂƌLJŽƵƌďŽŝůĞƌ
ϰͲ dŚĞƌŵŽƐƚĂƚZ&ŝĐŽŶĂŶĚƌĞĐĞŝǀĞƌ
ŐƌĞĞŶůŝŐŚƚǁŝůůďĞƐŽůŝĚǁŚĞŶƉĂŝƌŝŶŐ
ŝƐĐŽŵƉůĞƚĞ
ϯͲ dŚĞƌŵŽƐƚĂƚZ&ŝĐŽŶĂŶĚƌĞĐĞŝǀĞƌ
ŐƌĞĞŶůŝŐŚƚĂƌĞďůŝŶŬŝŶŐ
Override RF Test Override RF Test
RTE0RFA

Registered trademarks - All rights reserved
2
ƌĞĂƟŶŐŝŶŶŽǀĂƟǀĞƐŽůƵƟŽŶƐĨŽƌĂŵďŝĞŶƚĐŽŵĨŽƌƚ
www.neomitis.com
NEOMITIS
®
LIMITED - 16 Great Queen Street, Covent Garden, London, WC2B 5AH UNITED KINGDOM
Registered in England and Wales No: 9543404
dĞůнϰϰ;ϬͿϮϬϳϭϮϱϬϮϯϲͲ&Ădžнϰϰ;ϬͿϮϬϳϭϮϱϬϮϲϳͲͲŵĂŝůĐŽŶƚĂĐƚƵŬΛŶĞŽŵŝƟƐĐŽŵ
FACTORY SETTINGS
EŽƚĞdŽƌĞƐƚŽƌĞĨĂĐƚŽƌLJƐĞƫŶŐƐƉƌĞƐƐĂŶĚŚŽůĚĚŽǁŶƚŚŝƐƉĂƌƚĨŽƌŵŽƌĞƚŚĂŶϯ
ƐĞĐŽŶĚƐƵƐŝŶŐƚŚĞƟƉŽĨĂƉĞŶ
ůů>ĚŝƐƉůĂLJǁŝůůďĞƚƵƌŶĞĚKEĨŽƌϮƐĞĐŽŶĚƐĂŶĚ
ƚŚĞĨĂĐƚŽƌLJƐĞƫŶŐƐǁŝůůďĞƌĞƐƚŽƌĞĚ
^ĞƫŶŐƐ &ĂĐƚŽƌLJƐĞƫŶŐƐ
Set temperature ϮϬΣ
dŚĞďŽŝůĞƌŝƐŶŽƚŚĞĂƟŶŐ
ͲŚĞĐŬƚŚĂƚƚŚĞƚŚĞƌŵŽƐƚĂƚŝƐĐĂůůŝŶŐĨŽƌŚĞĂƚŝĨLJĞƐƚŚĞŶƚŚĞƚŚĞƌŵŽƐƚĂƚǁŽƵůĚĂƉƉĞĂƌ
ƚŽďĞǁŽƌŬŝŶŐĐŚĞĐŬƚŚĂƚƚŚĞďŽŝůĞƌŚĂƐŶŽƚƐǁŝƚĐŚĞĚŝƚƐĞůĨŽī
/ĨŶŽŝŶĐƌĞĂƐĞƐĞƚƚĞŵƉĞƌĂƚƵƌĞ
ͲŚĞĐŬƚŚĞƉŽƐŝƟŽŶŽĨƚŚĞďĂƩĞƌŝĞƐZĞŵŽǀĞƚŚĞŵĨŽƌϯϬƐĞĐŽŶĚƐĂŶĚƌĞŝŶƐĞƌƚƚŚĞŵ/Ĩ
ƚŚĞƉƌŽďůĞŵƉĞƌƐŝƐƚƐƌĞƉůĂĐĞƚŚĞϮďĂƩĞƌŝĞƐ
EŽƚŚŝŶŐŝŶƚŚĞĚŝƐƉůĂLJ
ͲŚĞĐŬƚŚĞƉŽƐŝƟŽŶŽĨƚŚĞďĂƩĞƌŝĞƐZĞŵŽǀĞƚŚĞŵĨŽƌϯϬƐĞĐŽŶĚƐĂŶĚƌĞŝŶƐĞƌƚƚŚĞŵ/Ĩ
ƚŚĞƉƌŽďůĞŵƉĞƌƐŝƐƚƐƌĞƉůĂĐĞƚŚĞϮďĂƩĞƌŝĞƐ
dŚĞƌŽŽŵƚĞŵƉĞƌĂƚƵƌĞŝƐŶŽƚŚŝŐŚĞŶŽƵŐŚƚŚĞďŽŝůĞƌŝƐŶŽƚƉƌŽǀŝĚŝŶŐĞŶŽƵŐŚŚĞĂƚ
ͲŚĞĐŬƚŚĞĂĐƟǀĞĚĞƐŝƌĞĚƚĞŵƉĞƌĂƚƵƌĞĂŶĚŝŶĐƌĞĂƐĞŝƚŝĨŶĞĞĚďĞ;ƐĞĞƉĂŐĞϮͿ
zŽƵŵĂĚĞĂŵŝƐƚĂŬĞǁŚŝůĞƐĞƫŶŐ
ͲzŽƵũƵƐƚŶĞĞĚƚŽƌĞƐƚŽƌĞĨĂĐƚŽƌLJƐĞƫŶŐƐĂƐĞdžƉůĂŝŶĞĚŝŶƚŚĞ&ĂĐƚŽƌLJƐĞƫŶŐƐƐĞĐƟŽŶ
;ƐĞĞƉĂŐĞϮͿdŚŝƐǁŝůůƌĞǀĞƌƐĞĂŶLJĐŚĂŶŐĞƐLJŽƵŵŝŐŚƚŚĂǀĞŵĂĚĞ
dŚĞƐLJƐƚĞŵŝƐŶŽƚŚĞĂƟŶŐďƵƚ is on:
Ͳ/Ĩ ĂŶĚŝŶĚŝĐĂƚŽƌůŝŐŚƚŝƐŽŶ ďƵƚ ƚŚĞ ƐLJƐƚĞŵƌĞŵĂŝŶƐĐŽůĚƚŚĞŶ LJŽƵ ƐŚŽƵůĚ ĐŽŶƚĂĐƚ
LJŽƵƌŝŶƐƚĂůůĞƌ
/ĨƚŚĞƉƌŽďůĞŵƉĞƌƐŝƐƚƐƚŚĞŶĐŽŶƚĂĐƚLJŽƵƌŝŶƐƚĂůůĞƌ
TROUBLESHOOTING
ĂŶĞdžƉůĂŶĂƟŽŶĨŽƌŚŽƵƐĞŚŽůĚĞƌƐ
ƌŽŽŵ ƚŚĞƌŵŽƐƚĂƚ ƐŝŵƉůLJ ƐǁŝƚĐŚĞƐ ƚŚĞ
ŚĞĂƟŶŐ ƐLJƐƚĞŵ ŽŶ ĂŶĚ Žī ĂƐ ŶĞĐĞƐƐĂƌLJ
/ƚ ǁŽƌŬƐ ďLJ ƐĞŶƐŝŶŐ ƚŚĞ Ăŝƌ ƚĞŵƉĞƌĂƚƵƌĞ
ƐǁŝƚĐŚŝŶŐ ŽŶ ƚŚĞ ŚĞĂƟŶŐ ǁŚĞŶ ƚŚĞ Ăŝƌ
ƚĞŵƉĞƌĂƚƵƌĞ ĨĂůůƐ ďĞůŽǁ ƚŚĞ ƚŚĞƌŵŽƐƚĂƚ
ƐĞƫŶŐ ĂŶĚ ƐǁŝƚĐŚŝŶŐ ŝƚ Žī ŽŶĐĞ ƚŚŝƐ ƐĞƚ
ƚĞŵƉĞƌĂƚƵƌĞŚĂƐďĞĞŶƌĞĂĐŚĞĚ
dƵƌŶŝŶŐĂƌŽŽŵƚŚĞƌŵŽƐƚĂƚƚŽĂŚŝŐŚĞƌƐĞƚ-
ƟŶŐ ǁŝůů ŶŽƚ ŵĂŬĞ ƚŚĞ ƌŽŽŵ ŚĞĂƚ ƵƉ ĂŶLJ
ĨĂƐƚĞƌ,ŽǁƋƵŝĐŬůLJƚŚĞƌŽŽŵŚĞĂƚƐƵƉĚĞ-
ƉĞŶĚƐŽŶƚŚĞĚĞƐŝŐŶŽĨƚŚĞŚĞĂƟŶŐƐLJƐƚĞŵĨŽƌĞdžĂŵƉůĞƚŚĞƐŝnjĞŽĨďŽŝůĞƌĂŶĚƌĂĚŝĂƚŽƌƐ
EĞŝƚŚĞƌĚŽĞƐƚŚĞƐĞƫŶŐĂīĞĐƚŚŽǁƋƵŝĐŬůLJƚŚĞƌŽŽŵĐŽŽůƐĚŽǁŶ
dƵƌŶŝŶŐĂƌŽŽŵƚŚĞƌŵŽƐƚĂƚƚŽĂůŽǁĞƌƐĞƫŶŐǁŝůůƌĞƐƵůƚŝŶƚŚĞƌŽŽŵďĞŝŶŐĐŽŶƚƌŽůůĞĚĂƚ
ĂůŽǁĞƌƚĞŵƉĞƌĂƚƵƌĞĂŶĚƐĂǀĞƐĞŶĞƌŐLJ
dŚĞŚĞĂƟŶŐƐLJƐƚĞŵǁŝůůŶŽƚǁŽƌŬŝĨĂƟŵĞƐǁŝƚĐŚŽƌƉƌŽŐƌĂŵŵĞƌŚĂƐƐǁŝƚĐŚĞĚŝƚŽīdŚĞ
ǁĂLJƚŽƐĞƚĂŶĚƵƐĞLJŽƵƌƌŽŽŵƚŚĞƌŵŽƐƚĂƚŝƐƚŽĮŶĚƚŚĞůŽǁĞƐƚƚĞŵƉĞƌĂƚƵƌĞƐĞƫŶŐƚŚĂƚ
LJŽƵĂƌĞĐŽŵĨŽƌƚĂďůĞǁŝƚŚĂŶĚƚŚĞŶůĞĂǀĞŝƚĂůŽŶĞƚŽĚŽŝƚƐũŽďdŚĞďĞƐƚǁĂLJƚŽĚŽƚŚŝƐ
ŝƐƚŽƐĞƚƚŚĞƌŽŽŵƚŚĞƌŵŽƐƚĂƚƚŽĂůŽǁƚĞŵƉĞƌĂƚƵƌĞʹƐĂLJϭϴǑʹĂŶĚƚŚĞŶƚƵƌŶŝƚƵƉďLJ
ŽŶĞĚĞŐƌĞĞĞĂĐŚĚĂLJƵŶƟůLJŽƵĂƌĞĐŽŵĨŽƌƚĂďůĞǁŝƚŚƚŚĞƚĞŵƉĞƌĂƚƵƌĞzŽƵǁŽŶƚŚĂǀĞ
ƚŽĂĚũƵƐƚƚŚĞƚŚĞƌŵŽƐƚĂƚĨƵƌƚŚĞƌŶLJĂĚũƵƐƚŵĞŶƚĂďŽǀĞƚŚŝƐƐĞƫŶŐǁŝůůǁĂƐƚĞĞŶĞƌŐLJ
ĂŶĚĐŽƐƚLJŽƵŵŽƌĞŵŽŶĞLJ
/ĨLJŽƵƌŚĞĂƟŶŐ ƐLJƐƚĞŵŝƐĂďŽŝůĞƌǁŝƚŚƌĂĚŝĂƚŽƌƐƚŚĞƌĞǁŝůůƵƐƵĂůůLJ ďĞŽŶůLJŽŶĞƌŽŽŵ
ƚŚĞƌŵŽƐƚĂƚƚŽĐŽŶƚƌŽůƚŚĞǁŚŽůĞŚŽƵƐĞƵƚLJŽƵĐĂŶŚĂǀĞĚŝīĞƌĞŶƚƚĞŵƉĞƌĂƚƵƌĞƐŝŶŝŶĚŝ-
ǀŝĚƵĂůƌŽŽŵƐďLJŝŶƐƚĂůůŝŶŐƚŚĞƌŵŽƐƚĂƟĐƌĂĚŝĂƚŽƌǀĂůǀĞƐ;dZsƐͿŽŶŝŶĚŝǀŝĚƵĂůƌĂĚŝĂƚŽƌƐ/Ĩ
LJŽƵĚŽŶƚŚĂǀĞdZsƐLJŽƵƐŚŽƵůĚĐŚŽŽƐĞĂƚĞŵƉĞƌĂƚƵƌĞƚŚĂƚŝƐƌĞĂƐŽŶĂďůĞĨŽƌƚŚĞǁŚŽůĞ
ŚŽƵƐĞ/ĨLJŽƵĚŽŚĂǀĞdZsƐLJŽƵĐĂŶĐŚŽŽƐĞĂƐůŝŐŚƚůLJŚŝŐŚĞƌƐĞƫŶŐƚŽŵĂŬĞƐƵƌĞƚŚĂƚ
ĞǀĞŶƚŚĞĐŽůĚĞƐƚƌŽŽŵŝƐĐŽŵĨŽƌƚĂďůĞƚŚĞŶƉƌĞǀĞŶƚĂŶLJŽǀĞƌŚĞĂƟŶŐŝŶŽƚŚĞƌƌŽŽŵƐďLJ
ĂĚũƵƐƟŶŐƚŚĞdZsƐ
ZŽŽŵƚŚĞƌŵŽƐƚĂƚƐŶĞĞĚĂĨƌĞĞŇŽǁŽĨĂŝƌƚŽƐĞŶƐĞƚŚĞƚĞŵƉĞƌĂƚƵƌĞƐŽƚŚĞLJŵƵƐƚŶŽƚ
ďĞĐŽǀĞƌĞĚďLJĐƵƌƚĂŝŶƐŽƌďůŽĐŬĞĚďLJĨƵƌŶŝƚƵƌĞEĞĂƌďLJĞůĞĐƚƌŝĐĮƌĞƐƚĞůĞǀŝƐŝŽŶƐǁĂůůŽƌ
ƚĂďůĞůĂŵƉƐŵĂLJƉƌĞǀĞŶƚƚŚĞƚŚĞƌŵŽƐƚĂƚĨƌŽŵǁŽƌŬŝŶŐƉƌŽƉĞƌůLJ
WHAT IS A ROOM THERMOSTAT
WůĞĂƐĞƌĞĨĞƌƚŽƚŚĞŝŶƐƚĂůůŝŶŐŝŶƐƚƌƵĐƟŽŶƐĨŽƌĂŶLJŝŶĨŽƌŵĂƟŽŶƐĂďŽƵƚďĂƩĞƌŝĞƐůŝĨĞƐƚĂŶ-
ĚĂƌĚƐĂŶĚƉƌŽĚƵĐƚĞŶǀŝƌŽŶŵĞŶƚ
TECHNICAL SPECIFICATIONS
dŚĞĚĞƐŝƌĞĚƚĞŵƉĞƌĂƚƵƌĞĐĂŶďĞƐĞƚ
TEMPERATURES SETTING
OPERATING
dŽƐĞƚƚŚĞƚĞŵƉĞƌĂƚƵƌĞƚƵƌŶƚŚĞĚŝĂů
ĐůŽĐŬǁŝƐĞƚŽŝŶĐƌĞŵĞŶƚƚŚĞƚĞŵƉĞƌĂƚƵƌĞ
ƚƵƌŶƚŚĞĚŝĂůĐŽƵŶƚĞƌͲĐůŽĐŬǁŝƐĞƚŽĚĞĐƌĞ-
ŵĞŶƚƚŚĞƚĞŵƉĞƌĂƚƵƌĞ
dŚĞĚĞĨĂƵůƚƚĞŵƉĞƌĂƚƵƌĞŝƐϮϬΣ;ϲϴΣ&Ϳ
C
C
OVERRIDE
zŽƵĐĂŶƉƌĞƐƐƚŚĞKsZZ/ďƵƩŽŶŽŶƚŚĞƌĞĐĞŝǀĞƌ
ƚŽŵĂŶƵĂůůLJƐǁŝƚĐŚKEK&&ŝĨLJŽƵŚĂǀĞĂĨĂƵůƚLJƌŽŽŵ
ƵŶŝƚŽƌƚƌĂŶƐŵŝƐƐŝŽŶƐŝŐŶĂůdŚŝƐǁŝůůďĞŽƉĞƌĂƚĞƵŶƟů
ĐŽŵŵƵŶŝĐĂƟŽŶŝƐƌĞƐƚŽƌĞĚ
Override RF Test
OP ER AT IN G STAT ES OF T H E SYSTE M
^ƚĂƚĞƐŽĨƚŚĞŝŶĚŝĐĂƚŽƌůŝŐŚƚ KƉĞƌĂƟŶŐƐƚĂƚĞƐŽĨƚŚĞƚŚĞƌŵŽƐƚĂƚ
Green ZĞĐĞŝǀĞƌŝƐĐŽŶŶĞĐƚĞĚƚŽƚŚĞƚŚĞƌŵŽƐƚĂƚ
KƌĂŶŐĞ ^LJƐƚĞŵŝƐĐĂůůŝŶŐĨŽƌŚĞĂƚ
Red
Z&^ŝŐŶĂůŚĂƐďĞĞŶůŽƐƚŶŽĐŽŶŶĞĐƟŽŶďĞƚǁĞĞŶƚŚĞƌŵŽƐƚĂƚĂŶĚ
ƌĞĐĞŝǀĞƌ/ŶŽƌĚĞƌƚŽƌĞͲďŽŶĚƚŚĞƚŚĞƌŵŽƐƚĂƚĂŶĚƌĞĐĞŝǀĞƌƌĞĨĞƌ
ƚŽƚŚĞŝŶƐƚĂůůĂƟŽŶŝŶƐƚƌƵĐƟŽŶƐ
Table of contents
Other Neomitis Thermostat manuals
Neomitis
Neomitis RTANEOA User manual
Neomitis
Neomitis RTE1RFD User manual
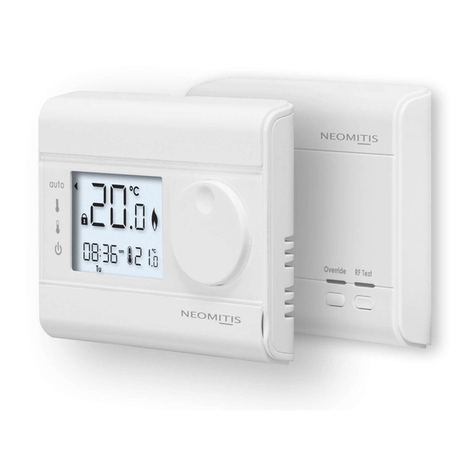
Neomitis
Neomitis RT1 RF User manual
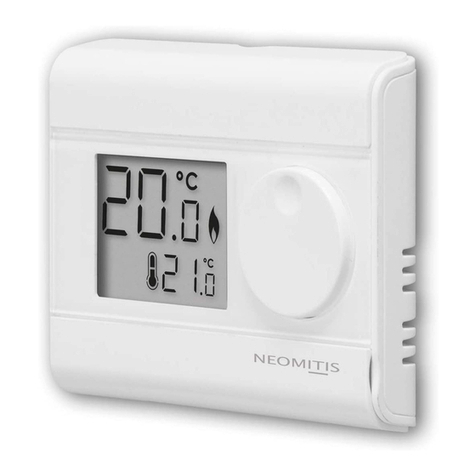
Neomitis
Neomitis RT0 RF User manual

Neomitis
Neomitis RTE0A User manual
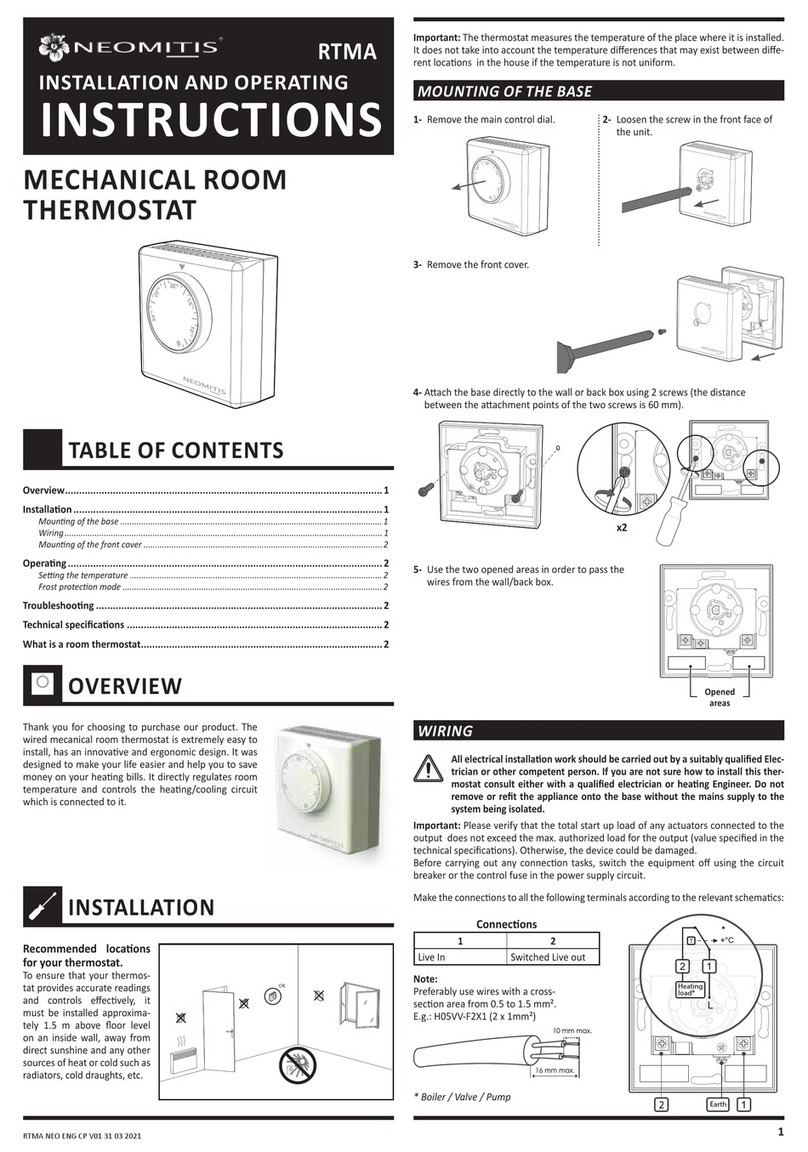
Neomitis
Neomitis RTMA User manual
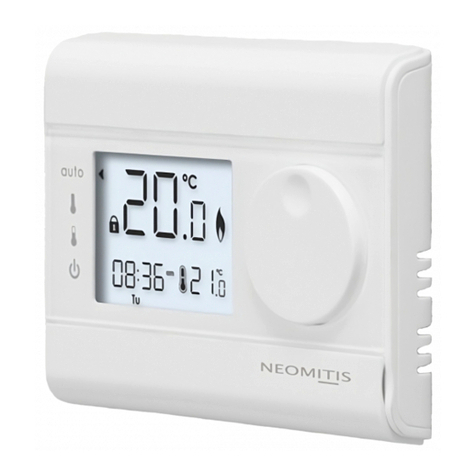
Neomitis
Neomitis RTE7SD User manual
Neomitis
Neomitis TMR7 User manual
Neomitis
Neomitis RTEORFA User manual
Neomitis
Neomitis RTE0B User manual
Neomitis
Neomitis RTE7RFD User manual
Neomitis
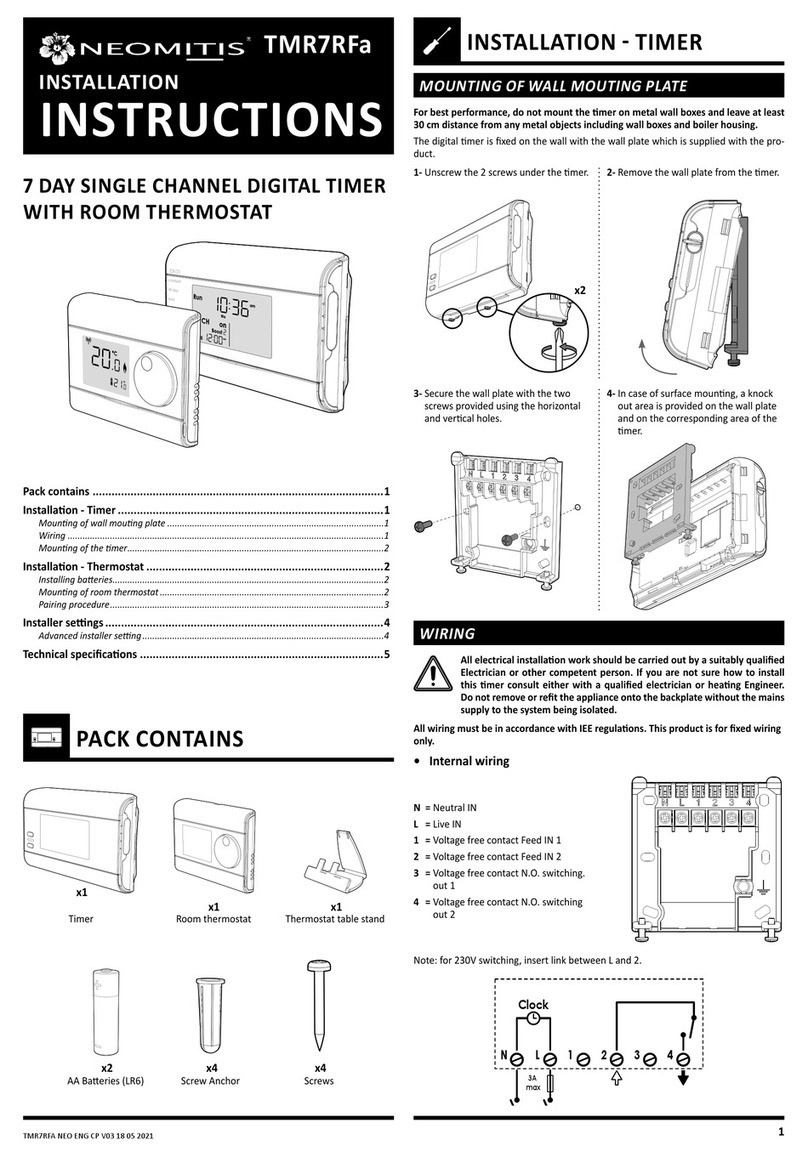
Neomitis TMR7RFa User manual
Neomitis
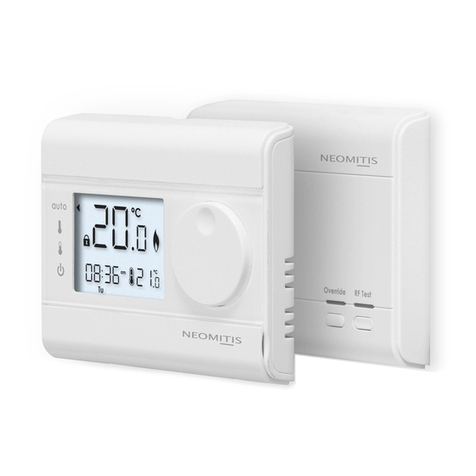
Neomitis RT7 RF User manual
Neomitis
Neomitis RTE7D User manual
Neomitis
Neomitis RT7 User manual

Neomitis
Neomitis RTE7D User manual
Neomitis
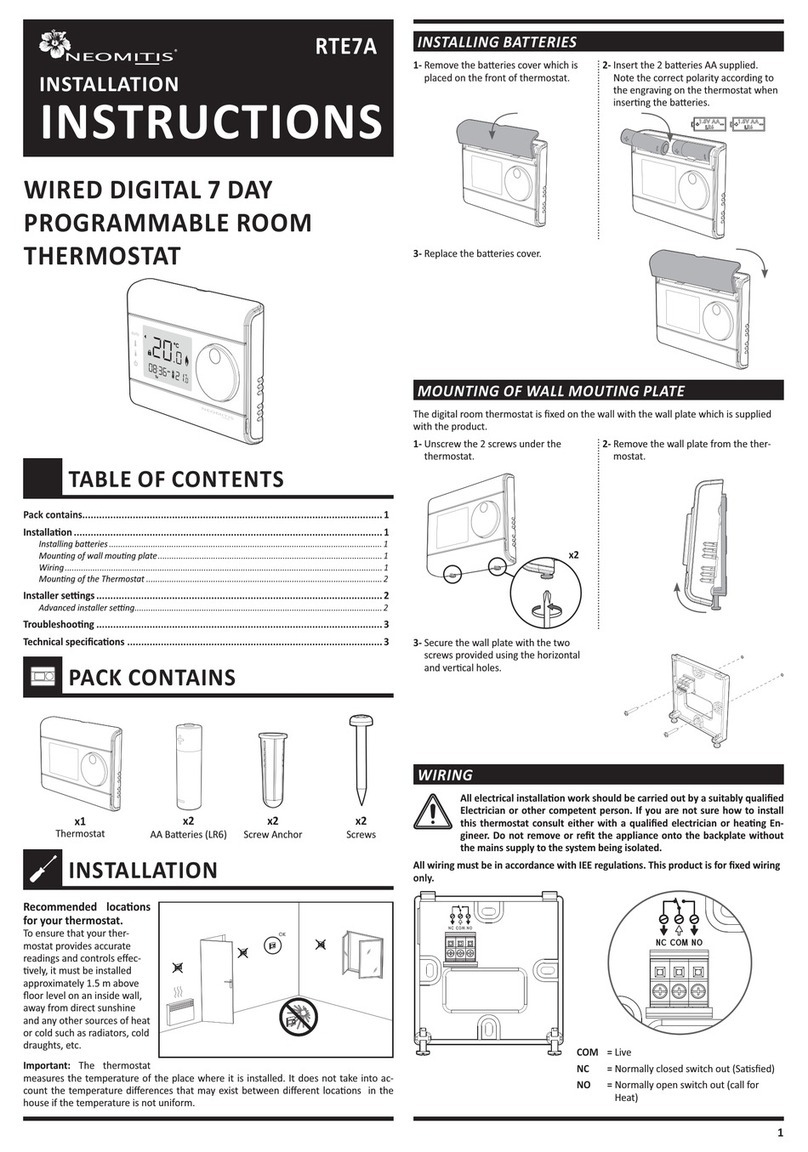
Neomitis RTE7A User manual
Neomitis
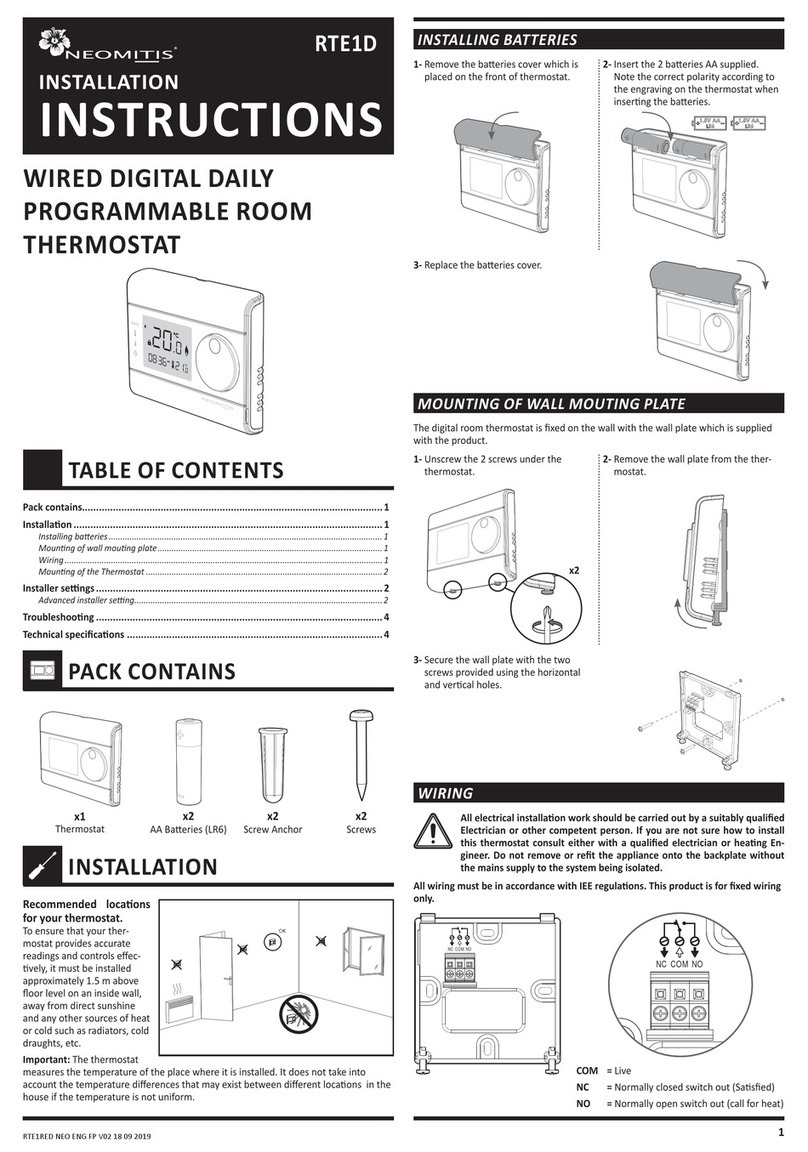
Neomitis RTE1D User manual
Neomitis
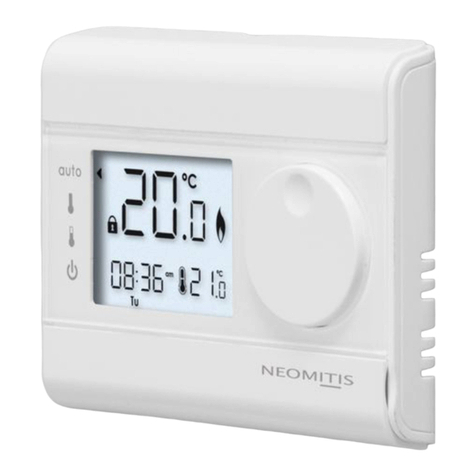
Neomitis RTE7C User manual
