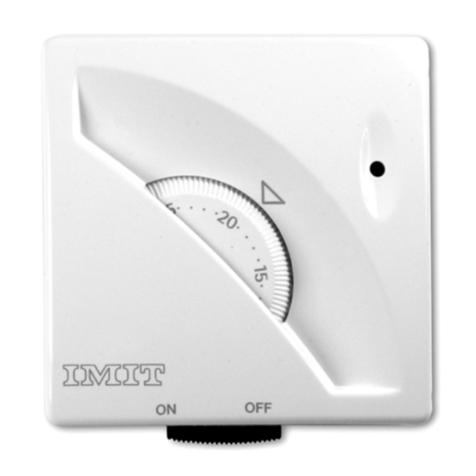
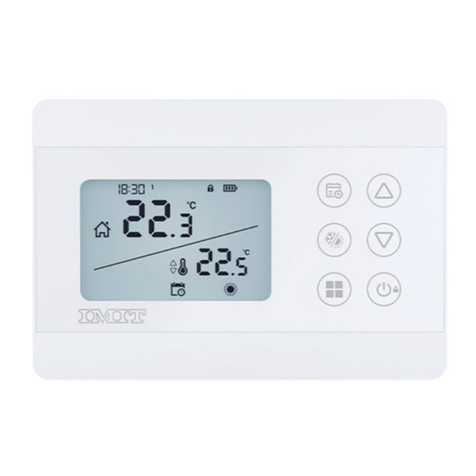
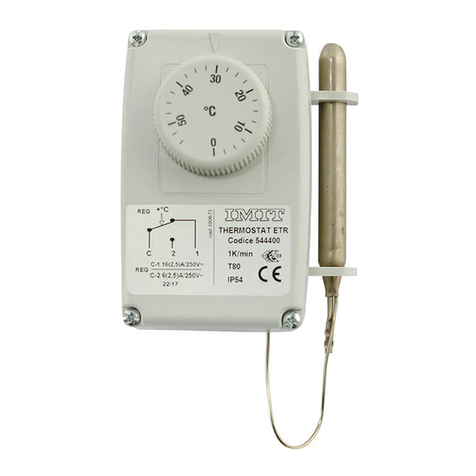
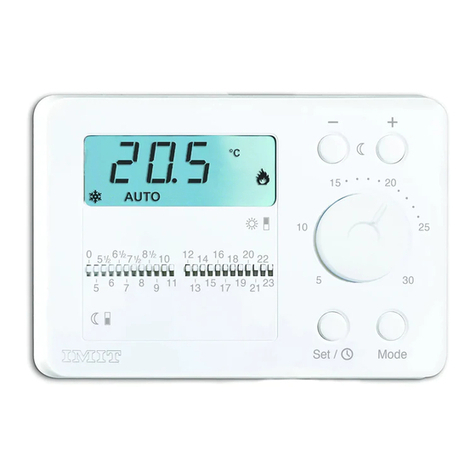
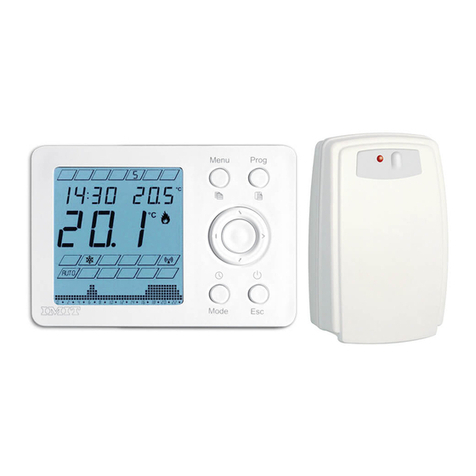
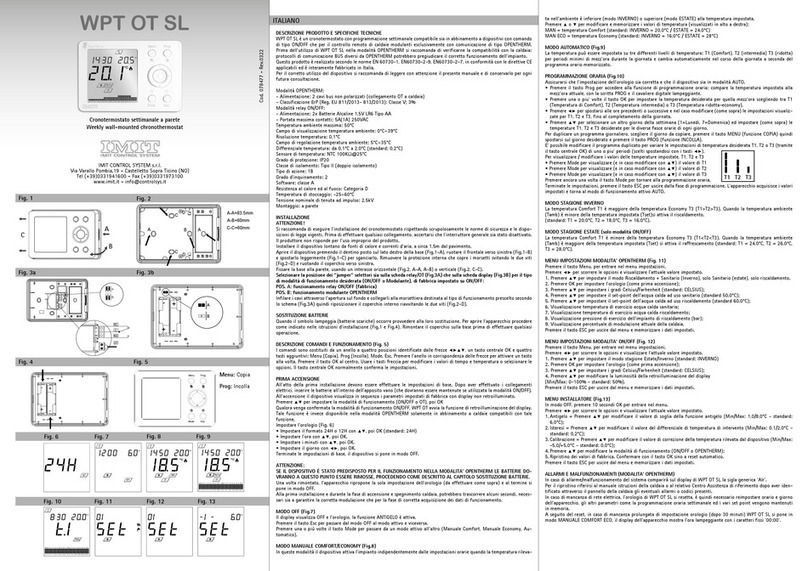
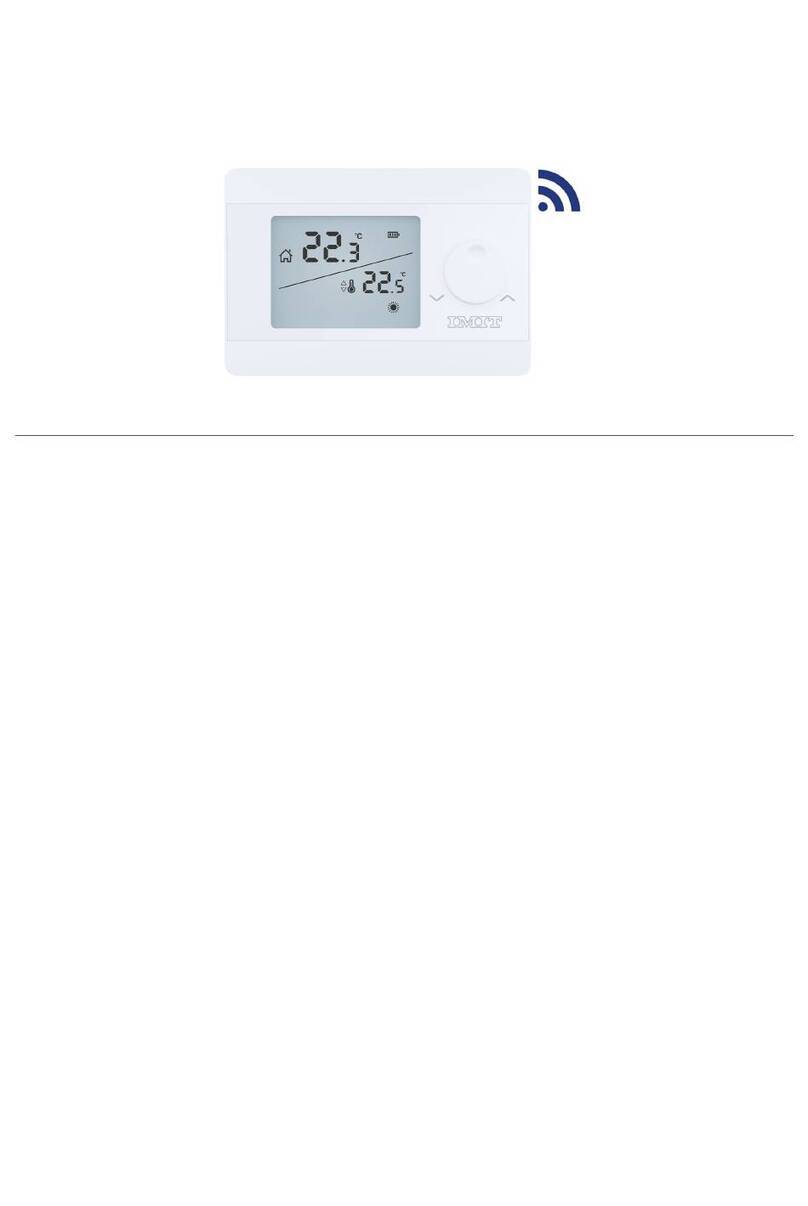
Imit 6007548 User manual

Manuale istruzioni
Instructions manual
Mode d’emploi
Bedienungsanleitung
Manual de instrucciones
Gebruiksaanwijzing
Εγχειρίδιο Οδηγιών
Руководство по эксплуатации
E
N
N
L
G
R
Si raccomanda di eseguire l’installazione
del cronotermostato rispettando scru-
polosamente le norme di sicurezza e le
disposizioni di legge vigenti. Prima di
effettuare qualsiasi collegamento, accer-
tarsi che l’interruttore generale sia stato
disattivato.
ATTENZIONE!
Manuale WPT multilingue interno.indd 1 19/11/15 15:57

DESCRIZIONE PRODOTTO E SPECIFICHE TECNICHE
Questo prodotto è realizzato secondo le norme EN 60730-2-9, EN60730-2-7, in conformità con le direttive
CE applicabili ed è interamente fabbricato in Italia.
Alimentazione: Batterie Alcaline 2x1,5V LR6 (Tipo AA)
Durata batterie > 1 anno
Portata massima contatti: 5A(1A) 250VAC
Temperatura ambiente massima: 50°C
Campo di visualizzazione temperatura: 0°C÷39°C
Campo di regolazione temperatura: 5°C÷35°C
Risoluzione temperatura: 0,1°C
Differenziale temperatura: da 0,1°C a 2,0°C (standard 0,2°C)
Sonda di temperatura: NTC 100KΩ@25°C
Ingresso sonda esterna (opzione): NTC 10KΩ@25°C
Grado di protezione: IP20
Classe di isolamento: Tipo II (doppio isolamento)
Tipo di azione: 1B
Grado d’inquinamento: 2
Software: classe A
Resistenza al calore ed al fuoco: Categoria D
Temperatura di stoccaggio: -25÷60°C
Tensione nominale di tenuta ad impulso: 2,5kV
Montaggio: a parete
Manuale WPT multilingue interno.indd 2 19/11/15 15:57

INSTALLAZIONE
Installare il dispositivo lontano da fonti di calore e correnti d’aria, a circa 1,5m dal pavimento. Aprire il
dispositivo premendo il dentino posto sul lato destro della base (Fig.1-1), ruotare il frontale verso sinistra
(Fig.1-2) e spostarlo leggermente (Fig.1-3) per sganciarlo.
Rimuovere la protezione interna che copre i morsetti svitando le due viti (Fig.2-D) e ruotando il coperchio
verso sinistra. Fissare la base alla parete, usando un interasse orizzontale (Fig.2, A-A, A-B) o verticale (Fig.2,
C-C). Infilare i cavi attraverso l’apertura sul fondo e collegarli alla morsettiera (Fig.3) quindi riposizionare il
coperchio interno riavvitando le due viti (Fig.2-D). Tenere i cavi della eventuale sonda esterna ben separati
da quelli del contatto termostato. Inserire le batterie nell’apposita sede all’interno del frontale, come indi-
cato (Fig.4). Per richiudere il dispositivo procedere come nella Fig.1 invertendo la sequenza delle operazioni:
accoppiare i lati sinistri delle due parti (Fig.1-3) quindi ruotare il frontale verso destra (Fig.1-2) sino a far
scattare il gancio laterale (Fig.1-1) sulla base.
SOSTITUZIONE BATTERIE
Quando il simbolo lampeggia (batterie scariche) occorre provvedere alla loro sostituzione. Procedere
come indicato nelle istruzioni d’installazione (Fig.2 e Fig.4). Rimontare il coperchio sulla base prima di ef-
fettuare qualsiasi operazione.
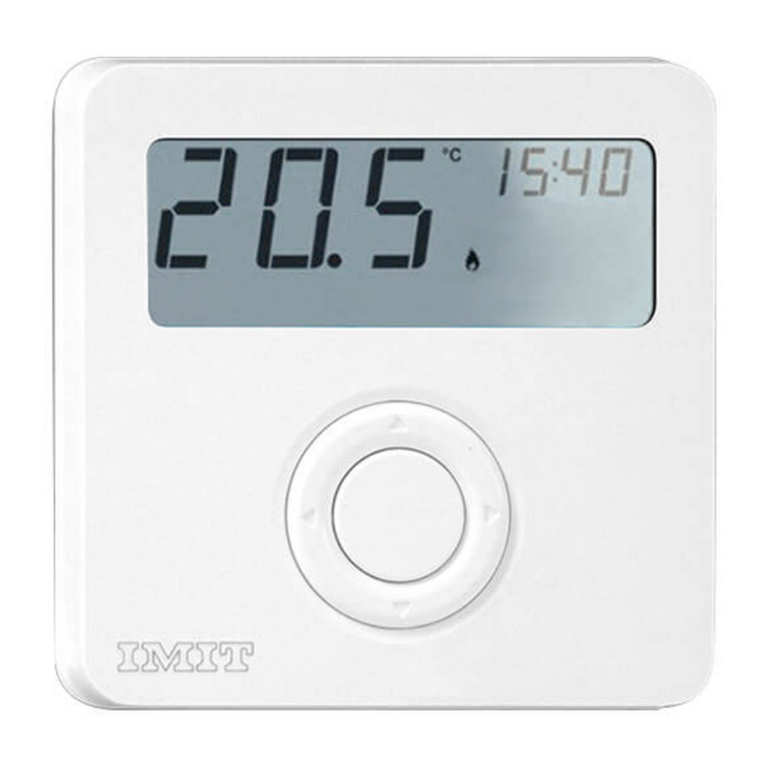
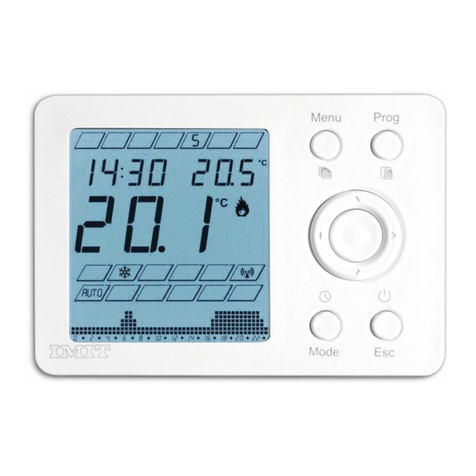
I comandi sono costituiti da un anello a quattro posizioni identificate dalle frecce ◄►▲▼, un tasto centra-
le OK e quattro tasti aggiuntivi: Menu (Copia), Prog (Incolla), Mode, Esc. Premere l’anello in corrispondenza
delle frecce per attivare un tasto alla volta. Premere il tasto OK al centro. Usare i tasti freccia per modificare
i valori di tempo e temperatura o selezionare le opzioni. Il tasto centrale OK normalmente conferma le im-
postazioni.
DESCRIZIONE COMANDI E FUNZIONAMENTO (Fig.5)
Manuale WPT multilingue interno.indd 3 19/11/15 15:57
PRIMA ACCENSIONE
Impostare l’orologio (Fig. 6)
• Impostare il formato 24H o 12H con ▲▼, poi OK.
• Impostare l’ora con ▲▼, poi OK.
• Impostare i minuti con ▲▼, poi OK.
• Impostare il giorno con ◄►, poi OK.
Il dispositivo si pone in modo OFF.
MODO OFF (Fig.7)
Il display visualizza OFF e l’orologio, funzione antigelo è attiva.
Premere Mode per passare da un modo attivo all’altro (Manuale Comfort, Manuale Economy, Automatico).
Premere Esc per passare dai modi attivi a OFF e viceversa.
MODO MANUALE (Fig.8)
Premere ▲o ▼per modificare e memorizzare i valori di temperatura:
MAN = temperatura Comfort.
MAN ECO = temperatura Economy.
MODO AUTOMATICO (Fig.9)
La temperatura impostata (t1, t2, t3) dipende dal programma orario memorizzato e cambia automaticamente
nel corso della giornata.
PROGRAMMAZIONE ORARIA (Fig.10)
Premere Prog, compare la temperatura impostata alla mezz’ora attuale, PROG lampeggia.
Premere OK per impostare t1, t2 o t3.
Manuale WPT multilingue interno.indd 4 19/11/15 15:57

Premere ▲▼ per impostare il giorno della settimana.
Premere ◄► per spostarsi lungo le ore senza modificare le impostazioni.
Per duplicare un programma giornaliero, scegliere il giorno da copiare, premere COPIA quindi spostarsi
sul giorno desiderato e premere INCOLLA.
Per modificare i valori delle temperature impostate, t1, t2 e t3:
• Premere Mode e modificare il valore T1 con ▲▼.
• Premere Mode e modificare il valore T2 con ▲▼.
• Premere Mode e modificare il valore T3 con ▲▼.
Premere Mode per tornare alla programmazione oraria. Premere Esc per tornare al modo attivo automatico.
MODO STAGIONE INVERNO
La temperatura Comfort è maggiore della temperatura Economy (t1>t2>t3). Quando Tamb < Tset si
attiva il riscaldamento .
MODO STAGIONE ESTATE
La temperatura Comfort è minore della temperatura Economy (t1<t2<t3). Quando Tamb > Tset si attiva
il raffrescamento .
MENU IMPOSTAZIONI (Fig.11)
Premere Menu, per entrare nel menu impostazioni.
Premere ◄► per scorrere le opzioni.
1. Premere ▲▼ per impostare il modo stagione (Estate/Inverno).
2. Premere OK per impostare l’orologio (come prima);
3. Premere ▲▼ per impostare i gradi (Celsius/Farhenheit);
4. Premere ▲▼ per impostare la lingua;
Manuale WPT multilingue interno.indd 5 19/11/15 15:57

5. Premere ▲▼ per modificare la luminosità.
Premere Esc per uscire dal menu.
MENU INSTALLATORE (Fig.12)
In modo OFF, premere 10 secondi OK per entrare nel menu.
Premere ◄► per scorrere le opzioni.
1. Antigelo = Impostazione antigelo (standard 6.0°C);
2. Isteresi = Differenziale temperatura (standard 0.2°C);
3. Calibrazione = Correzione offset temperatura (standard 0.0°C);
4. NTC interno / NTC Esterno;
5. Confermare con OK sino a reset automatico. Ripristina i valori di fabbrica.
Premere Esc per uscire dal menu.
OPZIONE VISUALIZZAZIONE UMIDITÀ (SOLO MODELLI WPT H)
In uno dei modi attivi, premere OK per alternare la visualizzazione della temperatura impostata oppure
dell’umidità ambiente in alto a destra (Fig.13).
Manuale WPT multilingue interno.indd 6 19/11/15 15:57

Manuale istruzioni
Instructions manual
Mode d’emploi
Bedienungsanleitung
Manual de instrucciones
Gebruiksaanwijzing
Εγχειρίδιο Οδηγιών
Руководство по эксплуатации
E
N
N
L
G
R
We strictly recommend to install this de-
vice according to the safety regulations
in force in the European Community and
local countries. The mains circuit brea-
ker must be off before carrying out any
electrical connections.
ATTENTION!
Manuale WPT multilingue interno.indd 7 19/11/15 15:57

PRODUCT DESCRIPTION AND TECHNICAL SPECIFICATIONS
This product is designed according to EN 60730-2-9 and EN60730-2-7 standards, in compliance with the
applicable EC directives, and made in Italy.
Power supply: Alkaline Batteries 2x1,5V LR6 (Type AA)
Battery life >1year
Maximum contact rating: 5A(1A) 250VAC
Maximum ambient temperature: 50°C
Display temperature range: 0°C÷39°C
Regulation temperature range: 5°C÷35°C
Temperature resolution: 0,1°C
Temperature differential: da 0,1°C a 2,0°C (std. 0,2°C)
Temperature sensor: NTC 100KΩ@25°C
External sensor input (optional): NTC 10KΩ@25°C
Protection degree: IP20
Insulation class: Type II (double insulation)
Action type: 1B
Pollution degree: 2
Software: class A
Heat and fire resistance: Category D
Storage temperature: -25÷60°C
Rated impulse withstand voltage 2,5kV
Installation: on wall.
Manuale WPT multilingue interno.indd 8 19/11/15 15:57

INSTALLATION
Place this device far from any heat source or air flow, at about a 1,5mt height from the floor. Open the
device pushing the clip on the base right side (Fig.1-1) then rotate the front cover leftward (Fig.1-2) and lift
slightly to unfasten it (Fig.1-3). Remove the two screws (Fig.2-D) fixing the inner protection cover for the
electrical connections. Rotate leftward and release it. Fix the base on to the wall, using the horizontal (Fig.2,
A-A or A-B) or the vertical (Fig.2, C-C) holes. Take care to dispose the cables in a proper manner through
the window on the bottom of the base. Connect the wires to the terminal block according to the schematics
(Fig.3) and place the protective inner cover again over the electric parts. Fix the screws (Fig.2-D). Dispose
the optional external probe cable separately from the relay thermostat connection wires. Insert the batteries
in their compartment on the display board as described (Fig.4). Close the device proceeding like in Fig.1,
reversing the operations order: match the left side of the two parts (Fig.1-3) then rotate the front cover
rightward (Fig.1-2) until the clip on the base clacks (Fig.1-1).
BATTERIES REPLACEMENT
When the battery symbol on the display flashes (batteries out of power) take care of their replacement.
Please proceed as described in the installation instructions (Fig.2 and Fig.4). Re-assemble the front cover
back to the base before performing any operation on the control.
Command keys are accomplished on a four position ring each one identified by the arrows ◄►▲▼, an
additional key in the middle, hereafter named OK and four keys more: Menu (Copy), Prog (Paste), Mode,
Esc. Press the ring exactly on the arrows to avoid multiple keys activations. Press OK key in the middle. Use
arrow keys to modify time and temperature values or select the available options. OK key is generally used
to confirm the settings.
DESCRIPTION OF COMMANDS AND OPERATIONS (Fig.5)
Manuale WPT multilingue interno.indd 9 19/11/15 15:57

FIRST START
Setting the clock (Fig.6)
• Set the 24H or 12H by ▲▼then OK.
• Set the hours by ▲▼then OK.
• Set the minutes by ▲▼then OK.
• Set the day of the week by ◄► then OK.
The device switches to OFF mode.
OFF MODE (Fig.7)
The display shows OFF and the clock, the anti-frost function is active.
Press Mode to browse active modes (Manual Comfort, Manual Economy, Automatic mode).
Press Esc to switch between active modes and OFF.
MANUAL MODE (Fig.8)
Press ▲or ▼ to change and save the temperature set-points:
MAN = Comfort temperature.
MAN ECO = Economy temperature.
AUTOMATIC MODE (Fig.9)
The set-point temperature (t1, t2, t3) depends on the saved time program and changes automatically along
the day.
TIME PROGRAM (Fig.10)
Press Prog, the display shows the set temperature updated at the current half-hour, PROG flashes.
Press OK to select t1, t2 or t3.
Manuale WPT multilingue interno.indd 10 19/11/15 15:57

Press ▲▼ to select the day of the week.
Press ◄► to move along the hours without changing settings.
To make a daily program copy choose the day you want to duplicate and press COPY then move along
the week until the desired one and press PASTE.
To change the set-point temperatures t1, t2 and t3:
• Press Mode and change the value T1 by ▲▼.
• Press Mode and change the value T2 by ▲▼.
• Press Mode and change the value T3 by ▲▼.
Press Mode to quit and go back to the time program.
Press Esc to quit and go back to automatic mode.
SEASON MODE: WINTER
Comfort temperature is greater than Economy (t1>t2>t3). When Tamb < Tset heating turns on .
SEASON MODE: SUMMER
Comfort temperature is smaller than Economy (t1<t2<t3). When Tamb > Tset cooling turns on .
SETTINGS MENU (Fig.11)
Press Menu to enter the settings menu.
Press ◄► to browse the available options.
1. Press ▲▼ to select the season mode (Summer/Winter),
2. Press OK to set the clock (like before);
3. Press ▲▼ to select (Celsius/Farhenheit) degrees;
4. Press ▲▼ to select the language;
5. Press ▲▼ to set the desired backlit brightness.
Manuale WPT multilingue interno.indd 11 19/11/15 15:57

Press Esc to quit the menu.
INSTALLER MENU (Fig.12)
In OFF mode, hold OK for 10 seconds to enter the menu:
Press ◄► to browse the available options.
1. Antifrost = Set antifrost threshold (standard 6.0°C);
2. Hysteresis = Switching differential (standard 0.2°C);
3. Offset = temperature calibration (standard 0.0°C);
4. NTC Internal / NTC External ;
5. Hold OK to reset and restore factory settings.
Press Esc to quit the menu.
HUMIDITY DISPLAY OPTION (AVAILABLE ONLY ON WPT H MODELS)
In one of the operating modes, press OK to switch between the set temperature or room humidity display
in the top right of the screen (Fig.13).
Manuale WPT multilingue interno.indd 12 19/11/15 15:57

Manuale istruzioni
Instructions manual
Mode d’emploi
Bedienungsanleitung
Manual de instrucciones
Gebruiksaanwijzing
Εγχειρίδιο Οδηγιών
Руководство по эксплуатации
E
N
N
L
G
R
Il est recommandé d’exécuter l’installa-
tion du chronothermostat en respectant
scrupuleusement les normes de sécurité
et les législations en vigueur. Avant d’ef-
fectuer tout branchement, s’assurer que
l’interrupteur général a été désactivé.
ATTENTION !
Manuale WPT multilingue interno.indd 13 19/11/15 15:57

DESCRIPTION DU PRODUIT ET SPÉCIFICATIONS TECHNIQUES
Ce produit est réalisé selon les normes EN60730-2-9, EN60730-2-7, en conformité avec les directives CE
applicables et il est entièrement fabriqué en Italie.
Alimentation : Batteries Alcalines 2x1,5V LR6 (Type AA)
Durée de la batterie > 1 an
Capacité maximum des contacts : 5A(1A) 250VAC
Température ambiante maximum : 50°C
Champ d’affichage de température : 0°C à 39°C
Champ de réglage de température : 5°C à 35°C
Résolution de la température : 0,1°C
Ecart de température : de 0,1°C à 2,0°C (std, 0,2°C)
Sonde de température : NTC 100KΩà 25°C
Entrée sonde extérieure (en option) : NTC 10KΩà 25°C
Degré de protection : IP20
Classe d’isolement : Type II (double isolement)
Type d’action : 1B
Degré de pollution : 2
Logiciel : classe A
Résistance à la chaleur et au feu : Catégorie D
Température de stockage : -25° à 60°C
Tension de tenue au choc assignee 2,5kV
Montage : mural.
Manuale WPT multilingue interno.indd 14 19/11/15 15:57

INSTALLATION
Installer le dispositif loin de sources de chaleur et des courants d’air, à environ 1,5 m du plancher. Ouvrir le
dispositif en appuyant sur le cliquet situé sur le côté droit de la base (Fig.1-1) ; tourner la partie frontale
vers la gauche (Fig.1-2) et le déplacer légèrement (Fig.1-3) pour le décrocher.
Retirer la protection interne qui couvre les bornes en dévissant les deux vis (Fig.2-D) et en tournant le
couvercle vers la gauche. Fixer la base au mur à l’aide d’un entraxe horizontal (Fig.2, A-A, A-B) ou vertical
(Fig.2, C-C). Faire passer les câbles dans l’ouverture présente sur le fond et les connecter à la plaque à bornes
(Fig.3), puis replacer le couvercle interne en revissant les deux vis (Fig.2-D). Tenir les câbles de l’éventuelle
sonde extérieure bien séparés de ceux du contact thermostat. Placer les batteries dans le logement prévu à
cet effet dans la partie frontale, comme indiqué (Fig.4). Pour refermer l’appareil, procéder comme dans la
Fig.1, en inversant la séquence des opérations : accoupler les côtés gauche des deux parties (Fig.1-3) puis
tourner la partie frontale vers la droite (Fig.1-2) jusqu’à déclencher le crochet latéral (Fig.1-1) sur la base.
REMPLACEMENT DES BATTERIES
Quand le symbole clignote (batteries déchargées), il est nécessaire de les remplacer. Procéder comme in-
diqué dans les instructions d’installation (Fig.2 et Fig.4). Remonter le couvercle sur la base avant d’effectuer
toute opération.
Les commandes sont constituées d’une bague à quatre positions identifiées par les flèches ◄►▲▼, une
touche centrale OK et quatre touches supplémentaires : Menu (Copier), Prog (Coller), Mode, Esc. Enfoncer la
bague en la faisant coïncider avec les flèches pour activer une touche à la fois. Cliquer sur la touche OK au
centre. Utiliser les touches flèches pour modifier les valeurs de temps et de température ou sélectionner les
options. La touche centrale OK confirme normalement les configurations.
DESCRIPTION DES COMMANDES ET FONCTIONNEMENT (Fig.5)
Manuale WPT multilingue interno.indd 15 19/11/15 15:57

PREMIER DEMARRAGE
Configurer l’horloge (Fig.6)
• Configurer le format 24H ou 12H avec ▲▼, puis OK.
• Configurer l’heure avec ▲▼, puis OK.
• Configurer les minutes avec ▲▼, puis OK.
• Configurer le jour avec ◄►, puis OK.
Le dispositif se met en mode OFF.
MODE OFF (Fig.7)
L’écran affiche OFF et l’horloge, la fonction antigel est activée.
Cliquer sur Mode pour passer d’un mode de fonctionnement à l’autre (Manuel Comfort, Manuel Economy,
Automatique).
Cliquer sur Esc pour passer des modes de fonctionnement à OFF et vice- versa.
MODE MANUEL (Fig.8)
Cliquer sur ▲ou ▼pour modifier et sauvegarder les valeurs de température :
MAN = température Comfort.
MAN ECO = température Economy.
MODE AUTOMATIQUE (Fig.9)
La température configurée (t1, t2, t3) dépend du programme horaire mémorisé et change automatiquement
au cours de la journée.
PROGRAMMATION HORAIRE (Fig.10)
Cliquer sur Prog, la température configurée à la demi-heure actuelle, PROG clignote.
Manuale WPT multilingue interno.indd 16 19/11/15 15:57

Cliquer sur OK pour configurer t1, t2 ou t3.
Cliquer sur ▲▼ pour configurer le jour de la semaine.
Cliquer sur ◄►pour se déplacer le long des heures sans modifier les configurations.
Pour copier un programme journalier, choisir le jour à copier, cliquer sur COPIER puis se déplacer sur le
jour souhaité et cliquer sur COLLER.
Pour modifier les températures configurées, t1, t2 et t3 :
• Cliquer sur Mode pour modifier la valeur T1 avec ▲▼.
• Cliquer sur Mode pour modifier la valeur T2 avec ▲▼.
• Cliquer sur Mode pour modifier la valeur T3 avec ▲▼.
Cliquer sur Mode pour retourner à la programmation horaire.
Cliquer sur Esc pour retourner au mode de fonctionnement automatique.
MODE SAISON HIVER
La température Comfort est supérieure à la température Economy (t1>t2>t3). Quand Tamb < Tset, le
chauffage se déclenche .
MODE SAISON ETÉ
La température Comfort est inférieure à la température Economy (t1<t2<t3). Quand Tamb > Tset, la
climatisation se déclenche .
MENU CONFIGURATIONS (Fig. 11)
Cliquer sur Menu, pour accéder au menu configurations.
Cliquer sur ◄► pour faire défiler les options.
1. Cliquer sur ▲▼ pour configurer le mode saison (Eté/Hiver) ;
2. Cliquer sur OK pour configurer l’horloge (comme avant);
Manuale WPT multilingue interno.indd 17 19/11/15 15:57

3. Cliquer sur ▲▼ et configurer les degrés (Celsius/Farhenheit) ;
4. Cliquer sur ▲▼ pour configurer la langue ;
5. Cliquer sur ▲▼ pour modifier la luminosité.
Cliquer sur Esc pour sortir du menu.
MENU INSTALLATEUR (Fig.12)
En mode OFF, cliquer sur OK pendant 10 secondes pour accéder au menu.
Cliquer sur ◄► pour faire défiler les options :
1. Antigel = Configuration antigel (standard 6,0°C) ;
2. Hystérésis = Ecart de température (standard 0,2°C) ;
3. Etalonnage = Correction température (std. 0,0°C) ;
4. NTC interne / NTC Externe ;
5. Confirmer avec OK jusqu’à la réinitialisation automatique. Rétablissement des valeurs d’usine.
Cliquer sur Esc pour sortir du menu.
OPTION VISUALISATION DE L’HUMIDITÉ (SEULEMENT POUR LES MODÈLES WPT H)
Avec un des modes actifs, presser OK pour obtenir la visualisation de la température enregistrée
ou de l’humidité ambiante en haut à droite (Fig. 13).
Manuale WPT multilingue interno.indd 18 19/11/15 15:57

Manuale istruzioni
Instructions manual
Mode d’emploi
Bedienungsanleitung
Manual de instrucciones
Gebruiksaanwijzing
Εγχειρίδιο Οδηγιών
Руководство по эксплуатации
E
N
N
L
G
R
Bei der Montage des programmierbaren
Thermostates müssen die Sicherheitsvor-
schriften und geltenden Gesetze unbe-
dingt befolgt werden. Bevor Sie das Gerät
anschließen, müssen Sie sicherstellen,
dass der Hauptstromschalter abgeschal-
tet ist.
ACHTUNG!
Manuale WPT multilingue interno.indd 19 19/11/15 15:57

BESCHREIBUNG DES PRODUKTS UND TECHNISCHE MERKMALE
Dieses Produkt wurde gemäß der Richtlinien EN60730-2-9, EN60730-2-7 und in Übereinstimmung mit den
anwendbaren EG-Richtlinien hergestellt. Das Produkt wurde vollständig in Italien hergestellt.
Speisung: Alkalibatterie 2x1,5V LR6 (Typ AA)
Batteriedauer > 1 Jahr
Max. Leistung der Kontakte 5A(1A) 250VAC
Maximale Raumtemperatur 50°C
Anzeigebereich der Temperatur: 0°C÷39°C
Einstellbarer Temperaturbereich: 5°C÷35°C
Temperaturauflösung: 0,1°C
Differenztemperatur: von 0,1°C bis 2,0°C (Standard 0,2°C)
Temperaturfühler NTC 100KΩ@25°C
Eingang Außenfühler (Option) NTC 10KΩ@25°C
Schutzklasse IP20
Isolierklasse: Typ II (doppelte Isolierung)
Aktionstyp: 1B
Verschmutzungsgrad: 2
Software: Klasse A
Widerstandsfähigkeit gegen Wärme und Feuer: Kategorie D
Lagertemperatur: -25÷60°C
Bemessungsstoßspannungsfestigkeit: 2,5kV
Montage: an der Wand.
Manuale WPT multilingue interno.indd 20 19/11/15 15:57
This manual suits for next models
3
Table of contents
Languages:
Other Imit Thermostat manuals
Popular Thermostat manuals by other brands

Fantini Cosmi
Fantini Cosmi C61 installation instructions

Pro 1 IAQ
Pro 1 IAQ TRUE COMFORT III T605-2 installation manual

Timeguard
Timeguard TRT037 Operating & installation instructions

Nu-Heat
Nu-Heat NTG5220 Homeowner's guide

Water Furnace
Water Furnace IntelliZone installation manual

Warmtech
Warmtech T510 installation manual