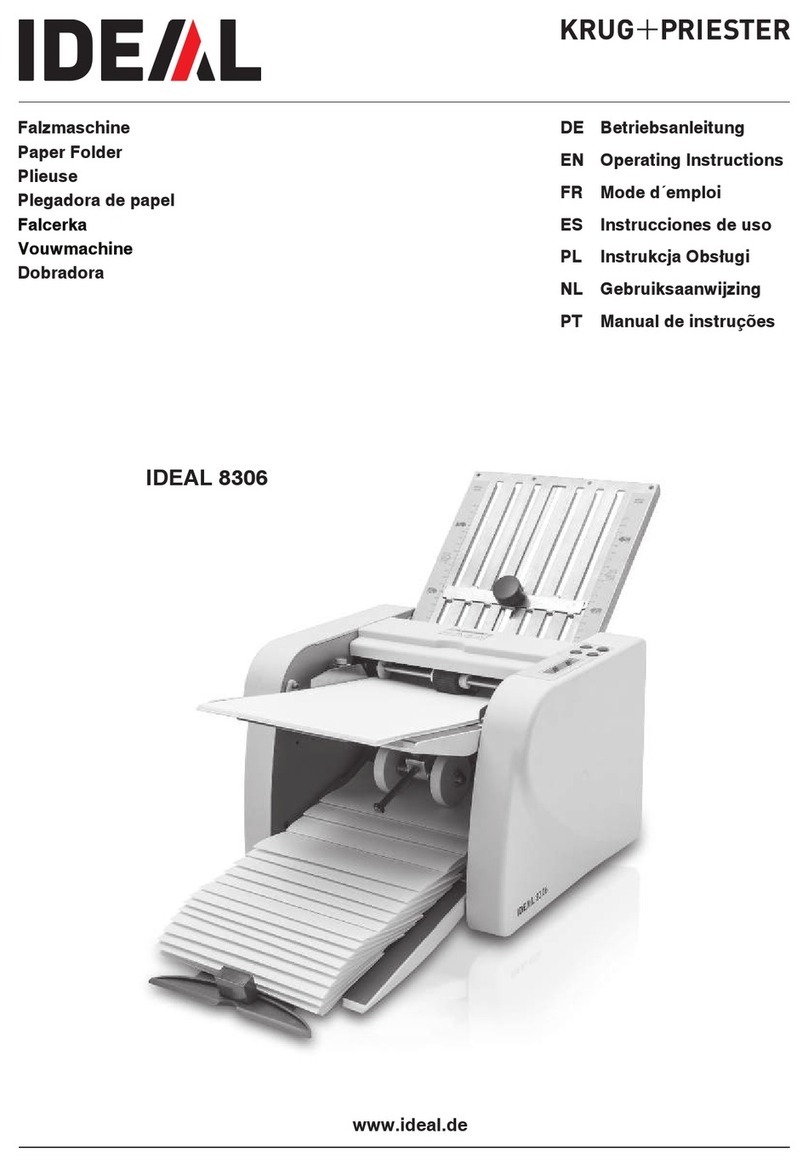
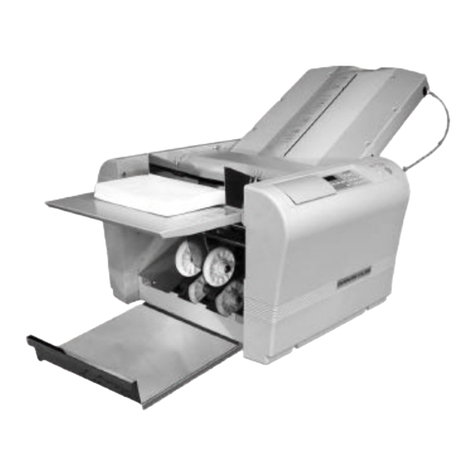
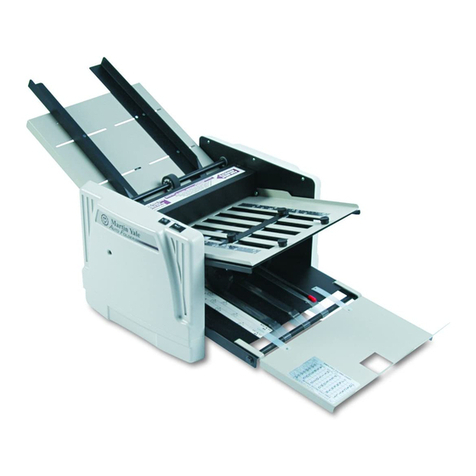
Neopost PF-45A User manual

1/12PF-45A
1. FUNCTION
The folding machine is used to fold documents stand alone or
in combination with a system 7. Sheets can be folded in
various types. These are:
•single fold;
•letter fold;
•zig-zag fold;
•double parallel fold.
The machine is fitted as standard with a scoring wheel to assist
in folding heavier paper. Perforating and slitting wheels may
be fitted as options.
Fig. 1
FOLDING MACHINE
PF-45A
OPERATOR MANUAL

PF-45A2/12
USED SYMBOLS
In this manual the following symbols are used.
Warning, this symbol indicates a wrong action
which can cause a hazard to health or
damage the machine.
Warning, this symbol indicates a hazard to life
because of high voltage.
NOTE
Additional information
Before using this machine thoroughly read the
operating instructions. In the European Union an
operator manual printed in the national
language(s), as well as an original operator manual
are supplied with the machine. If it is not, contact
your authorized distributor.
WARNINGS
If the feed/fold unit and inserter unit have to be
physically separated, the operator should taken into
account the heavy weight of the unit during separation.
Before connecting check whether the machine is
suitable for the local mains voltage; refer to the type
plate. The mains plug shall be connected only to a
socket outlet provided with a protective earth contact.
The socket outlet shall be installed near the equipment
and shall be easily accessible.
SAFETY PRECAUTIONS
This machine is only to be operated by fully trained
personnel. The manufacturer accepts no responsibility
for injuries caused by unauthorized operation.
The opening of covers (except the top cover) must be
carried out only by a skilled and authorized person
who is aware of the hazard involved. The machine will
not operate with the top cover opened.
Keep long hair, fingers, jewellery, etc. away from
turning parts of the machine.
CONTENTS
Section Page
1. FUNCTION 1
2. GENERAL 3
2.1 Operating controls 3
2.2 The principle of folding 3
3. INSTALLATION 4
4. ADJUSTMENTS 4
4.1 Side guides of the paper feed table 4
4.2 Paper feeding and separation 4
4.3 Feed pressure adjustment 5
4.4 Adjusting the machine for different folds 5
4.5 Adjusting the ejection rollers 6
4.6 Scoring 6
4.7 Scoring without folding 6
5. AUTOMATIC FOLDING 7
6. FINE ADJUSTMENTS 7
6.1 Fold position 7
6.2 Paper not cut square 7
6.3 Fine pressure adjustment between the
first and second fold roller 7
7. OPTIONS 8
7.1 Perforating 8
7.2 Slitting 9
7.3 Perforating and slitting without folding 9
7.4 Perforating only 9
7.5 The conveyor table 9
8. FAULT FINDING 10
8.1 Operator trouble shooting 10
8.2 Removing blocked documents 11
8.3 Curled paper 11
9. MAINTENANCE 11
9.1 Servicing 11
9.2 General cleaning 11
9.3 Cleaning the rubber rollers 11
10. SPECIFICATIONS 12

3/12PF-45A
Figure 4 illustrates how to make a letter fold. The fold rollers
turn in the direction of the arrows. The paper is fed by
rollers A and B into the first fold plate (E, fig. 2) as far as
the paper stop (N, fig. 3). As rollers A and B continue
feeding the sheet of paper, it will buckle at E. Rollers B and
C will then draw the sheet in the direction of arrow F into
the second fold plate as far as the paper stop. As the rollers
B and C continue feeding the paper, it will now buckle at
G. Gripped by rollers C and D, the paper will leave the
machine in the direction of arrow H.
Fig. 2 Fig. 3
2. GENERAL
2.1 Operating controls
A:side guides
B:speed regulator
C:separation knob
D:paper feed cover
E:first fold plate
F:adjustment knob for second fold plate
G:fold selection knob
H:power inlet
J:power switch
K:fine adjustment knob (first fold plate)
L:paper stop (first fold plate)
M:locking handle ejection rollers
N:adjustment screw (side guides)
O:extension plate
P:hand knob for manual operation
Fig. 4
2.2 The principle of folding
K L M N O
PGFHJ
EDCBA
first fold plate
paper stop
paper
feed
second fold
plate
first fold plate
paper stop
paper
feed
second fold
plate
paper stop paper stop

PF-45A4/12
Take a sheet of paper and mark the centre line of the sheet.
Loosen the adjustment screws A and slide both guides B as
far as possible apart. Raise the paper feed cover C and
place the sheet on the paper feed table with the centre line
facing up.
Align the document with the diamond on the paper feed
table or the centre of the separator roller D. Slide the right-
hand side guide against the document and tighten the
adjustment screw.
Place a stack of about 20 documents between the side
guides. Position the other side guide loosely against the
stack and tighten the adjustment screw. There must be no
side play in the stack but the paper must lie flat and be free
to slide forward.
Raise the paper feed cover A. Turn the paper separation
knob B towards “wide” (counter clockwise) until one
document can be easily slid between the paper feed roller
C and the separator roller D.
Switch on the machine and set the speed by turning the
speed regulator E. When setting the separation, do not use
the highest speed. The speed can be increased when the
settings are correct.
Holding a sheet of paper between the separation rollers
and turn the paper separation knob B towards “narrow”
(clockwise) until the document is just about to be pulled in.
After starting the machine it may occur that more than one
document at a time is pulled in. If this happens, rotate the
separation knob B slightly clockwise until only one
document at a time is pulled in. Adjustments can be made
with the machine running.
Using the machine stand alone
Place the machine on a table. Open the top cover A and
install the first fold plate B. Then install the extension plate
C. Connect the mains supply cable to the machine and
connect the machine to the mains supply.
Using the PF in combination with a transport
track (TR)
The PF can be used as a feeding station in combination
with a transport track in cross fold applications. By means
of a special side feed unit the cross folded documents are
transported onto the transport track.
Fig. 5 Fig. 6 Fig. 7
3. INSTALLATION 4. ADJUSTMENT
4.1 Side guides of the paper feed table 4.2 Paper feeding and separation
B
A C
D B A
A BC EB
B D B A

5/12PF-45A
Two folds
Make the required fold by hand. Set the first fold as
described. Make the required second fold by hand.
Measure distance B (fig. 9) between the first and second
fold. Set the fold selection knob A (fig. 10) to two folds.
Single fold
Take a sheet and make the required fold by hand. Measure
distance A (fig. 9) between the leading edge of the paper
and the first fold.
Set the fold selection knob A (fig. 10) to one fold. Loosen
fixing knob D and the two outer knobs C. Slide the paper
stop B to distance A on the ruler F. Tighten the fixing knob D
only.
Important: do not touch the red knob E at this stage.
Set the speed regulator G at the required speed. Switch on
the machine and pass one sheet through, to check the fold
setting. If skewed folding occurs, refer to the section “Fine
adjustments” on page 7. Make small corrections if
necessary. When the settings are correct, tighten the two
outer knobs C.
The feed pressure can be adjusted for different document
qualities/weights by rotating the pressure adjustment axle A
(fig. 8). This axle is held in position by a tension pin which
clicks into a disc B.
When setting the feed pressure, always start with a light
pressure and increase the pressure if necessary.
To adjust the pressure first open the top cover. Release the
disc from the tension pin by sliding the axle away against
the spring pressure. Then turn the axle in the opposite
direction for heavier paper. Release the axle and check that
the tension pin re-engages in the disc.
Set the speed regulator G at the required speed. Switch on
the machine and pass a document through to check the fold
setting(s).
Distance A (fig. 9) is the fold length setting on the first fold
plate L. Distance B is the fold length setting on the second
fold plate J.
To fold with address outside: place the documents with the
address face down.
Single fold : address trailing
Letter fold : address leading
Zig-zag fold : address leading or face up trailing
Double parallel fold : address leading
Fig. 8 Fig. 9 Fig. 10
4.3 Feed pressure adjustment
To set the second fold plate, loosen fixing knob N. Slide the
indicator to distance B on the scale O. Tighten the fixing
knob.
4.4 Adjusting the machine for different folds
A B
singel fold singel fold
zig-zag fold double parallel
fold
G C D E H C F
AONB

PF-45A6/12
The machine is fitted as standard with two scoring wheels.
Scoring can be used to assist in cross folding heavier paper
qualities.
Perforating and slitting wheels may be fitted as options (see
“Options”, page 8).
Fold a document at the place where the score is required.
Open the document and feed it manually into the machine
to show where the scoring wheels must be positioned.
Position the wheels and rollers as shown in fig. 12 with the
scoring wheel running on the ejection roller.
To adjust the position of the scoring wheels, follow the same
procedure for adjusting the position of the ejection rollers.
When scoring is not wanted, the scoring wheels must not
be positioned opposite to the ejection rollers.
For correct usage the upper ejection rollers A (fig. 11) must
be positioned on top of the lower ejection rollers B at about
10 mm (0.4 inch) inside the edges of the used documents
(see fig. 12).
To adjust the position of the ejection rollers, first remove the
first fold plate C and open the cover D. Pull the locking
handle of the ejection roller (M, fig. 3 on page 3) up and
secure it by pushing it forward. The upper ejection rollers
will be lifted and stay in position.
When needed the ejection rollers can be rotated by pulling
the hand knob E out and turning it. Rotate the rollers until
the set screws in the rollers are visible.
Loosen the set screws in the upper and lower rollers. Shift
the rollers into the desired position and re-tighten the set
screws. Pull the locking handle of the ejection roller (G, fig.
2 on page 3) up and backwards. Lower the handle so that
the ejection rollers will be replaced
Fig. 11 Fig. 12 Fig. 13
4.6 Scoring
4.5 Adjusting the ejection rollers
D C
B A E A B
C
4.7 Scoring without folding
For scoring without folding a no-fold deflector must be fitted.
Therefore set the fold selection knob A to one fold. Open the
top cover and lift out the first fold plate. Then fit the no-fold
deflector B. (see also fig.19). When placing the no-fold
deflector, make sure that the support hooks fit properly
around the two hook pins C. (see also fig.19).

7/12PF-45A
Raise the paper feed cover F. Take a stack of documents
and place it between the side guides. Fan the stack
forwards so that the upper sheets slide under the paper
feed cover. Lower the paper feed cover, switch on the
machine and fold some documents.
Raise the paper feed cover again and check for correct
result. To increase the rate of folding, move the documents
closer to the feed rollers or increase the machine speed by
turning the speed regulator E.
When folding light and soft paper (with less body) it is
advisable to run the machine more slowly. To stop folding,
just raise the paper feed cover.
If the machine speed is changed it may be necessary to re-
adjust the fold positions.
For fine adjustment of the paper stops, use the following
procedure.
Loosen the two outer knobs A. Do not touch the red knob D
and knob B. Be sure that knob B is tightened. Then turn
knob C, the paper stop will shift up or down. Re-tighten the
two outer knobs A. Check the settings and re-adjust if
necessary.
The paper stop on the fold plate is normally set at right
angles to the fold rollers. If documents are not cut square,
skewed folding may occur. In this case both paper stops
can be adjusted in the following way.
Feed in a document manually by pulling out and rotating
hand knob C (fig. 15), until the document just touches the
paper stop. Loosen the two outer knobs A (fig. 14). Do not
loosen knob B. Turn the red knob D until the paper stop is
parallel to the edge of the document. Re-tighten the two
outer knobs A. Check the fold settings and re-adjust if
necessary.
Fig. 14 Fig. 15
6. FINE ADJUSTMENTS
6.1 Fold position
5. AUTOMATIC FOLDING
6.2 Paper not cut square
E F A DB C A
C

PF-45A8/12
For slit-perforation, position the wheels and rollers as shown
in fig. 16 with the flat side of the slitting blade against the
metal disc.
To adjust the position of the perforating wheels, follow the
same procedure for adjusting the position of the ejection
rollers on page 6.
Be careful when lowering the upper shaft after
positioning of the wheels and rollers for
perforating. The perforating wheel must not be
positioned opposite to the metal wheels on the
lower shaft. Always check if the perforating
wheels is not touching the metal wheels.
For correct settings, mark the place where the document is
to be perforated. Then feed the document manually into the
machine to show where the perforation wheel must be
positioned. Re-adjust the position of the wheels if necessary.
For slitting, position the wheels and rollers as shown in
figure 17 with the flat side of the blade against the metal
disc.
To adjust the position of the slitting wheel, follow the same
procedure for adjusting the position of the ejection rollers
on page 6.
Be careful when lowering the upper shaft after
positioning of the wheels and rollers for
perforating. The perforating wheel must not be
positioned opposite to the metal wheels on the
lower shaft. Always check if the perforating wheel
is not touching the metal wheels.
For correct settings, mark the place where the document is
to be slit. Then feed the document manually into the
machine to show where the slitting wheel must be placed.
Re-adjust the position of the wheels if necessary.
The machine is fitted as standard with a scoring wheel.
Perforating and slitting wheels may be fitted as options.
Also a conveyor table is available as an option. This
conveyor table is used to stack the folded documents.
Perforating and slitting wheels are sharp. Take
care when carrying out adjustments.
Fine adjustments
Make fine adjustments when scoring, perforating or slitting
by adjusting the position of the side guides.
Fig. 16 Fig. 17
7. OPTIONS
7.1 Perforating 7.2 Slitting

9/12PF-45A
T
h
e conveyor ta
bl
e is use
d
to stac
k
t
h
e
f
o
ld
e
d
d
ocuments.
The conveyor table is available as an additional device to
the PF.
When the machine is used for perforating only, two paper
guide curves must be fitted. Therefore the paper guide rod
D must be removed.
Loosen the set screw E and shift the left hand end out. Pull
the paper guide rod out of the machine. Slide the two
paper guide curves F on to the guide rod, replace the guide
rod and fasten set screw E. Slide the two paper guide
curves as near as possible to the perforating wheel. This is
to prevent the paper from curling up. Fasten the finger
screws on both paper guide curves.
Fig. 18 Fig. 19
7.5 The conveyor table
7.3 Perforating and slitting without folding
For perforating and slitting without folding a no-fold
deflector must be fitted. Therefore set the fold selection
knob A to one fold. Open the top cover and pull the first
fold plate out of the machine. Fit the no-fold deflector B
(fig. 18 and 19). When placing the no-fold deflector,
make sure that the support hooks fit properly around the
two hook pins C (see also fig. 19).
7.4 Perforating only
CCBFDBA
E

PF-45A10/12
Symptom Possible cause Suggested solution Refer to
The paper creases. Paper separation is set too narrow. Re-adjust the separation. Paper feeding and separation, page 4.
Side guides are set too narrow. Re-adjust the position of the side guides. Side guides of the paper feed table, page 4.
Too much feed pressure on feed cover
(with thin paper).
Re-adjust the feed pressure. Feed pressure adjustment, page 5.
Side guides not square in relation to
the fold rollers.
Re-adjust the position of the side guides. Side guides of the paper feed table, page 4.
The paper jams in the
machine.
First fold plate not in correct position. Place fold plate in correct position.
Paper separation is set too tight. Re-adjust the paper separation. Paper feeding and separation, page 4.
Speed is set too high (when folding
thin paper).
Decrease the machine speed by turning
the speed regulator.
Paper feeding and separation, page 4.
Too much feed pressure on feed cover. Readjust the feed pressure. Feed pressure adjustment, page 5.
Skewed folding. Paper is not cut square. Use cut square paper or readjust the
paper stop.
Fine adjustments, paper not cut square, page 7.
Paper stop in first fold plate. Re-adjust the paper stop. Fine adjustments, paper not cut square, page 7.
Separation is set too tight. Re-adjust the separation. Paper feeding and separation, page 4.
Paper has too much or too little play
between the side guides.
Re-adjust the position of the side guides. Side guides of the paper feed table, page 4.
Too much pressure on feed cover. Re-adjust the feed pressure. Feed pressure adjustment, page 5.
Side guides out of square in relation to
fold rollers.
Re-adjust the position of the side guides. Paper platform side guides, page 4.
Paper running along the paper stop as
the outer knobs of the fold plate are
not tightened.
Tighten the two outer knobs.
Perforating, scoring or
slitting not straight.
See as for skewed folding.
Ejection rollers do not grip paper
equally.
Readjust the position of the ejection
rollers.
Adjusting the ejection rollers, page 6.
Upper ejection shaft has not been
lowered.
Lower the upper ejection shaft. Adjusting the ejection rollers, page 6.
8. FAULT FINDING
8.1 Operator trouble shooting

11/12PF-45A
Disconnect the mains supply before performing
any maintenance.
The user must not attempt to service the
appliance beyond that described in this operator
manual. All other servicing must be referred to
qualified service personnel only. For service
please contact your authorized distributor.
Fig. 20 Fig. 21 Fig. 22
8.2 Removing blocked documents
To remove blocked documents, open the cover A and lift out
the first fold plate B. Then pull out and rotate the hand knob
B until the blocked documents can be removed. If necessary
also the second fold plate can be removed. Therefore place
the machine on its rear side (see fig. 22). Remove the two
finger knobs A (fig.22). Pull the fold plate out of the machine
and remove blocked documents. To replace the fold plate,
hold up the paper stop fingers B (fig.22) and place the fold
plate back. Fasten the two finger knobs A (fig. 22).
When blocked documents have to be removed, it is possible
that the documents are torn and pieces of paper stick in the
machine. These pieces have to be removed.
8.3 Curled paper
When handling curled paper, be sure that the spring
pressure of both guide springs C (fig. 20) on the paper is
minimal. The spring pressure can be adjusted by releasing
the finger screws C (fig. 20), then hold the spring and fasten
the finger screw.
When removing blocked documents, it is possible that the guide
springs slide over the metal roller B, as shown in figure 21. If this
is the case, re-position the guide springs.
9.2 General cleaning
The machine must be kept in proper condition by regularly
removing dust, paper remains, etc.
9.3 Cleaning the rubber rolls
Clean the rubber rollers regular with a slightly wetted
cloth.
9. MAINTENANCE
9.1 Servicing
D
C A B
C D C C A B A

PF-45A12/12
Remarks
• The specification of the paper handling equipment is often wider than that of the envelopes and documents handled. The condition
of material handled will limit the specified environmental conditions.
• We recommend that materials to be handled are stored at a temperature of 20 °C (68°F) with a relative humidity factor of 50%. If
difference in temperature occurs between store room and mailing area, the material has to be stored near the machine at least 24
hours before use.
•Self-copying paper may cause rubber parts to wear quicker. The rubber used in this machine has the best resistance to Wiggins
Teape material.
EEC-declaration of concurrence.
We, Neopost Technologies B.V.,
De Tijen 3
9201 BX Drachten
The Netherlands
declare, entirely under our own responsibility, that the
products described in this manual, to which this
declaration relates, conform the standards of
in accordance with
The Machine Directive 98/37/EEC,
the low voltage Directive 73/23/EEC, modified by the
directive 93/68/EEC,
and the EMC Directive 89/336/EEC, modified by the
directives 92/31/EEC and 93/68/EEC.
It is forbidden to put the product into use
before the equipment to which it is connected,
declared to be in accordance with the
stipulations of the Machine Directive.
Geert Hidding
Managing director
Note: this equipment has been tested and found to comply
with the limits for class A digital device, pursuant to Part 15 of
the FCC Rules. These limits are designed to provide
reasonable protection against harmful interference when the
equipment is operated in a commercial environment. This
equipment generates, uses, and can radiate radio frequency
energy and, if not installed and used in accordance with this
instruction manual, may cause harmful interference to radio
communications. Operation of this equipment in a residential
area is likely to cause harmful interference in which case the
user will be required to correct the interference at his own
expense.
EN 292-1, EN 292-2, EN 294
EN 50082-2, EN55014
EN 60950, EN 61000-3-2
SPECIFICATIONS
This operator manual refers to machine as from serial number 98 BX-5001
Machine specifications
Model :PF-45A
Type :paper-folding device for medium office use.
Overall dimensions height : 390 mm (15.4 inch)
width : 440 mm (17.3 inch)
length : 460 mm (18.1 inch)
Weight :22 kg
Noise level :±72dB(A)
Theoretical max. speed :8900 sheets (A4) per hour, depending on configuration.
Operating temperature :10 - 40 °C (50- 112 °F)
Humidity :10 - 90 %
Power requirements / consumption :100-120 V AC/50/60 Hz/1.8 Amps
220-240 V AC/ 50 Hz/0.8-1.0 Amps
Approvals :conforms to IEC 950 and derivatives.
UL listed ITE, File E153801
BS EN60950, file KM11322
Number of folds :1-2 parallel
Paper specifications
Paper sizes minimum maximum
width : 100 mm (3.9 inch) 229 mm (9.0 inch)
length : 80 mm (3.2 inch) 480 mm (18.9 inch)
Quality : 50 gr/m2 150 gr/m2
(13 lb Bond) (36 lb Bond)
893906 index A 01/06 Specifications and design are subject to change without prior notice.
This manual suits for next models
1
Table of contents
Other Neopost Folding Machine manuals