Neptune Systems DOS Dual Reservoir User manual
DŌS Dual Reservoir (DDR)
Setup Guide
DŌS Dual Reservoir - Setup Guide
Page 2
TABLE OF CONTENTS
DŌS DUAL RESERVOIR –INTRODUCTION..................................................................... 3
PHYSICAL INSTALLATION.............................................................................................. 3
VERIFY THE INSTALLATION........................................................................................ 3
CONFIGURING THE DDR ............................................................................................. 4
PROGRAMMING EXAMPLES ........................................................................................ 6
NEPTUNE SYSTEMS LIMITED WARRANTY ...................................................................... 9

DŌS Dual Reservoir - Setup Guide
Page 3
DŌS DUAL RESERVOIR –INTRODUCTION
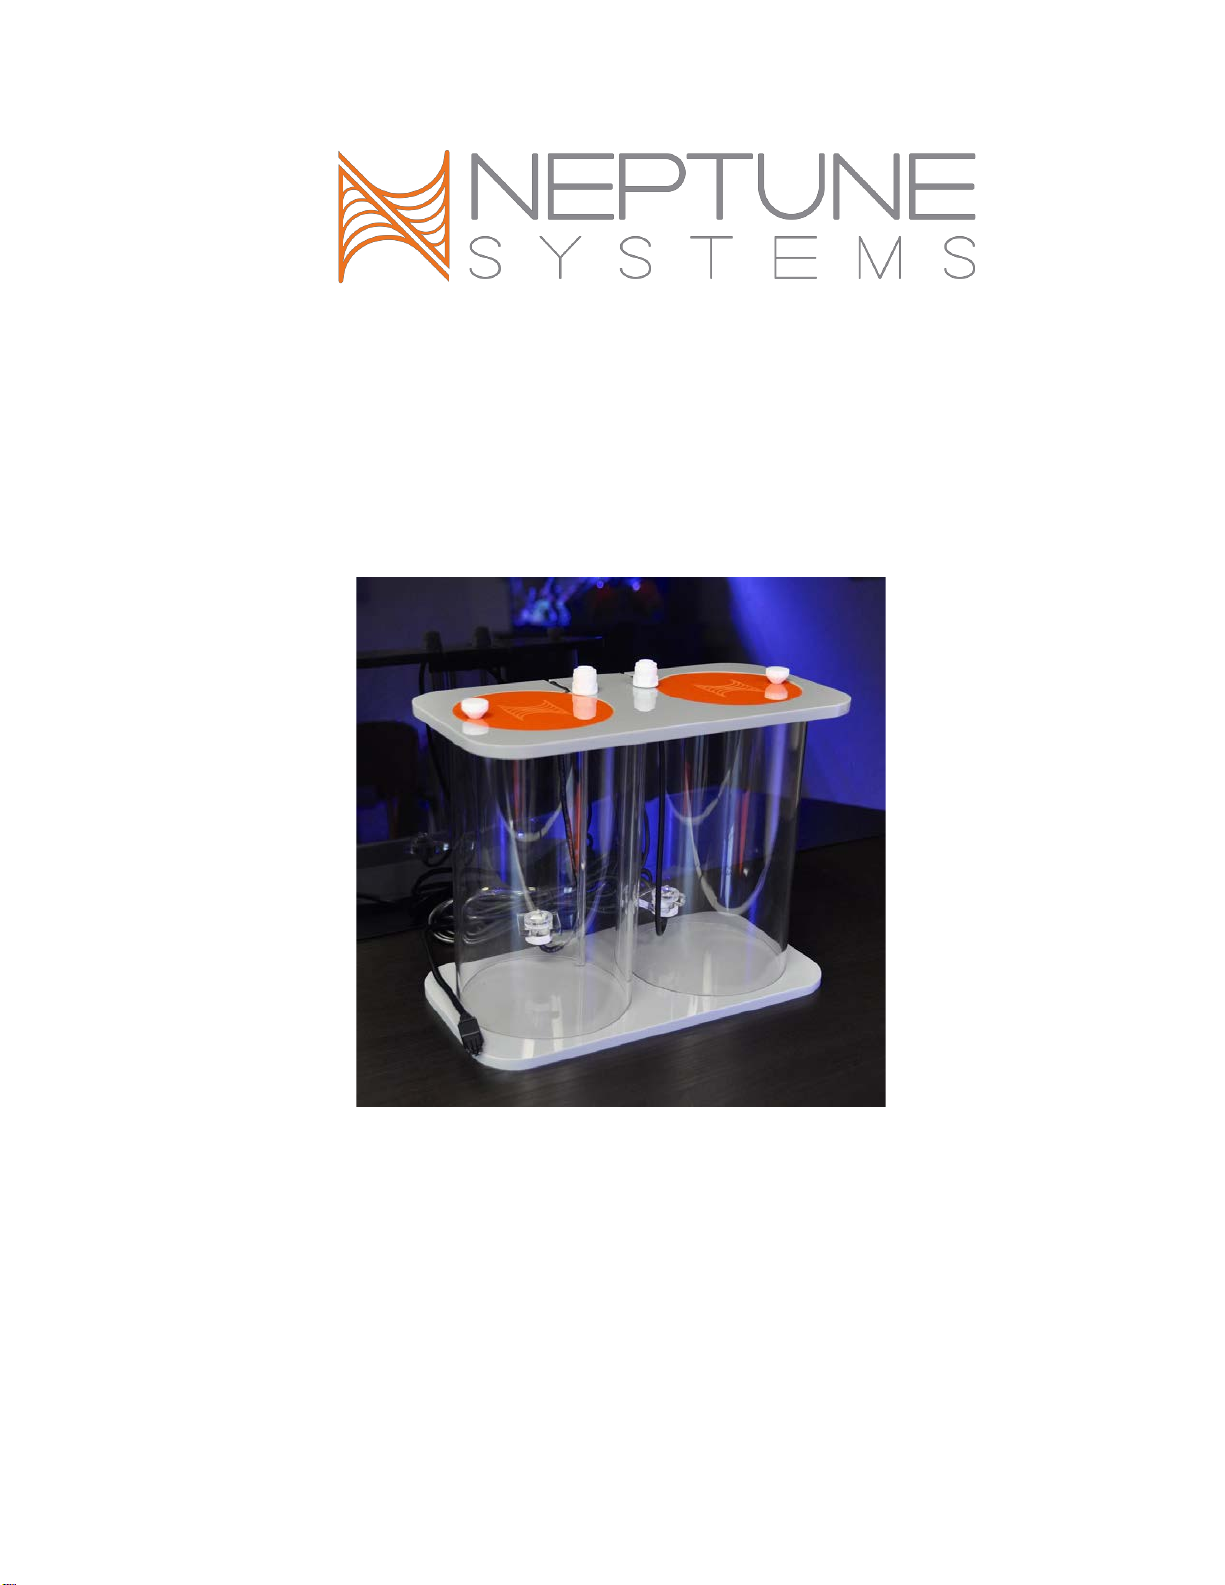
Congratulations on your purchase of this Apex AquaController expansion accessory. This
accessory has two separate 2-liter cylinders for holding your additives. It also has optical
sensors at the bottom that tell the Apex when it is time to refill and it then can send you
an email or text alert. Features include:
•
Easily connects to the DŌS Fluid Delivery System
•
High Quality optical level sensors
•
Quick Disconnect fittings for tubing
•
Compact footprint with a 4-Liter capacity
•
Compatible with all Apex Systems using the DŌS
PHYSICAL INSTALLATION
WARNING: Your Apex Base Unit must be running firmware version 4.34 or
higher to support the DŌS Dual Reservoir (DDR). The current firmware version
can be checked from the Apex Display on the Self-Test screen. If needed,
please upgrade the Apex Base Unit firmware to 4.34 or higher before
proceeding with the installation. See the Apex Setup and Programming Guide for
firmware upgrade instructions.
Plug the DDR cable into the jack on the side of the DŌS module.
There’s a 6-pin modular jack and a 4-pin modular jack on the side
of the DŌS. The DDR connects to the 6-pin jack
VERIFY THE INSTALLATION
Verify the DDR was added to the Apex configuration:
Apex Display: Setup – Module Setup – Config Module.
Web Interface: Configuration – Module Setup.
INITIAL CONNECTIONS

DŌS Dual Reservoir - Setup Guide
Page 4
Two (2) switch inputs will also be created. Their names are dependent on the Aquabus
module number that was assigned to the DŌS but follow the same syntax as any other
switch on an expansion module: SwxY_1 and SwxY_2 where ‘Y’ is the Aquabus module
# assigned to the DŌS (the program examples below assume an Aquabus # of 4 was
assigned. Your number may be different).
Switch #1 corresponds to the optical sensor in the left side container (when looking at
the DDR with the wires exiting the rear of the unit) and switch #2 corresponds to the
right side container. By default these will be placed in the unused tiles area of the
dashboards. To move them to an active dashboard, put the dashboard in ‘edit’ mode
(Native interface) or unlock the padlock icon (Fusion) and drag the switch tiles to the
dashboard, then save/lock the dashboard. Below are examples from the native
dashboard and Fusion of what this will look like. Note that the name of the containers
in Fusion will mirror the names of the DŌS pumps – if you change the name of the
pumps the container names will change as well:
CONFIGURING THE DDR
The DDR container volumes need to be configured. There are three ways you can do
this. In Fusion, click on the name of the container on the dashboard; in the native
interface via the Module Setup web page or via the Display module navigating to Setup
– Module Setup – Config Module.
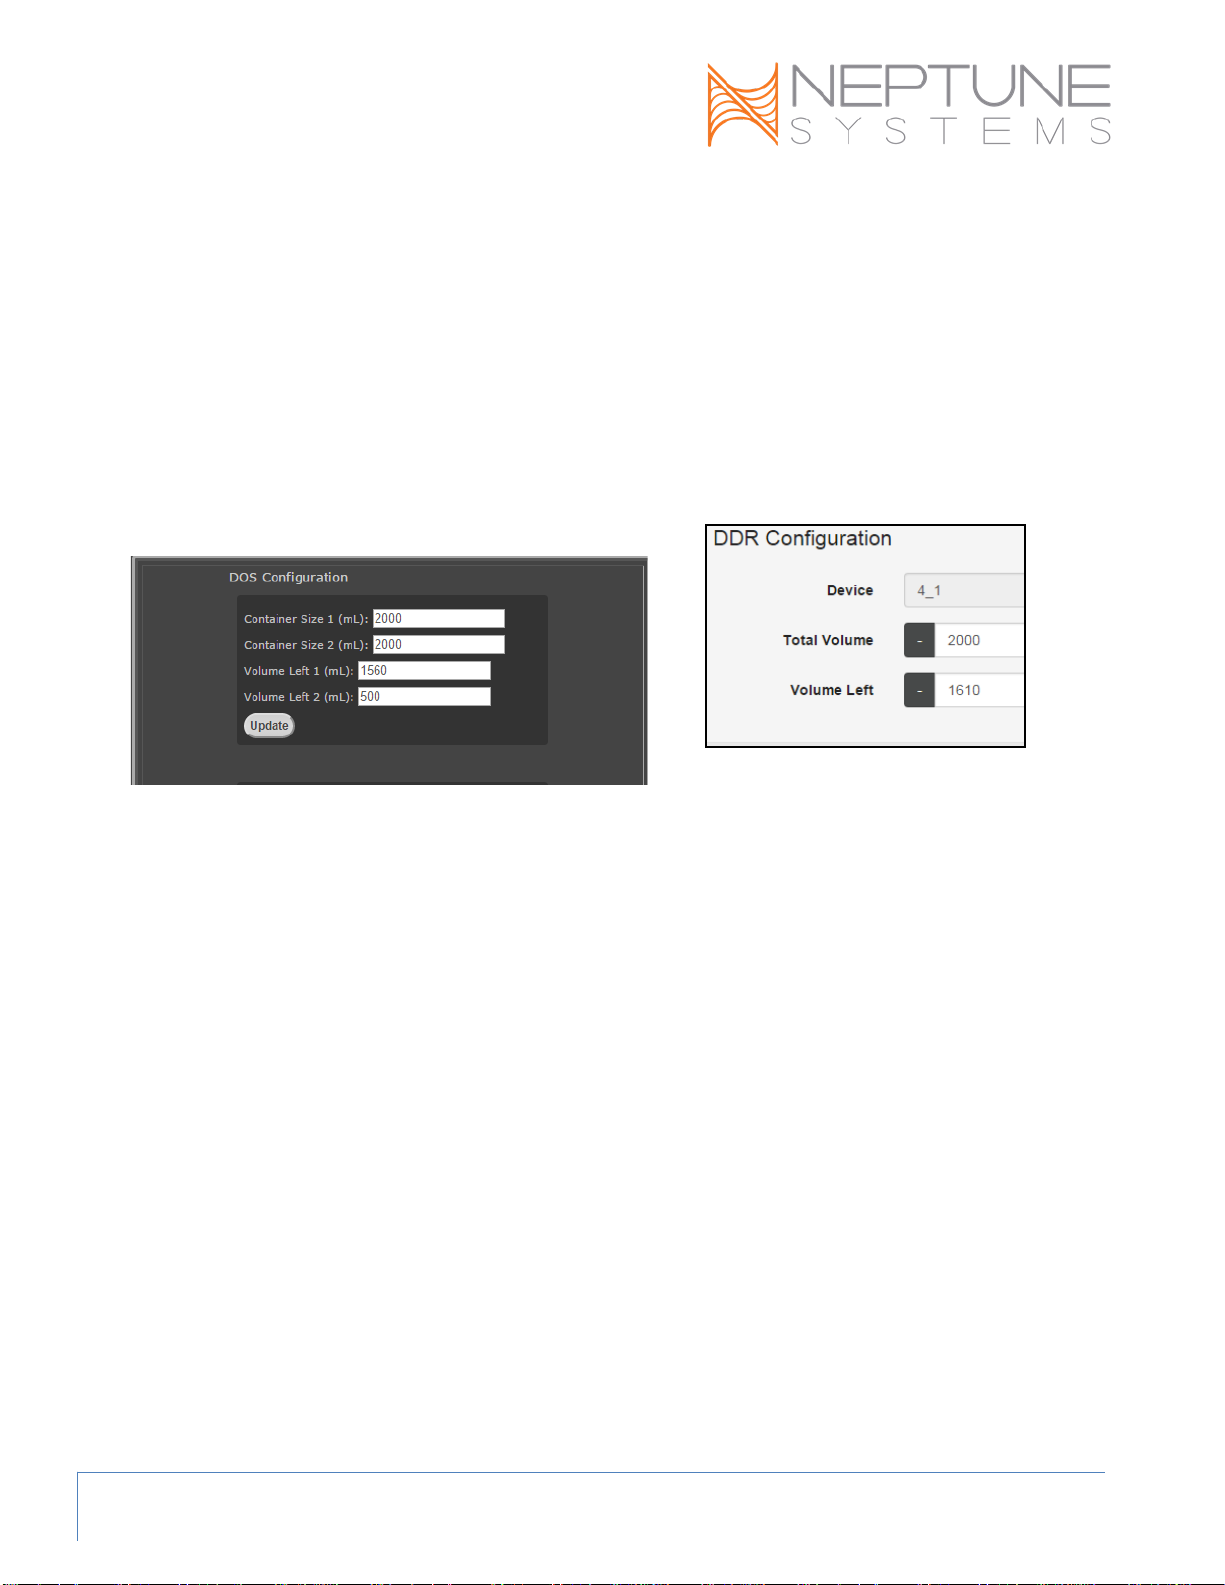
When you select the container (Fusion) or the DŌS module (native interface or
Display module) you will see some new fields. In Fusion: Total Volume and Volume
Left. In the Native interface: Container 1 & 2 size and Container 1 & 2 volume left.
With the Display module: Volume Pump 1 & 2 and Volume Remaining 1 & 2.
DŌS Dual Reservoir - Setup Guide
Page 5
While the field names might vary, the purpose is the same – indicate the total volume of
each container and the amount of fluid currently in them.
The capacity of each DDR container is 2 Liters or 2,000 ml. By entering values here (1
– 150,000), Fusion will automatically keep track of your container volume and display
that on a graphical tile on the Fusion dashboard. Note that you can use this for a
container up to 150,000ml (approximately 40 gallons). This supplements the purpose of
the optical level sensors in the DDR which are positioned in the reservoir to notify you
when approximately 500ml of solution remains. These fields when properly completed
will enable Fusion to give you additional information about fluid levels in the containers.
Note that if you have a DŌS but not the DDR you still can use this feature with
your own reservoir,just substitute your values for those noted above. However
the depiction of the containers in Fusion is only available with the DDR.

Dual DOS Reservoir (DDR) - Setup Guide Page 6
The following table summarizes approximate volumes in a container based on a
measurement up from the bottom of the container:
ml
200
400
600
800
1000
1200
1400
1600
1800
2000
inch (frac)
7/8
1 3/4
2 1/2
3 1/4
4
4 3/4
5 1/2
6 1/4
7
7 3/4
inch (dec)
0.875
1.75
2.5
3.25
4
4.75
5.5
6.25
7
7.75
millimeter
22
44
64
83
102
121
140
159
178
197
PROGRAMMING EXAMPLES
Refer to the Apex Setup and Programming Guide or the Comprehensive Reference
Manual for instructions on how to configure and program switches. These examples
will help you quickly program your system to use the DDR to alert you of a potential
problem. In the following examples, the DŌS module was assigned an Aquabus
address of #4 so the DDR switches are numbered 4_1 and 4_2. Your DŌS/DDR likely
will have a different address number.
Once the level of a container falls below the top
of the optical sensor, that switch will show as
OPEN. If the fluid level is above the top of the
optical sensor the switch will show as CLOSED.
Add to your email and/or sound alarm outlet: If Swx4_1 OPEN Then ON
When the optical level sensor goes OPEN there is still approximately 500ml of fluid
remaining in the container. Depending on your dosing frequency/amount this could
last for days before being fully depleted. Normally email alarms are repeated hourly
or whatever your ‘Re-email Delay’ setting is (see your Network configuration web
page). This could quickly become annoying if you have days left of fluid. To get
SIMPLE EMAIL OR SOUND ALARM EXAMPLE
REDUCE ALARM FREQUENCY

Dual DOS Reservoir (DDR) - Setup Guide Page 7
around this you can create a virtual outlet to function as the alarm trigger and limit
the number of times per day it triggers.
First create a virtual outlet. For instructions on how to do this, refer to the
Comprehensive Reference Manual or the Programming Forum where there’s a ‘sticky’
with the instructions. The easiest way to add a single virtual outlet is via the Apex
Display Module.
Apex Display: Setup – Outlet Setup – Add Outlet.
In this example the virtual outlet was named ‘DDR_Low’ and configured as:
Set OFF
If Swx4_1 OPEN Then ON
If Swx4_2 OPEN Then ON
If Time 08:01 to 17:59 Then OFF
If Time 18:01 to 07:59 Then OFF
Then in your email/sound alarm outlet add:
If Outlet DDR_Low = ON Then ON
This will prevent a low container level alarm from being emailed to you except at 8am and
6pm daily.
SIMPLE PUMP SHUT DOWN EXAMPLE

Dual DOS Reservoir (DDR) - Setup Guide Page 8
If you want to shut-down your DŌS from additional dosing, you would add the
following to the end of your DŌS program or TBL data (substitute your switch name if
different):
If Swx4_1 OPEN Then OFF

Dual DOS Reservoir (DDR) - Setup Guide Page 9
NEPTUNE SYSTEMS LIMITED WARRANTY
Neptune Systems warrants this product to be free from defects in material and workmanship for a period of
1 year from the date of purchase. If repair or adjustment is necessary and has not been the result of
abuse, Neptune Systems warrants this product to be free from defects in material and workmanship for a
period of 1 year from the date of purchase. If repair or adjustment is necessary and has not been the result
of abuse, misuse, or accidental damage, within the 1-year period, please return the product with proof of
purchase, and correction of the defect will be made without charge.
For your protection, items being returned must be carefully packed to prevent damage in shipment and
insured against possible damage or loss. Neptune Systems will not be responsible for damage resulting from
careless or insufficient packaging. Before returning please obtain a return authorization (RMA) number from
Neptune Systems. Returned merchandise will not be accepted without a RMA number. To obtain assistance
with your Neptune Systems product, contact Neptune Systems technical support by phone or via the
Technical Support Contact Web Page at https://www.neptunesystems.com.
Except for the warranty set forth above, Neptune Systems is not responsible for any damages including, but
not limited to, consequential damage occurring out of or relating to the delivery, use or performance of
Neptune Systems’ products. Buyer’s remedies for breach of warranty shall be limited to repair, or
replacement and full or partial adjustment to purchase price.
Neptune Systems
15750 Vineyard Blvd, Suite 150
Morgan Hill, CA 95037
USA
www.neptunesystems.com
support@neptunesystems.com
Phone +1 408-779-4090 Fax +1 408-762-2042
©2017 Neptune Systems - All Rights Reserved
Dual DOS Reservoir (DDR) Setup Guide v1.1

Dual DOS Reservoir (DDR) - Setup Guide Page 10
The symbols to the right mean that according to local laws and
regulations your product should be disposed of separately from
household waste. When this product reaches its end of life, take it to
a collection point designated by local authorities. Some collection
points accept products for free. The separate collection and recycling
of your product at the time of disposal will help conserve natural
resources and ensure that it is recycled in a manner that protects
human health and the environment.
This manual suits for next models
1
Table of contents
Popular Aquarium manuals by other brands

Red Sea
Red Sea REEFER-S 850 G2 Assembly manual

Tetra
Tetra Tetratec EasyCrystal FilterBox 300 instruction manual

API
API AQUASPIN manual

BLAU aquaristic
BLAU aquaristic Pico Lumina 8 RGB+W manual

fluvial
fluvial SIENA Series instruction manual

Arcadia
Arcadia SERIES 6 AH30M Safety installation and maintenance instructions


TMC Aquarium
TMC Aquarium V2 Auto Top Up Compact Instructions for installation and use

Cubic
Cubic PULSE 160 user guide

DeepReef
DeepReef DP1500 instruction manual

Red Sea
Red Sea MAX NANO Complete Plug & Play Open Top Reef... Installation and operation manual

Dennerle
Dennerle Profi-Line Evolution DeLuxe operating instructions

Aquavitro
Aquavitro division 125 user manual