manuals.online logo
Brands
  1. Home
  2. •
  3. Brands
  4. •
  5. NetComm Wireless
  6. •
  7. Gateway
  8. •
  9. NetComm Wireless NF3ADV User manual

NetComm Wireless NF3ADV User manual

NF3ADV VoIP Setup Guide
(for GoTalk)
Configuring your NF3ADV for GoTalk VoIP
The following steps will take you through the process of setting up your VoIP connection. This
guide assumes that the NF ADV already has an active internet connection.
Step 1: Che king Computer Network Settings:
You will need to connect your computer directly to your VoIP device (modem or ATA) and set
the network connection on your computer to obtain an IP address automatically. Please follow
the instructions appropriate for your operating system below:
Below are the instructions for setting Windows XP to obtain an IP address automatically for
your ethernet connection:
1. Click on the Start Menu, and go to “Control Panel”.
2. Click on “Network Conne tions”.
(If you only see "Network and Internet Conne tions", open that first, and then click on
"Network Conne tions".)
. Right click on “Lo al Area Conne tion” and select “Properties”.
4. Double-click on “Internet Proto ol”.
5. Select "Obtain an IP address automati ally", and "Obtain DNS server
address automati ally".
6. Click “OK”, and then click “OK” (or “Close”).
Below are the instructions for setting Windows Vista to obtain an IP address automatically for
your ethernet connection:
1. Click on the Start Menu, and go to “Control Panel”.
2.
Click on “Network and Sharing Centre”.
(If you only see "Network and Internet", open that first, and then click on "Network and
Sharing Centre".)
. Click on “Manage network onne tions” (
on the left hand side of the window
).
4. Right click on “Lo al Area Conne tion” and select “Properties”.
5. Double-click on “Internet Proto ol Version 4 (TCP/IPv4)”.
6. Select "Obtain an IP address automati ally", and "Obtain DNS server
address automati ally".
7. Click “OK”, and then click “OK” again.
Below are the instructions for setting Windows 7 to obtain an IP address automatically for your
ethernet connection:
1. Click on the Start Menu, and go to “Control Panel”.
2.
Click on “Network and Sharing Centre”.
(If you only see "Network and Internet", open that first, and then click on "Network and
Sharing Centre".)
. Click on “Change adapter settings” (
on the left hand side of the window
).
4. Right click on “Lo al Area Conne tion” and select “Properties”.
5. Double-click on “Internet Proto ol Version 4 (TCP/IPv4)”.
6. Select "Obtain an IP address automati ally", and "Obtain DNS server
address automati ally".
7. Click “OK”, and then click “OK” again.
Below are the instructions for setting Mac OS X to obtain an IP address automatically for your
ethernet connection:
1. Click on the Apple Menu, and go to "System Preferen es".
2. Click on "Network".
. Click on “Ethernet” or "Built-in Ethernet".
4. Click on the "Configure" drop-down box, and select "Using DHCP" then click
"Apply".
Step 2: Configuring your VoIP settings:
1. Navigate to http://192.168.1.1 in a web browser.
2. Enter “admin” as both the username and password and press the Login button.
. Select the “Switch to VoIP/NAS View” option at the bottom of the screen.
4. Select the “Service Domain” option from the “SIP Setting” menu.
5. Enter the following details as provided by your VoIP Service Provider:
ITEM DEFINITION
SIP Account If you wish to use more than one VoIP account select the Multiple VoIP Accounts” option or to use a single
VoIP account select the “1 SIP Account” option.
Phone Set Select the handset or DECT phone you wish to associate the selected SIP account with.
WAN Interface Select the WAN interface to use the VoIP account with.
Display Name Your VoIP Number supplied to you by GoTalk.
UserName Your VoIP Number supplied to you by GoTalk.
Register Name Your VoIP Number supplied to you by GoTalk.
Register Password Your VoIP password as supplied by GoTalk.
Realm sip.gotalk.com
Domain sip.gotalk.com
Proxy Server sip.gotalk.com
Registrar sip.gotalk.com
Outbound Proxy sip.gotalk.com
6. Press the Save button at the bottom of the screen. Select the “Switch to Advanced View”
button at the top of the screen.
7. Select the Reboot option from the Toolbox menu to reboot the router.
8. After logging back into the router, check that the VoIP Status is now “Registered” (as the
example above shows). Your VoIP service is now ready for use.

Other NetComm Wireless Gateway manuals
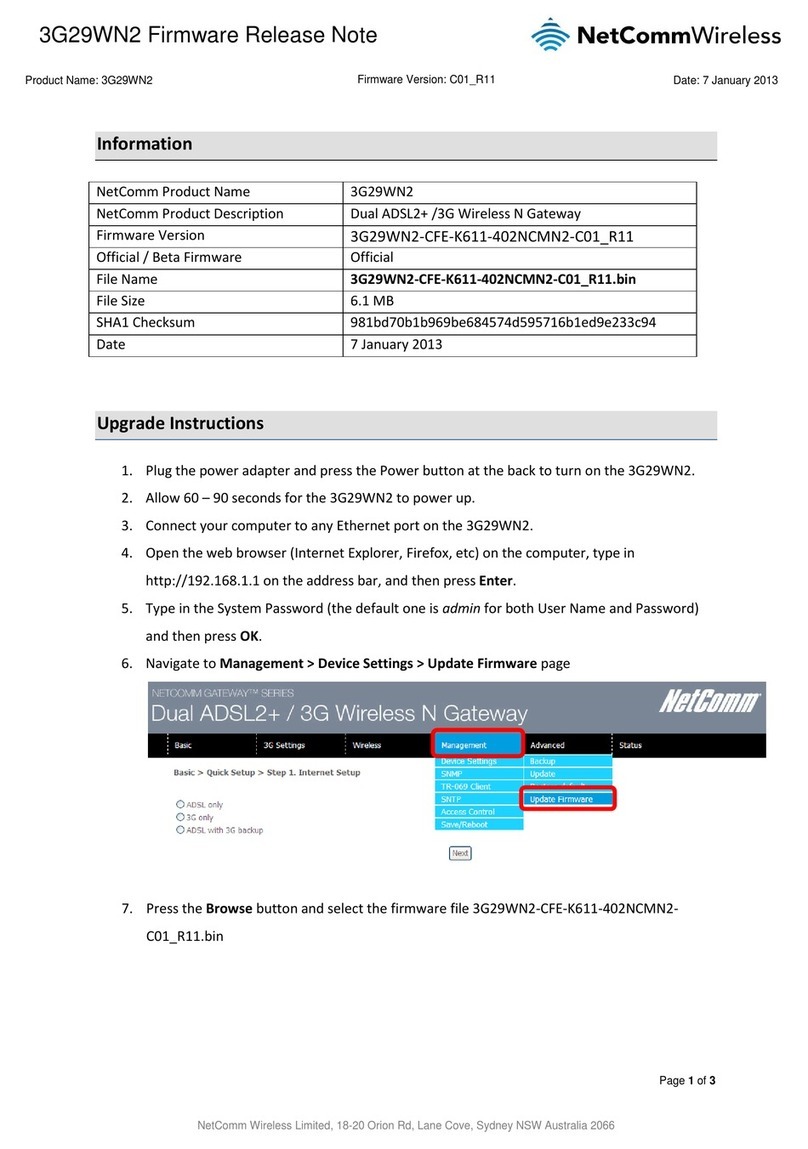
NetComm Wireless 3G29WN2 User manual

NetComm Wireless

NetComm Wireless 3G29WN2 User manual
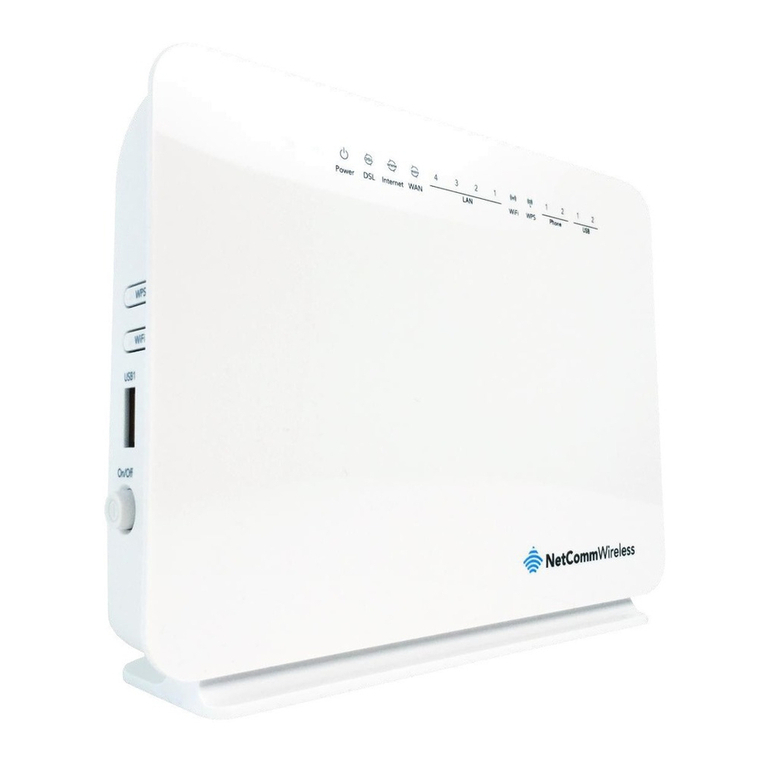
NetComm Wireless NF10WV Installation guide
NetComm Wireless

NetComm Wireless NF10WV Installation guide

NetComm Wireless NF18ACV User manual

NetComm Wireless

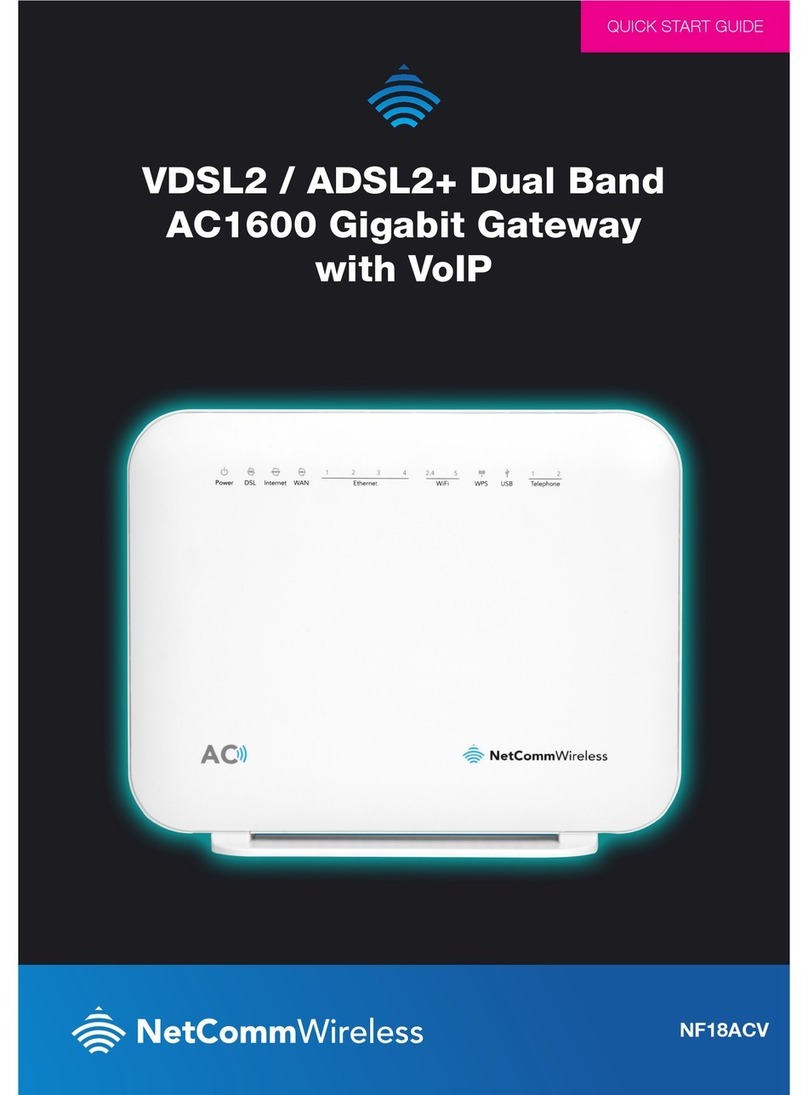
NetComm Wireless NF18ACV User manual
NetComm Wireless NF17ACV User manual

NetComm Wireless

NetComm Wireless NF17ACV User manual
NetComm Wireless Contact NF18ACV User manual
NetComm Wireless

NetComm Wireless Contact NF18ACV User manual

NetComm Wireless NF10WV User manual

NetComm Wireless

NetComm Wireless NF10WV User manual
NetComm Wireless NF10WV User manual

NetComm Wireless

NetComm Wireless NF10WV User manual
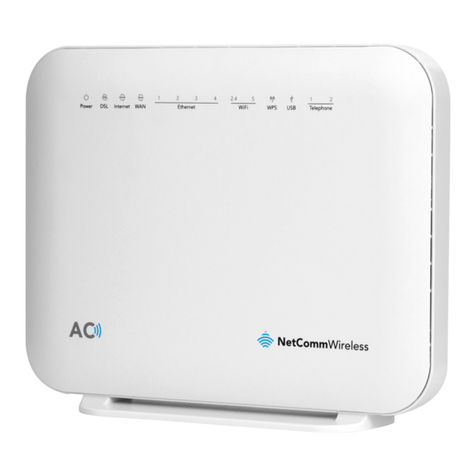
NetComm Wireless NF18ACV User manual

NetComm Wireless

NetComm Wireless NF18ACV User manual

NetComm Wireless NF18ACV Dimensions

NetComm Wireless

NetComm Wireless NF18ACV Dimensions

NetComm Wireless NF18ACV User manual

NetComm Wireless

NetComm Wireless NF18ACV User manual

NetComm Wireless NF10WV User manual

NetComm Wireless

NetComm Wireless NF10WV User manual

NetComm Wireless NF17ACV User manual

NetComm Wireless

NetComm Wireless NF17ACV User manual

NetComm Wireless NF18ACV User manual

NetComm Wireless

NetComm Wireless NF18ACV User manual

NetComm Wireless NF18ACV User manual

NetComm Wireless

NetComm Wireless NF18ACV User manual

Popular Gateway manuals by other brands
Alibaba Cloud SAG-1000 Configuration guide
Alibaba Cloud

Alibaba Cloud SAG-1000 Configuration guide

Sierra Monitor Corporation ProtoAir user manual
Sierra Monitor Corporation

Sierra Monitor Corporation ProtoAir user manual

HMS Anybus X-Gateway Series user manual
HMS

HMS Anybus X-Gateway Series user manual

ZyXEL Communications P-660HW-T - V2 user guide
ZyXEL Communications

ZyXEL Communications P-660HW-T - V2 user guide

S&T Kontron TRACe-LP1 user guide

S&T

S&T Kontron TRACe-LP1 user guide
Carel WEB-GATE WEBG0000B0 manual

Carel

Carel WEB-GATE WEBG0000B0 manual

Chamberlain CIGBU quick start guide

Chamberlain

Chamberlain CIGBU quick start guide

Lütze LOCC-Box-GWPN 0-6457 operating instructions

Lütze

Lütze LOCC-Box-GWPN 0-6457 operating instructions

Resi RESI-MBUS LVL-ETH Series manual

Resi

Resi RESI-MBUS LVL-ETH Series manual

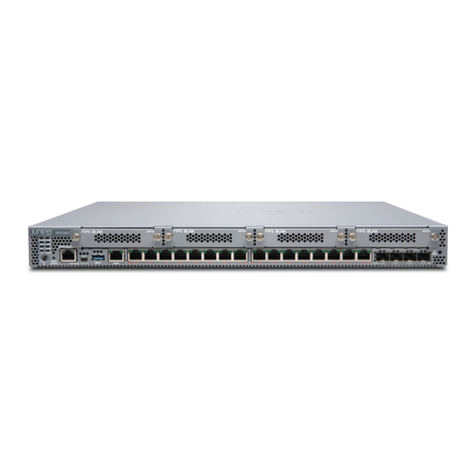
Juniper SRX380 Hardware guide

Juniper

Juniper SRX380 Hardware guide

Trilliant Networks SkyPilot SkyConnector installation guide

Trilliant Networks

Trilliant Networks SkyPilot SkyConnector installation guide

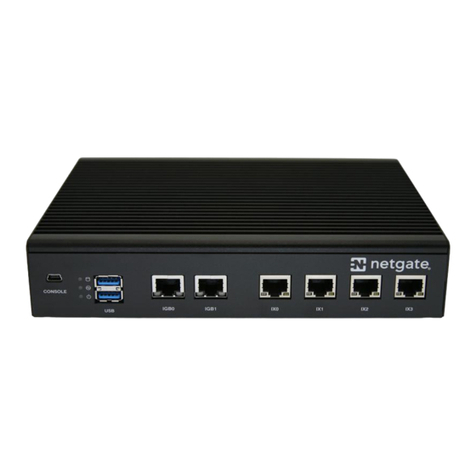
Netgate SG-5100 manual

Netgate

Netgate SG-5100 manual

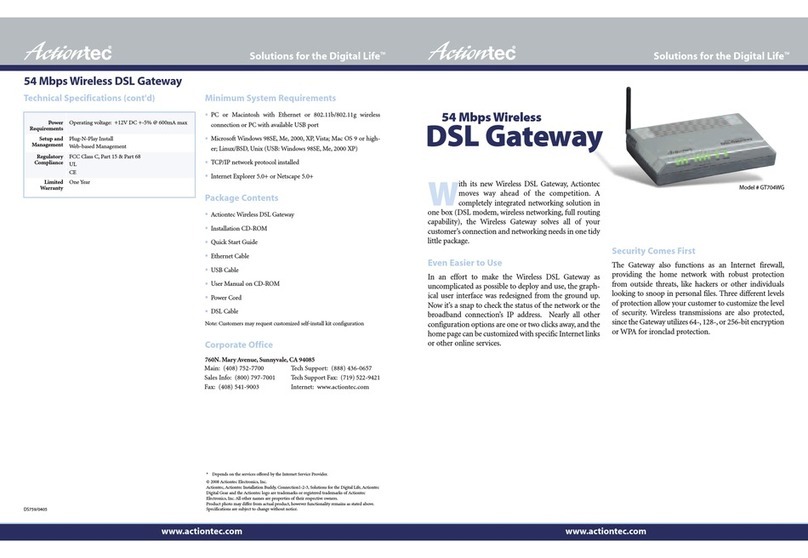
ActionTec GT704-WG Specifications

ActionTec

ActionTec GT704-WG Specifications

SMSEagle NPE-9300-GPRS/3G user manual

SMSEagle

SMSEagle NPE-9300-GPRS/3G user manual

OptConnect OC-500 quick start guide

OptConnect

OptConnect OC-500 quick start guide

CAME QBEMFSB2 manual

CAME

CAME QBEMFSB2 manual

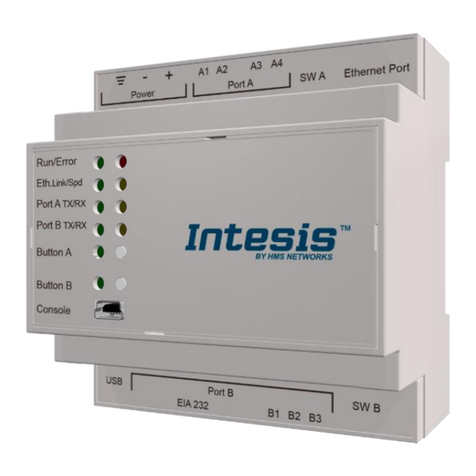
HMS Intesis KNX Mitsubishi Electric CC user manual

HMS

HMS Intesis KNX Mitsubishi Electric CC user manual

ZyXEL Communications LTE5121 quick start guide

ZyXEL Communications

ZyXEL Communications LTE5121 quick start guide

manuals.online logo
manuals.online logoBrands
  • About & Mission
  • Contact us
  • Privacy Policy
  • Terms and Conditions

Copyright 2025 Manuals.Online. All Rights Reserved.