manuals.online logo
Brands
  1. Home
  2. •
  3. Brands
  4. •
  5. Netopia
  6. •
  7. Network Router
  8. •
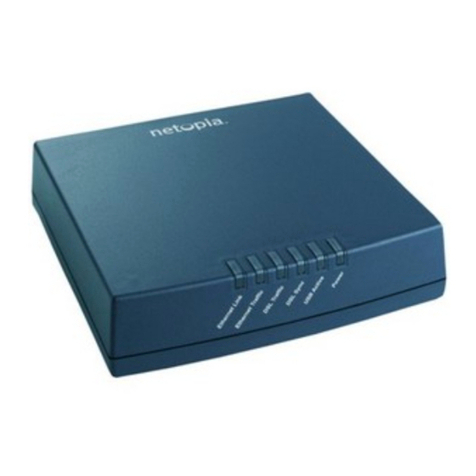
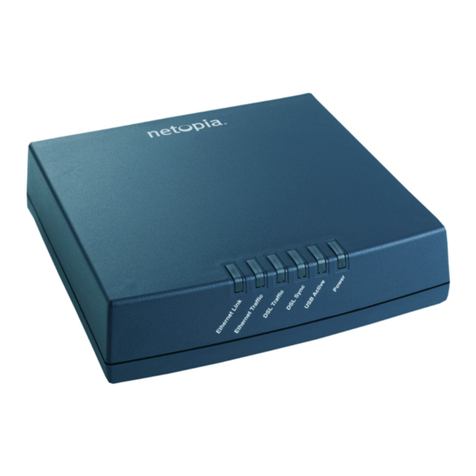
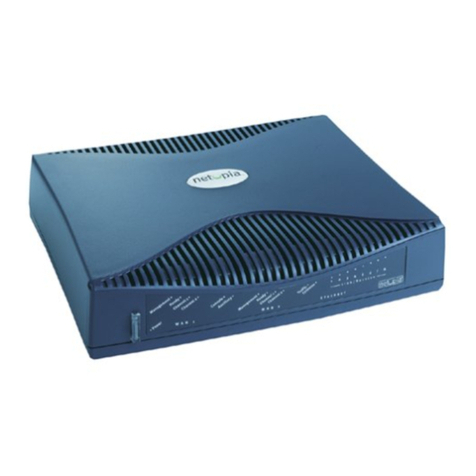
  9. Netopia Cayman 3341 User manual

Netopia Cayman 3341 User manual

Verify your package contents.
Cayman 3341 Stand (optional) CD-ROM
and Quickstart Guide
SB Cable
(Blue)
RJ-45
Ethernet Cable
(Yellow)
DSL Filters Two-way
Telephone Adapter
Your package may also include:
Making Broadband Work™
3
Power Supply
14
Unpack the Cayman 3341
Cayman®3341
Quickstart Guide
RJ-11
Telephone Cable
(Lavendar)
2
Install DSL Filters
1. Install a DSL filter on every telep one (or anot er telep one device, suc as a fax
mac ine or caller-id box) t at s ares your DSL line, as s own.
2. If t e p one jack w ere you plan to plug in your Cayman 3341 is already
connected to a telep one or telep one device, use t e two-way telep one
adapter to connect bot t e Cayman 3341 and your telep one or telep one
device to t e same jack.
Telephone Wall Jack
Line-sharing
Filter
Phone
Telephone Wall Jack
Line-sharing
Filter Phone
Two-way
Telephone Adapter
3341 Smart Modem
2
1
Set up the Cayman 3341
Telephone
Wall Jack
AC Power
Telephone
Cable
(lavender)
SB Cable
(Blue)
2
4
1
2
4
Power
Switch
3
1
1. Place t e Cayman 3341 near your PC or anot er location t at permits easy access
and visibility. You can lay t e Cayman 3341 flat, or stand it uprig t using t e stand
if supplied as an option.
Make sure any Et ernet cables are kept away from power cords, fluorescent
lig ting fixtures, and ot er sources of electrical interference. Put t e Cayman
3341 in a location w ere air can circulate freely around it.
2. Connect t e Power Supply to t e power jack labeled on t e back panel of t e
Cayman 3341. Plug t e Power Supply into t e nearest electrical outlet.
3. Turn on t e power using t e power switc .
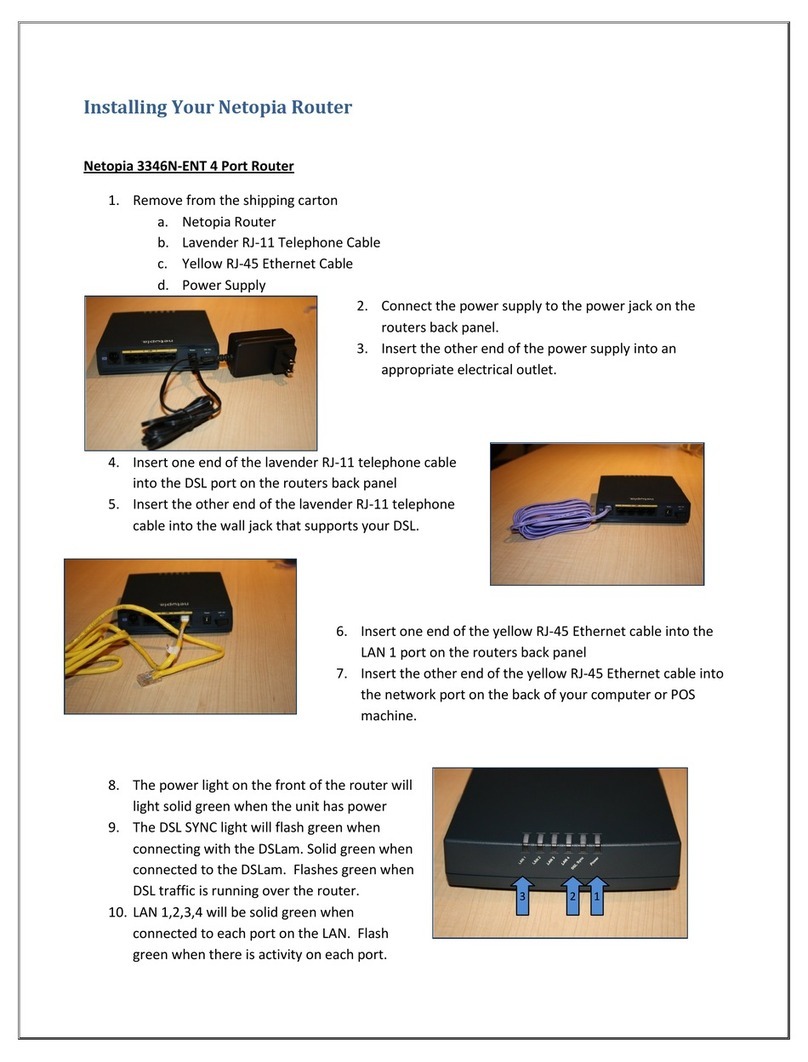
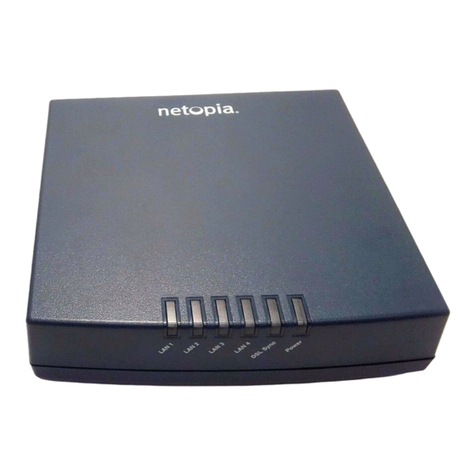
T e Power lig t s ould come on solid green.
4. Connect t e lavender RJ-11 Telep one Cable from t e DSL port labeled on t e
Cayman 3341 to t e p one jack t at supports your DSL service.
T e DSL Sync indicator lig t s ould blink for up to two minutes and t en come
on solid green.
5. (PCs using Microsoft Windows only) Insert t e CD-ROM into your PC’s CD-ROM
drive.
T e Cayman Installation Wizard will assist configuring your PC to work wit t e
Cayman 3341. T e Cayman Installation Wizard will launc automatically.
a. If bot t e Et ernet and USB ports are available on your PC, t e Cayman
Installation Wizard will ask you to decide w et er you want to use t e
Et ernet Cable or t e USB Cable to connect to t e Cayman 3341. Alternatively,
you may use bot ports on t e Cayman 3341, provided t at no more t an two
users are connected at one time. Make your selection and proceed.
b. W en t e Cayman Installation Wizard prompts you, connect t e cable as
s own in t e following diagrams for t e first computer:
US Connection method (Windows-based PCs only)
Connect t e Cayman 3341’s USB port labeled to t e USB port on your PC
using t e blue USB Cable. T e US Active lig t s ould come on solid green.
T e Cayman Installation Wizard will automatically install USB drivers for your
USB connection and launc your Web browser.
Unless you are also using t e Et ernet port, skip t e Et ernet Connection
met od step and go directly to t e Configure the Cayman 3341 step on page 6.
3
Telephone
Wall Jack
AC Power
Telephone
Cable
(Lavender)
Ethernet
Cable
(Yellow)
1
2
3
Power
Switch
4
Configure the Cayman 3341
Copyrig t © 2002, Netopia, Inc. All rig ts reserved. Netopia, Cayman and t e Netopia logo are registered
trademarks and Making Broadband Work is a trademark of Netopia, Inc. All ot er trademarks are t e
property of t eir respective owners.
6
6180028-00-02 V 06/02
1. T e Cayman Installation Wizard will launc your Web browser application, suc
as Netscape Navigator or Microsoft Internet Explorer, from your PC connected to
t e Cayman 3341.
2. T e Cayman 3341 t en displays t e Quickstart Web page.
(If for any reason t e Wizard does not take you to t e Quickstart web page,
type in ttp://192.168.1.254 into your location text box)
3. Enter t e username and password supplied by your Internet Service Provider.
Click t e Connect to the Internet button.
After you enter your username and password ere t e first time, you will not
ave to enter t em eac time you access t e Internet. T e Cayman 3341 stores
t is information and automatically connects you to t e Internet.
T e Cayman 3341 displays a message w ile it configures itself.
4. W en t e connection succeeds, your browser will display a success message.
Once a connection is establis ed, your browser is redirected to Netopia’s product
registration web page.
5. Congratulations! Your installation is complete. You can now go to any Web site
by typing t e address “URL” in your browser’s location box and itting t e Enter
key on t e keyboard of your PC or by selecting from your bookmarks wit t e
addresses of your favorite Web sites.
Ethernet Connection method
Connect t e Cayman 3341’s Et ernet port labeled to t e Et ernet port on
your PC using t e yellow Et ernet Cable. T e Ethernet Link lig t s ould come
on solid green.
• If t e Cayman Installation Wizard detects t e required network settings in
your PC, it will automatically launc your Web browser and you can proceed
directly to Configure the Cayman 3341 on page 6.
• If your PC needs to ave its network settings c anged,
Perform t e following:
Windows 95, 98 and ME
On your PC, go to:
Open t e network window by
double-clicking t e Network Icon
In t e list of network components,
ig lig t t e entry t at says
“TCP/IP (your Ethernet card here)”
Click
In t e window
Select and click
In t e window, click and restart your computer.
Go to Configure the Cayman 3341 on page 6.
Windows 2000 and XP
• Rig t click on t e My Network Places icon on your Windows desktop and
select Properties from t e drop-down menu.
• Select your Local Area Connection.
• Rig t click on your Local Area Connection and select Properties.
• Select Internet Protocol [TCP/IP].
• Click t e Properties button.
• Click t e Obtain IP address automatically radio button and t e Obtain DNS
server address automatically radio button. Click t e OK button.
• Restart your PC w en prompted.
• Go to Configure the Cayman 3341 on page 6.
Macintosh
Your Macintos must be using MacOS 7.6.1 or ig er.
• Select Control Panels from t e Apple menu.
• Open t e TCP/IP Control Panel.
• C oose Connect via Ethernet.
• C oose Configure Using DHCP Server. Close and Save.
• Launc your preferred internet browser and enter “Cayman” as t e desired
network location.
• Go to step 2 of Configure the Cayman 3341 on page 6.
Mac OS X users
• Launc System Preferences from t e Dock or from t e Apple Menu.
• Select t e Network Preference Pane.
• C oose S ow: uilt-in Ethernet.
• Click t e TCP/IP tab.
• C oose Configure: Using DHCP.
• Quit System Preferences. You do not ave to restart t e Macintos .
• Launc your preferred internet browser and enter “Cayman” as t e desired
network location.
• Go to step 2 of Configure the Cayman 3341 on page 6.
Set up the Cayman 3341 (continued)
5
Other Netopia Network Router manuals

Netopia 4753 2A4NA Instruction Manual

Netopia

Netopia 4753 2A4NA Instruction Manual

Netopia 3356-ENT User manual

Netopia

Netopia 3356-ENT User manual

Netopia 3381-ENT User manual

Netopia

Netopia 3381-ENT User manual

Netopia R3100-U User manual

Netopia

Netopia R3100-U User manual

Netopia 4686-XL User manual

Netopia

Netopia 4686-XL User manual

Netopia R910 Product information sheet

Netopia

Netopia R910 Product information sheet

Netopia Firmware 4000-Series Quick start guide

Netopia

Netopia Firmware 4000-Series Quick start guide

Netopia TP4-CU User manual

Netopia

Netopia TP4-CU User manual

Netopia 3387W-ENT User manual

Netopia

Netopia 3387W-ENT User manual

Netopia 4741 2A4NA Instruction Manual

Netopia

Netopia 4741 2A4NA Instruction Manual

Netopia R5000 Product information sheet

Netopia

Netopia R5000 Product information sheet

Netopia 4752 2A4NA Instruction Manual

Netopia

Netopia 4752 2A4NA Instruction Manual

Netopia R3100-U Product information sheet

Netopia

Netopia R3100-U Product information sheet

Netopia Router PN Series User manual

Netopia

Netopia Router PN Series User manual

Netopia 4541 Product information sheet

Netopia

Netopia 4541 Product information sheet

Netopia 3341-ENT User manual

Netopia

Netopia 3341-ENT User manual

Netopia 435 User manual

Netopia

Netopia 435 User manual

Netopia M7100 User manual

Netopia

Netopia M7100 User manual

Netopia 3346N-ENT User manual

Netopia

Netopia 3346N-ENT User manual

Netopia D3000-I User manual

Netopia

Netopia D3000-I User manual

Netopia 3346N-ENT User manual

Netopia

Netopia 3346N-ENT User manual

Netopia Cayman 3386-ENT User manual

Netopia

Netopia Cayman 3386-ENT User manual

Netopia 3381-ENT Instruction Manual

Netopia

Netopia 3381-ENT Instruction Manual

Netopia R9100 Product information sheet

Netopia

Netopia R9100 Product information sheet

Popular Network Router manuals by other brands

Planet VC-200S user manual

Planet

Planet VC-200S user manual

AirLive IP-2000VPN Quick setup guide

AirLive

AirLive IP-2000VPN Quick setup guide

Flyingvoice G702 user guide

Flyingvoice

Flyingvoice G702 user guide

Watchguard XTM 850 Hardware guide

Watchguard

Watchguard XTM 850 Hardware guide

SmartRG SR655ac quick start guide

SmartRG

SmartRG SR655ac quick start guide

CalAmp Guardian-100 user manual

CalAmp

CalAmp Guardian-100 user manual

Planet IRT-1001ST user guide

Planet

Planet IRT-1001ST user guide

W-Link R520 series user manual

W-Link

W-Link R520 series user manual

Planet IGS-10020 user manual

Planet

Planet IGS-10020 user manual

Multitech MultiConnect rCell 100 Series user guide

Multitech

Multitech MultiConnect rCell 100 Series user guide

EQ3 PSR quick start guide

EQ3

EQ3 PSR quick start guide

Planet VC-2400MR48 Quick installation guide

Planet

Planet VC-2400MR48 Quick installation guide

Black Box LEH1208A quick start guide

Black Box

Black Box LEH1208A quick start guide

PureLink PM-16X owner's manual

PureLink

PureLink PM-16X owner's manual

i-MO OptiBond 210 C Series Hardware installation guide

i-MO

i-MO OptiBond 210 C Series Hardware installation guide

D-Link DIR-826L Quick install guide

D-Link

D-Link DIR-826L Quick install guide

Cisco ASR-920-8S4Z-PD Hardware installation guide

Cisco

Cisco ASR-920-8S4Z-PD Hardware installation guide

ORiNG RGS-92222GCP-NP Series installation guide

ORiNG

ORiNG RGS-92222GCP-NP Series installation guide

manuals.online logo
manuals.online logoBrands
  • About & Mission
  • Contact us
  • Privacy Policy
  • Terms and Conditions

Copyright 2025 Manuals.Online. All Rights Reserved.