NetterVibration VAC Series User manual

Assembly instructions for
Netter vacuum mounts
series VAC / VAC TWIN
Dec. 2020
No. 1555
Page 1/28
These assembly instructions apply to:
VAC 6
VAC 8
VAC 10
VAC 11
VAC 12
VAC 13
VAC 15
VAC 20
VAC 30
VAC 40
Series VAC TWIN

2
Contents
1General information 3
2Safety 5
3Technical data 8
4Design and function 13
5Transport and storage 15
6Installation 16
7Start-up and operation 23
8Maintenance and servicing 24
9Troubleshooting 25
10 Spare parts and accessories 26
11 Disposal 27
12 Annex 28
Please refer to the delivery note for the scope of delivery.
Check the packaging for possible transport damage. In the event of
damage to the packaging, check the contents for completeness and
possible damage. Inform the carrier in the case of damage.
The vacuum mounts of the series VAC are hereafter referred to as
"VAC".
Document no.
1555
Version no.
2
Date of issue
Dec. 2020
Scope of
delivery
Designation
Version of
document

General information
3
1 General information
Before installing the VAC read these instructions carefully. It is the basis
for any action when dealing with the VAC, and may be used for training
purposes. The instructions should be subsequently stored at the operation
site.
The target group for these instructions is technical staff, who have basic
knowledge in pneumatics and mechanics.
Only complying technical staff may work on the VAC.
The VAC may only be installed, put into operation, maintained, troubleshot
and disassembled by persons authorised by the operator.
This documentation is protected by copyright.
Netter
Vibration reserves all rights such as translations, reprinting and re-
production of the instructions, as well as parts thereof.
All technical information, data and instructions for installation, operation
and maintenance in these instructions are based on the latest information
available at the time of printing and take our past experience to the best of
our knowledge into account.
No claims can be derived from the information, illustrations and descrip-
tions in these operating instructions.
The manufacturer does not assume liability for damages resulting from:
•failure to observe the instructions,
•improper use,
•unauthorised repairs,
•technical modifications,
•use of non-permissible spare parts.
Translations are made to the best of our knowledge.
Netter
Vibration does not assume liability for translation errors, even if the
translation was made by us or on our behalf. Only the original German text
remains binding.
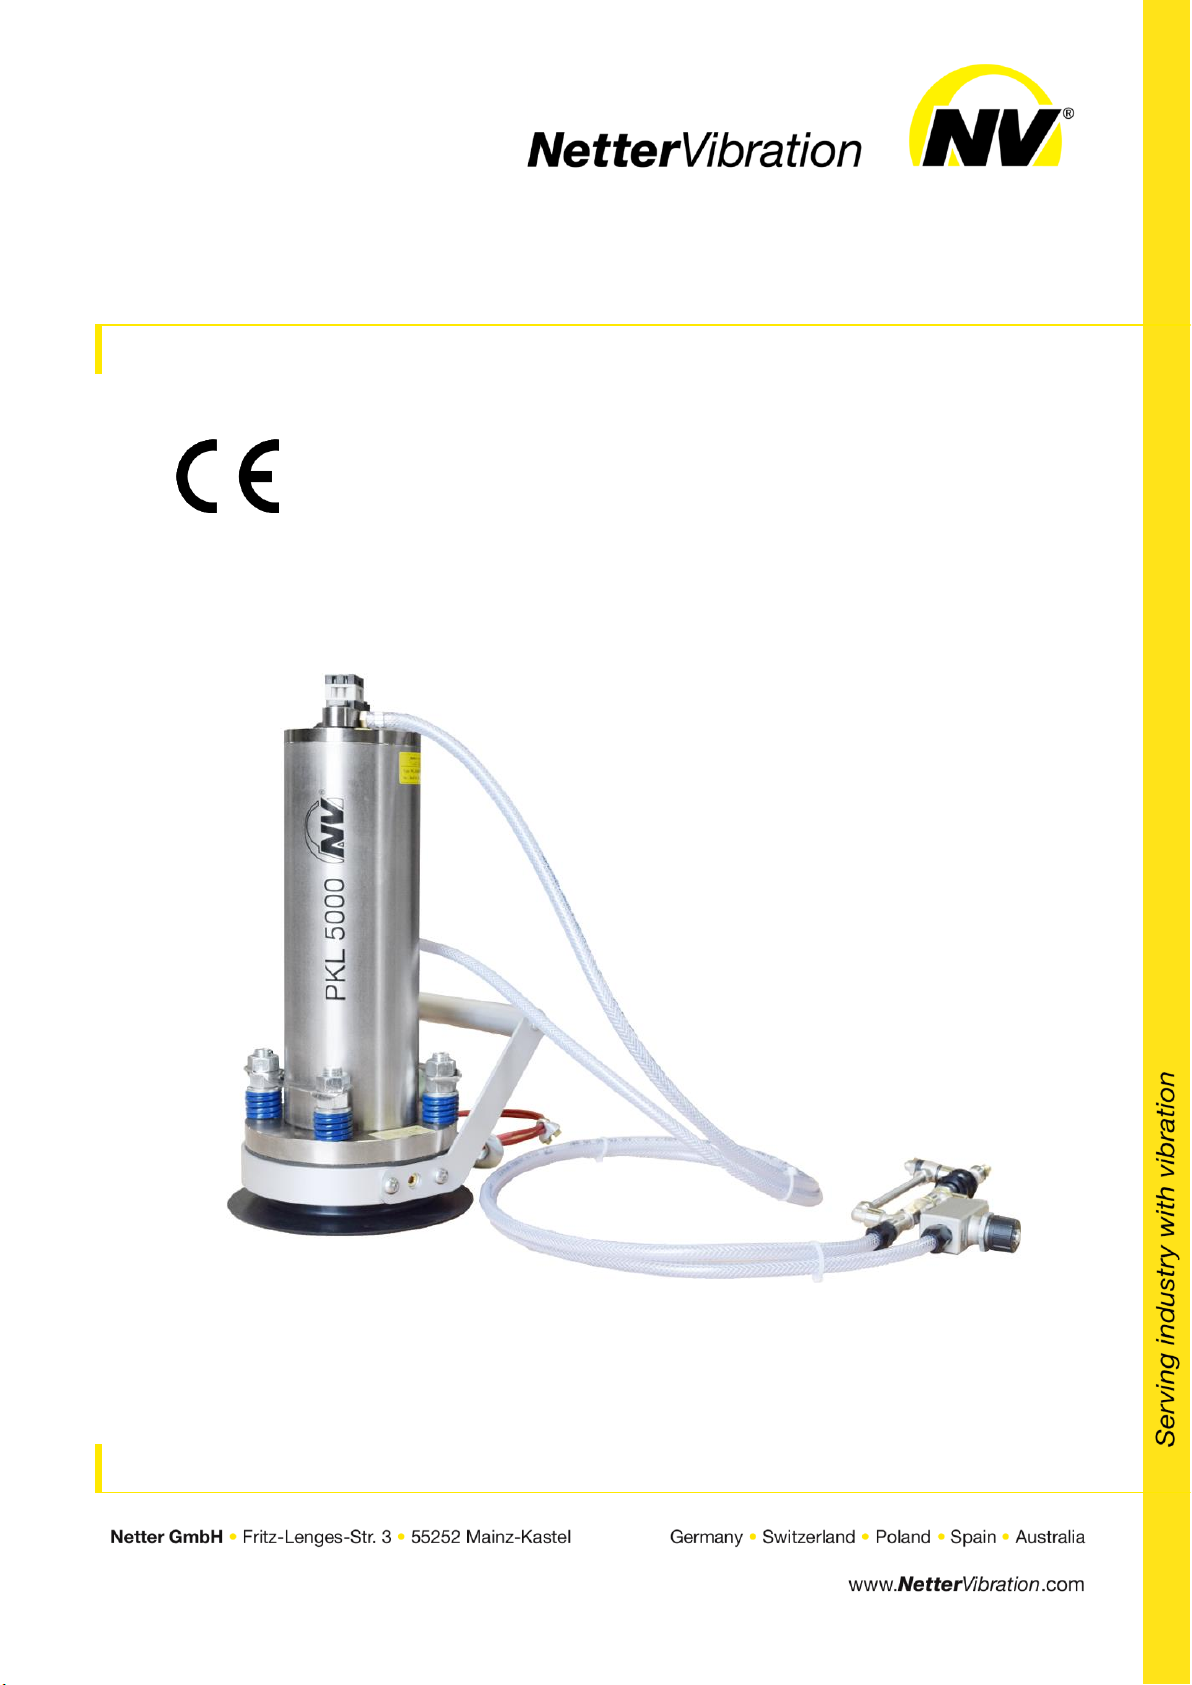
The vacuum mounts of the series VAC comply with the EC Machinery Di-
rective 2006/42/EC.
In particular, the standard EN ISO 12100 has been observed.
Use and
storage
Target group
Copyright
Limitation of
liability
Directives /
standards
observed

General information
4
The following instruction and warning symbols are used in these instruc-
tions:
DANGER
indicates an immediate danger.
Disregard of this notice will result in death or severe person-
al injuries.
WARNING
indicates a potential danger.
Disregard of this notice can result in death or severe per-
sonal injuries.
CAUTION
indicates a potentially dangerous situation.
Disregard of this notice can result in minor or moderate per-
sonal injuries.
NOTICE
indicates potential material damage.
Disregard of this notice can result in material damage.
IMPORTANT
indicates actions, methods or notes that are not relative to safety, e.g. use-
ful information and tips.
Environmentally safe disposal
indicates the obligation of environmentally safe disposal.
Instruction
and warning
symbols
Personal
injuries
Material
damages
Notes

Safety
5
2 Safety The VAC are used for quick attachment of vibrators to smooth or, within
limitation, convex surfaces. Among other applications, the VAC can be
used in combination with vibrators for emptying transport containers or
cleaning tubes and hoppers.
The VAC are used where there are otherwise no conventional mounting
options for vibrators, where frequent relocation is necessary and where
welding or screwing is not possible.
VAC can also be used outdoors as well as in dump environments. The
VAC may not be submerged in bulk materials or in liquids.
Any other use is considered improper.
Installation, commissioning, maintenance and troubleshooting of the VAC
may only be performed by authorised qualified personnel.
All handling of the VAC is the responsibility of the operator.
WARNING
Falling parts
The VAC can come loose with small component cross sections and in the
event of an unexpected pressure drop.
The vibrators screwed to the VAC can be loosened by vibration
Pneumatic vibrators at full power can cause the VAC to slide.
Falling parts can cause severe personal injuries.
➢All VAC except VAC 8 and VAC 10 are equipped with an adjustable
safety cable. Choose a secure attachment point (such as an eye) for
the safety cable on the container or system. Adjust the cable with the
cable clamps as short as possible so that the VAC can never fall into a
loose cable.
➢VAC 8 and VAC 10 have to be secured against dropping down by the
customer.
➢If you attach the VAC to round components, then the specified mini-
mum diameters given in Ch. Technical data (cf. page 8; "Parameters")
must be observed.
➢For the first start-up, set the frequency of the vibrator by means of a
throttle check valve (e.g. on the hose set HG ... with DRV) so that slid-
ing of the VAC is prevented.
Intended use
Qualification
of qualified
personnel
Falling parts

Safety
6
WARNING
Compressed air
A loosened hose which is under pressure can lead to personal injuries.
➢Screw the hose lines on carefully.
➢Check the hose lines and connections after one hour of operation and
thereafter regularly (generally monthly).
➢Retighten the hose lines, if necessary.
➢Ensure that the compressed air is disconnected from the supply lines
during all work on the VAC.
➢Prevent the VAC from being switched back on during all work.
WARNING
Sound level
Depending on the VAC and vibrator used, the sound pres-
sure level may exceed 80 dB(A) in the vicinity of the con-
structions connected to the VAC. The human ear can be
permanently damaged by the high sound level.
➢When working in the noise area, use ear protection if
80 dB(A) is exceeded.
➢Depending on the design and combination of VAC and
vibrator, take additional noise protection measures.
WARNING
Risk of injury while handling heavy parts
Risk of serious injury due to weight during transport and installation of the
VAC.
➢Observe the weight information in Chapter Technical data, from page 8
on.
➢Only qualified personnel may transport and install the VAC.
➢Use suitable load handling devices and slinging equipment.
➢Wear suitable personal protective equipment.
NOTICE
Only use approved combinations of VAC and vibrator. The applicable vi-
brators can be found in Ch. Technical data, page 9.
When using other vibrators, the operator is responsible for checking safety
and functionality.
Compressed
air
Sound level
Heavy parts
Combination
VAC and vi-
brator

Safety
7
NOTICE
If VAC and vibrator are ordered separately, the vibrator must first be
mounted on the VAC, then the VAC on the container.
NOTICE
Operation of the VAC with silencers is mandatory.
Silencers reduce the noise level and protect the VAC from contamination
entering.
NOTICE
The VAC may only be operated on clean and dustless surfaces free from
grease.
IMPORTANT
Information on secure fastening of the vibrator can be found in the corre-
sponding operating instructions.
Assembly
Silencer
Clean
surface
Fastening of
vibrator

Technical data
8
3 Technical data
Drive
medium
The VAC must be operated with filtered compressed air (fil-
ter ≤5 µm).
Further drive medium requirements to be respected can be found
in the operating instructions of the mounted vibrator.
Lubrication
The VAC do not need lubrication.
Ambient
temperature
-10 °C to +60 °C
Operating pressure
2 to 6 bar
Type:
VAC ... +
HG ...
Vacuum
generated
[bar]
Suction
generated
[N]
Weight
[kg]
Air
consump-
tion
[l/min]
Sound
pressure
level*
[dB(A)]
Min.-
Ø for
round
con-
tain-
ers
[mm]
4 bar
6 bar
4 bar
6 bar
4 bar
6 bar
4 bar
6 bar
6 + 6 N
0.8
0.8
350
350
0,53
6.5
10
72
76
400
8 + 10 N
0.60
0.85
340
481
0.95
40
60
72
72
110
8 + 10 S
0.60
0.85
340
481
1.20
20
22
72
72
110
10 + 10 N
0.60
0.85
465
658
1.05
40
60
72
72
110
10 + 10 S
0.60
0.85
465
658
1.30
20
22
72
72
110
11 + 10 N
0.60
0.85
710
1,005
1.25
40
60
72
72
110
11 + 10 S
0.60
0.85
710
1,005
1.50
20
22
72
72
110
12 + 15 N
0.60
0.85
1,250
1,770
2.85
60
122
74
74
350
12 + 15 S
0.60
0.85
1,250
1,770
3.20
29
36
74
74
350
13 + 15 N
0.60
0.85
1,362
1,930
4.20
110
170
83
77
850
13 + 15 S
0.60
0.85
1,362
1,930
4.55
41
52
83
77
850
15 + 15 N
0.60
0.85
1,476
2,091
3.40
110
170
74
74
650
15 + 15 S
0.60
0.85
1,476
2,091
3.75
41
52
74
74
650
20 + 15 N
0.60
0.85
2,724
3,859
7.25
110
170
74
74
850
20 + 15 S
0.60
0.85
2,724
3,859
7.60
41
52
74
74
850
30 + 30 N
0.60
0.85
4,086
5,789
11.50
110
170
74
74
1,500
30 + 30 S
0.60
0.85
4,086
5,789
12.00
49
60
74
74
1,500
40 + 40 N
0.60
0.85
5,448
7,718
20.00
220
340
74
74
1,500
* The sound pressure level was measured at a distance of 1 m without vibrator. The sound pressure levels of
the vibrators are often higher.1
For information on the VAC TWIN, please refer to the supplement to oper-
ating instructions for VAC TWIN / VAC TWIN GD.
The technical performance data changes over the service life (wear and
contamination).
Permissible
operating
conditions
Parameters
Service life

Technical data
9
Type
Applicable vibrators
NCB
NCR
NCT
NTK
NTP
NTS
PKL
VAC 6
-
-
1, 2
-
18
80 - 180 (HF,
NF)
-
VAC 8
1, 2
-
1, 2
8 AL
25*
120 (HF, NF),
180 (HF, NF)
-
VAC 10,
VAC 8 TWIN***
1, 2, 3
3
3, 4
15 X,
16,
18 AL
25*
120 - 250 (HF,
NF)
190*
VAC 11
3, 5
10
5, 10
18 AL
-
180 (HF, NF),
250 (HF, NF)
190*,
450*
VAC 12, VAC 8 /
10 TWIN***
10, 20
22
15, 29
25 AL
25*,
32*,
48*
350 (HF, NF),
100/01, 75/01*,
50/01*
450*,
740*,
1000*
VAC 13,
VAC 12 TWIN***
10, 20
22
15, 29
-
32*, 48
75/01, 50/01,
70/02
740**,
1000,
2100,
5000
VAC 15
10, 20,
50, 70
22, 57
15, 29,
55, 108
18 AL,
25
32, 48
250 (HF, NF),
350 (HF, NF),
75/01, 50/01,
70/02
740**
VAC 20
-
57
55, 108
-
32, 48
70/02, 54/02,
50/04
2100,
5000
VAC 30
-
120
126,
250
-
-
50/04, 50/08
5000
VAC 40
-
-
-
-
-
50/08, 50/10
-
2
* adapter plate necessary, not included in delivery
** adapter plate or insert EE required
***
Netter
Vibration has to be consulted
NOTICE
Not every pneumatic vibrator may be screwed onto the VAC. Damage to
the internal control bores is possible with drilling patterns other than the
templates (see Ch. Installation, from page 17 on). The above combinations
of VAC and vibrator are tested and can be used without restrictions except
those marked with */**.
When using other vibrators, the operator is responsible for checking safety
and functionality.
Depending on the vibrator used, the VAC ought to be used with the follow-
ing hose sets:
Vibrator: PKL
Other vibrators
Hose set HG 10 N or HG 10 S
Combinations of VAC and hose set men-
tioned under "Parameters" (see page 8,
column Type VAC ... + HG ...)
Approved
combinations
of VAC and
vibrator
Hose sets to
be used

Technical data
10
Netter
Vibration recommends the following cross sections for grommets
and hoses:
Type
Hose grommet
[inch]
Hose size
to the VAC*
Hose size
to the vibrator*
VAC 6
1/8
DN 4
DN 4
VAC 8, VAC 10, VAC 11
1/4
DN 6
DN 6
VAC 12, VAC 13, VAC 15, VAC 20
3/8
DN 6
DN 9
VAC 30, VAC 40
1/2
DN 9
DN 12
* DN= nominal diameter
Type:
VAC ...
A
[mm]
B
[mm]
C
[mm]
D
[mm]
E
[mm]
F
[mm]
6
33.5
15
100
68
-
-
8
19
8
150
127
30
55
10
22
8
200
175
26.5
55
11
20
5.5
300
276
26
55
12
25
10
300
268
68
100
13
70
30
200
186
-
-
Dimension X depending on the vibrator
Grommets /
hoses
Dimensions
VAC 6 - 13

Technical data
11
Type:
VAC ...
A
[mm]
B
[mm]
C
[mm]
D
[mm]
E
[mm]
F
[mm]
15
56
25
350
290
100
150
20
70
30
430
370
150
200
Dimension X depending on the vibrator
Type:
VAC ...
A
[mm]
B
[mm]
C
[mm]
D
[mm]
E
[mm]
F
[mm]
30
70
30
396
337.5
426
370
40
70
30
430
370
375
425
Dimension X depending on the vibrator
Dimensions
VAC 15 / 20
Dimensions
VAC 30 / 40

Technical data
12
Netter
Vibration recommends the following tightening torques for fastening
screws and nuts of the quality 8.8 (coefficient of sliding friction 0.14):
M4
M5
M6
M8
M10
M12
M16
M20
M22
M24
M30
Tightening torque
[Nm]
3
6
10
25
50
87
210
411
559
711
1,422
Minimum screw
depth [mm] for
tapped hole in
S 235 JR*
7
8
10
13
17
20
27
34
37
40
50
* Material S 235 JR = St 37-2, minimum screw depth for other materials on request
Tightening
torques

Design and function
13
4 Design and function
1
Ground plate with suction cup
2
Hose set connection
3
2/2-way ball valve
4
Vacuum nozzle
5
Silencer
6
Vibrator
VAC mainly consist of a ground plate with suction cup(s) (1), a 2/2-way
ball valve (3) and a vacuum nozzle (4). By actuating the 2/2-way valve (3)
a vacuum is generated with the vacuum nozzle (4). As a result, the VAC
attaches itself with the suction cup(s) (1) to the mounting surface.
1
Vibrator connection
2
Throttle check valve
(DRV)
3
3/2-way manual slide valve
4
Compressed air connection
5
VAC connection
When the compressed air supply line is open, the VAC is permanently
supplied with compressed air through the hose set.
The vibrator is switched on and off by actuating the 3/2-way manual slide
valve (3).
The hose set HG ... N with DRV is equipped with a throttle check valve (2).
By using the throttle check valve, it is possible to set the pressure applied
to the vibrator and thereby the frequency of the vibrator.
Design
Function
Hose set HG N
with DRV

Design and function
14
1
Vibrator con-
nection
2
Throttle check
valve (DRV)
3
3/2-way manual
slide valve
4
Compressed air
connection
5
Throttle screw
(air-saving func-
tion)
6
Throttle valve
7
VAC connection
In addition to the standard version N the hose set HG ... S has an econo-
my switch position. With the vibrator switched off the compressed air con-
sumption can be reduced by approx. 30 % in comparison to the standard
version by means of a throttle screw (5). This compressed air reduction is
possible, because the "holding function" does not require the totally avail-
able compressed air. For operating the vibrator, the totally available com-
pressed air is needed and released by the hose set HG ... S.
Hose set HG S
with DRV

Transport and storage
15
5 Transport and storage
Observe the safety instructions in Ch. Safety, from page 5 on.
Special conditions of transport are not required.
Due to its own weight, the VAC 40 may only be lifted with a suitable load
handling device. In case it has to be lifted, the VAC 40 is equipped with an
M16 eye bolt.
The VAC are packed and ready for assembly. VAC together with hose set
and vibrator are delivered completely, unless otherwise agreed.
The packaging protects the VAC from transport damage. The packaging
material has been selected from an environmentally safe and technically
disposable point of view and is therefore recyclable.
The return of packaging to the material cycle conserves raw materials and
reduces the amount of waste.
•Store the VAC in a dry and clean environment.
•Protect the VAC from UV-exposures, weather and ozone.
•The storage temperature is between -20 °C and +60 °C.
•Close all openings when re-storing.
•Replace aged, brittle suction cups before renewed start-up.
Transport
conditions
Lifting VAC 40
Packaging
Storage
conditions

Installation
16
6 Installation
Observe the safety instructions in Ch. Safety, from page 5 on.
Information on tightening torques for screws and cross-sections for hoses
can be found in Ch. Technical data, from page 8 on.
When installing the VAC, carry out the following steps in succession:
IMPORTANT
Some vibrators require an adapter plate for mounting on certain types of
VAC (see Ch. Technical data, page 9).
Adapter plates with matching bores are available on request.
Mount the approved vibrator as follows:
Example: NTS
Example: NTP
1
Suction cup
2
Ground plate of VAC
3
Vibrator
G Setscrew
S Hexagon bolt
1. Determine and mark the required bores using the following template.
Common hole spacings are marked.
2. Drill tapped blind holes from above into the gound plate (2). The di-
ameter of the through-holes (x) that is necessary for the vibrator can
be found in the table for the template.
3. Mount the vibrator (3) with setscrews according to DIN 913 (G; for
NTS) or hexagon bolts according to DIN 933 (S; for NTP and NCT).
Use suitable screw lockings.
Technical data
Procedure
Adapter plate
VAC 6

Installation
17
Thread
Vibrator :
dimension
[mm]
M10
NTS 180
M8
NTS 120
M6
NCT (1, 2) :
56
M5
NTS 80
NTP 18 : 43
3
Note: The grey marked area may not be drilled.
There are the following options for screwing the approved vibrator on the
retaining/adapter plate of the VAC:
1
Vibrator
2
Ground
plate of
VAC
3
Suction
cup
4
O-ring
x Retaining
plate/
adapter
plate
Options A and B:
1. Screw the vibrator (1) onto the retaining/adapter plate (x).
2. Attach the adapter plate on the VAC as follows:
Option A
Option B
Drill two tapped blind holes from
above into the ground plate (2).
Make sure that the suction cup (3)
is not perforated.
Drill through the suction cup (3) and
the ground plate (2) from below.
Countersink the bores.
For a vacuum to build up, each
countersunk screw must be sealed
with an O-ring (4).
4
Template for
bores VAC 6
VAC 8
VAC 10
VAC 11
VAC 12

Installation
18
Option C
Drill through the suction cup (3)
and the ground plate (2) from be-
low.
Screw each countersunk screw
with an O-ring from below into the
ground plate and the adapter
plate (x) so that the screw is flush
with the adapter plate and do not
protrude.
Then screw the vibrator (1) onto
the retaining/adapter plate (x). Use
suitable screw lockings.
The thread size of the vibrator can be found in the corresponding operat-
ing instructions.
Mount the approved vibrator as follows:
1
Suction cup
2
Ground plate of VAC
3
Vibrator (flange/base plate)
1. Unscrew the suction cups (1) of the VAC.
2. Determine and mark the required bores using the following templates.
Common hole spacings are marked.
3. Drill through-holes. Countersink the bores according to DIN74BFx on
the suction cup side of the ground plate (2). The diameter of the
through-holes for the vibrator can be found in the table for the corre-
sponding template.
4. Mount the vibrator (3) with the designated countersunk screws with
the hexagon socket according to EN ISO 10642. Use suitable screw
lockings.
5. Mount the suction cups in the correct position.
IMPORTANT
An adapter plate is required for mounting the PKL 740 on the VAC 13 or
the VAC 15, unless the EE insert is used.
Vibrator
thread size
VAC 13
VAC 15
VAC 20
VAC 30
VAC 40
Adapter plate
or EE insert

Installation
19
Ø bores
[mm]
(thread)
Vibrator :
dimension [mm]
17 (M16)
PKL 5000 : Ø152
13 (M12)
NTP 48 : 78x78
PKL 740 : 100x50
PKL 1000 : Ø116
PKL 2100 : Ø152
11 (M10)
NTP 32 : 51x51
9 (M8)
NCB (10, 20),
NCR 22,
NCT (15, 29) : 104
NTS (75/01,
50/01) : 72x72
NTS 70/02 : 90x90
5
Note: The grey marked area may not be drilled.
Ø bores
[mm] (thread)
Vibrator : dimension [mm]
17 (M16)
NTK 25
13 (M12)
NTP 48 : 78x78
NCB (50, 70), NCR 57, NCT (55, 108) : 130
NTS (250, 350)
PKL 740 : 100x50
11 (M10)
NTK 18 AL
NTP 32 : 51x51
NTS 70/02 : Ø51*
9 (M8)
NTS (75/01, 50/01) : 72x72
NCB (10, 20), NCR 22, NCT (15, 29) : 104
* when using a round base plate
Template for
bores VAC 13
Template for
bores
VAC 15

Installation
20
Note: The grey marked area may not be drilled.
Ø bores
[mm] (thread)
Vibrator : dimension [mm]
17 (M16)
PKL 5000 : Ø152
13 (M12)
NTP 48 : 78x78
PKL 2100 : Ø152
NCR 57, NCT (55, 108) : 130
NTS 50/04 : 124x124
11 (M10)
NTP 32 : 51x51
9 (M8)
NTS (54/02, 70/02) : 90x90
NTS 70/02 : Ø51*
* when using a round base plate
Note: The grey
marked area may
not be drilled.
Ø bores
[mm] (thread)
Vibrator : dimension [mm]
17 (M16)
NCR 120, NCT (126, 250) : 152
NTS 50/08 : 165x165
PKL 5000 : Ø152
13 (M12)
NTS 50/04 : 124x124
Template for
bores
VAC 20
Template for
bores
VAC 30
This manual suits for next models
11
Table of contents
Other NetterVibration Industrial Equipment manuals

NetterVibration
NetterVibration NED 605 User manual

NetterVibration
NetterVibration NTP Series User manual

NetterVibration
NetterVibration NTS Series User manual

NetterVibration
NetterVibration NEG Series User manual

NetterVibration
NetterVibration NWE Series User manual

NetterVibration
NetterVibration NVV Series User manual

NetterVibration
NetterVibration PKL Series User manual

NetterVibration
NetterVibration NTP Series User manual

NetterVibration
NetterVibration VAC 8 User manual