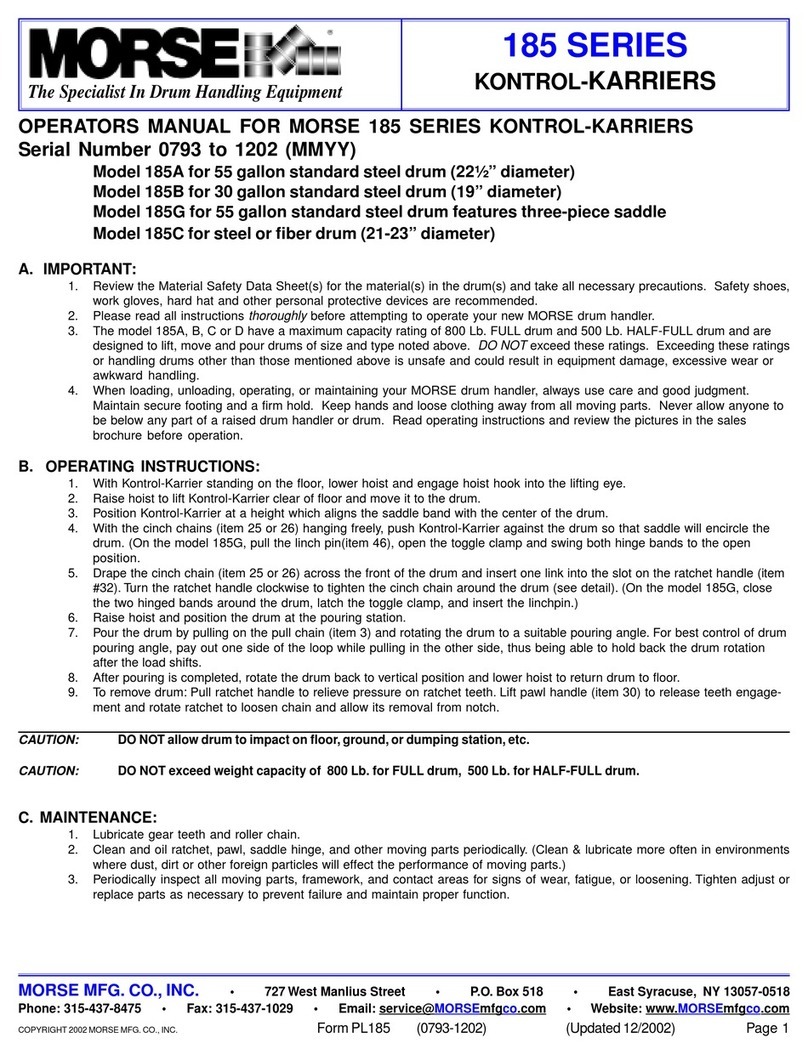
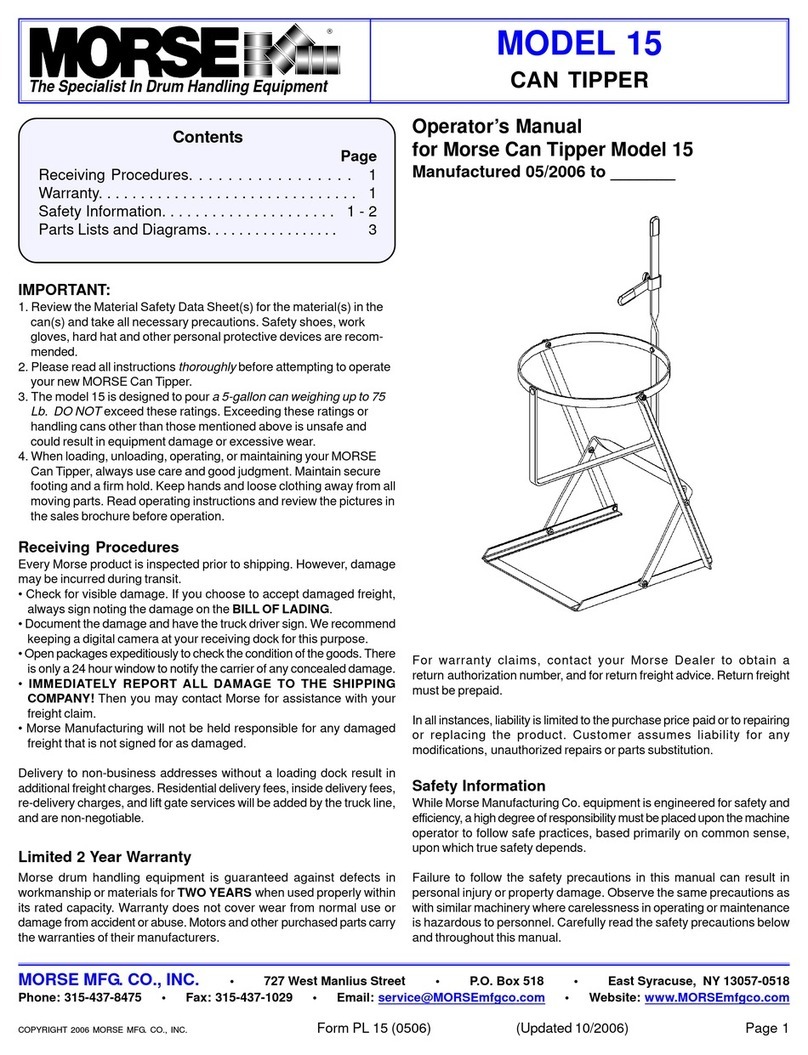
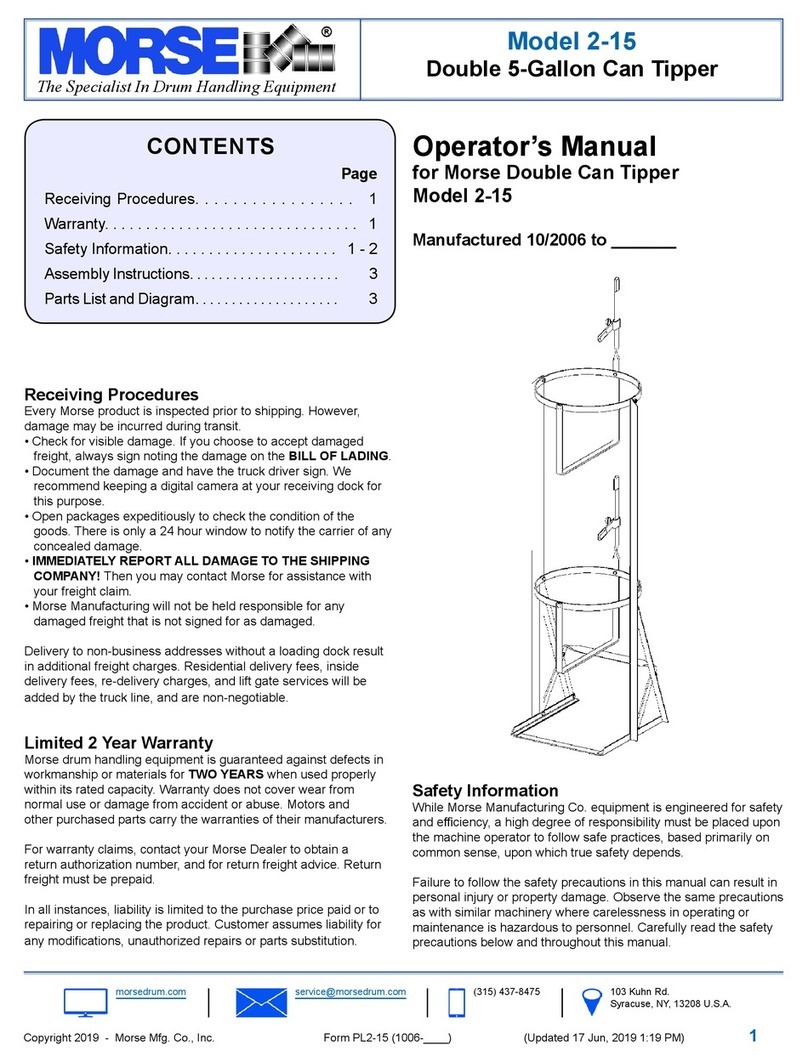
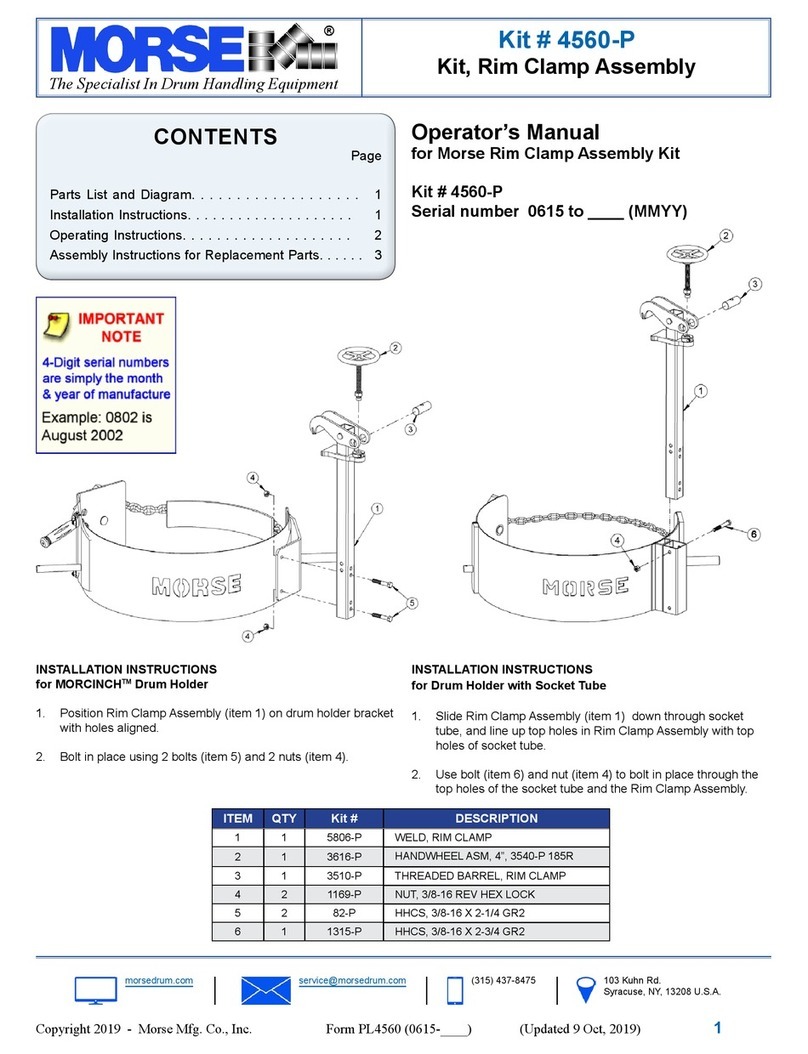
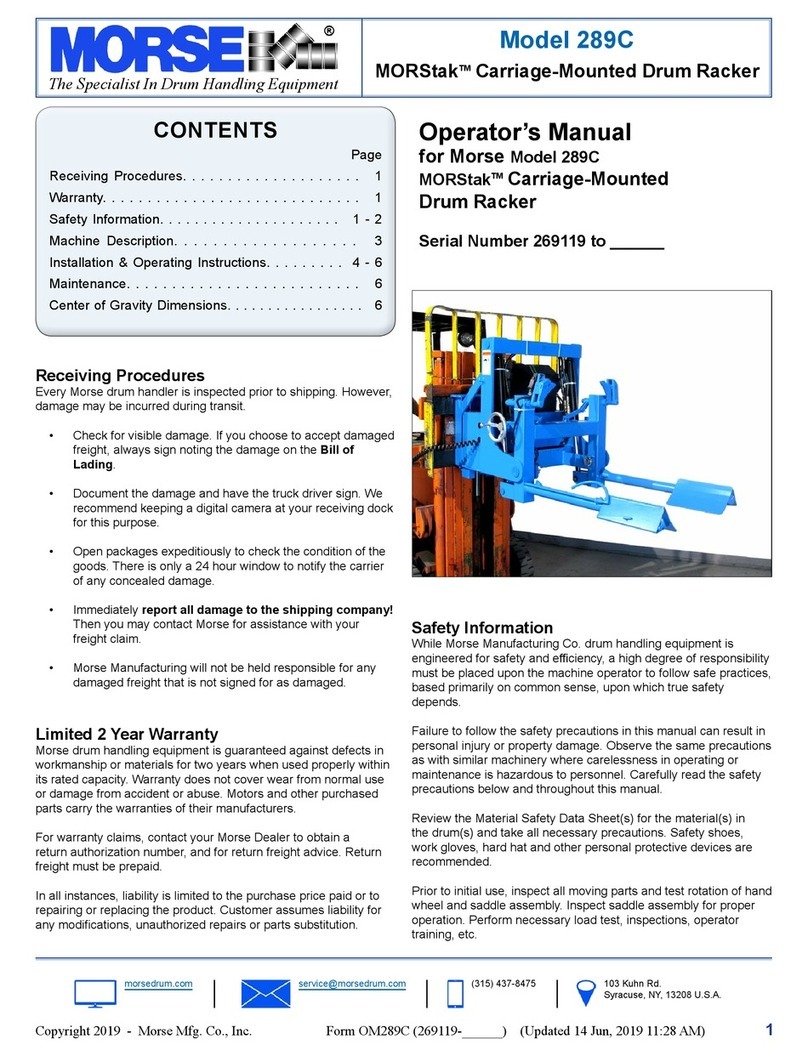
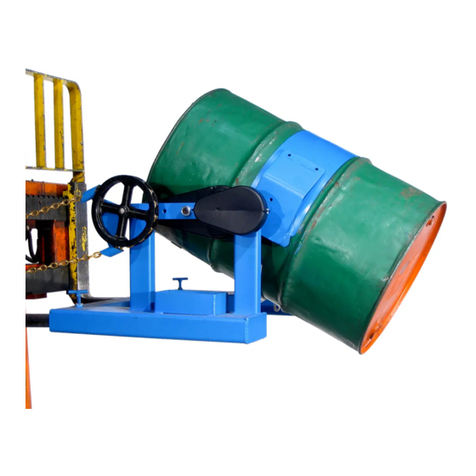
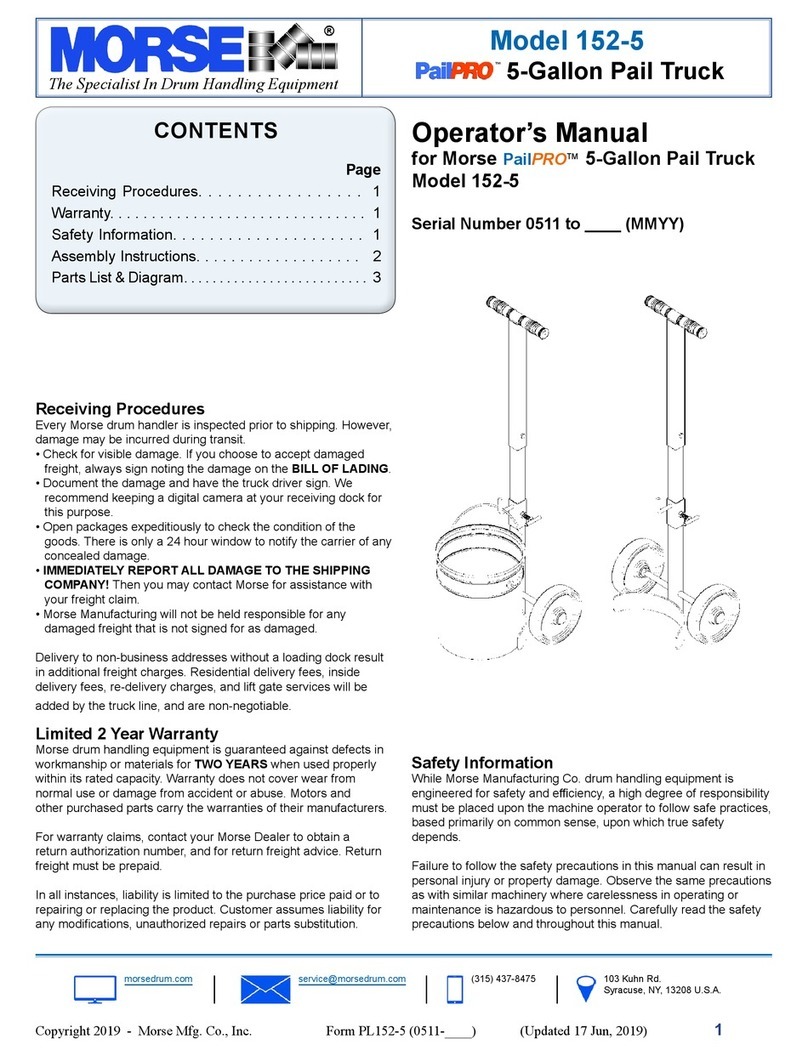
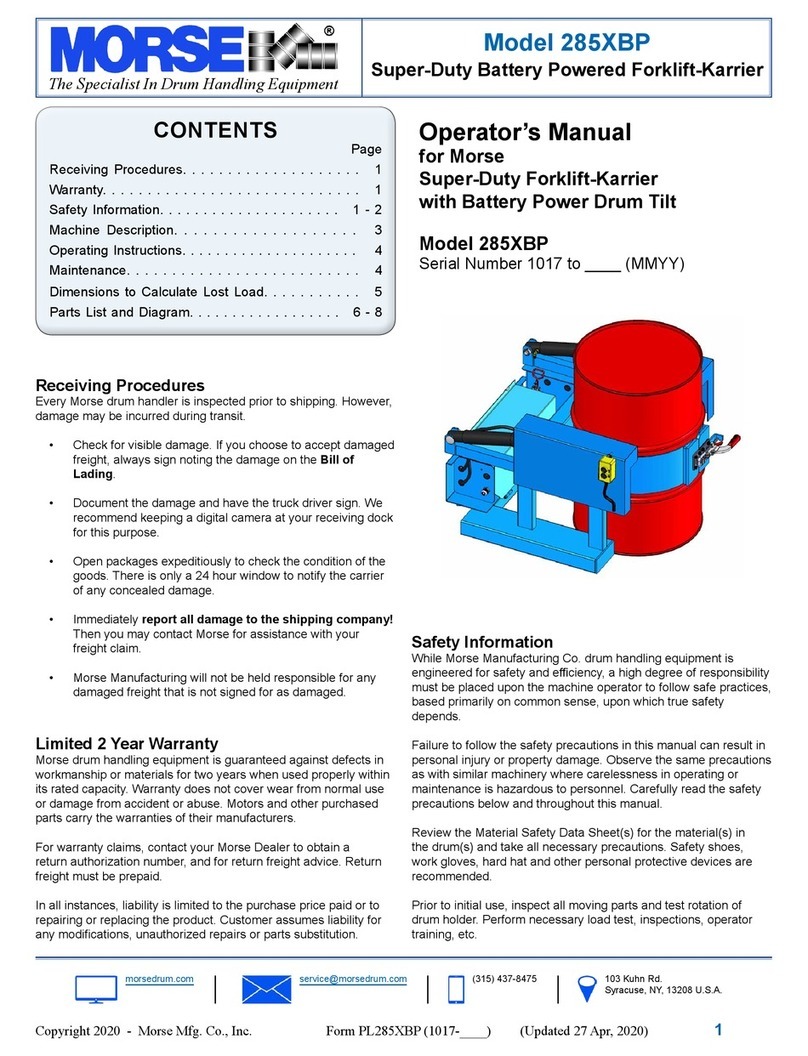
morse 185A User manual

The Specialist In Drum Handling Equipment
Model 185A
Kontrol-Karrier
Contents
Page
Receiving Procedures. . . . . . . . . . . . . . . . . . . . 1
Warranty. . . . . . . . . . . . . . . . . . . . . . . . . . . . . 1
Safety Information. . . . . . . . . . . . . . . . . . . . . 1 - 2
Machine Description. . . . . . . . . . . . . . . . . . . 3
Operating Instructions. . . . . . . . . . . . . . . . . . . . 4
Maintenance. . . . . . . . . . . . . . . . . . . . . . . . . . 4
Parts List and Diagram. . . . . . . . . . . . . . . . . 5 - 6
Operator’s Manual
for Morse Kontrol-Karrier
Model 185A
Serial number 0409 to 1110 (MMYY)
MORSE Mfg. Co., Inc. • 727 West Manlius Street • P.O. Box 518 • East Syracuse, NY 13057-0518
Copyright 2017 - Morse Mfg. Co., Inc. Form PL185A (0409-1110) (Updated September 11, 2017 2:04 PM) 1
Receiving Procedures
Every Morse drum handler is inspected prior to shipping. However,
damage may be incurred during transit.
Check for visible damage. If you choose to accept damaged•
freight, always sign noting the damage on the Bill of
Lading.
Document the damage and have the truck driver sign. We•
recommend keeping a digital camera at your receiving dock
for this purpose.
Open packages expeditiously to check the condition of the•
goods. There is only a 24 hour window to notify the carrier
of any concealed damage.
Immediately• report all damage to the shipping company!
Then you may contact Morse for assistance with your
freight claim.
Morse Manufacturing will not be held responsible for any•
damaged freight that is not signed for as damaged.
Limited 2 Year Warranty
Morse drum handling equipment is guaranteed against defects in
workmanship or materials for two years when used properly within
its rated capacity. Warranty does not cover wear from normal use or
damage from accident or abuse. Motors and other purchased parts
carry the warranties of their manufacturers.
For warranty claims, contact your Morse Dealer to obtain a
return authorization number, and for return freight advice. Return
freight must be prepaid.
In all instances, liability is limited to the purchase price paid or to
repairing or replacing the product. Customer assumes liability for
anymodications,unauthorizedrepairsorpartssubstitution.
Safety Information
While Morse Manufacturing Co. drum handling equipment is
engineeredforsafetyandefciency,ahighdegreeofresponsibility
must be placed upon the machine operator to follow safe practices,
based primarily on common sense, upon which true safety
depends.
Failure to follow the safety precautions in this manual can result in
personal injury or property damage. Observe the same precautions
as with similar machinery where carelessness in operating or
maintenance is hazardous to personnel. Carefully read the safety
precautions below and throughout this manual.
Review the Material Safety Data Sheet(s) for the material(s) in
the drum(s) and take all necessary precautions. Safety shoes,
work gloves, hard hat and other personal protective devices are
recommended.
Prior to initial use, inspect all moving parts and test rotation of chain
wheel and drum holder assembly. Inspect drum holder assembly for
proper operation. Perform necessary load test, inspections, operator
training, etc.
The Specialist In Drum Handling Equipment
Model 185A
Kontrol-Karrier
Operator’s Manual for Morse Model 185A Kontrol-Karrier
Serial number 0409 to 1110 (MMYY)
morsedrum.com
Copyright 2017 - Morse Mfg. Co., Inc. Form PL185A (0409-1110) (Updated September 11, 2017 2:04 PM) 2
Safety Information (continued)
DANGER - Indicates a situation which, if not avoided, will result in serious injury or death.
This signal word is limited to the most extreme situations.
WARNING - Indicates a situation which, if not avoided, could result in serious injury or
death.
CAUTION - Indicates a situation which, if not avoided, can result in damage to the machine.
WARNING - Kontrol-Karriers are designed to handle one drum of the types listed at the top of page 3.
Machine Description. DO NOT attempt to handle any other type of drum or object.
WARNING - DO NOT exceed the weight capacity of 800 Lb.
WARNING - DO NOT operate damaged or malfunctioning unit, or a unit with missing parts.
WARNING - DO NOT lift people or suspend loads over people. Stay clear of suspended loads.
WARNING - DO NOT lift loads higher than necessary.
WARNING - DO NOT leave suspended loads unattended.
WARNING - DO NOT remove or obscure warning labels.
WARNING -DONOToperatewithoutrsthavingreadandunderstoodoperatingmanual.
WARNING - DO NOT make alterations or modify the unit. Under no circumstances should any
modicationsbemadetotheMorsemachinerywithoutfactoryauthorization.Anymodicationsmay
voidthewarranty.Thismachinewasdesignedtoperformaspecicjobandalterationsmayresultin
injury to operator or machine.
WARNING - Wear safety shoes with non-slip soles and hard toe protection.
CAUTION: DONOTallowdrumtoimpactonoor,ground,etc.

The Specialist In Drum Handling Equipment
Model 185A
Kontrol-Karrier
Operator’s Manual for Morse Model 185A Kontrol-Karrier
Serial number 0409 to 1110 (MMYY)
morsedrum.com
Copyright 2017 - Morse Mfg. Co., Inc. Form PL185A (0409-1110) (Updated September 11, 2017 2:04 PM) 3
Machine Description
TheModel185AKontrol-Karrierisdesignedtolift,transport,anddispensea
ribbed55-gallon steelorber drum22”to 23.5”indiameter.Themaximum
full-drum capacity is 800 Lb. The capacity is derated to 500 Lb. for a half-full
drum. The half-full rating is based on the tilt mechanism’s capacity for handling
an unbalanced bottom-heavy drum.
Options
A smaller diameter drum can be handled with the correct size 55/30•
SeriesDiameterAdaptorinstalled(seeDiameterAdaptorliterature).
The• Bracket Assembly (Part # 4556-P) is required to handle a
plasticdrum without atoprim (see gure2.1).Itis alsorecommended
to more securely handle a ber drum. You can use the Bracket
Assembly with a 55-gallon plastic, steel or ber drum. The brace
at top and bottom of the drum prevent it from slipping lengthways
throughthedrumholder.Itadjustsforadrum31”to39”tall.
The• Top Rim Clamp (Part # 4560-P) grips the upper rim of your drum
toprevent it from slipping throughthe drum holder (see gure2.2).To
handle a 55-gallon plastic drum with top rim, you must install either the
BracketAssemblyortheTopRimClamp.YoucanusetheTopRimClamp
witha55-gallonplastic,steelorberdrumwithsuitabletoprim.
Important
Please read all instructions thoroughly before attempting to operate your1.
new Morse drum handler.
When loading, unloading, operating, or maintaining your MORSE drum2.
handler, always use care and good judgment. Maintain secure footing
andarm hold.Keephands andlooseclothingaway from allmoving
parts. Never allow anyone to be below any part of a raised drum handler
or drum. Read operating instructions and review the pictures in the sales
brochure before operation.
The 185 Series are a “Group 1 structural and mechanical” below-the-3.
hookliftingdevicewhicharecoveredbytheAmericanNationalStandard
ASMEB30.20.Theusershouldcomplywithallaspectsofthisstandard.
Figure 2.2
Plastic drum being lifted
with part number 4560-P
TopRimClampAssembly
installed.
Figure 2.1
Plastic drum being lifted with
partnumber4556-PBracket
Assemblyinstalled.

The Specialist In Drum Handling Equipment
Model 185A
Kontrol-Karrier
Operator’s Manual for Morse Model 185A Kontrol-Karrier
Serial number 0409 to 1110 (MMYY)
morsedrum.com
Copyright 2017 - Morse Mfg. Co., Inc. Form PL185A (0409-1110) (Updated September 11, 2017 2:04 PM) 4
Operating Instructions
StartwithKontrol-Karrierontheoor.Lowerhoistandengage1.
hoist hook to lift Kontrol-Karrier.
RaisehoisttoliftKontrol-Karrierclearofoorandtransportit2.
to the drum.
Suspend Kontrol-Karrier at a height which aligns drum saddle3.
with center of drum.
With binder chain (item 112) hanging freely, swing the ratchet4.
hinge plate to open position, push Kontrol-Karrier against drum
so that saddle will encircle drum.
Secure the drum: drape the binder chain (item 112) across the5.
face of the drum and engage a link into the slot in the ratchet
(item 102). Turn the ratchet clockwise to tighten chain. If the
chain doesn’t cinch tightly on the drum, lift the pawl (item 103)
to loosen and release the chain and try again with a different
link in the notch. Firm hand pressure on the ratchet handle
shouldtightenthechainsufcientlytoholdthedrum.DONOT
use mechanical aids such as a pipe to extend handle for extra
leverage.
Raise hoist and position drum at pouring station.6.
Pour the drum by pulling on the pull chain (item 11) and rotating7.
the drum to a suitable pouring angle. For best control of drum
pouring angle, pay out one side of the chain loop while pulling
in the other side, thus being able to hold back the drum rotation.
The chain lock on the bottom of the power arm can be used to
prevent drum rotation. To do so, crisscross the chain and insert
in each slot of the chain lock. If the drum handler is equipped
withtheMORStopTilt-Brake,thereisnoneedtoholdtension
onbothsidesofthechainloop.Brakingisimmediateandself
actuating, without additional steps by the operator. To add the
MORStopTilt-Braketoyourdrumhandler,orderpart#3900-P
foraeldinstallationkit.
Afterpouringiscompleted,rotatedrumbacktoverticalposition8.
andlowerhoisttoreturndrumtooor.
To remove drum: Pull ratchet handle clockwise to relieve9.
pressure on ratchet teeth. Lift pawl handle (item 103) to release
teeth engagement and rotate ratchet to loosen chain and allow
its removal from notch.
Maintenance
Periodicinspectionforthegeneralconditionofstructuralandmechanicalcomponentsisimperativeforsafeandefcientoperation.
Lubricate gear teeth and roller chain.1.
Clean and oil ratchet, pawl and other moving parts periodically. Clean and lubricate more often in environments where dust, dirt or other2.
foreign particles will effect the performance of moving parts.
Periodically inspect all moving parts, framework, drum holder and contact areas for signs of wear, fatigue, or loosening. Tighten, adjust,3.
or replace parts as necessary to prevent failure and maintain proper function.
Worn or damaged parts must be properly replaced with the correct, genuine Morse parts.4.

The Specialist In Drum Handling Equipment
Model 185A
Kontrol-Karrier
Operator’s Manual for Morse Model 185A Kontrol-Karrier
Serial number 0409 to 1110 (MMYY)
morsedrum.com
Copyright 2017 - Morse Mfg. Co., Inc. Form PL185A (0409-1110) (Updated September 11, 2017 2:04 PM) 5
ITEM QTY. PART # DESCRIPTION
1 1 5000-P SADDLEASM,MORCINCH,MOR
2 1 4494-P OVERHEADYOKEWELD,185AMOR
3 3 55-P WASHER,3/4SAEFL1-1/2OD
4* 3 64-P ROLLPIN,3/16X1-1/4
5* 2 19-P BEARING,3/4”IDX2-1/2”
6 1 4497B-P IDLERARMW/BRG,185A&HDMOR
7 2 4602-P CAP,2X2,PLASTIC
8 1 1436-P CLEVISPIN,LARGETUBE,92
9* 1 1304-P GUIDE,POCKETCHAINWHEEL
10* 1 1303-P POCKETCHAINWHEEL,3/4BORE
11* 1 3-185-P CHAIN,PULL,POCKET12’LENGTH
12 1 15-P COLLAR,3/4”ID
13* 1 7-P BEARING,3/4”IDX1-1/2”
14 3 1411-P SPACER,SHAFTW/12TSPROCKET
15* 1 1302-P SHAFTW/12TSPROCKET,POCKET
ITEM QTY. PART # DESCRIPTION
16 1 795-P LINK,MASTER,#35CHAIN
17* 1 735-P KEY,WOODRUFF,SIZE9,ASA606
18* 1 14-P GEAR,PINION,7TOOTH
19* 1 13-P SPROCKET#3536T,3/4”BORE
20* 1 12-P CHAIN,ROLLER,#35W/MLINK
21 1 4473-P SPACER,SPURGEAR,MOR
22* 1 23-P GEAR,SPUR,72T,1”HOLE
23 1 29-P SPACER,SPURGEAR.15”
24 2 4370-P SHCS,3/8-16X1-3/8
25 2 1169-P NUT,3/8-16REVHEXLOCK
26* 1 18-P BEARING,1”IDX2-1/2”
27 1 16-P COLLAR,1”ID
28 1 4235-P CAP,PLASTIC,DRIVESHAFT
29 2 2182-P WIRE/CABLETIE,4-33/64(NOTSHOWN)
30 1 4285-P COVERSET,30:1GEARS,REG
* Recommended spare parts.
Other morse Industrial Equipment manuals

morse
morse 400A-72-110 User manual

morse
morse PailPRO 152-5 User manual

morse
morse BW-5154S User manual

morse
morse 285XBP User manual

morse
morse 310 Series User manual

morse
morse GRIP+GO 290F User manual

morse
morse 82A Series User manual

morse
morse PailPro Series User manual

morse
morse 185HD Series User manual

morse
morse PailPro Series User manual

morse
morse 185A-GR User manual

morse
morse 185 Series User manual

morse
morse 4560BM-P User manual

morse
morse M Series User manual

morse
morse 1110 User manual

morse
morse 201 Series User manual

morse
morse MORStak 289C User manual

morse
morse 285G User manual

morse
morse M Series User manual

morse
morse 15 User manual