Newtec Astra2Connect User manual

Version 2.3 - January 2009
Astra2Connect Point&Play®Setup
ref. nr: 26042

Version 2.3 - January 2009 Astra2Connect Point&Play®Manual - page 2
Contents
Contents
1 Introduction .................................................................... 3
About this guide........................................................................... 3
Safety precautions........................................................................ 4
Material provided in the box.......................................................... 6
Material you need to provide yourself ............................................ 8
Installation overview .................................................................... 9
2 Setting up the antenna.................................................. 10
Step 1 - Choosing a suitable location ........................................... 11
Step 2 - Mounting the antenna pole............................................. 12
Step 3 - Mounting the antenna.................................................... 13
Step 4 - Fixing the antenna cabling ............................................. 20
Step 5 - Pointing the antenna...................................................... 29

Introduction
Version 2.3 - January 2009 Astra2Connect Point&Play®Setup Manual - page 3
1 Introduction
About this guide
This guide provides a step-by-step procedure to install the Astra2Connect terminal (consisting of
the antenna and the IPmodem).
Before installing
Before starting to install the antenna, it is important to read the following sections:
- Safety precautions (page 4)
- Material provided in the box (page 6)
- Material you need to provide yourself (page 8)
Follow the entire procedure
When installing the antenna, it is important that you follow the entire procedure step-by step.
When pointing the antenna, you may need to repeat the steps from the section Rough pointing:
horizontal (azimuth) (page 36) onwards to obtain optimal signal reception and transmission.
Related documentation
When installing the satellite dish, you will need to refer to the following documents:
- The Antenna Pointing Information document, which contains the geographical pointing data
(booklet included in the box)
- Terminal User Manual (available on the CD included in the box)
Copyright
© Copyright Newtec Cy NV - 2009.

Introduction
Astra2Connect Point&Play®Setup Manual - page 4 Version 2.3 - January 2009
Safety precautions
This section lists the safety precautions to follow when installing the antenna.
Safety precautions are grouped into warnings and cautions.
Local regulations
Always install the Astra2Connect antenna in accordance with applicable local regulations. Consult
with a licensed electrician if in any doubt.
Warnings
A warning refers to an action or situation that could result in injury, long term
health hazard or death if you do not follow the instructions.
Antenna
- RF radiation hazard: Hazardous electromagnetic field levels are generated in the area
between the antenna reflector and the iLNB feed horn during transmission. Do not
place any part of your body in that zone while the system is on. Take the necessary
precautions to prevent access to the antenna by children or unauthorised persons.
IPmodem
- There are no user-serviceable parts in the IPmodem. Do not attempt to open the system. There
is a risk of electrical shock that may result in injury and death. The IPmodem should only be
opened by a technician trained and certified to service the product.
- To prevent the risk of fire or electrical shock, do not expose the indoor equipment to
rain, liquids or moisture. Do not place any objects containing liquids (e.g. glasses,
vases) on the system.
- Do not install the antenna and IPmodem when there is a risk of thunderstorm or lightning
activity in the area.
- Do not use the in-line power supply power cord when damaged in any way.

Introduction
Version 2.3 - January 2009 Astra2Connect Point&Play®Setup Manual - page 5
Cautions
A caution refers to an action or situation that could result in equipment damage or
destruction if you do not follow the instructions.
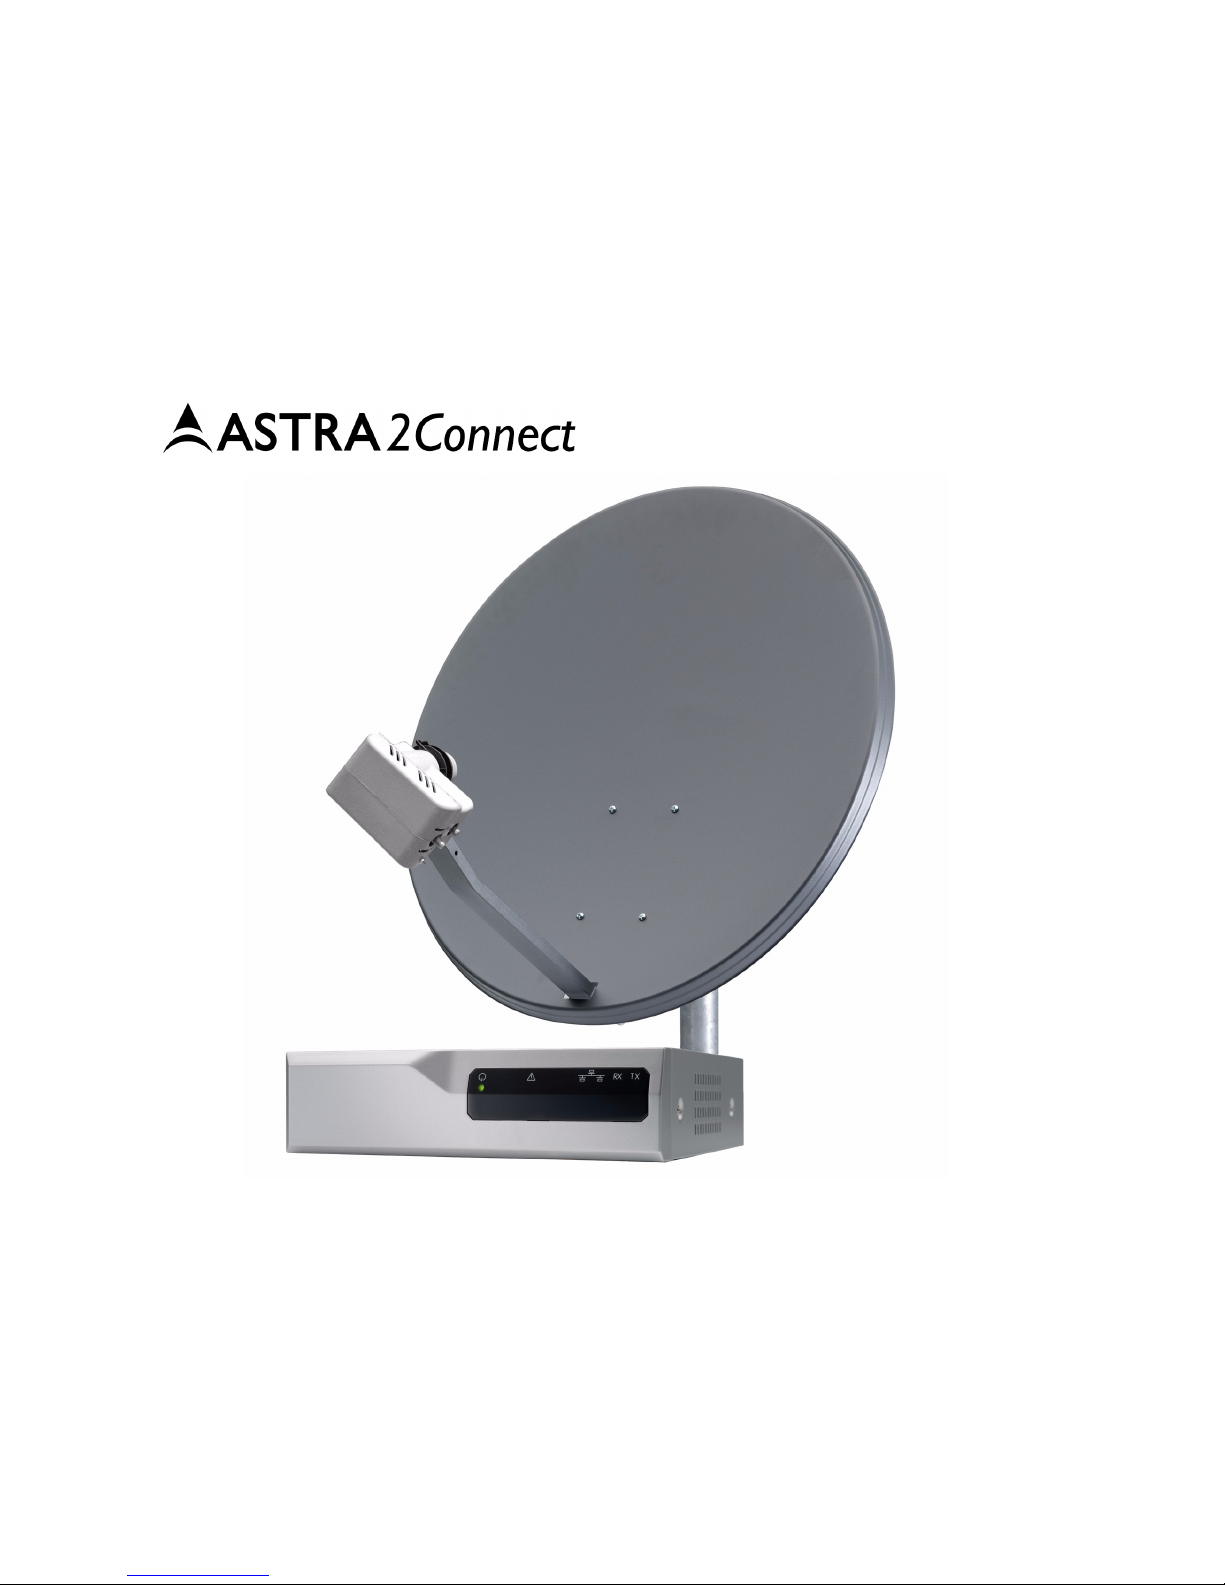
IPmodem
- Always use the in-line power supply included with the IPmodem. Using a different power supply
may cause equipment damage.
- To ensure regulatory and safety compliance, use only the provided power and interface cables
or cables conform to the specifications within this manual.
- Do not open the unit. Do not perform any servicing other than described in the installation
instructions. Refer all other servicing to qualified service professionals.
- Static electricity can damage the
Astra2Connect modem. To avoid
damaging the IPmodem with
static electricity, always touch the
grounded coaxial cable connector
prior to touching any other part of
the system.
- To clean the outside of the unit, use a clean, dry cloth. To avoid equipment damage, never
clean the system using fluids, detergents or chemicals. Do not use pressurised air to remove
dust from the unit.
- Install an AC surge arrestor in the AC outlet to which the IPmodem is connected to avoid
damage to the equipment from lightning strikes and other electrical surges.
- To prevent overheating, do not block the ventilation
holes on the sides and top of the unit.
Point&Play®tool
- To avoid damage to your hearing, ensure that the volume of the Point&Play®tool is not set too
loudly.

Introduction
Astra2Connect Point&Play®Setup Manual - page 6 Version 2.3 - January 2009
Material provided in the box
50 mm
8 mm 6 m
m
4 mm 5 mm
20 mm 16 mm
16 mm
1
1 x 3
2 x
2
2 x 4
1 x 5
1 x
9
1
x
14
1 x 15
4 x
13
1 x
17
1 x 18
1 x
19
1 x
22
1 x
21
1 x
26
1 x
20
1 x
12
4 x
16
7 x
23
1 x 24
2 x
11
1 x
10
1 x
6
2 x
25
1 x
7
1 x 8
4 x
GROUNDING KIT

Introduction
Version 2.3 - January 2009 Astra2Connect Point&Play®Setup Manual - page 7
Material provided in the box: list
Number
on figure Item Quantity Number
on figure Item Quantity
1 Masthead 1 15 Nut M8 4
2Brackets216NutM6 7
3 Pole clamps 2 17 Headphone 1
4iLNBclamp118
Point&Play®Tool 1
5iLNB (Interactive Low
Noise
Block downconverter) 119 IPmodem 1
6Screw 50 mm
M6 220 Coaxcable 1
7Screw 20 mm
M6 1 21 Network (ethernet) cable 1
8Screw 16 mm
M6 422 Poweradapter 1
9 Parker Screw 1 23 iLNB grounding nut
M4 1
10 Hex key 1 24 Masthead grounding nut
M5 2
11 Cap 1 25 Grounding screw 16 mm
M5 1
12 F-connectors 4 26 Grounding wire 1
13 Satellite dish 1 CD and documentation
14 Feed arm 1

Introduction
Astra2Connect Point&Play®Setup Manual - page 8 Version 2.3 - January 2009
Material you need to provide yourself
- A solid base for the antenna;
- An antenna pole;
- A Phillips head screwdriver PZ2;
- Open-end spanners of 10, 11 and 13mm;
- Tie-wraps;
-Acutter;
- A reliable compass;
- A spirit level;
- Geographical pointing data, available in the Antenna Pointing Information document.
Antenna pole requirements
- The antenna pole must be installed on a solid base and made of galvanised steel.
- Minimum diameter: 40 mm.
- Maximum diameter: 70 mm.

Introduction
Version 2.3 - January 2009 Astra2Connect Point&Play®Setup Manual - page 9
Installation overview
The image below shows the results of a typical installation as described in the following
pages. Please read these pages carefully to execute the installation.
Rx cable
iLNB
Antenna
Satellite
Tx cable
Ethernet cable
IPmodem
Power supply
with adapter

Setting up the antenna
Astra2Connect Point&Play®Setup Manual - page 10 Version 2.3 - January 2009
2 Setting up the antenna
Assuming you already have a solid base (made of concrete, or firmly attached to a wall), installing
the antenna includes the following steps:
Step 1 - Choosing a suitable location (page 11)
Step 2 - Mounting the antenna pole (page 12)
Step 3 - Mounting the antenna (page 13)
Step 4 - Fixing the antenna cabling (page 20)
Step 5 - Pointing the antenna (page 29)

Setting up the antenna
Version 2.3 - January 2009 Astra2Connect Point&Play®Setup Manual - page 11
Step 1 - Choosing a suitable location
Outdoors: antenna
- When setting up the antenna base, take account of the orientation the antenna must have.
Orientation data are available in the Antenna Pointing Information document.
- The antenna needs a clear view towards the satellite (without any buildings, trees... that may
hinder the signal).
- To connect the antenna to the IPmodem, you will use a coax cable. You can use the provided
coax cable or a coax cable with the same specifications as described in the Terminal User
Manual on the CD.
- The coax cable connecting the antenna to the IPmodem must not exceed 30 meters. The coax
cable included in the box is 30 meters long.
About your Astra2Connect Terminal
For more information on the Astra2Connect Terminal, refer to the section Getting to know your
Astra2Connect Terminal in the Manual for Astra2Connect terminal (available on the CD included in
the box).
Indoors: IPmodem and computer
Put the IPmodem in a dry room.
Indoors, you will need to connect the IPmodem:
-Totheantenna (with the coax cable);
-Toyourcomputer (with a network cable). You can use the network cable provided in the box
or a cable of your choice (for example if you need a longer cable to connect the IPmodem to
your computer);
-Toawall outlet (with the power adapter provided in the box).
Power adapter specifications: universal input range 100-240 Volt, 50-60Hz.
These steps are described further in this document.

Setting up the antenna
Astra2Connect Point&Play®Setup Manual - page 12 Version 2.3 - January 2009
Step 2 - Mounting the antenna pole
When fixing the antenna pole on the base, use a spirit level to make sure the antenna pole stands
upright.

Setting up the antenna
Version 2.3 - January 2009 Astra2Connect Point&Play®Setup Manual - page 13
Step 3 - Mounting the antenna
1Fix the grounding screw with a masthead grounding nut to the masthead as shown.
2Insert the 2 brackets in the masthead as shown.
3Use the 2 pole clamps and nuts to attach the masthead to the pole.
-If the pole is low enough, you can first assemble the masthead, brackets and clamps and
slide the assembly over the antenna pole.
-If the pole is too high or does not have an open ending, you will have to fix the masthead
around the pole.
-Do not attach the clamp too tightly as you will need to adjust it later on, but make sure the
clamp is attached tightly enough to prevent it from sliding down the pole.

Setting up the antenna
Astra2Connect Point&Play®Setup Manual - page 14 Version 2.3 - January 2009
-Make sure the masthead is already pointing in the general direction of the satellite. To do
so, use the pointing data available in the Antenna Pointing Information document.
-Make sure to attach the masthead upright to the pole.

Setting up the antenna
Version 2.3 - January 2009 Astra2Connect Point&Play®Setup Manual - page 15
4Attach the dish to the masthead with the appropriate screws and nuts.

Setting up the antenna
Astra2Connect Point&Play®Setup Manual - page 16 Version 2.3 - January 2009
5Insert the feed arm in the cut-away at the bottom of the dish and fix the arm with the
appropriate bolts.

Setting up the antenna
Version 2.3 - January 2009 Astra2Connect Point&Play®Setup Manual - page 17
6Attach the clamp around the iLNB using the appropriate nut and bolt.
Do not to attach the clamp too tightly as you will need to adjust it later on.

Setting up the antenna
Astra2Connect Point&Play®Setup Manual - page 18 Version 2.3 - January 2009
7Slide and click the iLNB clamp into the feed arm.

Setting up the antenna
Version 2.3 - January 2009 Astra2Connect Point&Play®Setup Manual - page 19
The antenna is mounted. The result should look like the figure below.

Setting up the antenna
Astra2Connect Point&Play®Setup Manual - page 20 Version 2.3 - January 2009
Step 4 - Fixing the antenna cabling
Fixing the antenna cabling includes the following steps:
- Connecting the F-connectors on the coax cable (page 21)
- Grounding the iLNB (page 23)
- Adjusting iLNB polarisation (page 24)
- Fixing the iLNB (page 26)
- Connecting the iLNB to the IPmodem (page 27)
- Connecting the IPmodem to your computer (page 28)
Table of contents
Other Newtec Marine GPS System manuals