NEXCAM 650 User manual

Owner’s Manual
RAM BLINDS
MODEL: 650
Page 1
THIS OWNER’S MANUAL MUST ALWAYS ACCOMPANY THIS PRODUCT AND BE TRANSFERRED WITH IT UPON
CHANGE OF OWNERSHIP, WHEN LOANED, OR PRESENTED TO ANOTHER PERSON.
QUESTIONS? Email [email protected] for assistance.
Approximate
Assembly Time
2 Hours
READ, UNDERSTAND,
FOLLOW ALL WARNINGS
AND INSTRUCTIONS BEFORE
ASSEMBLING, INSTALLING
OR USING THIS PRODUCT!
Review additional instructions
online at Nexcam.com
* Image is for reference only.

Owner’s Manual
Page 2
Thank you for purchasing our RAM Blind. This product is designed by hunters, for hunters. It is engineered for safety,
security, comfort, and stealth, putting the odds in your favor when the moment of truth arrives. Constructed with
only the highest quality materials it’s built for years of satisfying hunts.
Read this instruction manual and all warnings in its entirety before assembling, installing or using this product.
If you have any questions on assembly, use, safety warnings, or anything else, please contact us by email at
QUESTIONS? Email [email protected] for assistance.
INTRODUCTION
Introduction ………………………………………………………………………………………………………………………………………………………. 2
Parts List …………………………………………………………………………………………………………………………………………………………… 3
Assembly Instructions ……………………………………………………………………………………………………………………………………….4-7
Limited Warranty ……………………………..…………………………………………………………………………………………….………………… 8
CONTENTS
Note: Before beginning assembly of product, make sure all parts are present. Compare parts with
package content list and hardware contents. If any part is missing or damaged do not attempt to
assemble the unit. Contact customer service for replacement parts.
IMPORTANT SAFETY AND WARRANTY DISCLAIMER:
➢For your safety and protection when operating or discharging a firearm, be
sure the barrel is outside the window opening, pointing in a safe direction.
➢Always store the blind in the upright standing position.
➢Always securely stake your blind into the ground or bolt / screw it to a stable
platform through the bottom flange.
STEP 1
STEP 2
STEP 5
STEP 4
STEP 3

Door Panel, 4 windows and 1 door
1
Window Panel, 5 windows
1
Vertical windows
9
Hardware Pack Box (include below parts)
1
[Step 1]
Window hinge sets (18xhinges, 72xmachine screws/nuts)
[Step 1
-A] 18 Spacers
18
[Step 2]
Window latch sets (36 clips, 36 machine screws) and Window
Seal ( 1 Roll)
36, 1
[Step 3]
1/4”
-
20 x 2 1/2” hex bolts with nuts (16 Included, 12 minimum)
16
[Step 4]
Door handle kit (2x handles & 2x hex screws/nuts, 1x door shelf
&4x screws/nuts, 1x handle plate)
1
[Step 5]
Door latches and Door Seal
2, 1
Tools needed for assembly:
✓Drill with 1/4”bit
✓5/16”and 7/16”sockets
✓Phillips head screwdriver
✓Hunting saw or utility knife
Optional tools:
✓Quick- grip or vice grip clamps
✓(to hold pieces together while
drilling)
✓7/16”wrench
TOOLS REQUIRED (NOT INCLUDED):
PARTS LIST

Owner’s Manual
Page 4
QUESTIONS? Email [email protected] for assistance.
ASSEMBLY INSTRUCTIONS:
Step 1:
Install windows
(2 hinges per window)
Take “Step 1” and “Step 1-A”
Pack from Hardware Pack Box.
Peel off protective window wrap
and install the hinges and spacers
into the pre-drilled holes in each
of the windows as shown in figure
1.
The windows, hinges, and screw
heads should be inside the blind.
See Figure 1.
- Do not overtighten nuts; this
can cause the window to crack.
Tighten nuts by hand only.
- Do not use Loctite.
NOTE: With the window closed,
you can now install the RAM Blind
sticker on the outside of the door
window.
Additional RAM Blind sticker is
enclosed for vehicle window.
Figure 1
Installing the
Window hinges
Spacer Hinge

Owner’s Manual
Page 5
QUESTIONS? Email [email protected] for assistance.
ASSEMBLY INSTRUCTIONS:
Step 2:
Install window latches
and window seal
(4 latches per window)
Take “Step 2” Pack from
Hardware Pack Box.
From outside the blind, use
machine screws to mount 4x
window clips per window into
pre-marked dimple marks (no
nut needed) by screwing into
the window latch. Tighten
securely to desired window
latch resistance.
- DO NOT overtighten screws.
Install Window Seal
Install window seal along the
edge of the window opening
inside the blind (best when temps
are between 50-80 degrees).
Window seal can be installed on
the blind or the window itself.
NOTE: With the window closed,
look where the window overlaps
on the blind before installing the
seal to assure the window seal is
inline with the edge of the window
and blind.
NOTE: Use a knife or scissors to
cut your corners.
Figure 2
Install the
window latches

Owner’s Manual
Page 6
QUESTIONS? Email [email protected] for assistance.
ASSEMBLY INSTRUCTIONS:
Step 3
Pairing Panels Together
Take “Step 5” Pack from Hardware
Pack Box. (mislabeled pack #)
Connecting the 2 halves,
slide the 2 halves together with
smaller V guard (DOOR PANEL)
sliding up and under larger V guard
(WINDOW PANEL). Begin with the
dimple mark nearest the bottom, on
each side, drill one hole at a time and
install the bolt and nut on each side
of the blind. After 1st bolts are
installed on each side, work your way
up each side drilling the dimple
marks and installing bolts w/nuts one
by one. Finish drilling out dimple
marks on the roof and installing bolts
w/nuts.
NOTE: Make sure the blind is resting
flat on a level surface when pairing
the two halves.
-Do not overtighten nuts; this can
cause the blind to crack.
Figure 3

Owner’s Manual
Page 7
QUESTIONS? Email [email protected] for assistance.
ASSEMBLY INSTRUCTIONS:
Step 4:
Installing the door handle and
handle ledge assembly
Take all three “Step 4” Packs from
Hardware Pack Box.
Install door handle using the middle
set of 2 pre-drilled holes. The
handles go back-to-back on the
outside and inside of the door with
the metal ledge assembly on the
outside of the door, in-between the
two door handles. The inside door
handle is the only part installed inside
the blind.
Install the blind ledge assembly on
the outside of the blind by using the
middle set of 4 pre-drilled holes
directly across from the top of the
handle assembly. The metal tab
should be on the top of the bracket.
NOTE: The locknuts for the handle
and ledge assembly should all be
tightened inside the blind.
Use a utility knife or fine tooth saw to
cut the remaining plastic tabs around
the door to commence operation of
the door. Figure 4
Install the door
handle assembly

Owner’s Manual
Page 8
QUESTIONS? Email [email protected] for assistance.
ASSEMBLY INSTRUCTIONS:
Step 5:
Installing the top and bottom
door latches
Take “Step 3” Packs from Hardware
Pack Box. (mislabeled pack #)
Install the door latches using the
predrilled holes on the top and
bottom of the right-hand side of the
door. The smaller of the two handles
will be on the outside of the door
along with the round coupling and
larger plastic washer to help the
handle rotate. Inside the door is the
thinner plastic washer, locknut, 2 thin
nuts, larger handle, and securing the
end with the final locknut. There is an
extra plastic collar in the bag that is
not needed for your model blind.
NOTE: The locknuts and thin nuts for
the handle can be adjusted to control
the handle resistance.
NOTE: The door seal should be
installed on the blind before adjusting
the door latch handle resistance.
The door seal comes in one
continues piece. You will need to
measure and cut the seal for the top,
side, and bottom opening around the
door opening. The remaining seal
can be cut to fit in-between door
hinges. Figure 5
Install the door
latches

Owner’s Manual
Page 9
QUESTIONS? Email [email protected] for assistance.
LIMITED WARRANTY*:
LIMITED ONE YEAR WARRANTY. WE WARRANT THIS PRODUCT AGAINST ANY MANUFACTURER DEFECTS
IN MATERAILS AND WORKMANSHIP FOR PERIOD OF ONE YEAR FROM DATE OF PURCHASE FROM
AUTHORIZED RETAILER TO THE ORIGINAL OWNER. WE WILL REPAIR OR REPLACE ANY PART FOUND
DEFECTIVE IF THE UNIT CLAIMED TO BE DEFECTIVE IS RETURNED TO US POSTAGE PREPAID, WITHIN
CLAIMS.
This warranty is void if any product has been subjected to misuse, abuse, neglect (including but not
limited to improper maintenance or failure to follow instructions), storage, improper use, misapplication,
accident, normal wear, modification, adjustment, or repair.
NO OTHER WARRANTIES WHETHER EXPRESSED OR IMPLIED, INCLUDING WARRANTIES OF
MERCHANTABILITY AND FITNESS FOR A PARTICULAR PURPOSE, SHALL APPLY TO THE PRODUCT.
LIMITATION OF LIABILITY
It is expressly understood that our liability for this product, whether due to breach of warranty,
negligence, strict liability, or otherwise , is limited to repair of the product as stated above. We will not
be liable for any other injury, loss, damage, or expense, whether direct or consequential, including but
not limited to loss of use, income, profit, or damage to material from use of this product howsoever
caused.
SERVICING YOUR PRODUCT:
If you have any difficulties, need repairs, or have questions about your blind, please contact us first by
retailer.
PLEASE NOTE:
We reserve the right to make substitutions on warranty coverage for any reason, including but not
limited to available parts.
*Limited Warranty to the Original Owner.
NEXCAM INC.
405 Annandale Blvd.,
Annandale, MN 55302
Email: [email protected]om
Website: https://nexcam.com
Table of contents
Other NEXCAM Outdoor Furnishing manuals
Popular Outdoor Furnishing manuals by other brands

Outsunny
Outsunny 84C-145 Assembly instruction

Courtyard Creations
Courtyard Creations KUS128D-WM Assembly instructions
Great Gazebo
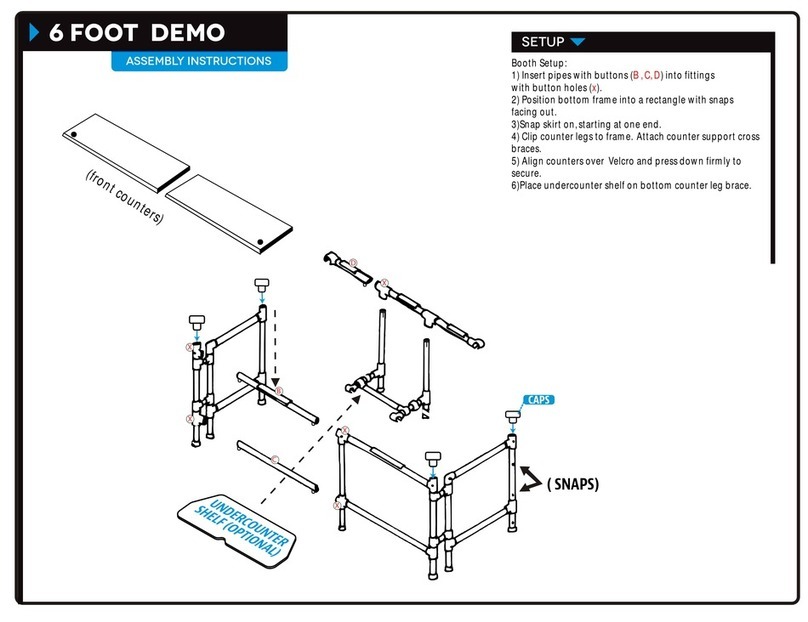
Great Gazebo 6 FOOT DEMO Assembly instructions
Jysk
Jysk SMINGE 3600533 manual
CLEAR DESIGN
CLEAR DESIGN COVE CPOP General installation guide

Belson Outdoors
Belson Outdoors DF8WB-P instruction sheet
GRAND RESORT
GRAND RESORT 10x12 Add-A-Room Gazebo with Netting Use and care guide
Polly Products
Polly Products 3T32 Receptacle Assembly
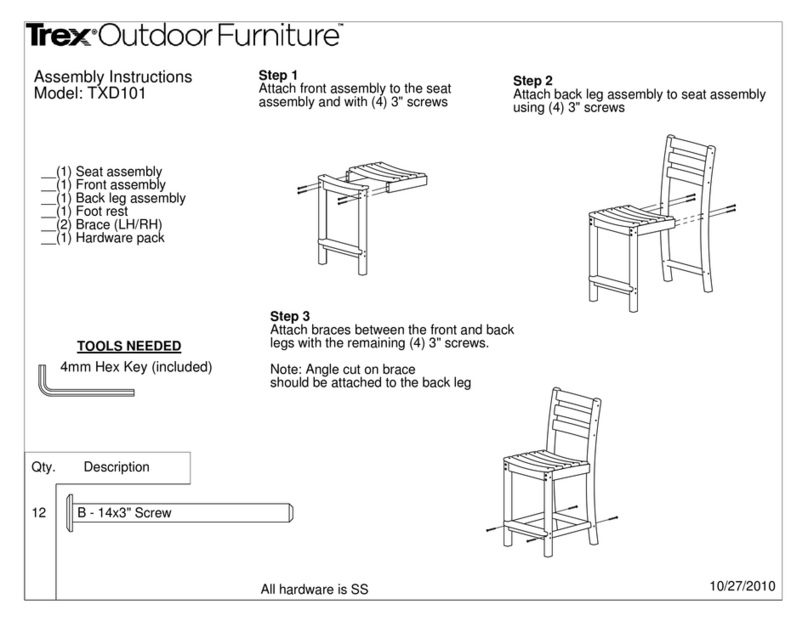
TREX
TREX TXD101 Assembly instructions
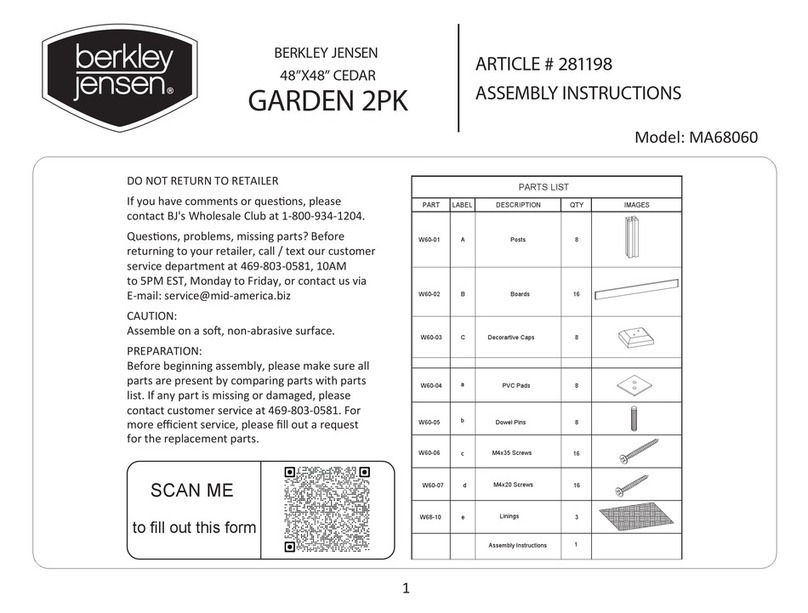
Berkley Jensen
Berkley Jensen MA68060 Assembly instructions
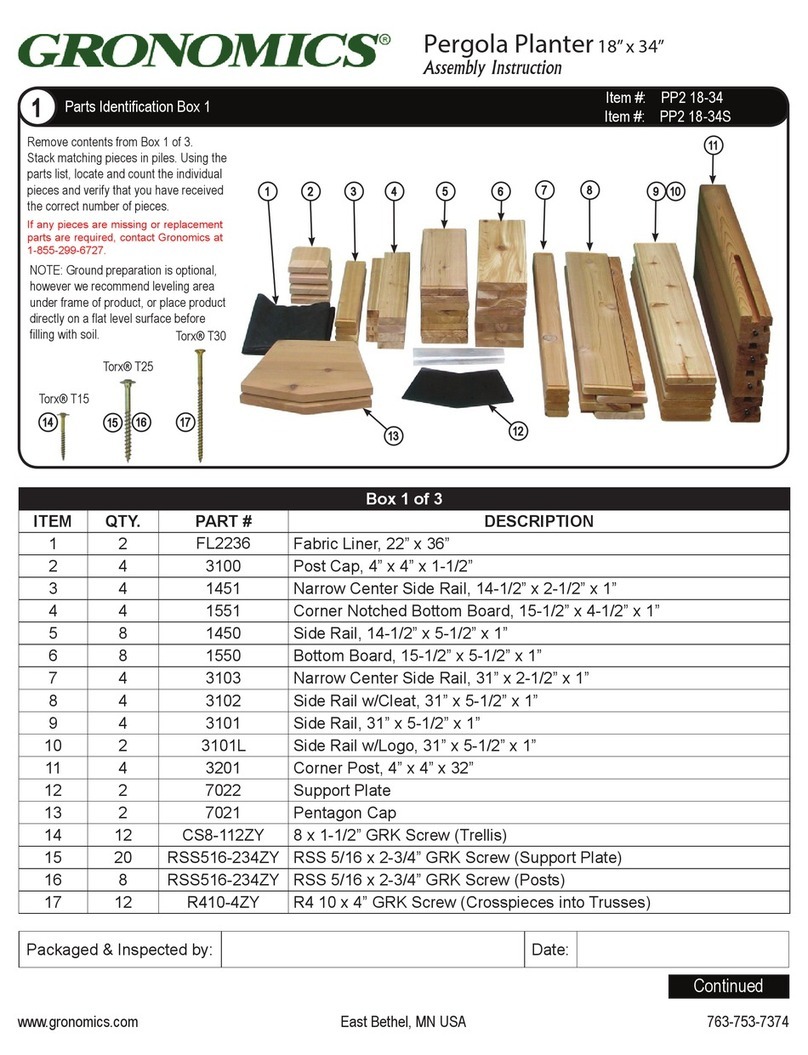
Gronomics
Gronomics PP2 18-34 Assembly instruction
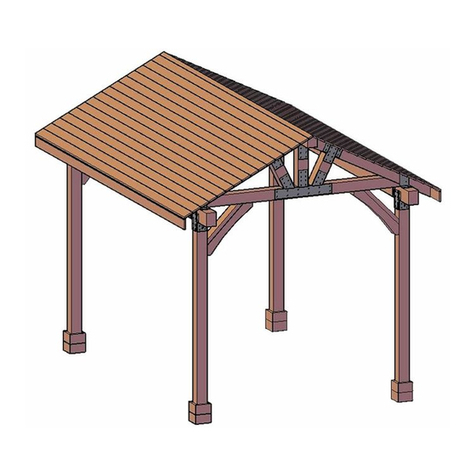
Forever Redwood
Forever Redwood THE THICK TIMBER TOLEDO WOOD PAVILION Assembly instructions
