Next Cooking Generation Waveco User guide
USE, MAINTENANCE AND INSTRUCTIONS MANUAL
Last update 10/04/2018
2
USE, MAINTENANCE AND INSTRUCTIONS MANUAL
INTRODUCTION
Dear Customer, we would like to thank you and congratulate you on the purchase of one of
our products.
This manual was designed to provide all the necessary information about the machine and
the relevant standards, as well as the instructions for use and maintenance for best usage
while keeping it efcient over time.
Hand this manual to the people who will operate the machine and maintain it.
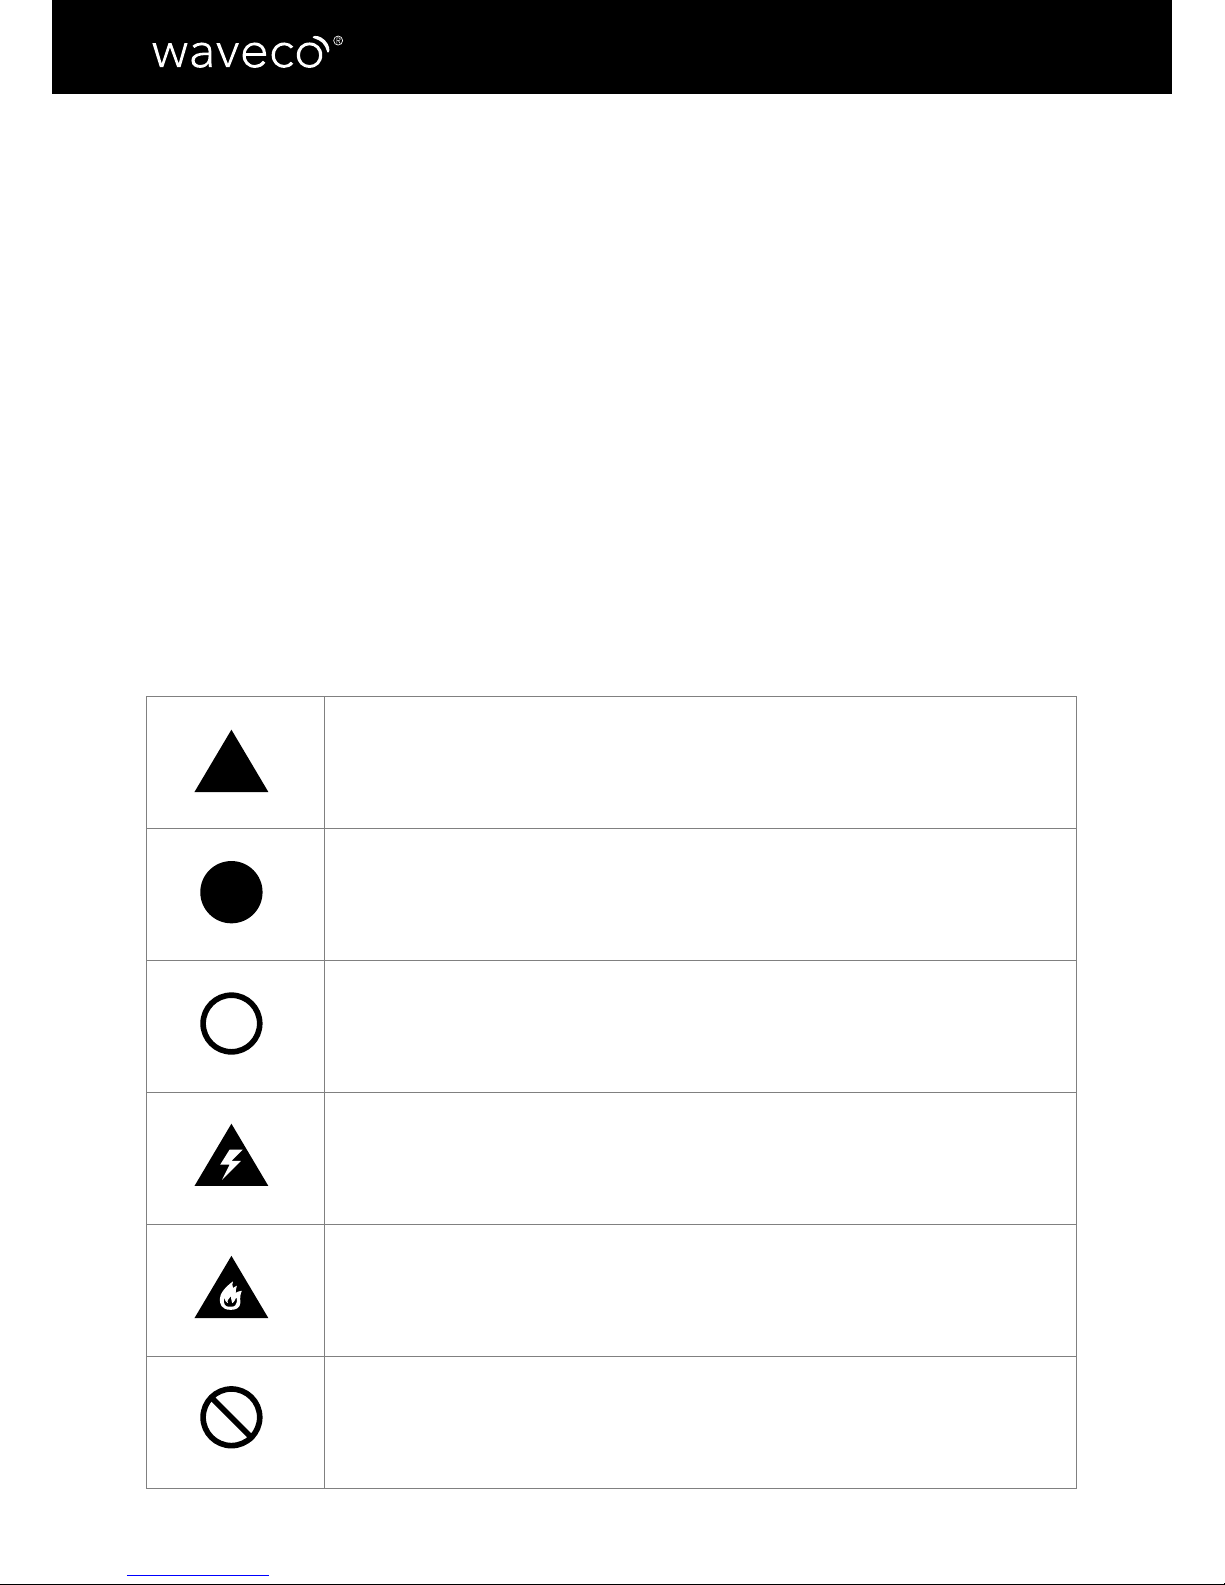
SYMBOLS
The precautions listed below prevent damage to people and things. Please pay maximum
attention.
The following symbols are used to indicate the level of hazard and damage:
WARNING
This symbol indicates a potentially dangerous situation. If ignored, it may result in serious injuries
to the people who use the machine.
CAUTION
This safety symbol indicates messages or instructions that should be followed to ensure the
proper functioning of waveco®. Failure to follow them strictly may result in serious damage to
the machine.
INFORMATION
This symbol indicates important instructions for the proper functioning of the machine. Filure to
follow them properly may result in poor functioning.
HAZARD
This symbol indicates hazards due to electricity. Ignoring it may result in serious injuries or death.
HAZARD
This symbol indicates potentially hazardous situations that may cause burns due to hot surfaces
or liquids.
PROHIBITION
This symbol indicates a prohibition. Carrying out these operations may compromise the proper
functioning of the machine.
!
!
i

3
ENGLISH
INDEX OF CHAPTERS
1. FEATURES page 5
Dimensions
Technical Specications
Standard equipment
2. INSTALLATION
INSTRUCTIONS page 8
Installation standards
Installation warnings
Introduction and general safety regulations
Rating
Installation
Positioning
Power connection
Water supply connection
3. START-UP AND USE page 12
User warnings
Information about the functioning modes
Containers
Food arrangement
4. CONTROL PANEL page 13
Use
Settings screen
Operating modes
Automatic mode
Entering, deleting and modifying a new
program
Manual mode
Cycle description
5. GUIDED EXAMPLES
OF USE page 1
Automatic mode functioning
Manual mode functioning
6. MAINTENANCE page 23
Basic safety standards
Ordinary cleaning
Cleaning internal and external surfaces
7. ISSUES AND
REPAIRS page 25
Malfunctioning
Possible issues and solutions
Customer service
8. DISPOSAL page 27
9. DECLARATION OF
CONFORMITY page 28

4
USE, MAINTENANCE AND INSTRUCTIONS MANUAL
CHAPTER 1 - FEATURES
Supply and power
Ultrasonic power: MAX 0.8 KW
Resistor power: MAX 1.6 KW
Power rating: MAX 3.0 KW
Power supply: 230 V 50 Hz
Caution: waveco®uses combined energy
cycles; the total power value is purely
indicative; for the actual consumption, refer
to the value of each cycle.
Operator/control panel
4.3” touch screen display 480×272 TFT 262K
CPU/processor ARM926 32 Bits 454 MHz
NETWORK: Wi-Fi Ready
Countertop model
Overall maximum dimensions
Dimensions
Max length: 550 mm
Max depth: 770 mm
Max height: 450 mm (adjustable feet
included and +/- 5 m/m adjustment)
Weight: 38kg without the box
Hydraulic features
Maximum capacity: 30 l - Stainless steel
AISI 316 tank
Drain system: manual located on the on
the left side and manual, in stainless steel
AISI 304, lever coated with anti-slip plastic
material
Water system: Water hoses in stainless
steel AISI 304
Water safety system: Optoelectronic
sensor for water level inside the tank.
Product origin
The machine and all its components are manufactured within the European Community. Our
machines are hand-assembled in our Italian plant with the utmost care and dedication to
ensure the highest quality to ensure the highest quality and perfect functionality.

5
ENGLISH
Supply and power
Ultrasonic power: MAX 0.8 KW*
Resistor power: MAX 2.23 KW
Power rating: MAX 3.0 KW
Power supply: 230 V 50 Hz
Caution: waveco®uses combined energy
cycles; the total power value is purely indi-
cative; for the actual consumption, refer to
the value of each cycle.
Operator/control panel
4.3” touch screen display 480×272 TFT
262K
CPU/processor ARM926 32 Bits 454 MHz
Device remote control and technical assi-
stance via an ethernet cable and an access
point connected to the Internet.
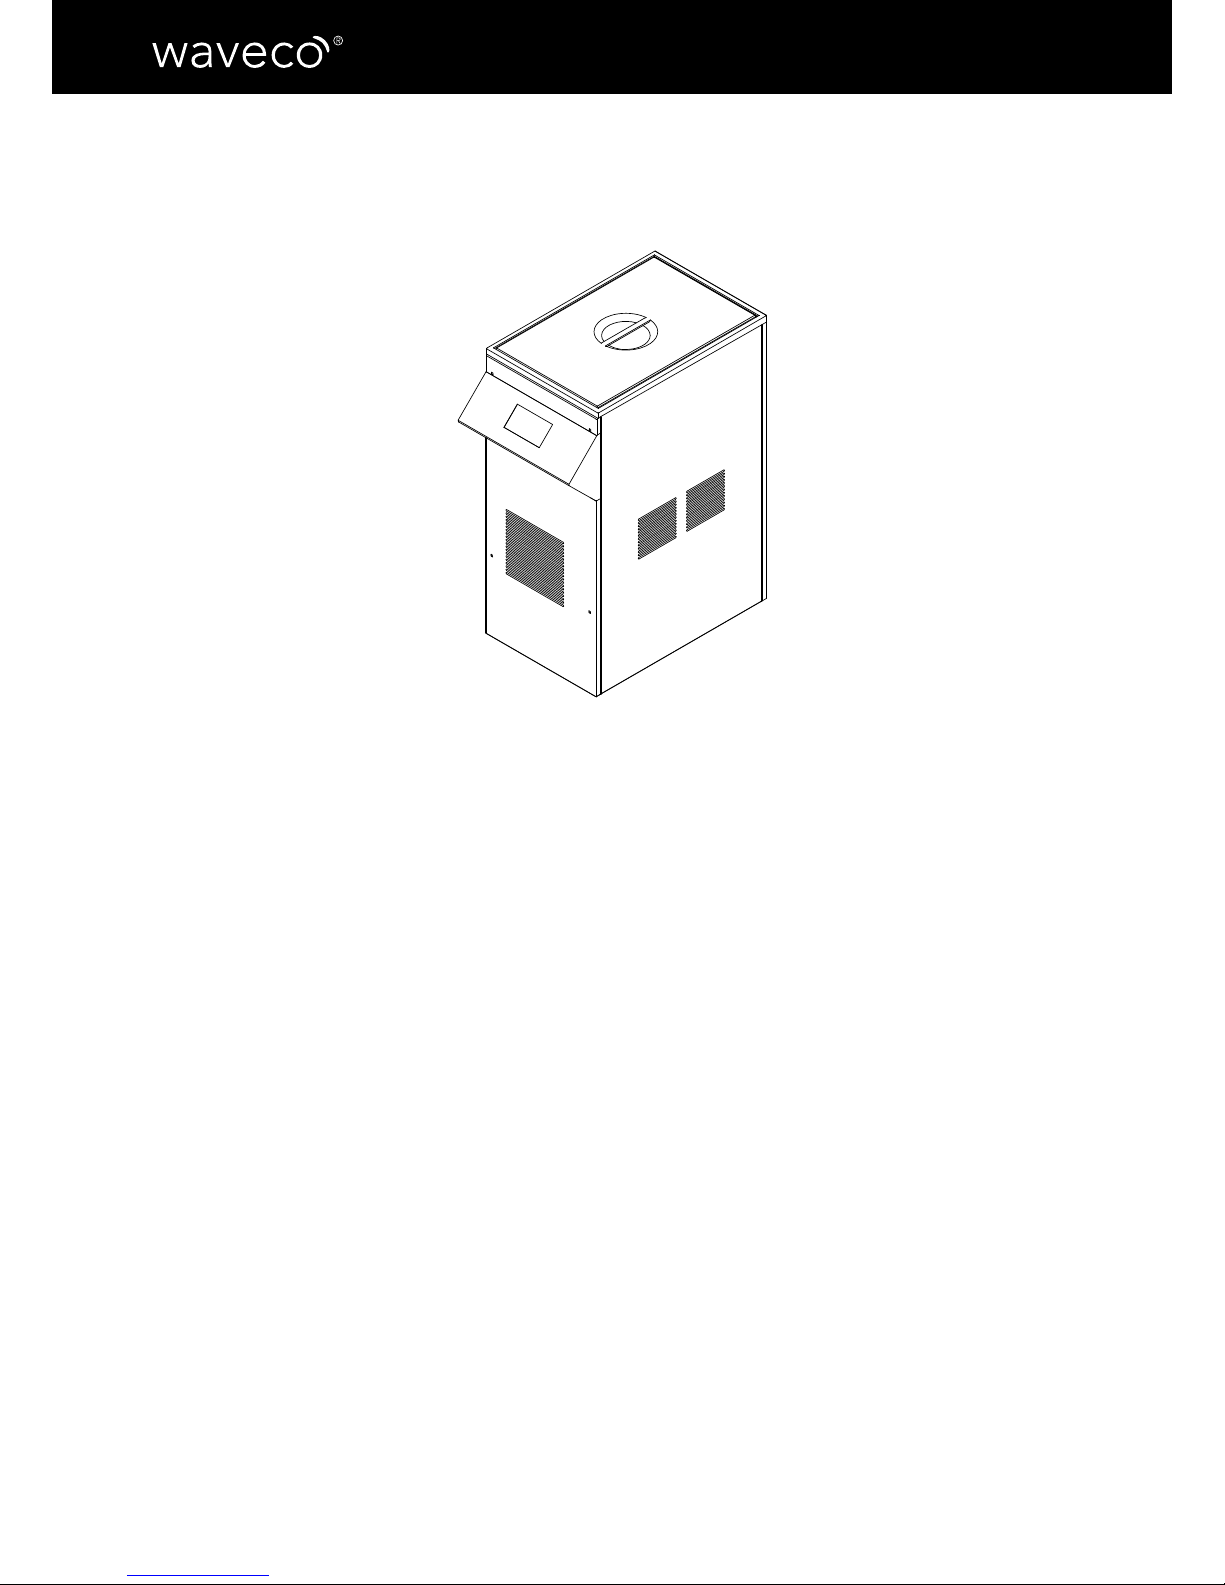
Built-in model
Overall maximum dimensions
Dimensions
Max length: 393 mm
Depth: 597 mm
Height: 662mm (adjustable feet excluded)
Weight: 60 kg without packaging
Hydraulic characteristics
Maximum capacity: 50 l - Tank in stainless
steel AISI 316
Drain system: automatic with water sup-
ply and drain levelling through taps which
are compatible with all standard pipes.
Hydraulic system: Water hoses in stainless
steel AISI 304
Hydraulic safety system: Optoelectronic
sensor for water level inside the tank.
6
USE, MAINTENANCE AND INSTRUCTIONS MANUAL
Supply and power
Ultrasonic power: MAX 0.8 KW
Resistor power: MAX 2.23 KW
Power rating: MAX 3.0 KW
Power supply: 230 V 50 Hz
Caution: waveco®uses combined energy
cycles; the total power value is purely indi-
cative; for the actual consumption, refer to
the value of each cycle.
Operator/control panel
4.3” touch screen display 480×272 TFT
262K
CPU/processor ARM926 32 Bits 454 MHz
NETWORK: Wi-Fi Ready
Roll-in model
Overall maximum dimensions
Dimensions
Max length: 400 mm
Depth: 710 mm
Height: 895 mm
Weight: 60 kg without the box
Hydraulic features
Maximum capacity: 50 l - Stainless steel
AISI 316 tank
Drain system: automatic with water sup-
ply and drain levelling through taps which
are compatible with all standard pipes.
Hydraulic system: Water hoses in stainless
steel AISI 304
Water safety system: Optoelectronic sen-
sor for water level inside the tank.

7
ENGLISH
CHAPTER 2 - INSTALLATION INSTRUCTIONS
Installation standards
Installation warnings
The user must carefully read this manual and always refer to it; also, the manual should
be stored in a place known and available to all authorized operators (user, maintenance
operator).
Next Cooking Generation waives any and all responsibilities and warranty obligations if
damage is caused to the machine, people or objects due to:
•Improper installation and/or installation against the regulations in force;
•Modications or actions which are not specic to the model;
•Use of non-original spare parts or which are not specic to the model;
•Failure to comply even in part with the instructions in this manual;
•Failure to comply with health and safety regulations and laws in force during installation.
Introduction
Before installing waveco®, make sure that electrical systems are as required
by law and appropriate to the rating of the equipment to be installed
(voltage [V], frequency [Hz], power [W]).
Every Next Cooking Generation machine comes with a declaration of conformity with
applicable regulations.
Transport, moving and unpacking
The manchine must be loaded and unloaded from the lorry, or any other means
of transport, with the correct equipment.
When moving it all the necessary precautions must be taken to avoid any
damage to the machine as well as any injury to people, in line with the
instructions placed on the packaging.
Unpacking: remove the box and take the machine out. The machine should be taken out by
2 people.
To remove the packaging, we recommend not to use box cutters or sharp
knives.
!
8
USE, MAINTENANCE AND INSTRUCTIONS MANUAL
After removing the packaging, make sure straight away that the machine is
intact. In case of damage, do NOT operate waveco®but contact Gourmet
Services.
It is best to keep waveco®’s original packaging until the waranty expires.
Ecology notes: all the various parts of the packaging must not be dispersed in the environment,
but disposed of in compliance with the local regulations for refuse disposal. (see Chapter 8)
If there are traces of water inside the machine, this is due to the test
carried out prior to shipping.
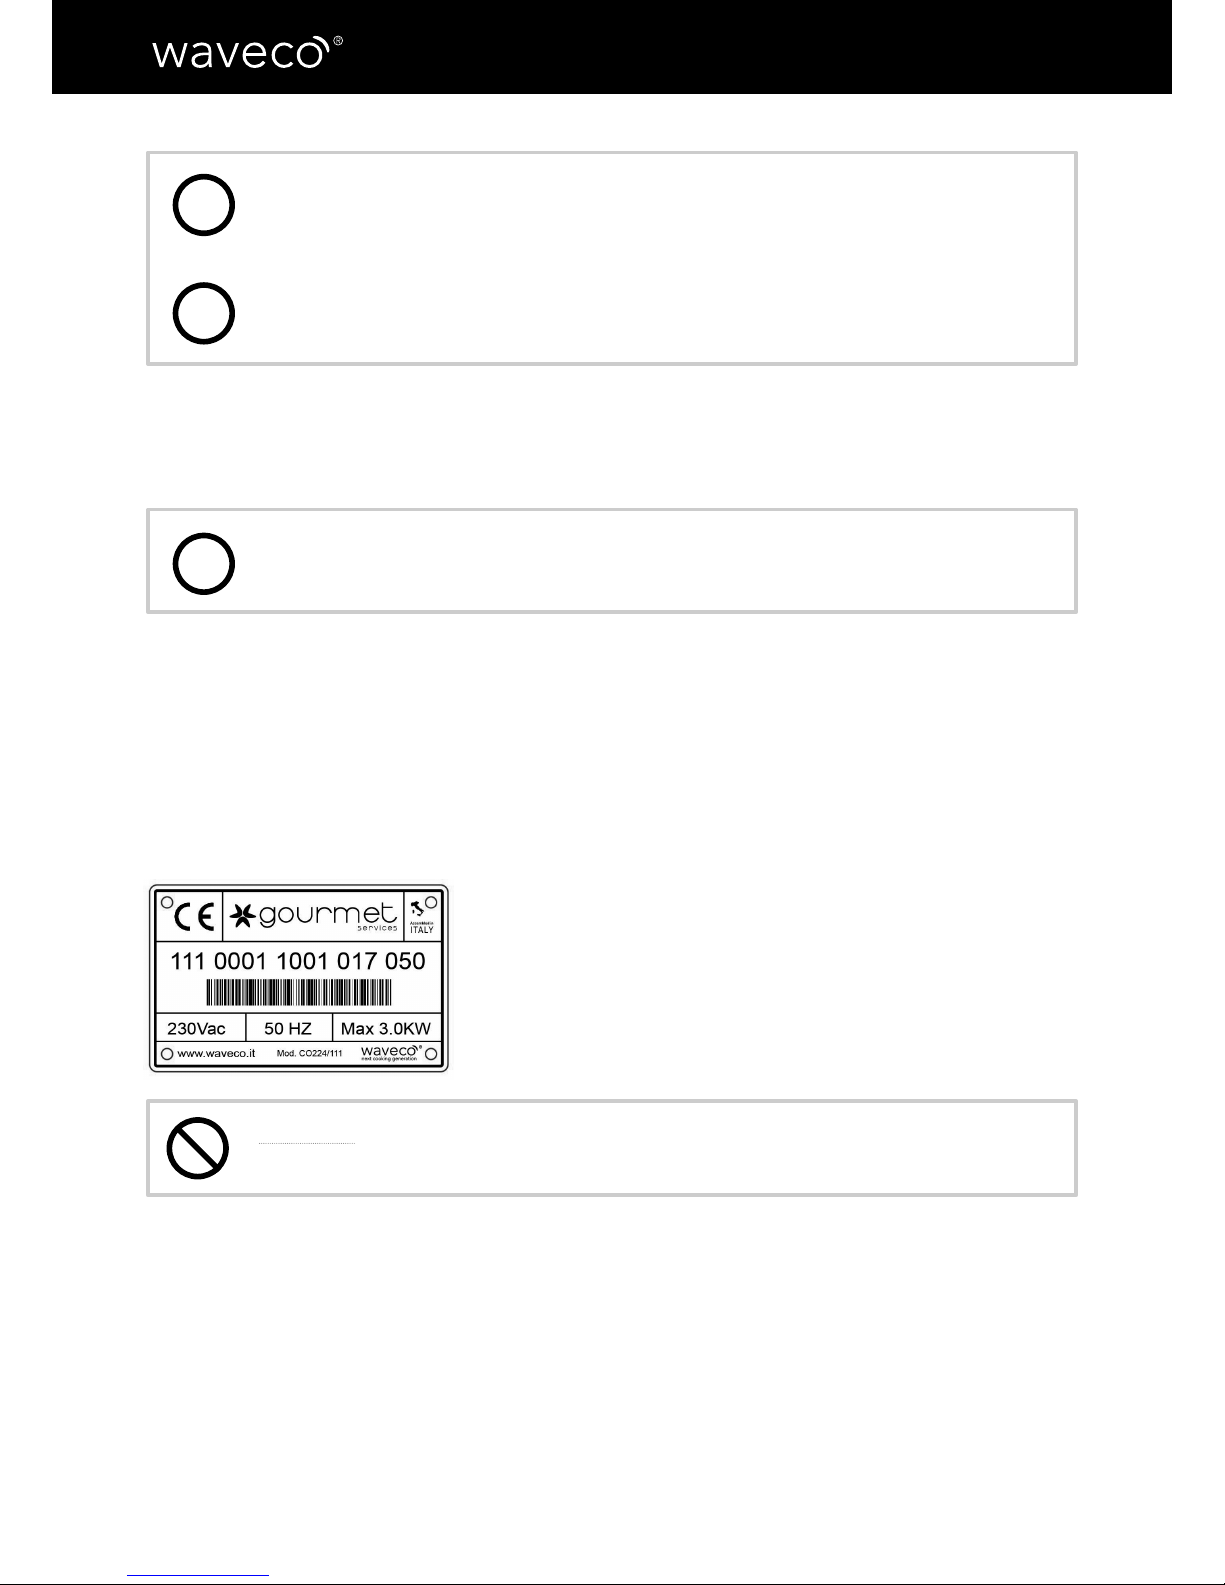
Installation
Rating
The plate specifying the waveco® model and specications is placed at the back, in the
lower right hand side of the machine, near the power cable.
The information reported is listed below:
•Manufacturer’s complete details
•Serial number
•Year of manufacture
•Voltage and frequency
•Electric power
•Weight in kg
Warning: it is recommended not to remove, damage or modify the rating
label.
Positioning
It is recommended not to place the machine in enclosed spaces with high temperatures and
poor ventilation, in direct sunlight or near heat sources.
For the waveco®built-in model, the piece of furniture’s dimensions should be the same
as those specied in paragraph “Overall maximum dimensions of the waveco® roll-in
model”.
i
i
i
9
ENGLISH
Warning: connect the supplies only after adjusting the feet provided (not
included in the waveco® ROLL-IN model) and properly levelling it on a at
and stable surface.
Caution: place waveco®on a surface that can bear the load and is not
subject to vibrations.
Power connection
Connect waveco®to the electricity grid using the power cable already connected to the
machine, 2.6 m long with 16A Schuko plug (plug not supplied with waveco®BUILT-IN model)
Installation details
•Make sure the plug is accessible, even after installation. If the machine’s
plug is not easy to reach, the power grid should have omnipolar
switches with a contact opening that allows current cut-off.
•Do not wrap the power cable around itself. Make sure it is not an
obstacle or a danger to people.
•Check that the power cable is not creased, crushed or folded.
•Do not let the power cable come into contact with liquids, hot or sharp
objects and corrosive substances.
•Do not reduce the power cable length or modify the power plug.
Water connection
The water supply and drain system is automatic, except for the waveco®COUNTERTOP
version.
The automatic models are connected to the water supply network through a ½ threaded
inlet hose and a 30 cm-long threaded ½ drainage hose supplied, from which you can make
your water outlets.
Connect waveco®COUNTERTOP model to the water supply network using the 2 m-long 13
mm-diameter transparent silicone hoses supplied tting the water inlet section.
!
!
10
USE, MAINTENANCE AND INSTRUCTIONS MANUAL
!Caution: Before connecting to the water supply network, make sure water
is clear, free from impurities and pollutants to prevent damage to the
machine.
Caution: water is the only liquid that can be put into the tank.
Warning: for proper functioning, always make sure that water level is
good.
!
11
ENGLISH
Chapter 3 - START-UP AND USE
waveco® is the rst professional machine introducing the innovative induced maturation©
process in the food industry. The ultrasonic massaging effect increases food tenderness and
extends its shelf-life by eliminating the bacterial load.
With waveco®’s low temperature potential cooking mode, you can cook food in less time
through a soft process which does not stress the food and enhances its avour for perfect,
consistent and repeatable cooking results.
Also, waveco®saves you time, power reduces food cost.
Warnings for the user
•Read this manual carefully and always refer to it.
•If you witness any issues (for example, a damaged power cable or malfunctioning control
panel), do not use waveco®and contact Next Cooking Generation for help.
•waveco®should be used for the intended purpose, meaning induced maturation of food
and low temperature potential cooking. Any other use will be considered as misuse and
potentially dangerous.
Information about the functioning modes
Functioning
You can run the operating cycles in manual or automatic mode and control them using the
operator’s panel.
Food containers
For induced maturation©and low temperature potential cooking cycles, you must put your
food into sealed or vacuum food bags.
Caution: the bags should comply with 1935/2004/EC Regulation and the
Italian Ministerial Decree 21/03/1973, as later amended. Always use 100%
BPA free bags with a minimum capacity of 100 g.
Food arrangement
It is preferable to properly arrange the food inside waveco®using the grid supplied. If
possible, do not stack the food for proper functioning.
!
12
USE, MAINTENANCE AND INSTRUCTIONS MANUAL
CHAPTER 4 - CONTROL PANEL
Use
waveco®operator’s panel features touch screen commands with user-friendly and smart
Apps that will guide you through the several functions.
Caution: to prevent damage to the touch screen, select the processes
using only your hands. Do not use objects such as knives, forks, touch
pens, etc.
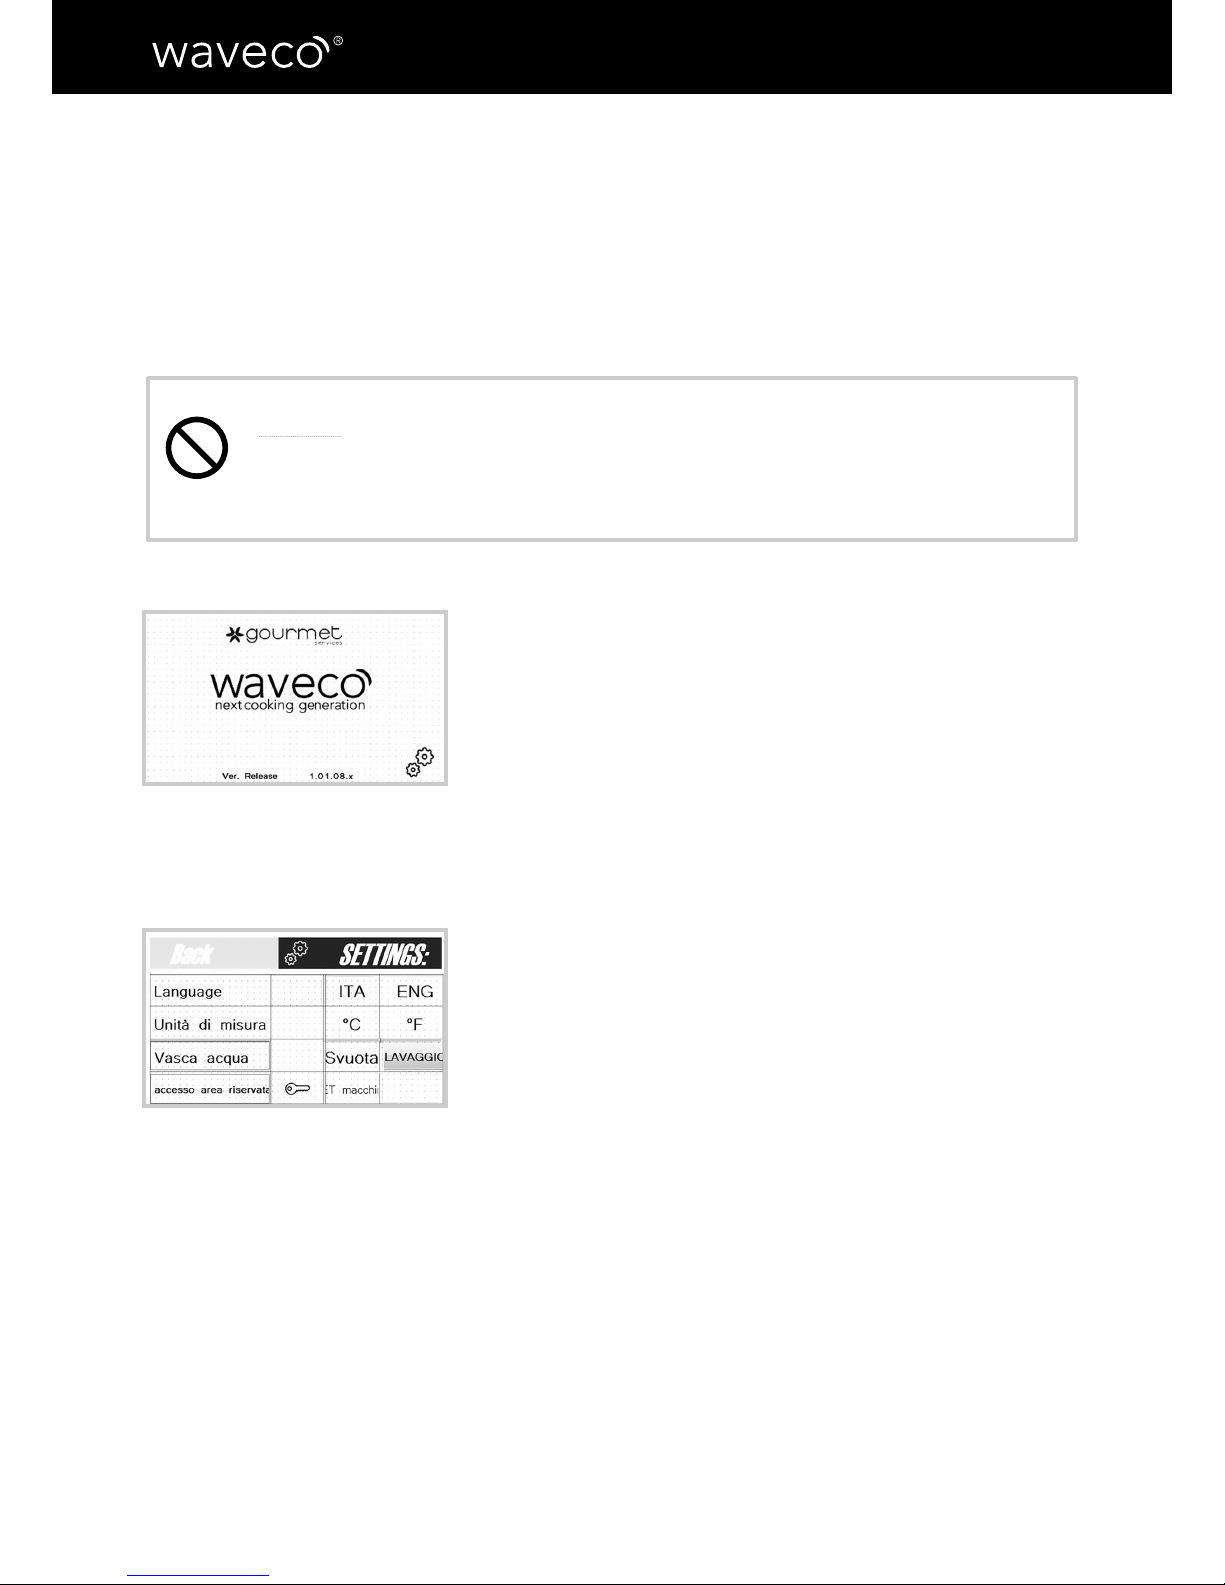
On start-up, the Gourmet Services icon will appear, followed
by a control screen (g.1) The machine automatically checks
the UT module, the temperature probe and the water level. In
case of problems, the machine reports the error and freezes.
g. 1
g. 2
Settings screen
At the bottom of the initial screen, there is a gear icon (g.1)
that allows to modify some machine settings.
a) Language: you can choose between Italian and English
b) Unit of measurement: you can choose Celsius (°C) or
Fahrenheit (°F) degrees
c) Water tank. This setting has two feature keys:
•water drain key (in automatic versions)
•wash tank key: tap it after ordinary cleaning (see chapter
6)
13
ENGLISH
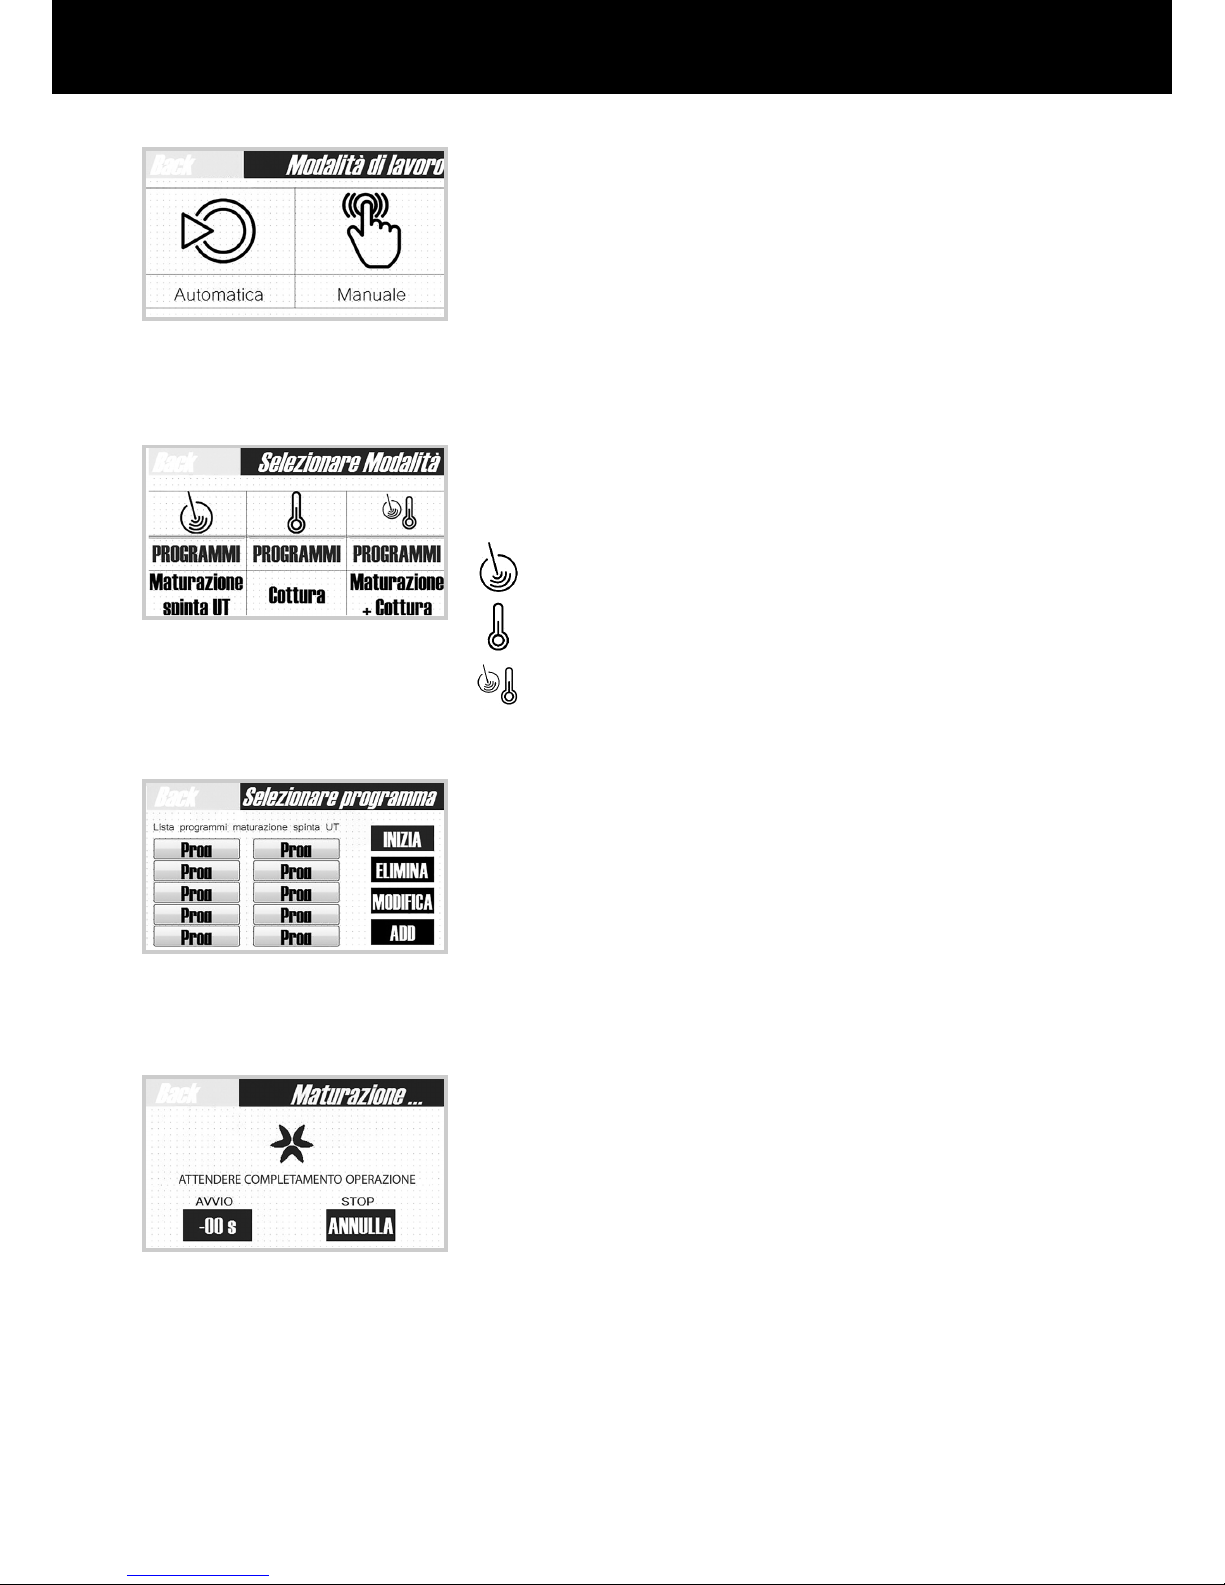
Operating modes
The initial screen allows to choose the operator’s operating
mode: automatic or manual. (g.3)
g. 3
g. 4
g. 5
g. 6
Automatic operation
The screen shows the different operating modes (g.4)
Induced maturation©
Low Temperature Potential Cooking
Maturation + cooking
Once pressed the desired cycle, the machine shows on the
panel left side the list of the 10 loaded programs (g.5),
and on the right side the different options available: “start
program” key, “delete program” key, “modify program” key,
“add program” key. (g.5)
After choosing the program you want, select the “start” key
for the machine to start the process: the next screen shows
the time and the temperature for the whole cycle (g.6)

14
USE, MAINTENANCE AND INSTRUCTIONS MANUAL
Entering, deleting and modifying a new program
For each operating mode, you can enter a list of 10 programs.
a) ENTERING PROGRAMS
•From the (g.7) screen, click on “add program”
•Enter the name (g.8) and click on “conrm”
•Depending on the program (Induced Maturation©, Low
Temperature Potential Cooking or Maturation + Cooking),
enter “duration” and “temperature” using the arrows
provided and then press “conrm”
•The new program appears on the panel left side
b) MODIFYING PROGRAMS
•From the screen in (g.7), click on “modify” program
•Modify the name (g.9) and click on “conrm”
•Depending on the program (Induced Maturation©, Low
Temperature Potential Cooking or Maturation + Cooking),
enter “duration” and “temperature” using the arrows
and then press “conrm”
•The modied program appears on the left side of the
panel
c) DELETING PROGRAMS
•From the (Fig.7) list, select the program you want to
delete and click on “delete”
•The program is deleted
g. 7
g. 8
g. 9

15
ENGLISH
Manual operation
The screen shows the different operating modes (g.10)
Induced Maturation©
Low Temperature Potential Cooking
Maturation + Cooking
After pressing the desired cycle, use the arrows to set the
following:
•for induced maturation©, the duration (g.11)
•for low temperature potential cooking, the duration and
temperature (g.12-13)
•for the combined cycle, the duration of induced
maturation© and cooking duration and temperature. (g.
11-12-13)
After making these adjustments, press the “start” key for
the machine to start the process.
g. 10
g. 11
g. 12
g. 13

16
USE, MAINTENANCE AND INSTRUCTIONS MANUAL
Cycle description
Induced Maturation©
With this cycle you can soften any kind of food. All the
organoleptic and nutritional properties are preserved and the
bacterial load is immediately dropped. Induced Maturation®
does not cook the food; however, during operations, water
may become hot because of the ultrasonic wave owing
through it. In this case, the machine prompts the operator
that they can stop the process and change the water to bring
it back within the suitable temperature range for the induced
maturation®cycle.
Low Temperature Potential Cooking
This delicate process (max temperature: 85°C) cooks food
in less time and in the best way, enhancing its quality and
avours.
This kind of cooking is called “potential” because it allows
to reach the right temperature at the core of food earlier
thanks to a higher circulation of water inside the tank, which
provides better heat penetration into the food.
Maturation + Cooking
This cycle is divided into two steps: maturation and cooking.
In the rst step, the food is tendered and the bacterial load
is dropped. In the second step, the food is cooked.
g. 14

17
ENGLISH
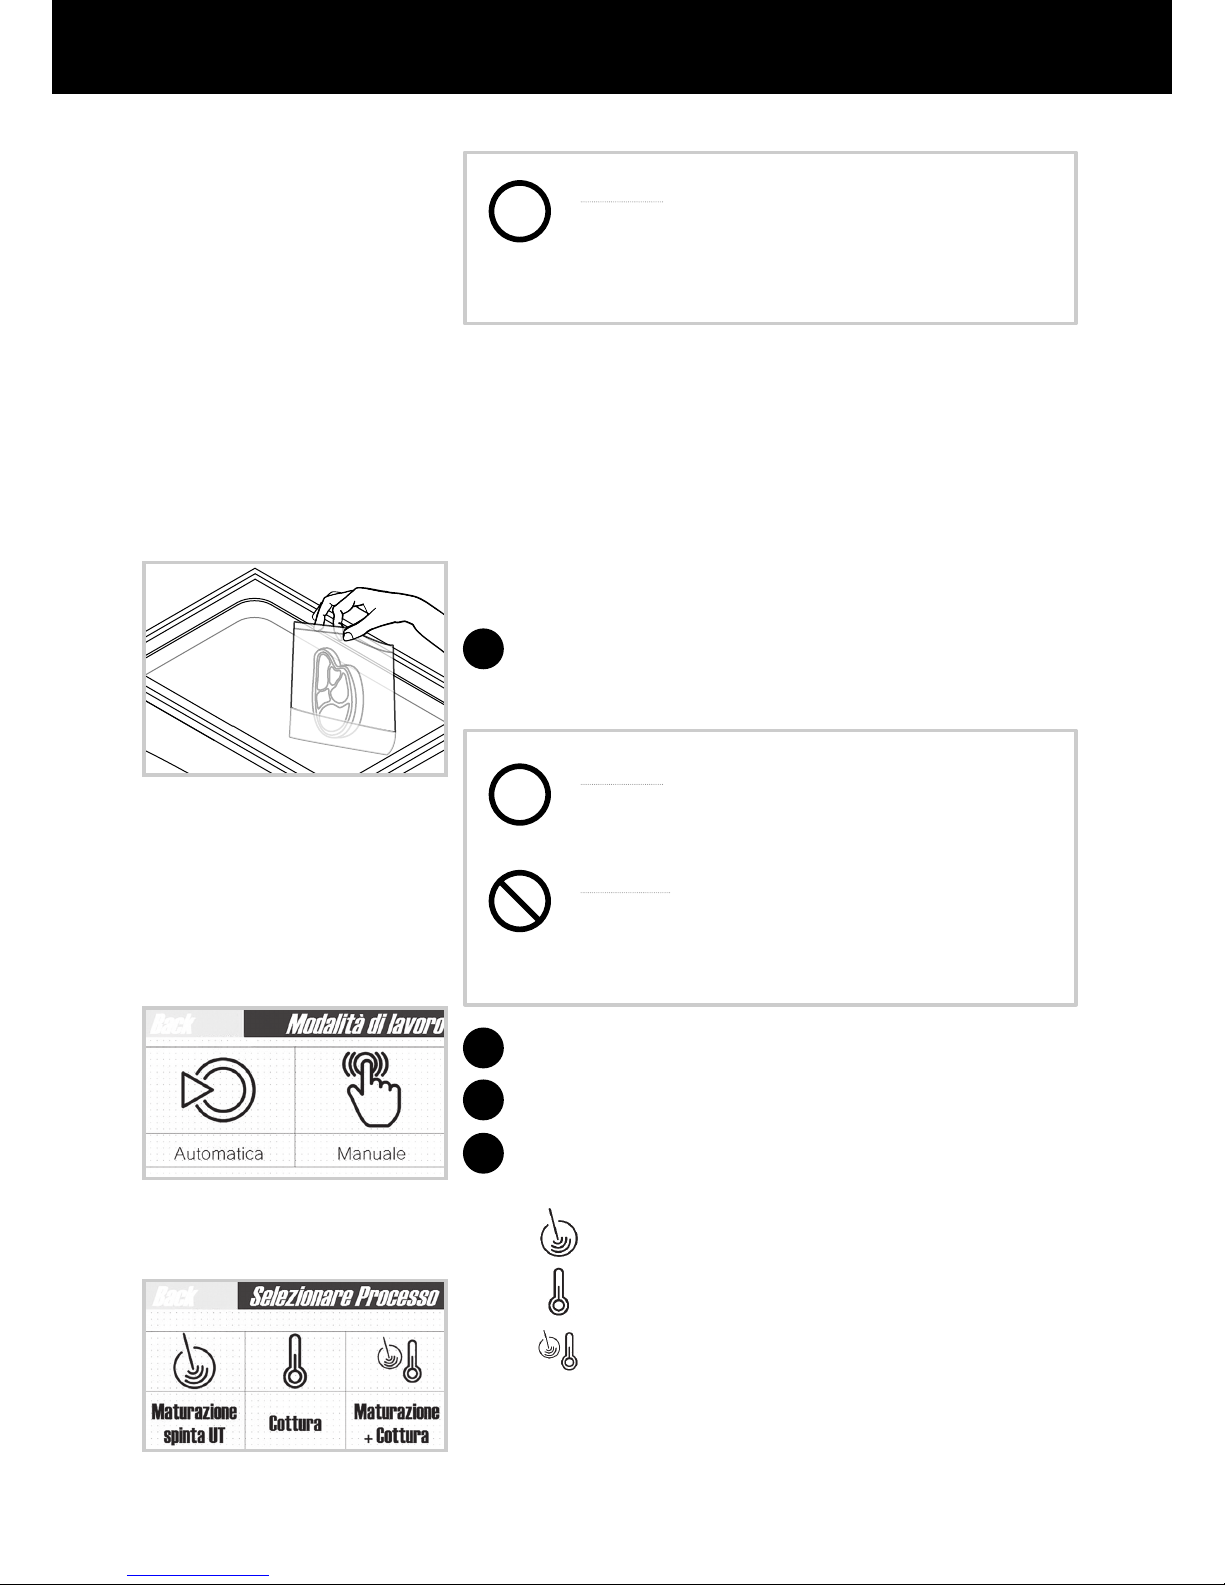
Chapter 5 - Guided examples of use
Caution: Before operating waveco®, check the machine’s proper
positioning and the connections to the water supply network and the
power grid. (See chapter 2)
Caution: Make sure bags are properly closed
to prevent water from getting inside.
Warning: do not exceed the maximum
quantity of food allowed inside the tank to
avoid water leaks or technical issues.
Start waveco®
Select the “automatic” operating mode (g.16)
Select the desired cycle:
Induced Maturation©
Low Temperature Potential Cooking
Maturation + Cooking
Choose the food from the program list and then tap the
“start” key. (g.17)
1
2
3
4
5
g. 15
g. 16
g. 17
!
i
Automatic mode functioning
Put the bags containing food inside waveco® tank
(Fig.15).

18
USE, MAINTENANCE AND INSTRUCTIONS MANUAL
6
7
g. 18
g. 19
g. 20
g. 21
Caution: in case of wrong selection, you can
cancel the operation using the “cancel” key
and then repeat the selection. (g.18)
The machine runs a “preparation” stage and then
starts the selected cycle. During the whole process,
the operator’s panel screen shows the time left and
water temperature (g.19)
Caution: if the water temperature or level
exceed the limit allowed for the selected
cycle, the machine stops the process and
reports the problem (g.20) allowing the
operator to choose whether to “continue”
or “stop” the operation.
If you select “no” to stop the process, the “automatic”
versions drain the water and then supply it back into
the machine and adjust the temperature and level.
While in “manual” versions, you need to manually
drain and then supply the water back into the machine.
(Fig.21). The cycle resumes from where it stopped only
once the adjustment is completed.
If you select “yes”, the machine continues the process.
Warning:incaseofproblems,werecommend
not to continue the cycle selected on the
machine. Food may irreparably lose quality.
Once the operating cycle is over, the machine stops
and the message “process completed” appears on the
screen. Now you can take the food bags out of the
waveco®tank.
i
i
i
19
ENGLISH
Caution: this waveco®version does not beep
at the end of the cycle. In order to safeguard
food quality, pay maximum attention to the
residual time of the process.
Manual mode functioning
Put the bags containing food inside waveco®tank,
arranging them properly using the grid supplied
(g.22).
Caution: Make sure bags are properly closed
to prevent water from getting inside.
Warning: do not exceed the maximum
quantity of food allowed inside the tank to
avoid water leaks or technical issues.
Start waveco®
Select the “manual” operating mode (g.23)
Select the desired cycle (g.24)
Induced Maturation©
Low Temperature Potential Cooking
Maturation + Cooking
1
2
3
4
g. 24
g. 23
i
i
g. 22
20
USE, MAINTENANCE AND INSTRUCTIONS MANUAL
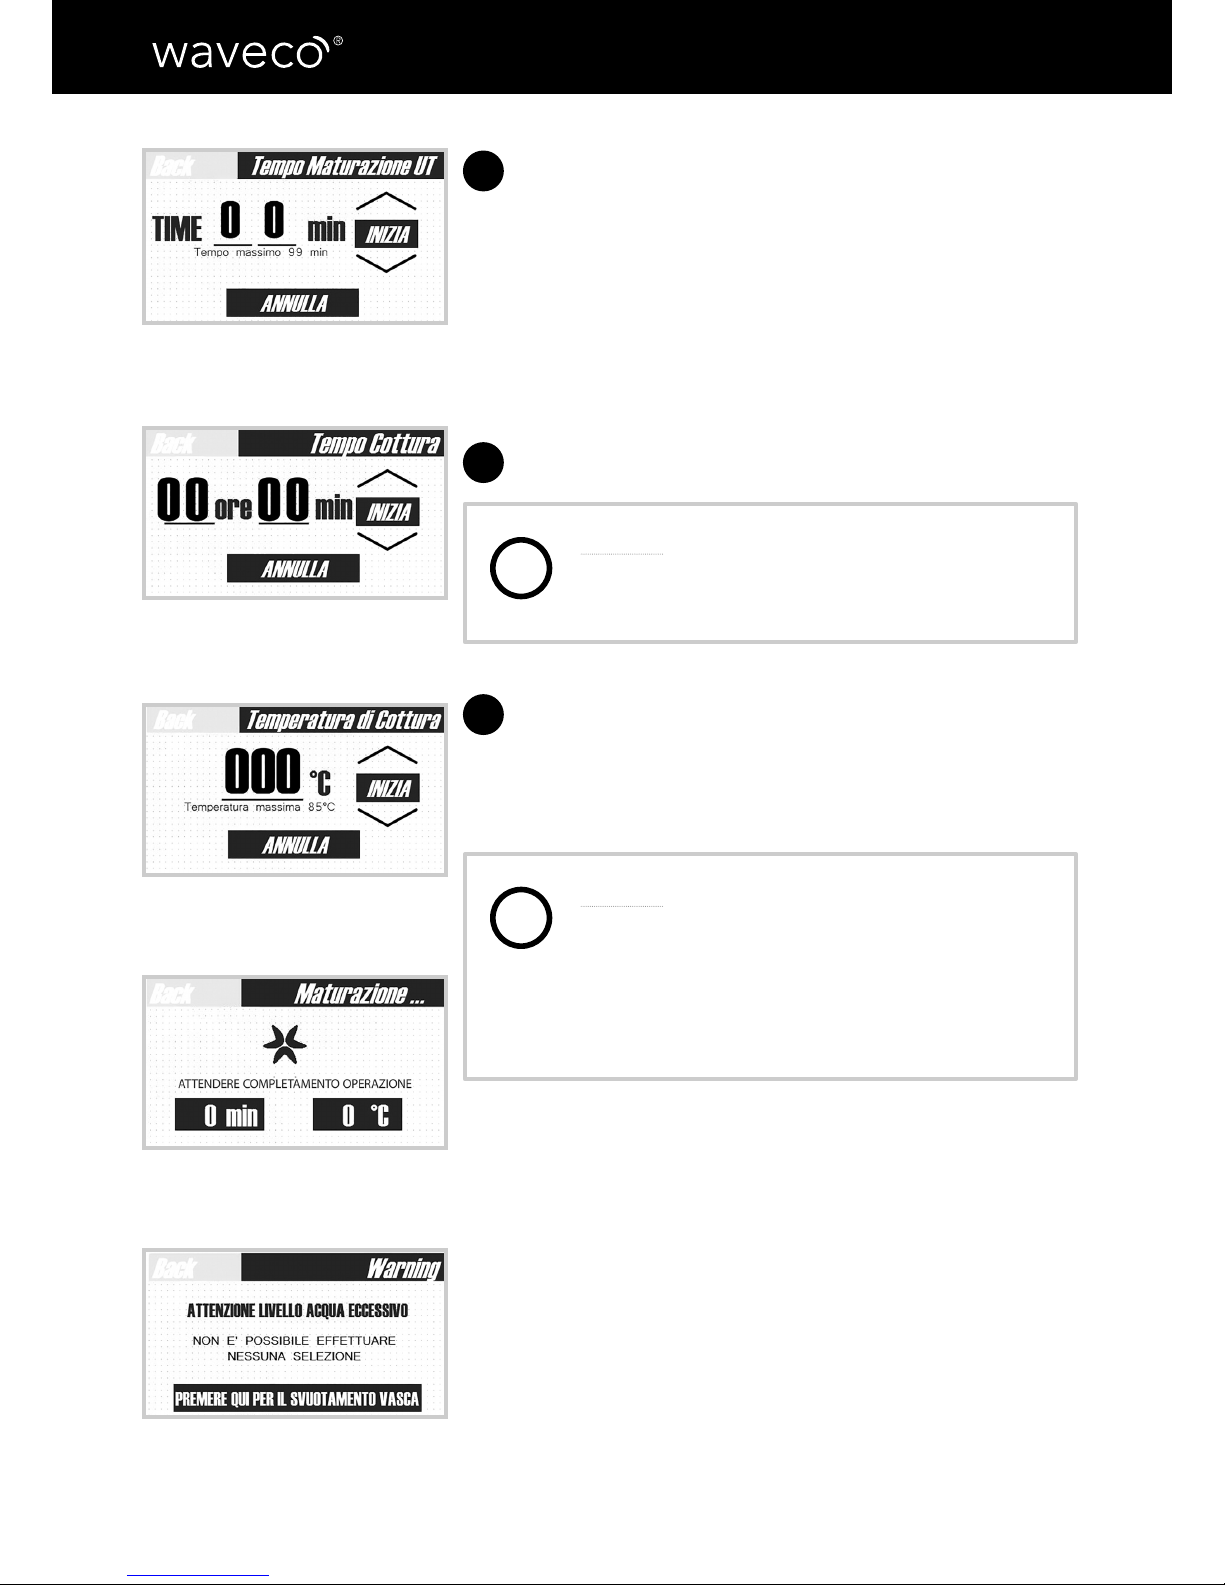
Based on what you choose, click on the arrows to set:
•for the induced maturation©cycle, the duration
(g.25)
•for the low temperature potential cooking cycle,
the duration and temperature (g.26-27)
•for the combined cycle, set the duration of
induced maturation©and the cooking duration and
temperature. (g.25-26-27)
After your selection, tap the “start” key
Caution: in case of wrong selection, you can
cancel the operation using the “cancel” key
and then repeat the selection. (g.27)
The machine runs a “preparation” stage and then
starts the selected cycle. During the whole process,
the operator’s panel screen shows the time left and
the water temperature (g.28)
Caution: if the water temperature or level
exceed the limit allowed for the selected
cycle, the machine stops the process and
reports the problem (g.29) allowing the
operator to choose whether to “continue”
or “stop” the operation.
If you select “no” to stop the process, the
“automatic” versions drain the water and then supply
it back into the machine and adjust the temperature
and level.
5
6
7
g. 25
g. 26
g. 27
g. 28
g. 29
i
i
Table of contents
Popular Kitchen Appliance manuals by other brands

Coolest
Coolest P200 MANUAL & SAFETY INSTRUCTIONS

weasy
weasy pni20 instruction manual

Saeco
Saeco 21000972 Operation and maintenance manual

MPM
MPM Sam Cook PSC-50/SM user manual

Gourmet Gadgetry
Gourmet Gadgetry Retro Diner instruction manual

montpellier
montpellier WS181SDX Installation and operating instructions


