NexusLink GPL-1200-KIT User manual
Other NexusLink Adapter manuals

NexusLink
NexusLink GPL-2000PT User manual

NexusLink
NexusLink GCA-2000-KIT User manual
NexusLink
NexusLink GPL-2000S4 User manual

NexusLink
NexusLink GPL-1200WN User manual
NexusLink
NexusLink GPL-1200PT User manual

NexusLink
NexusLink GPL-1200POE User manual

NexusLink
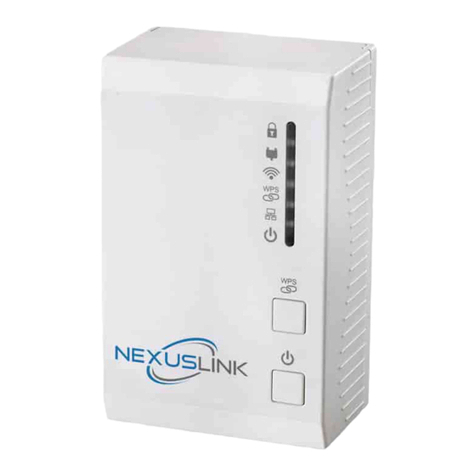
NexusLink GPL-2000WAC-KIT User manual
NexusLink
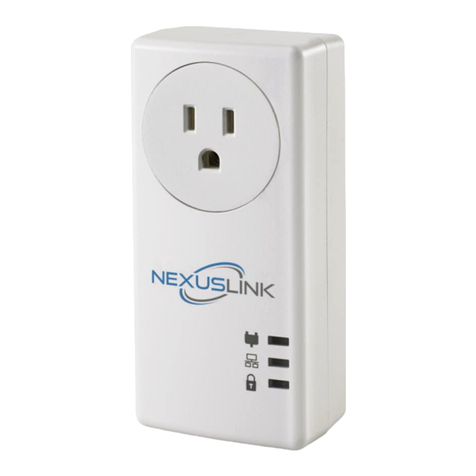
NexusLink GPL-1200WN-KIT User manual
NexusLink
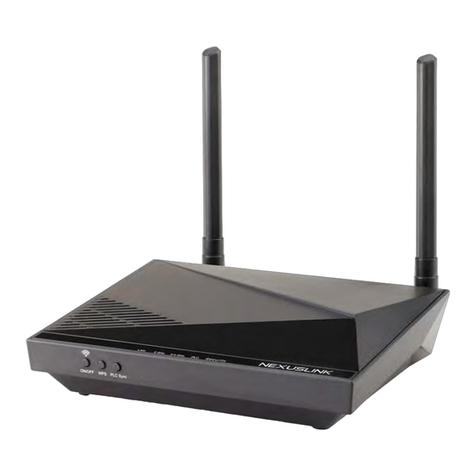
NexusLink GPL-1200PT User manual
NexusLink
NexusLink GPL-1200WAC User manual

NexusLink
NexusLink GPL-2000S4 User manual

NexusLink
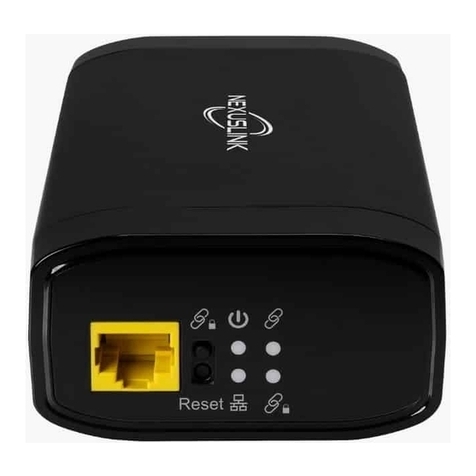
NexusLink GPL-2000PoE User manual
NexusLink
NexusLink GCA-2000-KIT Specification sheet
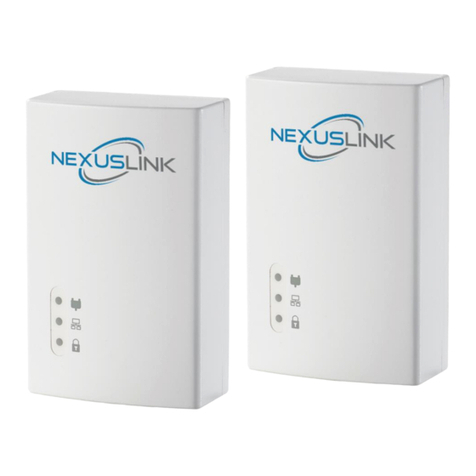
NexusLink
NexusLink GPL-1200-KIT User manual

NexusLink
NexusLink GCA-1200-KIT User manual

NexusLink
NexusLink GPL-2000PT-KIT User manual
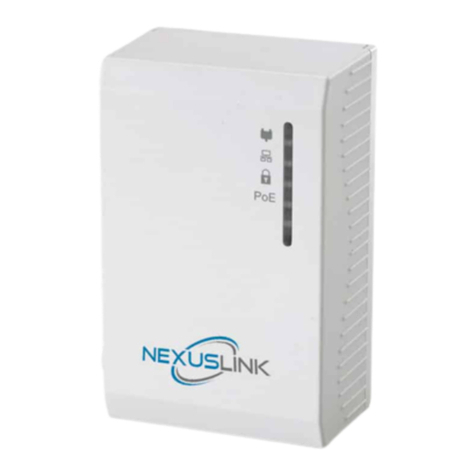
NexusLink
NexusLink GPL-1200POE User manual

NexusLink
NexusLink GPL-1200WAC User manual

NexusLink
NexusLink GCA-1200 User manual
Popular Adapter manuals by other brands
Echelon
Echelon i.LON 10 user guide

D-Link
D-Link XTREME N DUAL BAND USB ADAPTER DWA-160 Quick installation guide
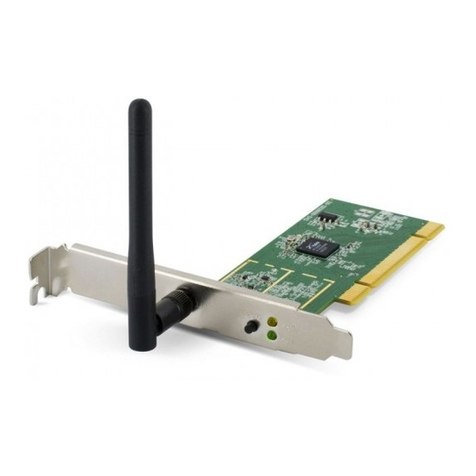
Pentagram
Pentagram horNET Wi-Fi PCI Installation and operation manual

Simpler Networks
Simpler Networks HP200SA64 user manual
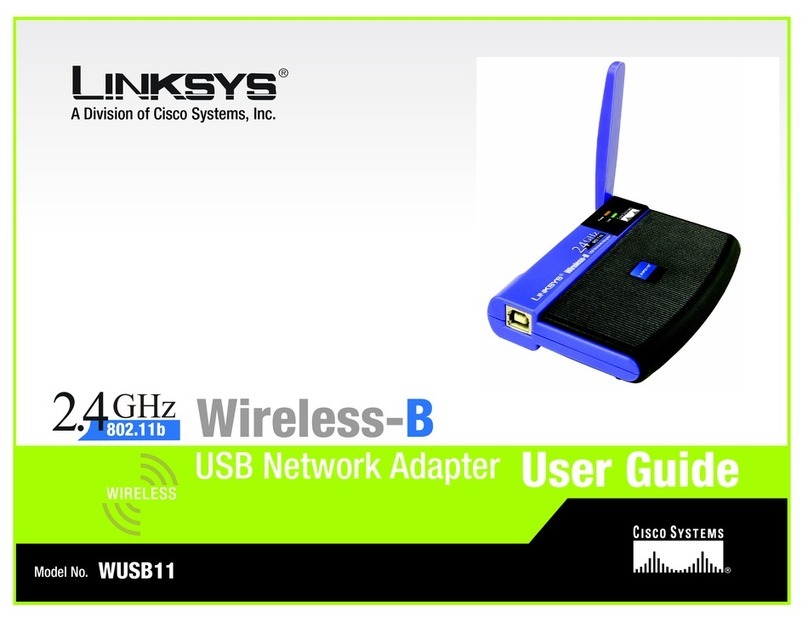
Linksys
Linksys WUSB11 ver. 2.6 user guide
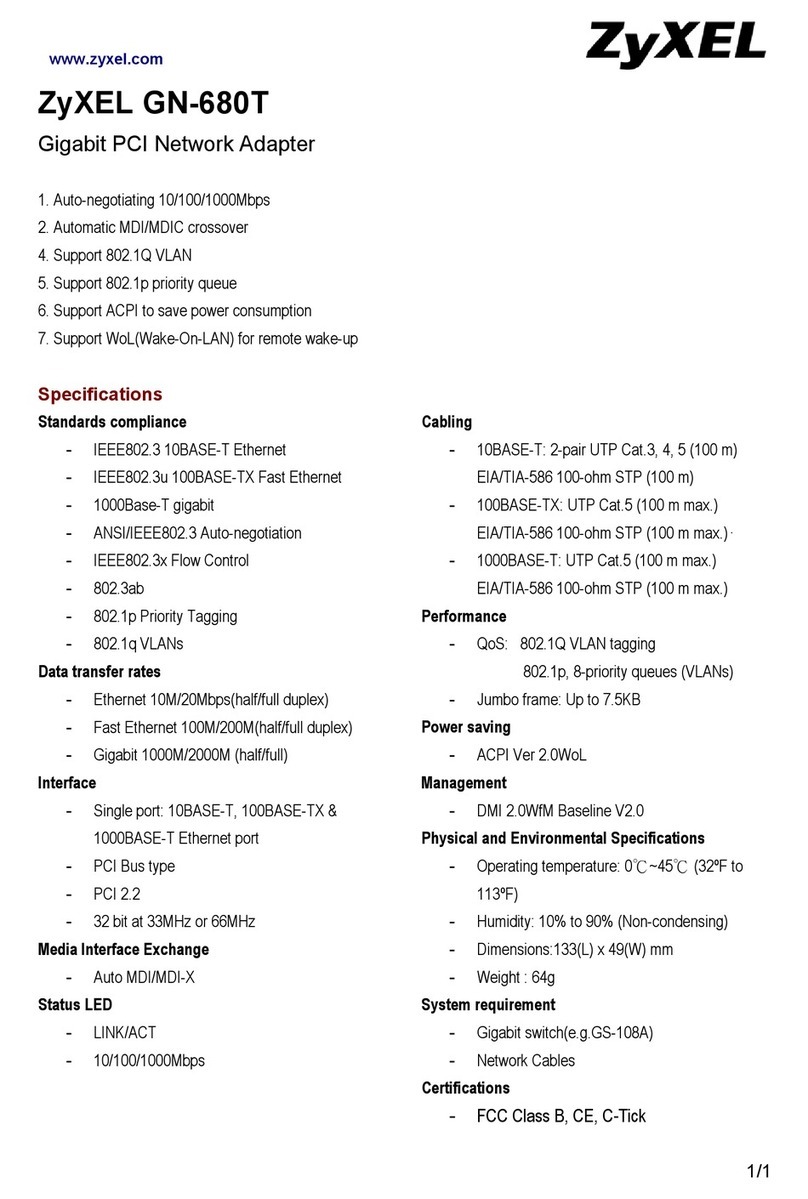
ZyXEL Communications
ZyXEL Communications GN-680T datasheet


