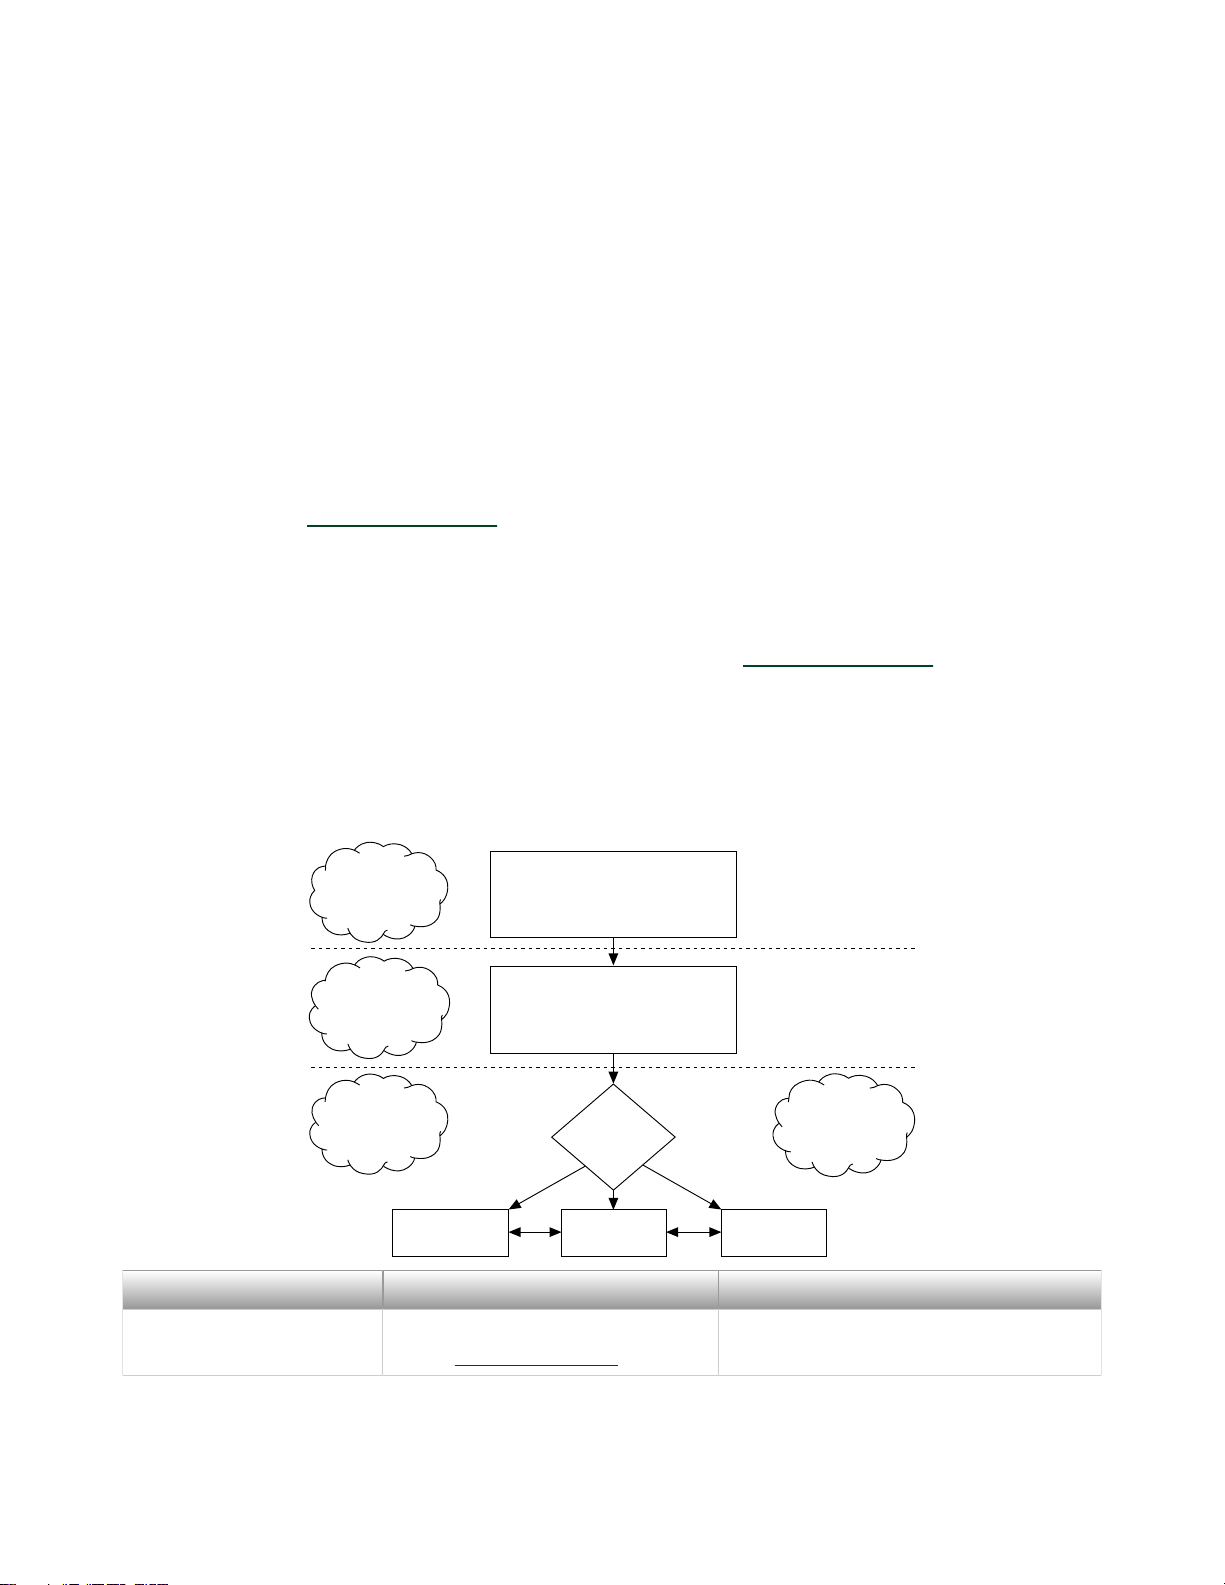
Document Location Description
Specifications document
for your FPGA module
Available from the Start menu
and at ni.com/manuals.
Contains specifications for your
NI 7975R module.
Getting started guide for
your adapter module
Available from the Start menu
and at ni.com/manuals.
Contains signal information,
examples, and CLIP details for your
adapter module.
Specifications document
for your adapter module
Available from the Start menu
and at ni.com/manuals.
Contains specifications for your
adapter module.
LabVIEW FPGA Module
Help
Embedded in LabVIEW Help and
at ni.com/manuals.
Contains information about the basic
functionality of the LabVIEW FPGA
Module.
NI FlexRIO Help Available from the Start menu
and at ni.com/manuals.
Contains information about the FPGA
module, adapter module, and CLIP
configuration information.
LabVIEW Examples Available in NI Example Finder.
In LabVIEW, click Help > Find
Examples > Hardware Input and
Output > FlexRIO.
Contains examples of how to run
FPGA VIs and Host VIs on your device.
IPNet ni.com/ipnet Contains LabVIEW FPGA functions
and intellectual property to share.
NI FlexRIO product page ni.com/flexrio Contains product information and
data sheets for NI FlexRIO devices.
Table 1. NI FlexRIO Documentation Locations and Descriptions
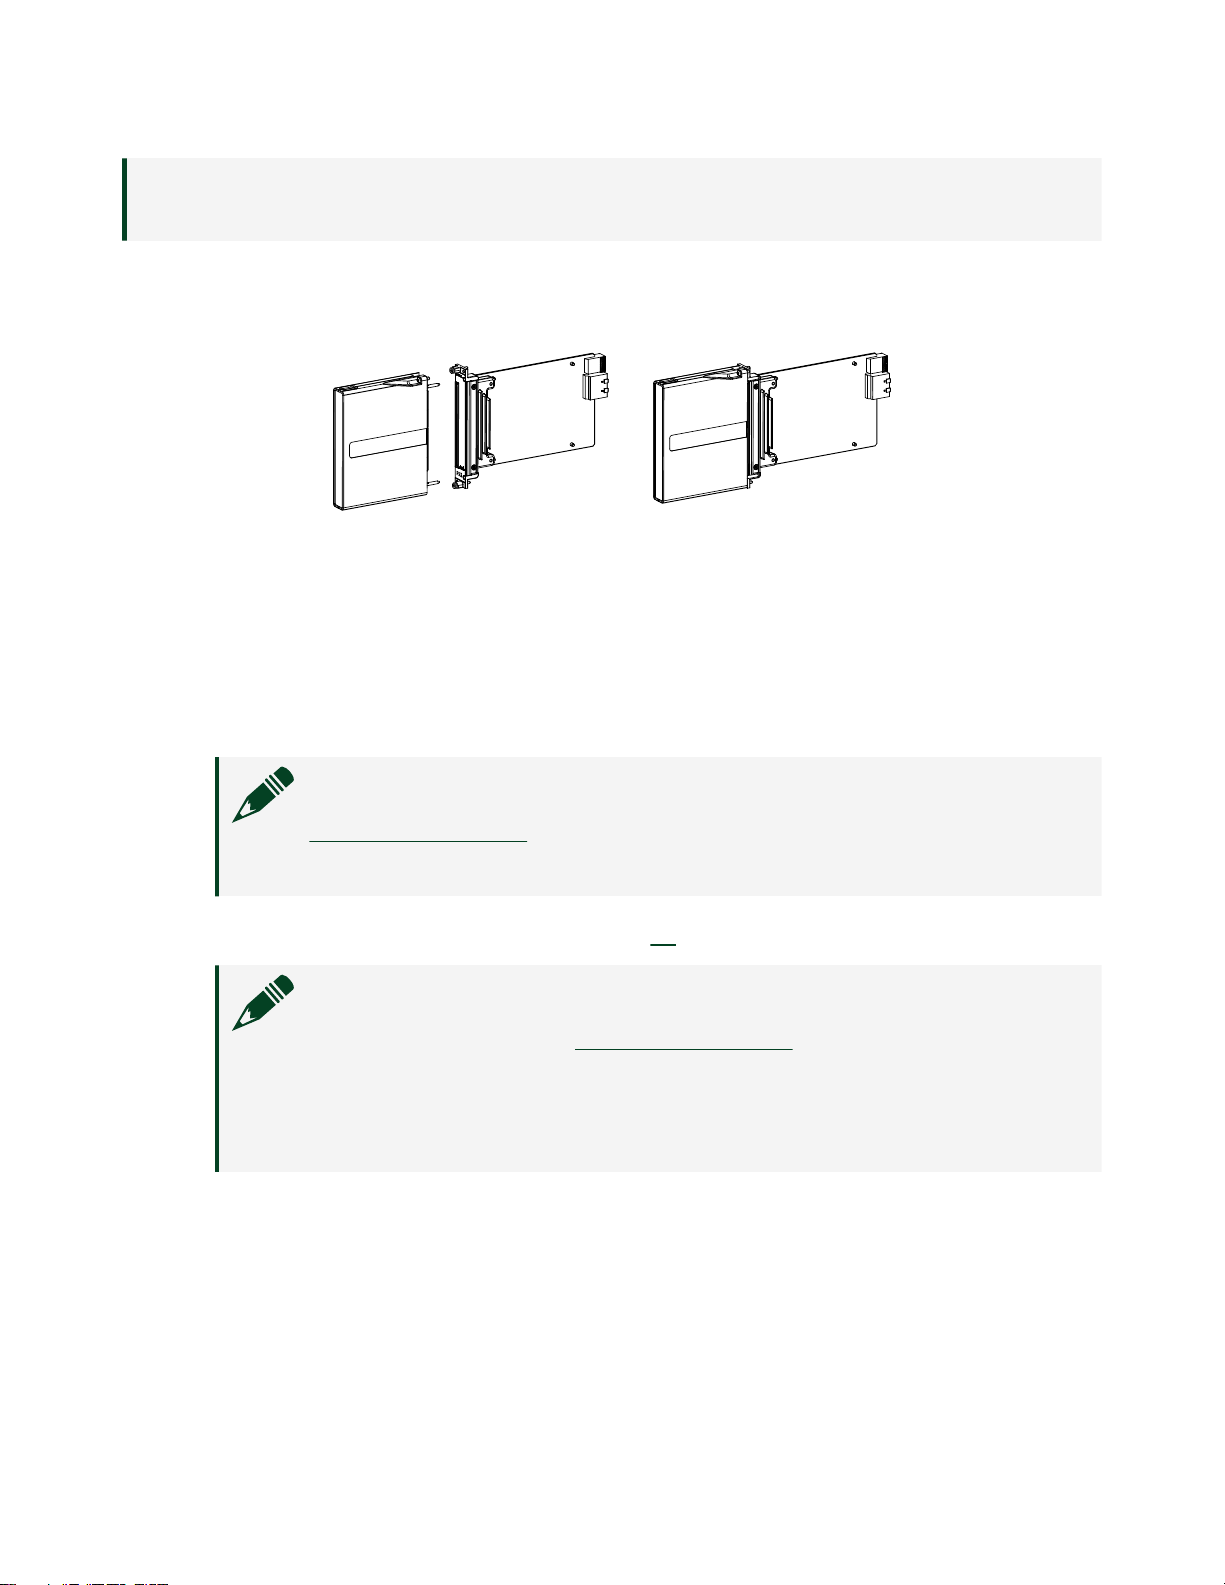
Required Components
The following items are necessary to set up and use your NI FlexRIO system:
■The NI FlexRIO hardware device, comprised of the following items:
■NI 7975R
■NI FlexRIO adapter module
Note You can use the NI FlexRIO FPGA module without an adapter module
for coprocessing or peer-to-peer streaming. The adapter module
ni.com
4
PXIe-7975 Getting Started