manuals.online logo
Brands
  1. Home
  2. •
  3. Brands
  4. •
  5. Nice
  6. •
  7. Controllers
  8. •
  9. Nice Mercury 310 Instruction Manual

Nice Mercury 310 Instruction Manual

Mercury 310 / SolarBOX / TITAN 912L
Quick Start Installation Guide
11
GATE
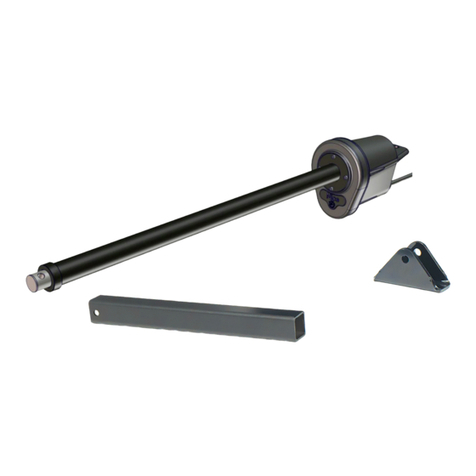
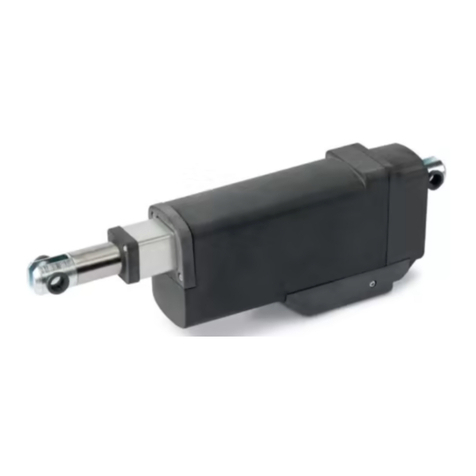
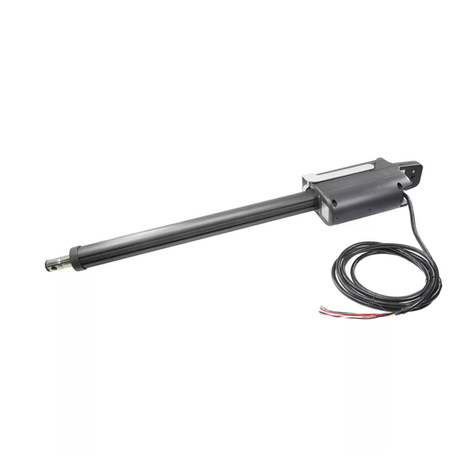
912LActuator
Ensure
Level
Pivot Arm
2
4
Pull-To-Open:
Fully open gate,
then locate bracket
on gate support.
Push-To-Open:
Fully close gate, then
locate bracket on
gate support.
Ensure actuator arm is fully retracted, then position gate
bracket on gate structural support per Detail A or Detail B:
Gate Closed
Gate Open
Wall
Wall
A󰀩x Gate
Bracket to
gate struc-
tural support
by welding or
using bolt &
nut.
5
7 8
9
10
and minimum 6 feet away from
pivot arm (See Fig-2).
Pass cable through
rubber grommets in
bottom of control box
and wire per diagram
at right.
For dual gate install, dig
trench across drive and
run 2nd actuator cable
through conduit.
Open mechanical release on actuator.
2 31
6
Mount Control Box same
side as primary actuator
Wire TITAN 912L
to control board:
Place Battery inside con-
trol box with terminals
facing toward the front.
Attach Actuator
to Pivot Arm
Attach Gate Bracket
to Actuator Arm
1/2”x 3.5” Bolt
Pivot Arm
Actuator
Lock Nut
2
1st Washer
Gate Bracket
Install actuator
to pivot arm
with bolt and
lock nut as
shown.
Gate
Bracket
Lock Nut
2nd Washer
3
Install gate bracket to
actuator arm, as shown
(w/ x2 washers, bolt, lock
nut). Do not attach brack-
et to gate until Step 5.
Actuator Arm
Weld or clamp pivot arm onto hinge post. For Pull-to-Open installation, use Detail A. For Push-to-Open, use Detail B:
Actuator And Control Box Installation (perform ALL steps in numerical order):
FRONT VIEW FRONT VIEW
IMPORTANT!
Read entire
manual before
attempting the
installation.
This is NOT a
“do-it-yourself”
project. Use
a qualied
contractor
to install this
system. Read
all safety
information!
1
Gate Bracket
Centerline
Top of
Pivot Arm
1/2”
Pivot
Arm
Hinge
Post
Gate
Gate Bracket
Centerline
Top of
Pivot Arm
1/2”
Pivot
Arm
Hinge
Post
Gate
Or
11”
PIVOT ARM
Hinge
Post
Hinge Gate
6”
6”
13”
PIVOT ARM
Hinge
Post
Hinge Gate
CAUTION! Do not mount the control box where the person
using the push button on box can come in contact with the gate!
Fig-1: Pivot Arm, Actuator, & Gate Bracket Install
TOP VIEW TOP VIEW
A
B
A
B
CAUTION! Do NOT weld while control board is powered!
1/2”x 2-7/8”Bolt
PULL PUSH
Closed
Closed
limits by manually pushing
gate to desired close limit,
then to desired open limit,
then to halfway open posi-
tion. Close release, but do
not lock.
With actuator release
open, set mechanical
Push-To-Open
Pull-to-Open
Bracket
Bracket
Pull-To-Open
Push-To-Open
www.ApolloGateOpeners.com | (800) 878-7829 | [email protected]
Mercury 310 / SolarBOX / TITAN 912L
Quick Start Installation Guide
22
6 foot min.
from pivot
install
12V Solar Panel
12V
BlueBUS
Photo Eye
Open
Limit Open
Limit
Close
Limit
8
6
15
14
14 14
11
1
2
6
Fig-2: Titan 912L Dual-Gate System (Pull-To-Open Shown)
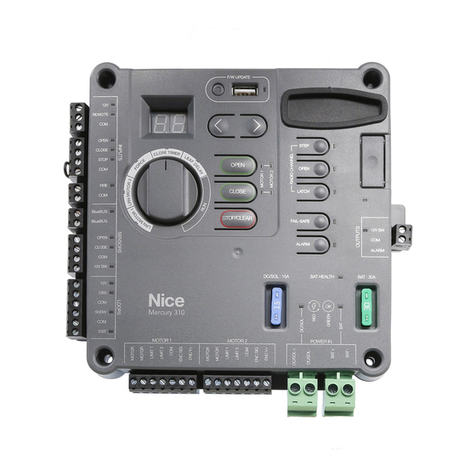
Fig-3: Mercury 310 Controller Features
11
12
15
14
13
controller. See power inputs in
image below. safety devices. See controller accessory in-
puts in the image below.
Attach warning signs to
gate(s).
Connect battery and
solar panels to Mercury Connect other accessories, such as
loop detectors, photo eyes, or other
Perform Gate Limit Learn procedure
(below right).
12
N.O.
+V
+V
+V
+V
N.O.
N.O.
N.O.
N.O.
N.O.
N.C.
COM
COM
COM
COM
N.O.
COM
N.O.
COM
10K
Safety
Sensors
Loop Detectors
BlueBUS
+12 VDC
+12 VDC
(OFF in Standby)
+12 VDC
Guard
Station
Controls
(Step-By-Step)
Remote
Input
Fire Dept.
(Emergency
Access)
Control
N.O.
Control
Control
LOOP 1
(Obstruct)
LOOP 2
(Shadow)
LOOP 3
(Exit)
18-24V DC/
12V Solar 12V
Battery
Actuator Motor Connections
+
+_
_
+12 VDC
(OFF in Standby)
COM
Step Button
Open Button
Latch Button
Fail Safe Button
(On/Off)
Alarm Button (On/Off)
Battery Health LED
Alarm
Battery Fuse
(30A)
DC/Solar Fuse (15A)
Battery Power
Indicator LED
DC/Solar Power
Indicator LED
OXI Radio Port
Radio Program:
Display
Arrow Buttons
Left & Right
Function
Knob
Firmware
Update (Motor 1/Motor 2)
(Open, Close, Stop/Clear)
Gate Control Buttons
Open/Close Limit LEDs
Mercury 310 Power Outputs
Location Voltage Amps Standby Mode
INPUTS
12VDC 500 mA
On
SENSORS
LOOPS On
OUTPUTS
R
U
N
L
E
A
F
D
E
L
A
Y
C
L
O
S
E
T
I
M
E
R
L
R
N
M
O
T
O
R
1
F
O
R
C
E
L
R
N
M
O
T
O
R
2
Mercury 310 Power Requirements
> Battery = 12VDC sealed lead acid
> Solar panel = 12V (17-20V MPP)
> DC input = 18-24V high current
CAUTION! Do
not mount the
control box where
the person using
the push button
on box can come
in contact with the
gate!
!
9
button on remote control, then
within 2 seconds press & release
the STEP, OPEN, or LATCH button
on Mercury controller. LED ashes
twice & alarm chirps to indicate
progamming success.
To program the OXI
receiver, press/hold
desired
Gate Limit Learn Procedure:
1.Set function knob to LRN MOTOR 1
(display ashes L1).
2.Use Left/Right buttons to “jog” gate
to between open and close limits.
3. Press/hold both left and right but-
tons for two (2) seconds.
4.Display will show solid L1 and gate
will run at crawl speed to rst limit.
5. After reaching rst limit, display
ashes between OP and CL (LEDs
also ash).
6.Observe current position of the gate
and do only one of the following:
’If gate is at open limit, press the
open button.
’If gate is at close limit, press the
close button.
7. Gate auto-runs to 2nd limit at crawl
speed & stops, then runs to 1st limit
at normal speed & stops, then runs
to the 2nd limit at normal speed &
stops.
8. When finished, display will show
either OP or CL, depending on
buttons pressed during procedure.
9.If dual gate, set function knob to
LEARN MOTOR 2 (display ashes
L2) & repeat all steps for 2nd motor.
7 13
7
13
7
13
Actuator Cable
LEGEND
BlueBUS Wiring
Loop Wiring
Solar Panel Wiring
3
5
4
Conduit for BlueBUS
and 2nd actuator cable
10
Vehicle Loop
www.ApolloGateOpeners.com | (800) 878-7829 | [email protected]

Other manuals for Mercury 310

2

This manual suits for next models

2

Other Nice Controllers manuals

Nice M-BOARD Quick start guide

Nice

Nice M-BOARD Quick start guide

Nice ROBO PLUS Service manual

Nice

Nice ROBO PLUS Service manual

Nice UST1K-1.1kW Quick start guide

Nice

Nice UST1K-1.1kW Quick start guide

Nice PLUTO PL 4000 Installer manual

Nice

Nice PLUTO PL 4000 Installer manual

Nice SPA30 Service manual

Nice

Nice SPA30 Service manual

Nice Mercury 310 User manual

Nice

Nice Mercury 310 User manual

Nice 1551 User manual

Nice

Nice 1551 User manual

Nice MG3000 User manual

Nice

Nice MG3000 User manual

Nice To-Max Product manual

Nice

Nice To-Max Product manual

Nice Max Product manual

Nice

Nice Max Product manual

Nice Elero ExitSafe 28 388.0001 User manual

Nice

Nice Elero ExitSafe 28 388.0001 User manual

Nice Robus 600 Parts list manual

Nice

Nice Robus 600 Parts list manual

Nice TITAN12L User manual

Nice

Nice TITAN12L User manual

Nice GEFEN GF-AVIP-MC User manual

Nice

Nice GEFEN GF-AVIP-MC User manual

Nice Apollo 816 LA Installation and operating manual

Nice

Nice Apollo 816 LA Installation and operating manual

Nice ROX600 Technical specifications

Nice

Nice ROX600 Technical specifications

Nice METRO ME 3000 User manual

Nice

Nice METRO ME 3000 User manual

Nice HySecurity 1500 Series Installation and operating manual

Nice

Nice HySecurity 1500 Series Installation and operating manual

Nice Patio Series Technical specifications

Nice

Nice Patio Series Technical specifications

Nice Titan 912L Installation and operating manual

Nice

Nice Titan 912L Installation and operating manual

Nice One-Max Product manual

Nice

Nice One-Max Product manual

Popular Controllers manuals by other brands

ENDA ELC-286RT user manual

ENDA

ENDA ELC-286RT user manual

Triple Plus CLM-IRAMAP-1-02 quick start guide

Triple Plus

Triple Plus CLM-IRAMAP-1-02 quick start guide

CYBELEC CybTouch 8 user manual

CYBELEC

CYBELEC CybTouch 8 user manual

Dahua DHI-ASC1204B user manual

Dahua

Dahua DHI-ASC1204B user manual

NOVAK HAVOC 1S - ADDENDUM 11-2009 Using

NOVAK

NOVAK HAVOC 1S - ADDENDUM 11-2009 Using

Chroma 69200-1 user manual

Chroma

Chroma 69200-1 user manual

Smartbitt SBAVR1200S user manual

Smartbitt

Smartbitt SBAVR1200S user manual

SOMFY Smoove 1 Tw io installation guide

SOMFY

SOMFY Smoove 1 Tw io installation guide

Amerec K4 owner's manual

Amerec

Amerec K4 owner's manual

BPS CLIMA CBE27 quick start guide

BPS CLIMA

BPS CLIMA CBE27 quick start guide

Nidec Digistart D2 user guide

Nidec

Nidec Digistart D2 user guide

elero Vario 1 operating instructions

elero

elero Vario 1 operating instructions

Fisher 685SE instructions

Fisher

Fisher 685SE instructions

PROEL PLCNDXPS user manual

PROEL

PROEL PLCNDXPS user manual

Rain Bird CRC-8A Programming and operating instructions

Rain Bird

Rain Bird CRC-8A Programming and operating instructions

Omron SYSMAC CPM1 Operation manual

Omron

Omron SYSMAC CPM1 Operation manual

Burkert 8039 instruction manual

Burkert

Burkert 8039 instruction manual

Ruska Instrument 7252 user manual

Ruska Instrument

Ruska Instrument 7252 user manual

manuals.online logo
manuals.online logoBrands
  • About & Mission
  • Contact us
  • Privacy Policy
  • Terms and Conditions

Copyright 2025 Manuals.Online. All Rights Reserved.