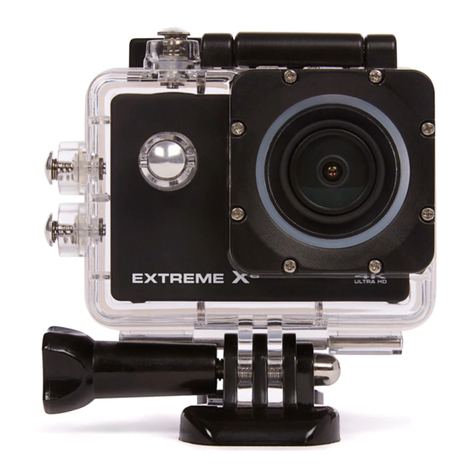
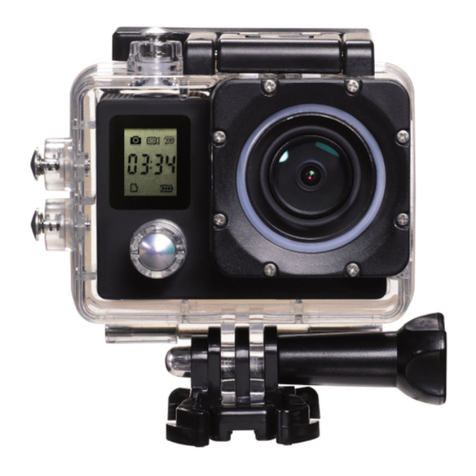
Nikkei Extreme X1 User manual


1
CONTENTS PAGE
Contents Page 1
Introduction 2
Safety Instructions 2
Important Safety Precautions 4
Product Specification 5
Box Contents 6
Getting to know your Action Camera 7
Using the Action Camera 9
Action Camera Operation 11
Connection Via TV/HDTV 23
Using the Mounting Accessories 23
Downloading files to your Computer 29
Troubleshooting 36

2
INTRODUCTION
Congratulations on the purchase of your new Action Camera.
This manual contains important safety and operating
information. Please read all the information carefully before
you use the device to avoid accidents and keep it for future
reference. Follow these important safety and operation
instructions.
SAFETY INSTRUCTIONS
The Action camera shall not be exposed to dripping or
splashing and no objects filled with liquids, such as vases,
shall be placed over the product. Dry location use only.
Keep the camera clean. Never store it next to a heat
source or in dirty, humid or wet places. Keep it out of
direct sunlight.
Press the screen and buttons gently. Pressing too hard

3
can damage the product.
Do not use the camera in an extremely dry environment.
Do not put the camera in high temperature places (over
40ºC), especially not in a car with the windows closed in
summer.
Do not subject the camera to harsh impacts. Do not drop
the unit to avoid damage.
Do not attempt to dismantle or repair this camera
yourself. Qualified personnel should perform repairs.
Disconnect the camera from the power source before
cleaning.
Use a dry soft cloth to clean this camera.
This product is not intended for commercial use.
Household/personal use only.
Do not disassemble this unit. To prevent the risk of
electric shock, do not remove the cover. No

4
user-serviceable parts inside. Refer servicing to qualified
personnel.
The USB cord for the device should be unplugged from
the computer when the unit is left unused for a long
period of time.
Do not subject the product to harsh impacts. Do not drop
the appliance. This may result in damage to the product.
IMPORTANT SAFETY PRECAUTIONS
In order to prevent program failure, never disconnect the
product suddenly from a PC while file transferring is in
progress.
Disconnect the appliance from PC when cleaning. Use a dry
soft cloth to clean this appliance. Do not dismantle the product
or use alcohol, thinners or benzene to clean the surface of the
product.
Attention: We have done our best to produce a complete and
accurate manual. However, we cannot ensure that there are no

5
errors or omissions during the printing process.
PRODUCT SPECIFI CATION
1.3MP CMOS sensor
Still Image Resolution: 5M/3M/1.3M
Video Resolution: 720p @ 30fps/VGA
File Format JPEG, AVI
1.77” Preview screen
10m Waterproof
Expandable Micro SD Slot up to 32GB
High-speed USB 2.0 interface
Built-in 3.7V rechargeable lithium battery
Operation Temperature: 0°C to 40°C
Storage Temperature: -20°C to 45°C
Works with Windows 7, 8, Vista and XP
NOTE: As a result of continual improvements, the design and specifications of the
product within may differ slightly from the unit illustrated on the packaging.

6
BOX CONTENTS
Please make sure that the items shown below are included in
the package. Should an item be missing, please contact the
local retailer from which you purchased this product.
Action Camera 1 piece
Waterproof Case 1 piece
Helmet Mount with strap 1 piece
Bike Mount with Rubber Grip 1 piece
Windshield Mount 1 piece
User Manual 1 piece
USB Cable 1 piece
AV Cable 1 piece

7
GETTING TO KNOW YOUR ACTION CAMERA
DEVICE OVERVIEW
1. Power Button
2. Speaker
3. Shutter Button
4. Reset
5. AV Out
6. Menu Button
7. Mode button
8. LCD Screen
9. Charging Indicator
10. Busy Indicator

8
11. USB Socket
12. Micro SD Slot
13. Cover
14. Lens
15. Up Button
16. Down Button
17. Tripod Slot
18. Microphone
MINIMUM SYSTEM REQUIREMENTS
Your computer system must meet the following minimum
specifications:
Microsoft Windows XP, Vista, 7, 8
Intel Pentium III of more than 800MHz or other CPU with

9
equivalent performance
Larger than 512MB RAM
The sound card and video card shall support DirectX8 or higher
version.
Free space of more than 500MB
One standard USB1.1 or USB2.0 port
USING THE ACTION CAMERA
BATTERY OPERATION
1. Make sure the action camera is turned off.
2. To charge the internal battery, connect the action camera
with the USB cable provided to a computer.
3. The charging indicator will light up green when charging.
4. The battery will become fully charged after 3-4 hours.
Once fully charged the charging indictor will disappear.
Note: The camera will automatically turn on when plugged into

10
computer.
INSERTING A MEMORY CARD
This action camera does not have internal memory.
A Micro SD card or multimedia card must be inserted for this
action camera to operate. If a card has not been inserted this
action camera cannot record.
1. Turn off the action camera.
2. Open the rubber cover at the side of action camera.
3. Find the Micro SD card slot, and then insert the Micro SD
card.
4. When the memory card has successfully been inserted, you
will be able to start using the action camera.

11
ACTION CAMERA OPERATION
START-UP/SHUTDOWN
Press the “Power” button to turn on the camera, the screen
will light up and the camera is on.
Press the Power key to shut down the device.
When the Action Camera has been idle for 3mins the camera
will automatically shut down.
Note: The device will shut down when the power of the
battery is insufficient.
MODE SELECTION
There are four different modes available for this action camera.
Photo mode, Video mode, Car mode and Playback mode. Press
the “Mode” button to toggle through them.

12
ACTION CAMERA SETTING S
Before taking photos or recoding videos, press the “Power”
button to switch on the action camera first. Use the “Menu”
button to toggle through the menu until your reach Setup, Use
the ‘Shutter” to select, “Up/Down” to choose the item and
“Mode” to go back.
Display Title Description
Capture mode For taking still photos.
Video mode For recording movie clips.
Car Mode For recording video clip.
Playback mode For playing recorded files.

13
MENU FUNCTION
Backlight Set the backlight (Turns off the screen display
while recording) :
【1min】/【3min 】/【5min】/【ON】
Sound
Effect
Sets the operating sound for the camera :
Shutter :【On】/【Off】
Start-up:【On】/【Off】
Beep :【On】/【Off】
Frequency Light Frequency should be set depending on
your region for Netherlands/Europe setting
should be 50Hz:
【50HZ】/ 【60HZ】
Language Set the language of the camera:
English/French/
German/Italy/Spanish/Portuguese/Dutch
TV Mode You can review images on TV with the

14
supplied AV cable. TV mode should be set to
either NTSC or PAL depending on your
region.
【NTSC】: America, Japan and others;
【PAL】: Europe, Oceania , Australia.
Format Format your micro SD card including
protected files, removing the SD card during
formatting may damage the card.
【YES 】/【NO】
Default
setting
Resets the camera to factory default settings
【YES 】/【NO】
VIDEO MODE
1. Turn on the action camera, press the “Mode” button until
the video mode logo appear on top left of the screen.
2. Press the “Shutter” button to start recording.
3. Use the LCD screen to view your subject, and press the

15
“Up/Down” buttons to zoom in or zoom out on your subject
4. Press the Shutter button again to stop recording.
5. The action camera will stop recording automatically when
the memory capacity is full.
NOTE: When recording videos, the action camera will
automatically save it in 28minute files. You can record
continuously for as long as possible but every 28minutes it will
save a new file and start again.
SETTINGS IN VIDEO MODE
While in video mode, press the “Menu” button to bring up the
menu. Use the “Menu” button again to toggle through the
menu, Use the ‘Shutter” to select, “Up/Down” to choose the
item and “Mode” to go back.
MENU FUNCTION
Resolution Changing the video resolution for the

16
recording.
【720p】/ 【VGA】
Loop
recording
While under the loop recording setting, once
memory capacity is reached, it will erase files
from taken from the beginning. Set the loop
recording time:
【Off 】/【3min】/【5min 】/【10min】
Date
Stamp
This function can be used to add a date to
your files as you take them. There are three
items for option:
【On 】/【Off 】/【Set Date】
CAR MODE
1. Turn on the action camera, press the “Mode” button until
the car mode logo appear on top left of the screen.
2. Press the “Shutter” button to start recording.

17
3. Press the Shutter button again to stop recording.
4. The action camera will stop recording automatically when
the memory capacity is full.
SETTINGS IN CAR MODE
While in Car mode, press the “Menu” button to bring up the
menu. Use the “Menu” button again to toggle through the
menu, Use the ‘Shutter” to select, “Up/Down” to choose the
item and “Mode” to go back.
MENU FUNCTION
Resolution Changing the video resolution for the
recording.
【720p】/ 【VGA】
Loop
recording
While under the loop recording setting, once
memory capacity is reached, it will erase files
from taken from the beginning. Set the loop

18
recording time:
【Off 】/【3min】/【5min 】/【10min】
Rotate Use this function when using car mount so
video records the correct way
【On】/ 【Off】
Motion
Detection
When this function is activated, the camera
starts recording automatically when it detects
motion. The recording automatically
stops when no motion is detected for more
than 10 seconds.
【On】/ 【Off】
Date
Stamp
This function can be used to add a date to
your files as you take them. There are three
items for option:
【On 】/【Off 】/【Set Date】

19
PHOTO MODE
1. Turn on the action camera, press the “Mode” button to set
the camera to capture mode.
2. Take a still image.
Use the LCD screen to view your subject, and press the
“Up/Down” buttons to zoom in or zoom out on your subject.
3. Press the “Shutter” button to take a still image.
4. After the image has been taken the LCD will display the
image for a brief second.
SETTINGS IN PHOTO MODE
While in capture mode, press the “Menu” button to bring up
the menu. Use the “Menu” button again to toggle through the
menu, Use the ‘Shutter” to select, “Up/Down” to choose the
item and “Mode” to go back.
Table of contents
Other Nikkei Action Camera manuals
