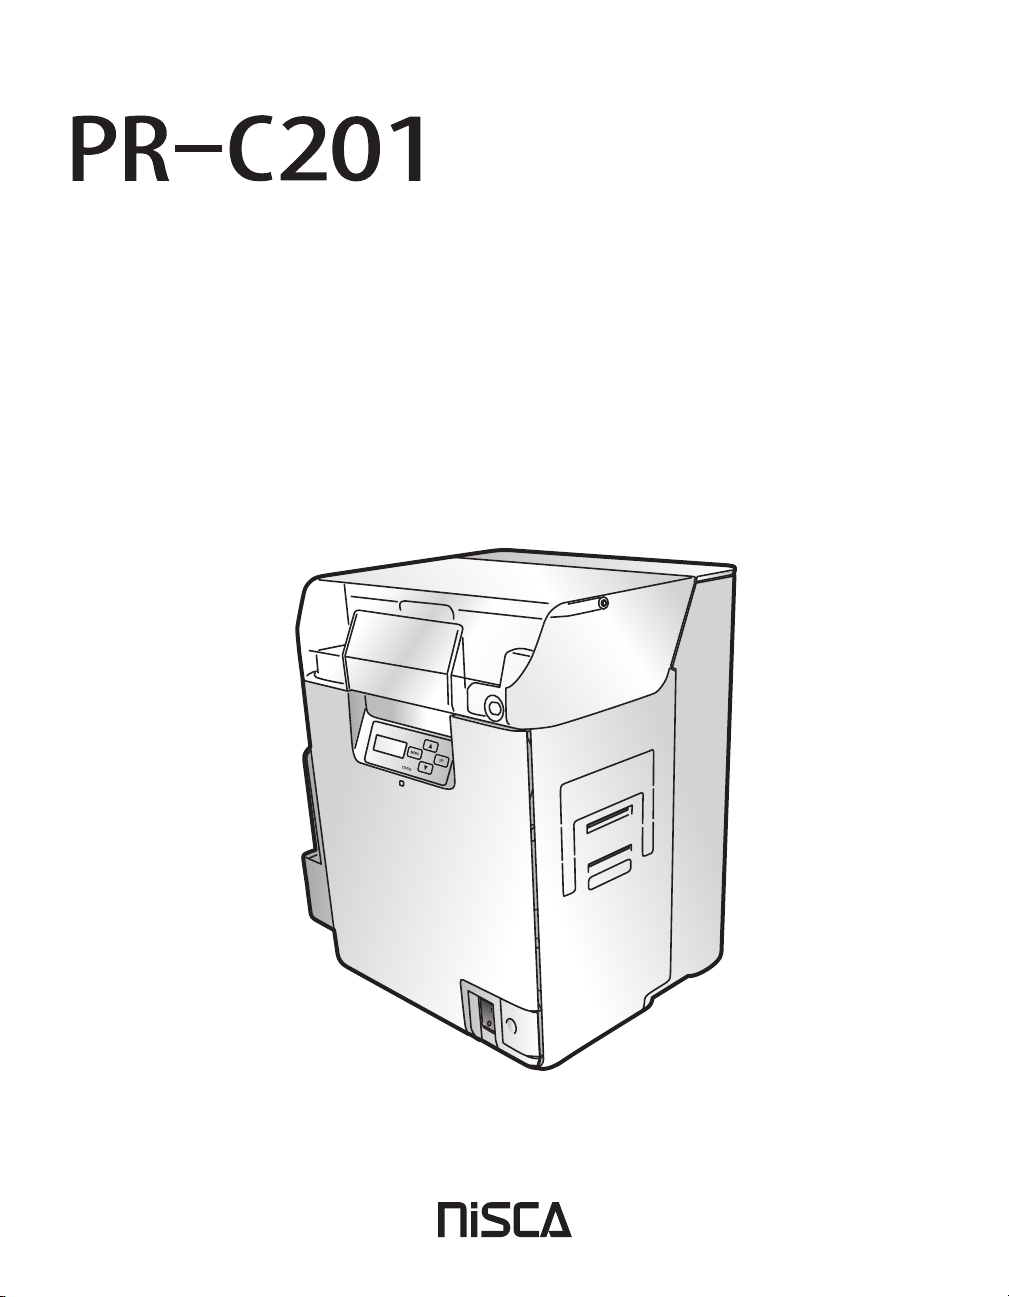
Full Color Card Printer
Adjusting the contour level .......................................................................... 37
Adjusting the hue......................................................................................... 38
Setting the Type of Ink Ribbon or Transfer Film to Use............................................... 39
Notification of Time for Ink Ribbon and Transfer Film Replacement ........................... 41
Setting the Types of Card to Use ................................................................................ 42
Adjusting the Feed Gate Depending on Card Thickness............................ 42
Optimizing Transfer Conditions.................................................................... 43
Correcting Card Curl ................................................................................................... 45
Switching the Card Ejection Slot................................................................................. 46
Set the Orientation of Magnetic Cards/IC Cards to Load ........................................... 47
Set the Orientation of Cards to Eject .......................................................................... 49
Changing Network Connection Settings ..................................................................... 51
Preventing Theft and Unauthorized Usage................................................................. 53
Preventing Theft of the Printer (Security Cable Slot).................................... 53
How to Store Cards (Removing the Card Case) .......................................... 53
Cleaning .....................................................................................................................54
Before Cleaning .......................................................................................................... 54
Cleaning with a Cleaning Card ................................................................................... 54
Cleaning the Cleaning Roller ...................................................................................... 57
Cleaning the Feeding Roller ....................................................................................... 59
Cleaning the Feeding Roller ....................................................................................... 60
Cleaning the Reverse Roller ....................................................................................... 62
Primary Transfer Feeding Roller Cleaning .................................................................. 64
Filter Cleaning............................................................................................................. 66
Troubleshooting.........................................................................................................67
When an Error Message Appears............................................................................... 67
Clearing an Error.......................................................................................... 67
How to Clear an Error................................................................................... 67
When a Card is Jammed... ......................................................................................... 73
If the Ink Ribbon or Transfer Film are Cut ................................................................... 76
When Cards are Not Printed Correctly........................................................................ 78
Other Troubles ............................................................................................................ 80
When These Solutions Don't Work... .......................................................................... 80
Appendix ....................................................................................................................81
Consumables .............................................................................................................. 81
Ink Ribbon/Transfer Film .............................................................................. 81
Cards ........................................................................................................... 82
Cleaning Card.............................................................................................. 82
Cleaning Tape.............................................................................................. 82
Consumables............................................................................................... 82
Updating the Printer's Software .................................................................................. 83
Menu Route Map (User Mode) ................................................................................... 84
Main Specifications ..................................................................................................... 86
Opening the Printer Driver Settings Screen................................................................ 87
Opening the Setting Screen (From the Start Menu)..................................... 87
Opening the Setting Screen (From the Application).................................... 87
Changing the Settings or Confirming the Status from the Setting Screen... 87