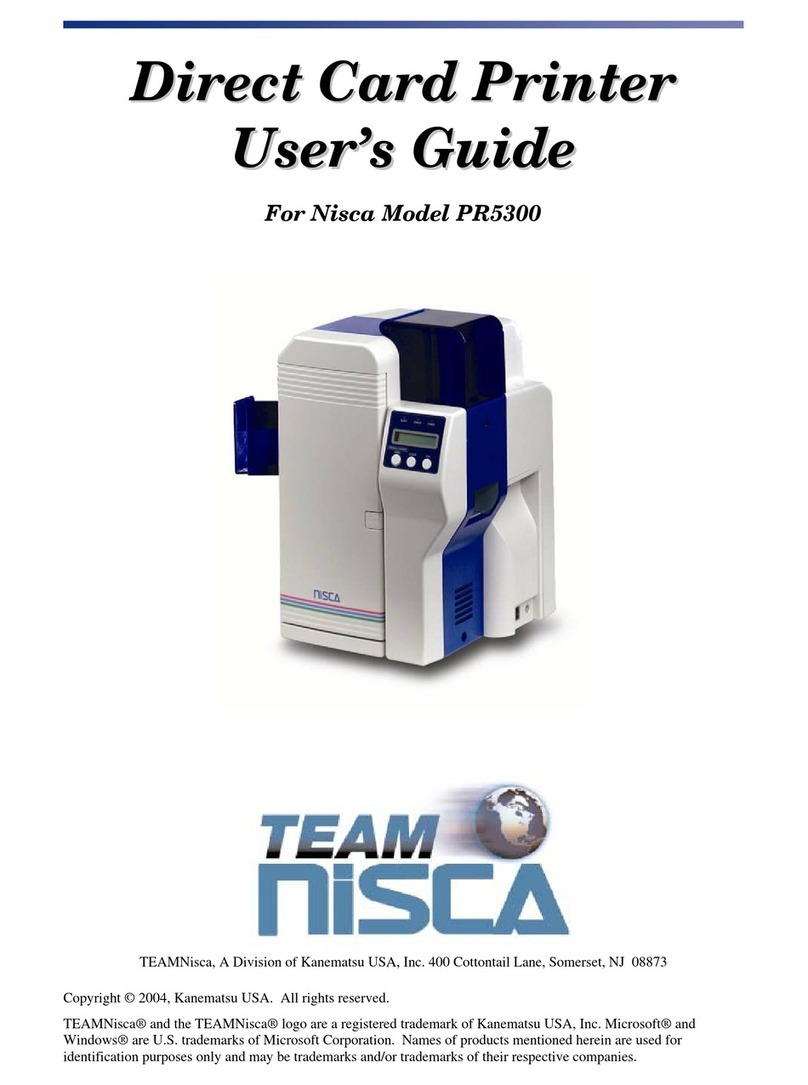
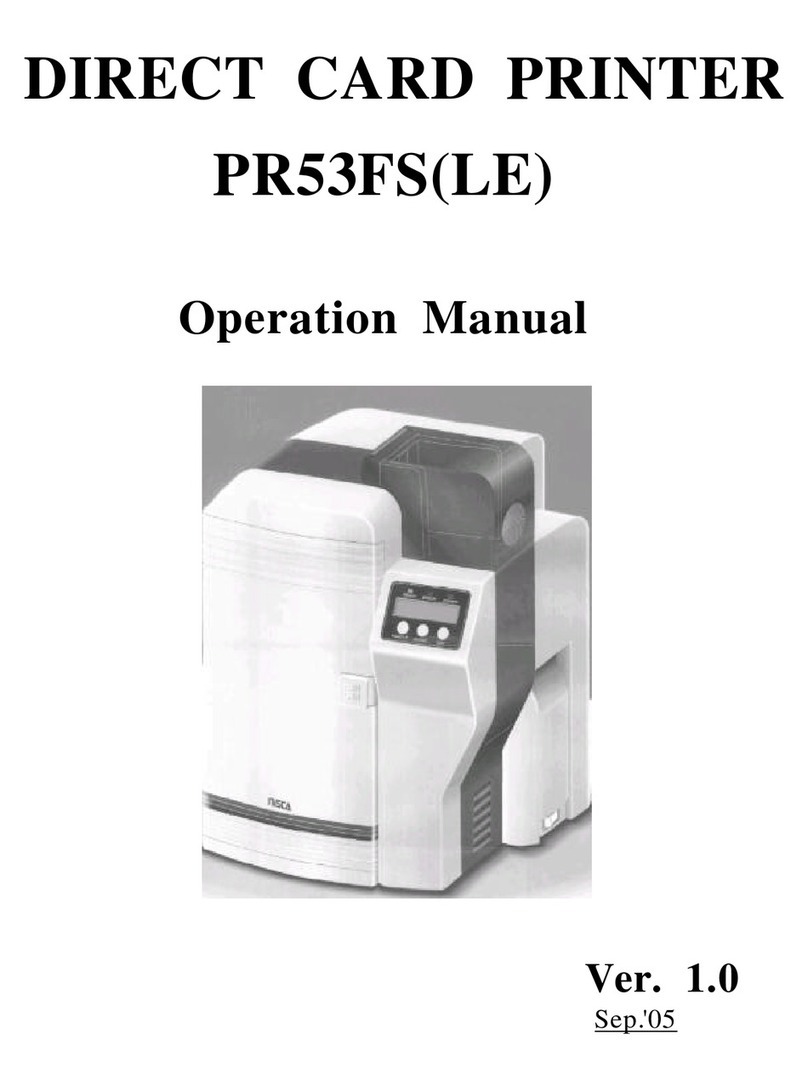
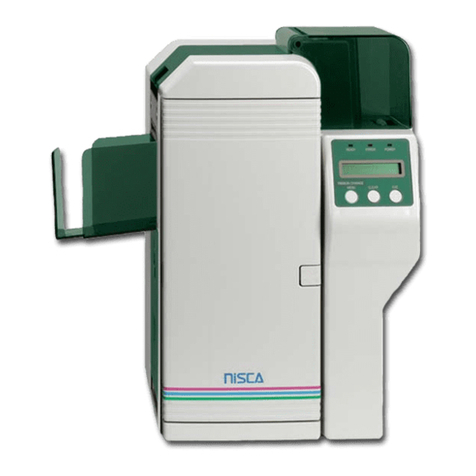
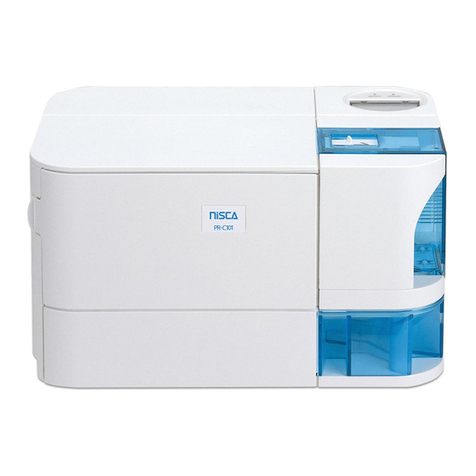
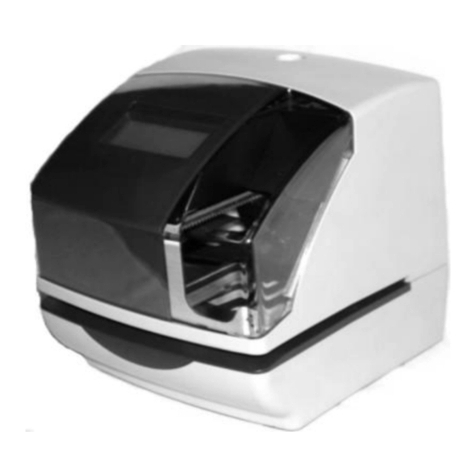
Nisca M-350 User manual

M-350
User’s Guide

High Speed and High Quality Plate and Sheet Printer "M-350"
Printing is possible on various media, from rigid plastic plates to sheets of labels. The
printer incorporates unique control functions, so that from a single idea it will be
possible to print name plates, plates, stickers, labels, and cards that can be used in
various elds.
* Depending on the application, some applications may not print properly.
* This printer does not support use in a network environment.
Support for Roll Sheets
Maximum diameter 140mm roll sheets can be set to allow continuous printing.
Direct and Clear Printing on Plates
Direct printing is possible on rigid plastic plates (acrylic and PVC), and mirror printing can
be carried out on clear plates, so that sharp printing can be done swiftly and easily
whenever required.
Support for a Wide Range of Sizes
Printing can be carried out on various plates up to thicknesses of 3mm, widths of 80mm,
and lengths of 500mm.
High-speed Printing
High-speed printing at a maximum speed of 60mm/sec (two times faster than the previous
product) is realized.
Supports Windows XP/Vista/7
Text and image data created using applications running on Windows XP/Vista/7 can be
printed.*
Multi-functional and Compact
A compact size is realized while incorporating functions that allow printing on a variety of
media, from plates to label sheets.

Method of Reading this Guide
Thank you for purchasing this M-350 printer.
In this user’s guide, the M-350’s functions and operation methods are explained
together with the precautions for use.
In order to allow adequate understanding of the M-350’s functions and enable more
effective use, please carefully read this user’s guide before using the product. Further,
after reading this guide, please carefully store it for future reference.
• Meanings of Symbol Marks
The symbol words and signal words shown in this user's guide are dened by
the following meanings. Be sure to always follow the instructions in this user's
guide.
Warning
This describes warnings that may lead to death or serious injury in
the situation where the product is mishandled. To allow safe use of
the product, be certain to observe these warnings.
Caution
This describes cautions that may cause injury or damage to property
in the situation where the product is mishandled. To allow safe use of
the product, be certain to observe these cautions.
This describes important points or forbidden items that must be
observed during operation. Be sure to read these points to prevent
machine breakdowns, damage, or mistaken operation.
Note
This describes instructions for use and supplementary explanations
which should be read and applied.
This describes items (such as page numbers) that refer to the
operation. It is recommended that you read these references.
3
Reference

4
• Page Layout
This guide gives explanations using the following type of page layout.
Warning
4.4 Routine Cleaning
In order to maintain the performance of this printer and allow normal printing, cleaning
should be carried out regularly once a month.
When cleaning the printer, switch off the power switch and remove the
power plug from the power socket.
• Cleaning the Cleaning Roller
Although this printer incorporates a cleaning roller cleaning mode, in the situation where
the soiling cannot all be removed, the roller should be taken out and cleaned.
• Menu Cleaning Mode
The cleaning roller is incorporated to clean off dust and dirt attached to plates and
sheets before printing. Use the menu cleaning mode depending on the condition of
the roller.
(1) Press the Online key to set the printer to “Offline” (The online lamp will
switch off).
(2) Press the
Menu
key.
• <<Menu>>
Cleaning… is displayed.
(3) Press the Enter key to enter the Cleaning mode and clean the roller.
• Cleaning
Cleaning…
According to the usage conditions, set the “Auto Cleaning” menu mode.
Reference
See “To Change the Timing for Cleaning the Cleaning Roller”
of “4.1 Convenient Functions” on P.79.
94
This groups
together explanation
items, conditions, or
situations.
This shows
the operation
procedures.
This shows the
operation panel key.
MEMO symbol
mark
Reference
symbol
mark
In the case where
there is a caution,
warning or note
concerning the
operation or
explanation,
this gives the
description.
This shows the
display condition
on the main unit
display.
* The contents described are different from the actual
page.

55
Notes for Customers
• It is forbidden to duplicate the contents of this document in whole or in part without
permission.
• The information described in this document may be changed in the future without prior
notice.
• Note that in no event shall this company bear any responsibility whatsoever for the
effects resulting from the use of this product.
• Note that in no event shall this company bear responsibility for damages resulting from
the improper use of this product by the customer, or from damages occurring because
of modications or changes made by the customer.
• If you find any errors or omissions in this document, or if you have any questions
regarding this document, please contact your nearest dealer.
Microsoft®, Windows®, Windows Vista®, and WordPad are registered trademarks of
Microsoft Corporation in the U.S.A. and other countries.
Adobe, the Adobe logo, Adobe Reader, and Adobe Acrobat are trademarks or registered
trademarks of Adobe Systems Incorporated.
Other product names are trademarks or registered trademarks of each of the
companies.
The Adobe Reader or Adobe Acrobat Reader program is required for viewing this
document.
In the case where Adobe Reader or Adobe Acrobat Reader has not been installed in the
computer that you are using, download and install it from the Adobe Systems website.
Regarding written forms, the following product names are abbreviated in the text:
• Microsoft ® Windows® XP Abbreviated as Windows XP
• Microsoft ® Windows Vista® Abbreviated as Windows Vista
• Microsoft ® Windows® 7 Abbreviated as Windows 7
Regulations for this product
FCC Regulations
This device complies with Part 15 of the FCC Rules. Operation is subject to the following two conditions:
(1) This device may not cause harmful interference, and (2) this device must accept any interference received, including interference
that may cause undesired operation.
Note: This equipment has been tested and found to comply with the limits for class B digital devices, pursuant to Part 15 of the FCC
Rules. These limits are designed to provide reasonable protection against harmful interference in a residential installation. This
equipment generates, uses and can radiate radio frequency energy and, if not installed and used in accordance with the instructions,
may cause harmful interference to radio communications. However, there is no guarantee that interference will not occur in a
particular installation. If this equipment does cause harmful interference to radio or television reception, which can be determined by
turning the equipment off and on, the user is encouraged to try to correct the interference by one or more of the following measures:
• Reorient or relocate the receiving antenna.
• Increase the separation between the equipment and receiver.
• Connect the equipment into an outlet on a circuit different from that to which the receiver is connected.
• Consult the dealer or an experienced radio/TV technician for help.
Do not make any changes or modications to the equipment unless otherwise specied in the manual. If such changes or
modications should be made, you could be required to stop operation of the equipment.

66
Important Safety Information for
Using the Printer
To ensure safe operation of this printer, be sure to observe the following warnings
and cautions.
• Do not install the printer close to flammable solvents such as alcohol or
thinners. If these come into contact with the electrical components inside the
printer, it may result in re or electric shock.
• Do not apply your weight or place a heavy object on top of the printer, since it
may cause breakdowns.
• Do not place metal objects or containers lled with liquids on top of the printer.
If these come into contact with the electrical components inside the product,
they may cause a short-circuit, resulting in re or electric shock.
• Do not install the printer in unstable locations or places subject to vibration,
since it may drop off or fall over, causing injury.
• Do not install the printer in locations with high humidity or large amounts of
dust, and keep it away from sources of high temperatures or re, since it may
cause re or electric shock.
• Do not install the printer on top of rugs or carpets, or on beds or sofas. This
will cause heat to be trapped inside the product, which may cause a fire or
breakdown.
• Do not block the air ventilation holes on the rear of the printer, or the ventilation
holes on the base. This will cause heat to be trapped inside the product, which
may cause a re or breakdown.
• For the working space, secure an area that will allow handling of the media that
is to be printed without obstruction.
• Installation Location
Regarding the printer installation, do not block the air ventilation holes on the rear side.
In addition, because printing of plates up to a maximum length of 500mm is possible,
secure the kind of work space described below.
View of Printer from Above
Warning
Caution
Rear Side
Front Side
Discharge Port Side Feeding Port Side

7
Important Safety Information for Using the Printer
• Power Source
• In the situation where an abnormality occurs, such as the appearance of smoke
or of a strange odor, immediately switch off the power switch, remove the plug
from the power socket, and contact your nearest dealer.
• Do not attempt to remove or insert the power plug when your hands are wet,
since it may result in electric shock.
• Do not use multi-socket adaptors to plug multiple devices into a single socket,
since this may cause re or electric shock.
• Insert the power plug firmly into the socket as far as it will go. If a piece of
metal makes contact between the exposed pins of a power plug that is not fully
inserted in the socket, it may result in re or electric shock.
• Only use the attached power cord. Using other cords may result in re or electric
shock.
• Do not route the power cord near heat-generating equipment, since it may cause
the cord sheathing to melt.
• Connect the power plug to a properly earthed socket.
• Use with an AC100-240V (50/60Hz) power source. Do not use at other voltages,
since this may result in res, electric shock, or breakdowns.
• Do not switch on the power while the power cord is still bundled together or tied
in a knot, since it may cause re or electric shock.
• When cleaning the printer, use a soft cloth that has been moistened with water
and then tightly wrung out. Do not use flammable solvents such as alcohol,
benzene, or thinners.
Further, set the power switch to OFF and remove the power plug from the power
source socket before carrying out the cleaning.
• Periodically remove the power plug and wipe off any dust or dirt that has
accumulated on or around the power source socket using a dry cloth. If the
power plug is left connected for long periods in locations with large amounts of
dust, moisture, or oily smoke, the dust that builds up around the plug will absorb
moisture, causing insulation problems that may result in res.
• Do not cut, damage, or modify the power cord, Further, do not place heavy items
on top of the cord, pull on it, or bend it unreasonably. Electricity will leak from
the damaged parts, causing re or electric shock.
Warning

8
• In order to ensure that the power plug can be pulled out at any time, do not leave
objects lying around the power socket location.
• When removing the power cord, be sure to grasp the plug part and pull it out.
If you pull on the cord, the cord may be damaged, resulting in fire or electric
shock.
• If the printer is not to be used for a long period of time, remove the power plug
from the socket.
• Do not use extension power cords, since they may cause res or electric shock.
• During Use and Maintenance
• Do not touch the printing head during printing and immediately after printing
has nished, since this will result in burning your hand.
• Do not use the attachments (cords, etc.) for any purpose except this printer,
since this may result in fire or electric shock. Further, only use the product
according to the explanation in this manual.
• Do not use flammable sprays or similar objects close to the printer. This may
result in re or electric shock.
• In the situation where the product is dropped or damaged, switch off the printer
power switch, remove the power plug from the power socket, and contact your
nearest dealer. If the printer is continued to be used in this condition, it will
result in re, electric shock, or breakdowns.
• In the situation where abnormalities occur, such as when there is a strange
sound, when smoke appears, or if there is a strange odor, immediately switch
off the printer power switch, remove the power plug from the power socket,
and contact your nearest dealer. If the printer is continued to be used in this
condition, it will result in re, electric shock, or breakdowns.
• Do not disassemble or modify this printer. There are high voltage and high
temperature components inside the product that will cause re or electric shock.
• Warning Label Attaching Positions
Important Safety Information for Using the Printer
Caution
Make sure to always obey the following information when printing.
Failing to do so may lead to poor quality printouts or even damage the print head.
䋣
1S1-8039
Never use metallic plates.
If the roller is dirty, wipe the roller with gauze
wetted and wrung well.
Cleaning the cleaning roller
Cleaning plates
If the printing surface is dirty, wipe the surface
with gauze wetted and wrung well.
1. Results in character on the top and bottom being too light or unwanted lines running across the plate.
2. A printing fault may occur or the print head may be damaged.
3. A printing fault may occur or the print head may be damaged.
1. Plate warpage 2. Flash on plates
3. Dents,scratches,
and dirt on plates
Warnings
Cautions

9
Warnings
• Do not place heavy objects on top of the printer. If these objects fall over or drop
off, it may result in injury.
• In the situation where foreign objects such as pieces of metal, or water or other
fluids get into the inside of the printer, be sure to immediately switch off the
power switch. Then remove the power plug from the power socket and contact
your nearest dealer.
• For the ribbon, only use the specified ribbon cassette. Further, do not
disassemble the cassette or use other ribbons.
• During printing, do not unreasonably pull on the plate or sheet that is being
printed, since this will cause printing problems or breakdowns.
• Do not use or store the product in locations subject to direct sunlight or places
where there is high moisture or large amounts of dust.
[Environmental conditions for the main unit, ribbon cassette, and cleaning
cassette]
Temperature (°C) Humidity (%)
Operating Environment 15 - 32.5 10 - 85
Storage Environment 5 - 35 10 - 90
• In the case where the product will not be used for some time, such as overnight,
switch off the power switch for safety. Further, in situations such as consecutive
holidays where the product will not be used for a long
period, remove the power plug from the power socket for
safety.
• Store the consumables including ribbon cassettes in
locations where children cannot reach them. It will
be dangerous in situations such as where children
mistakenly lick the ribbons.
• Carefully open and close the cover and tray, taking care
not to catch your nger inside.
• During printing, do not open the cover. In addition, take
care not to insert your finger or other object into the
arrowed parts and shown in the figure at right,
since this will cause injuries.
• When carrying the printer, hold it facing towards
you with both hands grasping the base on the left
and right sides.
Important Safety Information for Using the Printer

10
Contents
Method of Reading this Guide ................................................................................3
• Meanings of Symbol Marks .............................................................................3
• Page Layout ......................................................................................................4
Notes for Customers ................................................................................................5
Important Safety Information for Using the Printer ........................................6
Chapter 1:
Preparations Before Use ..................................................................... 13
1.1 Conrmation of Accessories ...........................................................................14
• Packing Materials ...........................................................................................14
1.2 Names of Main Unit Parts ................................................................................15
• Front Face .......................................................................................................15
• Rear Face ........................................................................................................ 17
Chapter 2: Printer Preparations ................................................................. 18
2.1 Operation Panel Component Names and Operations ...................................19
• Display Lamps ...............................................................................................19
• Keys ................................................................................................................20
• Display ............................................................................................................21
1. Display Data Receiving Message ................................................................21
2. Operation Panel Menu Mode Conguration ...............................................22
2.2 Connecting the Power Cord ............................................................................24
2.3 Setting the Cleaning Cassette .........................................................................25
2.4 Setting the Ribbon Cassette ............................................................................29
2.5
Switching On and Off the Power Switch ................................................................ 30
• When Switching On........................................................................................30
• When Switching Off .......................................................................................30
2.6 Setting the Plates .............................................................................................31
• Tag Plates with Holes .....................................................................................34
2.7 Setting the Roll Sheets ....................................................................................35
• Types of Roll Sheet ........................................................................................38
2.8 Removing the Media ........................................................................................40
2.9 Separating Roll Sheet Segments ....................................................................41
Chapter 3:
Installation and Printing .............................................................42
3.1 Installing the Printer Driver .............................................................................43
• Usage Environment .......................................................................................43
• Installation ......................................................................................................43
• Connecting the USB Cable ...........................................................................48
• Uninstalling the Printer Driver ......................................................................49
3.2 Using the Printer ..............................................................................................51

11
〜 Contents 〜
• Preparations ...................................................................................................51
• Data Creation ..................................................................................................51
• Printing ...........................................................................................................54
• Halting the Printing ........................................................................................55
3.3 Single Color Printing ........................................................................................56
• Single Color Printing .....................................................................................58
3.4 Method of Using the Printer Driver .................................................................64
• Methods of Displaying the Printer Driver Setting Screen ..........................64
• Main Tab Settings ...........................................................................................65
• Setting the Form Setting Tab .........................................................................67
• Setting the Advanced Settings Tab ...............................................................70
• Setting the Status Monitor Tab ......................................................................71
• Setting the Proles Tab ..................................................................................72
• Setting the Maintenance Tab .........................................................................73
• About ............................................................................................................... 74
• Setting the Utility Tab ..................................................................................... 74
• Printing Area ................................................................................................... 76
• Priority Order of Printing Functions .............................................................76
Chapter 4: Maintenance ............................................................................. 77
4.1 Convenient Functions ......................................................................................78
• To Reduce the Power Consumption When the Printer is not in Use .........78
• To Change the Language shown on the Display .........................................79
• To Increase the Printing Speed .....................................................................79
• To Change the Timing for Cleaning the Cleaning Roller ............................80
• To Clean the Cleaning Roller .........................................................................80
• To Implement Test Printing ............................................................................80
• To Remove a Plate ..........................................................................................81
• To Eliminate Displacement in the Printing Position ....................................81
• To Stop Printing ..............................................................................................81
4.2 Troubleshooting ................................................................................................82
• When the Power does not Switch On ...........................................................82
• When the Printer does not become Online ..................................................82
• When the Printing does not Start (Communications are not possible) ....82
• When Nothing is Printed ................................................................................83
• When Plates and Sheets cannot be Fed Normally ......................................83
• When the Printed Items are Soiled ...............................................................86
•
When there is faint printing at the Top and Bottom of the Printed Items ....... 87
• When there is Horizontal Streaking on the Printed Item ............................87
• When the Printing Position is Misplaced .....................................................88
• When the Print Image or Lines have been Changed ...................................90

12
〜 Contents 〜
• When the Print Image is Unreadable ............................................................90
• When the Cleaning Tape has Finished .........................................................90
• When Color Printing cannot be Carried out ................................................91
• When the Printed Items are not Ejected .......................................................91
4.3 Printer Messages ..............................................................................................92
• Notication Messages ...................................................................................92
• Breakdown Messages ...................................................................................93
4.4 Routine Cleaning ..............................................................................................94
• Cleaning the Cleaning Roller ........................................................................94
• Other Cleaning Locations .............................................................................97
• Replacement Parts .........................................................................................97
4.5 Plate Cleaning and Storage .............................................................................98
• Plate Cleaning ................................................................................................98
•Plate and Sheet Storage .................................................................................99
4.6 Test Printing ....................................................................................................100
Chapter 5: Appendix ..................................................................................101
5.1 Main Specications ........................................................................................ 102
5.2 Index ................................................................................................................ 103

Chapter 1:
Preparations Before Use
In this chapter, explanations are given of the accessories included with the
product and the names of the parts.
13
1.1 Conrmation of Accessories .......................................................................... 14
• Packing Materials ......................................................................................... 14
1.2 Names of Main Unit Parts ................................................................................ 15
• Front Face ..................................................................................................... 15
• Rear Face ...................................................................................................... 17

14
1.1 Conrmation of Accessories
Check that the accessories shown below are all included.
14
• Packing Materials
The outside box and packing materials that contain the printer should not be
discarded and should be stored. They will be required when sending the printer, such
as in situations where repairs are necessary.
Printer Main Unit
Cleaning Cassette Ribbon Cassette (Black)
Printer Driver and Operation
Manual (CD-ROM)
USB Cable (2m)
Simple Installation
Guide
Regarding the installation location, refer to “Installation Location” on P.6.
Note
Outside Box Accessories
Packing Materials
Packing Materials
Printer Main Unit

15
1.2 Names of Main Unit Parts
(1)
(2)
(3)
(4)
(5)
(6)
(7)
(8)
(9)
(10) (11)
(12) (13)
(14)
(15)
(16)
(17)
(18)
(19)
(20)
Name Function Reference
(1) Cover This covers the ribbon cassette and the print
head. P.25, P.29
(2) Handling Instruction Sticker This is the sticker that describes instructions on
handling. -
(3) Ribbon Cassette Mounting Part This is the mounting part for the ribbon
cassette. P.29
(4) Feeding Roller This ejects the media after printing. P.9, P.97
(5) Print Head This is the head that prints on the media. P.87, P.97
(6) Cleaning Roller This cleans the media. P.94, P.97
(7) Cleaner Brush This removes dirt from the media. P.32
(8) Feeding Port The media should be inserted here. -
(9) Feeding Table The media should be placed here. P.32
(10) Locking Screw This xes the width regulating guide. P.33
15
• Front Face

16
1.2 Names of Main Unit Parts
Name Function Reference
(11) Operation Panel This shows the printer functions and conditions,
and sets the functions. P.19
(12) Width Regulating Guide This prevents the media from being fed in while
it is tilted. P.33
(13) Scale This allows the media length to be measured.
(Scale interval: 10mm) -
(14) Tray Support This supports the tray. P.31, P.35
(15) Tray Long media is placed on here. P.31, P.35
(16) Power Switch This switches on and off the printer power. P.30
(17) Roll Holding Rollers These are the rollers that feed the roll paper. P.36
(18) Cleaning Cassette Mount This is the mounting part for the cleaning
cassette. P.26
(19) Cleaning Auxiliary Roller This connects the cleaning tape with the roller. P.25
(20) Cleaning Cassette Setting
Lever
This sets the cleaning tape to the cleaning
position. P.25

17
1.2 Names of Main Unit Parts
(1)
(2) (3)
(4)
(5)
• Rear Face
Name Function Reference
(1) Power Cord Insertion
Port
Insert the attached power cord here. P.24
(2) Ventilation Holes These expel the heat from inside the printer. P.6
(3) USB Cable Insertion Port Insert the attached USB cable here. P.48
(4) Media Ejection Port The media is ejected from here. P.31
(5) Security Cable Lock This enables setting of the security cable lock used for
preventing theft.
P.24

2.1 Operation Panel Component Names and Operations .................................. 19
• Display Lamps .............................................................................................. 19
• Keys ............................................................................................................... 20
• Display .......................................................................................................... 21
1. Display Data Receiving Message .......................................................... 21
2. Operation Panel Menu Mode Conguration ......................................... 22
2.2 Connecting the Power Cord ........................................................................... 24
2.3 Setting the Cleaning Cassette ........................................................................ 25
2.4 Setting the Ribbon Cassette ........................................................................... 29
2.5
Switching On and Off the Power Switch ................................................................ 30
• When Switching On ...................................................................................... 30
• When Switching Off ...................................................................................... 30
2.6 Setting the Plates ............................................................................................ 31
• Tag Plates with Holes ................................................................................... 34
2.7 Setting the Roll Sheets ................................................................................... 35
• Types of Roll Sheet ...................................................................................... 38
2.8 Removing the Media ........................................................................................ 40
2.9 Separating Roll Sheet Segments ................................................................... 41
18
Chapter 2: Printer Preparations
In this chapter, explanations are given of the preparations that are required before
using the printer.

• Display Lamps
2.1 Operation Panel Component Names
and Operations
Power Lamp
Online Lamp Online Message Cancel
Enter
Enter
Cancel
Message LampKey Key Key
Key
Key
Display
Online
Menu
Menu
• Power .............. This lights in the situation where the Power switch is ON.
• Online .............. This lights in the situation where data receiving is possible, and
ashes while data is being received. When the printer is offline, the
light will be off.
• Message ......... This ashes when some kind of trouble has occurred so that printing is
not possible, and when the printer is giving notication of a message.
Details
Cover open.
Check Media.
No Ribbon.
Printer inside is hot. Please wait.
No cleaning tape.
Replace Ribbon Cassette.
Media feed error.
Printing may not work properly.
Media may be different.
Check Cleaning Tape.
Set new Media.
Set Media halfway printed.
Set Ribbon.
Ribbon Cassette not recognized.
Cut Media and press Enter key.
Check Media and press Enter key.
Remove Media and set it again.
Set new Media and press Enter key.
No Media found.
Check Feeder type.
Too much Black area in Image.
Test print not work in Feeder mode.
Insert feeder.
Set new Media and press Enter key.
19
For more details, refer to P.92 and 93.

Note
20
2.1 Operation Panel Component Names and Operations
In the situation where the same contents have been set using the printer
operation panel and the PC (application and printer driver), the settings on
the side that were made last will be effective.
Take care particularly in situations where the plate or sheet actually set in
the printer is different from the contents set in the PC, since normal printing
or feeding may not be possible.
Reference
Refer to “Priority Order of Printing Functions” of “3.4 Method
of Using the Printer Driver” on P.76.
• Keys
........• This switches between the data receiving possible (Online) condition
and the standby (Offline) condition.
........• Press this in the standby condition (Offline) to change to the Menu
Selection mode.
........• After selecting the menu, this displays the menu items by acting as
the key.
........• In the situation where “Remove” has been selected from the menu,
this key will rotate the feeding rollers and feed the plate towards the
ejection port while the key is being pressed.
Reference
For more details refer to P.83.
........• After selecting the menu, this displays the menu items by acting as
the key.
........• This implements menu operations that have been selected using the
Menu
key.
........• This cancels the selected menu.
........• This deletes printing data that has been received from the PC.
Reference
For more details, refer to P.81.
Online
Menu
Enter
Cancel
To set the Menu Selection Mode from the online condition, rst press the
Online key to switch off the online lamp and set the offline condition, then
press the
Menu
key.
Table of contents
Other Nisca Printer manuals

