manuals.online logo
Brands
  1. Home
  2. •
  3. Brands
  4. •
  5. NiteRider
  6. •
  7. Bicycle Accessories
  8. •
  9. NiteRider MiNewt Mini 300-USB User manual

NiteRider MiNewt Mini 300-USB User manual

MiNewt Mini 300 – USB
MiNewt Mini 300 – USB Plus
Discover the Night!
Thank you for choosing the MiNewt Mini 300 - USB™ from NiteRider, the leading innovator in
technical lighting systems. The MiNewt Mini 300 - USB™ combines a high-powered white LED
headlamp and a Power Module containing light control, charging and safety circuits as well as the
rechargeable Lithium Ion battery.
To get the most from your NiteRider light, we urge you to familiarize yourself with the following
safety and operating instructions.
Riding at Night
While the MiNewt Mini-USB™ will improve your control and enjoyment of night riding, please
remember that cycling at night is an inherently dangerous activity. In addition to using your lighting
system properly and riding with extreme caution, NiteRider urges you to:
•Never ride alone
• Always let someone know where you are going
• Wear a helmet and reective clothing
• Carry an auxiliary light and emergency supplies
Protecting Your Investment
When not in use, always disconnect the headlamp from the power module. To unplug, grasp the
connector, not the cable. Properly charge your batteries to maximize their lifespan. Be sure to use
only the supplied AC Adapter, otherwise damage to the power module circuitry could occur.
The MiNewt Mini-USB™ will perform in wet weather conditions, but submerging it in water will
damage the system.
Support If you experience difculties during product installation or operation, NiteRider provides
free telephone support on weekdays from 8:00 AM to 4:30 PM (Pacic Time) at
800.466.8366, ext. 4. You may also e-mail us at support@niterider.com.
Warranty
NiteRider stands behind its products with the following MiNewt Mini-USB™ warranties:
• Lifetime warranty on all mechanical components
• 2 years on the headlamp, power module
(excluding degradation of the battery cells) and AC Adapter
• 180 days on rechargeable batteries
To repair or replace your product while under warranty, return it (postage prepaid and insured with
original sales receipt) to the address below. Out-of-warranty repair service is also available.
For complete warranty information, please visit our website at www.niterider.com.
Operation
1. Connect the headlamp cord to the Power Module.
2. Press and release the headlamp power button to turn the light on. Cycle through the three
brightness levels by pressing and releasing the power button.
3. To access the daylight visible ash mode, press and hold the power button for greater than 3
seconds.
4. To turn the light off from either normal or ash mode, press and hold the power button for
greater than 1 and less than 3 seconds.


C

A
Parts List and Identication
Please verify the contents of your MiNewt Mini-USB™ system:
A. “O-Ring” Handlebar Mounting Straps
B. Power Module
C. MiNewt Mini-USB™ Headlamp/handlebar mount assembly
D. AC Adapter
E. USB Cable
F. Velcro Strap
The MiNewt Mini-USB Plus™includes:
A. “O-Ring” Handlebar Mounting Straps
B. Power Module
C. MiNewt Mini-USB™ Headlamp/handlebar mount assembly
D. AC Adapter
E. USB Cable
F. Velcro Strap
G. Helmet Mount
H. 36” Extension Cable

B
 




E


F




H
D
G
Mounting the Headlamp
Depending on the size of your bike’s handlebars, use one of the three “O-Ring” style mounting
straps to attach the headlamp/handlebar mount assembly. Follow the steps below.
1. Loosen the screw holding the mount assembly to the headlamp.
2. Hold the headlamp and twist the mount assembly, exposing the slot.
3. Place the desired O-ring mounting strap into the slot and twist the mount assembly back in
original position. The mounting strap is now secure.
4. Before tightening the screw, align the headlamp. Place the headlamp/mounting assembly on
the handlebar and change alignment angle by twisting.
5. When properly aligned, tighten the screw.
6. Place the headlamp/mounting assembly on the handlebar. Pull/stretch the mounting strap
under the handlebar, towards the back and loop it over and into the back slot on the
mounting assembly.
If you have difculty getting the mounting strap into the back slot see the TIP below








TIP: The 2 slots on the mounting assembly are different sizes.
The larger slot opening should face the back of the bike, giving
more room for attaching the mounting strap. The smaller slot
opening should face forward, reducing the chance of dropping the
mounting strap.



LARGER SLOT

Mounting the Power Module
1. Thread the Velcro strap through the slots on the top of the Power Module.
2. Attach the concave surface of the Power Module to a safe, convenient location
on the handlebars, stem or frame, placing the Velcro strap over the mating surface.
Attaching Helmet Mount to Helmet
1. Unclamp the straps on each side of the helmet mount and pull them free.
2. Position the mounting plate as close to the centerline of the helmet as possible, orienting the
snap to the rear.
3. Feed each strap into and out of two helmet vents, circling each strap back to the upper edge of
the corresponding clamp.
4. Fasten the straps by inserting them into the clamps.





Mounting Headlamp to Helmet Mount
1. Remove helmet mount body from the base. (Fig A)
2. Slip the O-ring mounting strap into the slot of the helmet mount body with the pull tab pointing
forward. (Fig B)
3. Place the O-ring mounting strap into the front slot of the handlebar mount. (Fig C)
4. Twist the handlebar mount back into its original position. Tighten the handlebar mount screw.
5. Stretch O-ring and pull up, around back of helmet mount body and loop it over and into the back
slot on the head mounting assembly. (Fig D)
6. Snap helmet mount body into helmet mount base. (Fig E) Position light where needed.

A


B

C

D

E
Battery Charging
The smart charging circuitry is housed in the Power Module and will recharge a fully discharged
battery in 4 hours or less. Charging time using USB power may vary depending on computer.
1. Plug the AC Adapter into the Power Module and then into the wall socket.
2. The Power Module indicator light will be red until the battery pack is fully charged; then it
changes to green.
3. Unplug the AC Adapter from the Power Module and wall socket, grasping the connectors rather
than the cables.
4. Leaving the Power Module and AC Adapter or USB Cable connected indenitely will not harm the
battery.
Run Time
The MiNewt Mini-USB™ will run for 2 hours on high.
Run time is an approximation and will vary.
Lumens: 300
Lumen values represent an average of 10 randomly selected headlamps as
measured in a 0.6 meter Integrating Sphere.
NiteRider Technical Lighting Systems
8295 Aero Place, Suite 200
San Diego, CA 92123 USA
www.niterider.com

This manual suits for next models

1

Other NiteRider Bicycle Accessories manuals

NiteRider PRO 2800 User manual

NiteRider

NiteRider PRO 2800 User manual

NiteRider Solas 250 User manual

NiteRider

NiteRider Solas 250 User manual

NiteRider PRO 1800 Race User manual

NiteRider

NiteRider PRO 1800 Race User manual

NiteRider RoadRat User manual

NiteRider

NiteRider RoadRat User manual

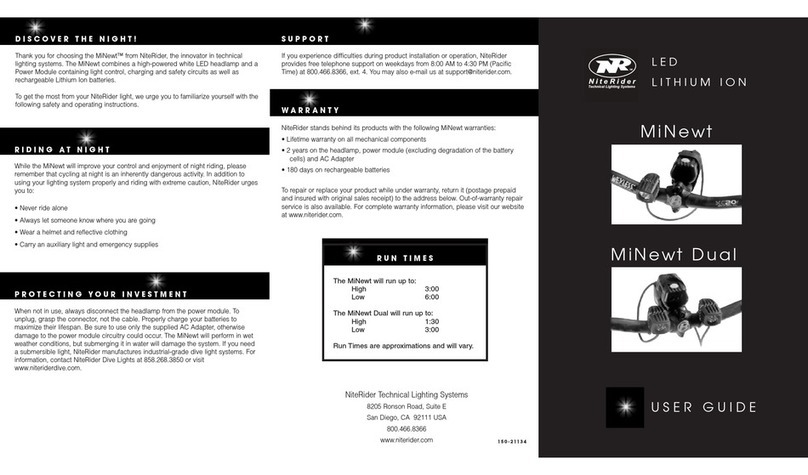
NiteRider MiNewt Dual User manual

NiteRider

NiteRider MiNewt Dual User manual

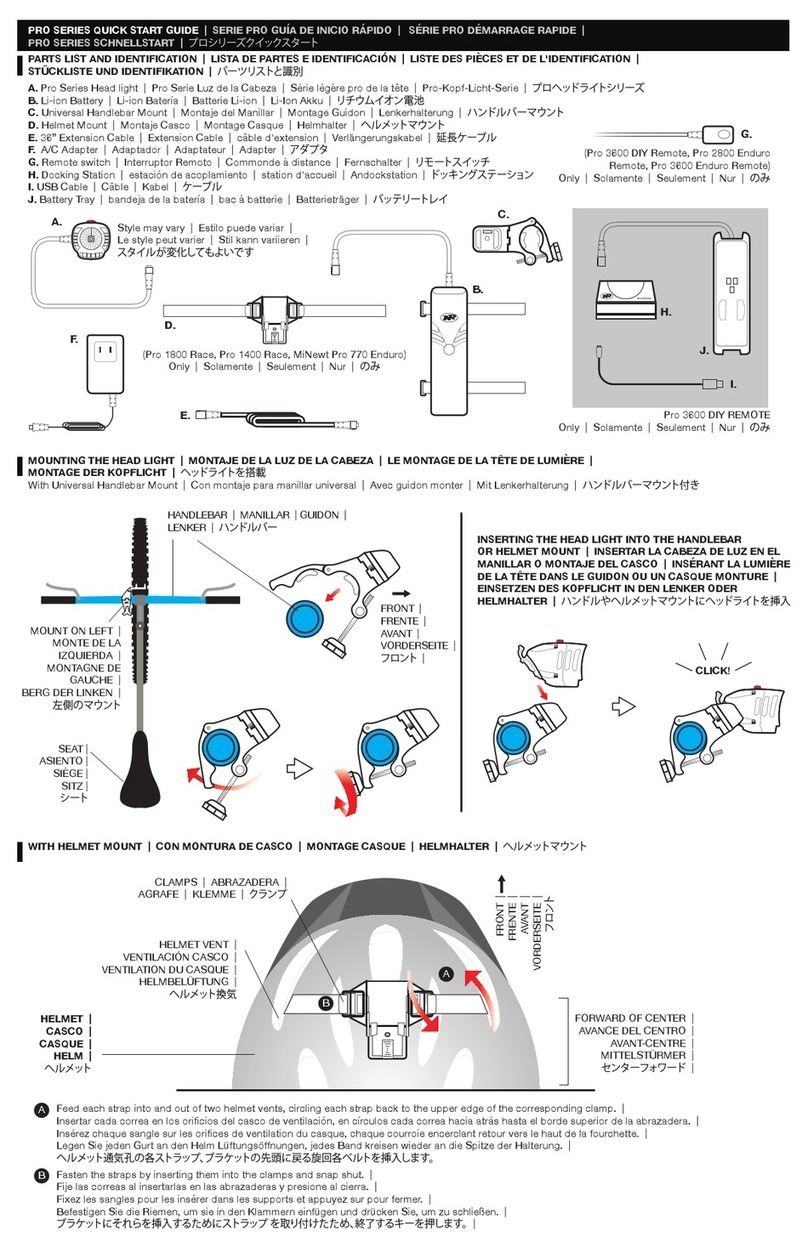
NiteRider PRO Series User manual

NiteRider

NiteRider PRO Series User manual

NiteRider Lumina Micro 220 User manual

NiteRider

NiteRider Lumina Micro 220 User manual

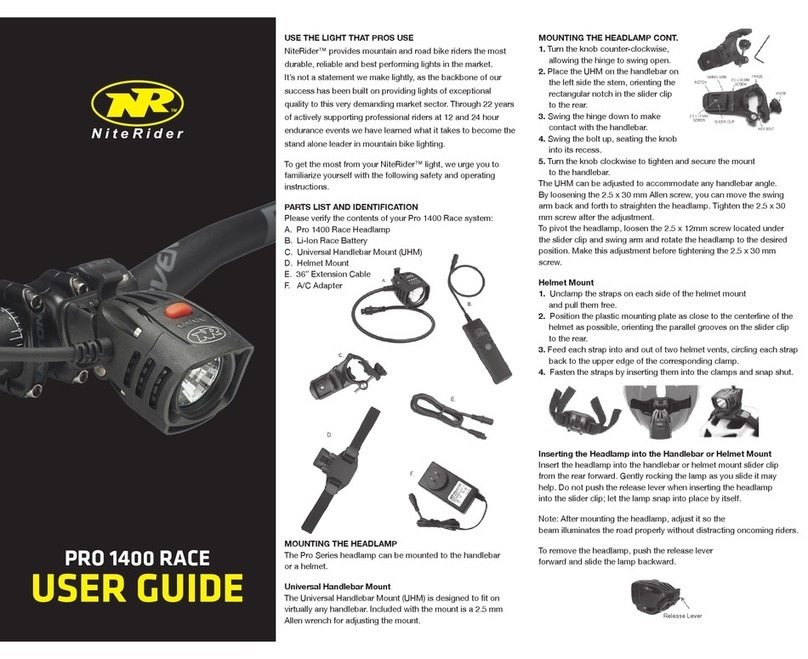
NiteRider PRO 1400 RACE User manual

NiteRider

NiteRider PRO 1400 RACE User manual

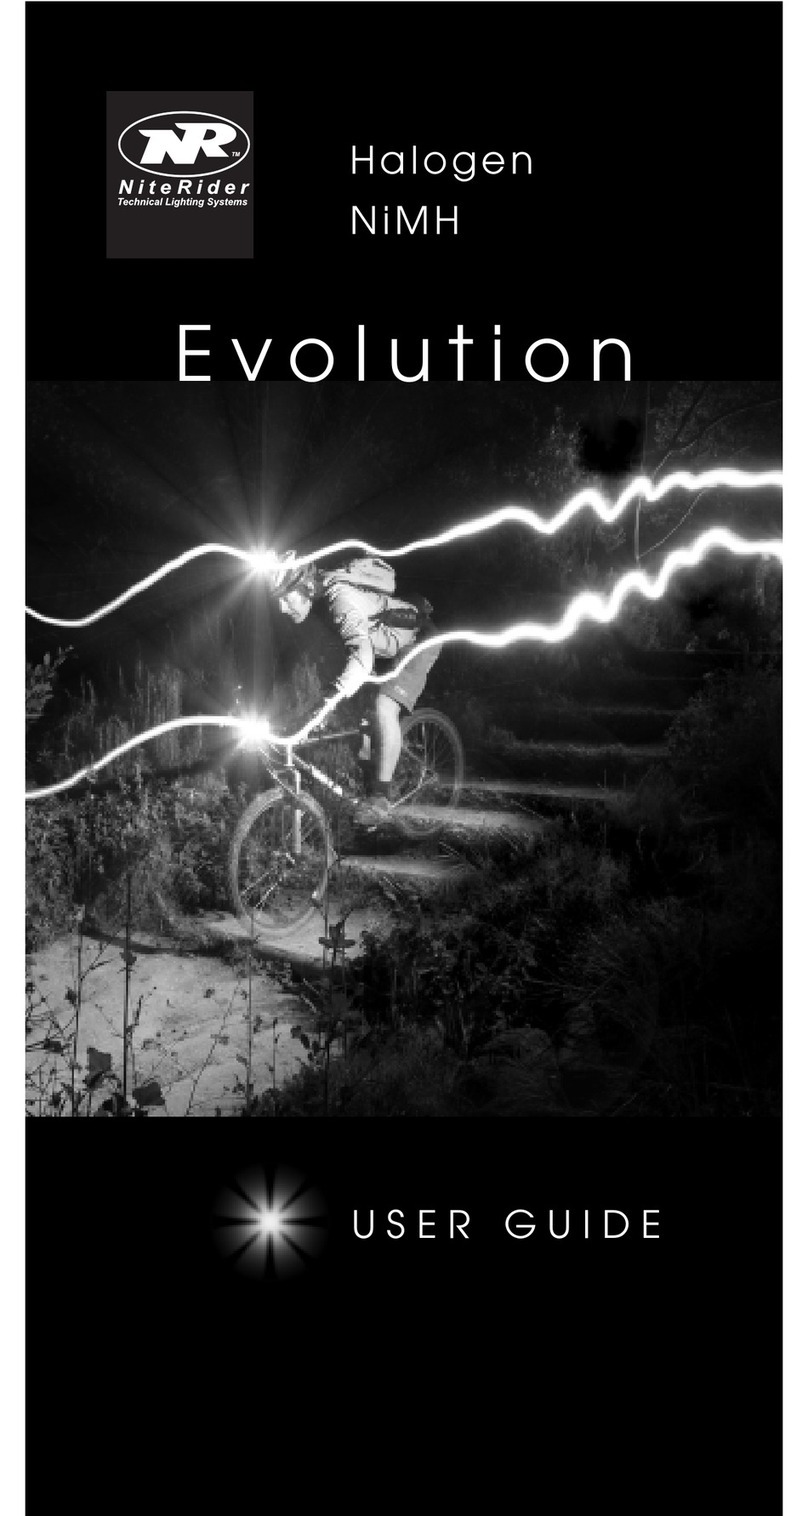
NiteRider Evolution User manual

NiteRider

NiteRider Evolution User manual

NiteRider FireStorm User manual

NiteRider

NiteRider FireStorm User manual

NiteRider PRO 3600 DIY REMOTE User manual

NiteRider

NiteRider PRO 3600 DIY REMOTE User manual

NiteRider Evolution Smart User manual

NiteRider

NiteRider Evolution Smart User manual

NiteRider MiNewt.200 User manual

NiteRider

NiteRider MiNewt.200 User manual

NiteRider Pro Series User manual

NiteRider

NiteRider Pro Series User manual

NiteRider PRO 2200 RACE User manual

NiteRider

NiteRider PRO 2200 RACE User manual

NiteRider PRO 2800 ENDURO REMOTE User manual

NiteRider

NiteRider PRO 2800 ENDURO REMOTE User manual

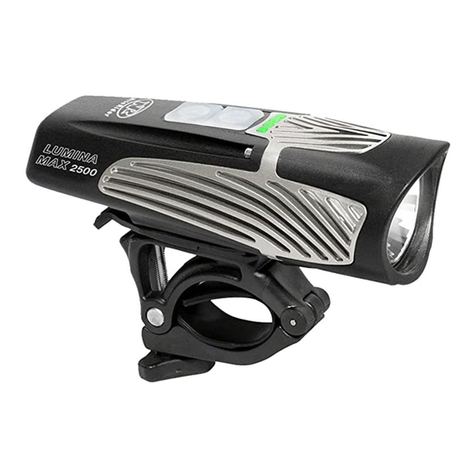
NiteRider LUMINA MAX 2500 User manual

NiteRider

NiteRider LUMINA MAX 2500 User manual

Popular Bicycle Accessories manuals by other brands

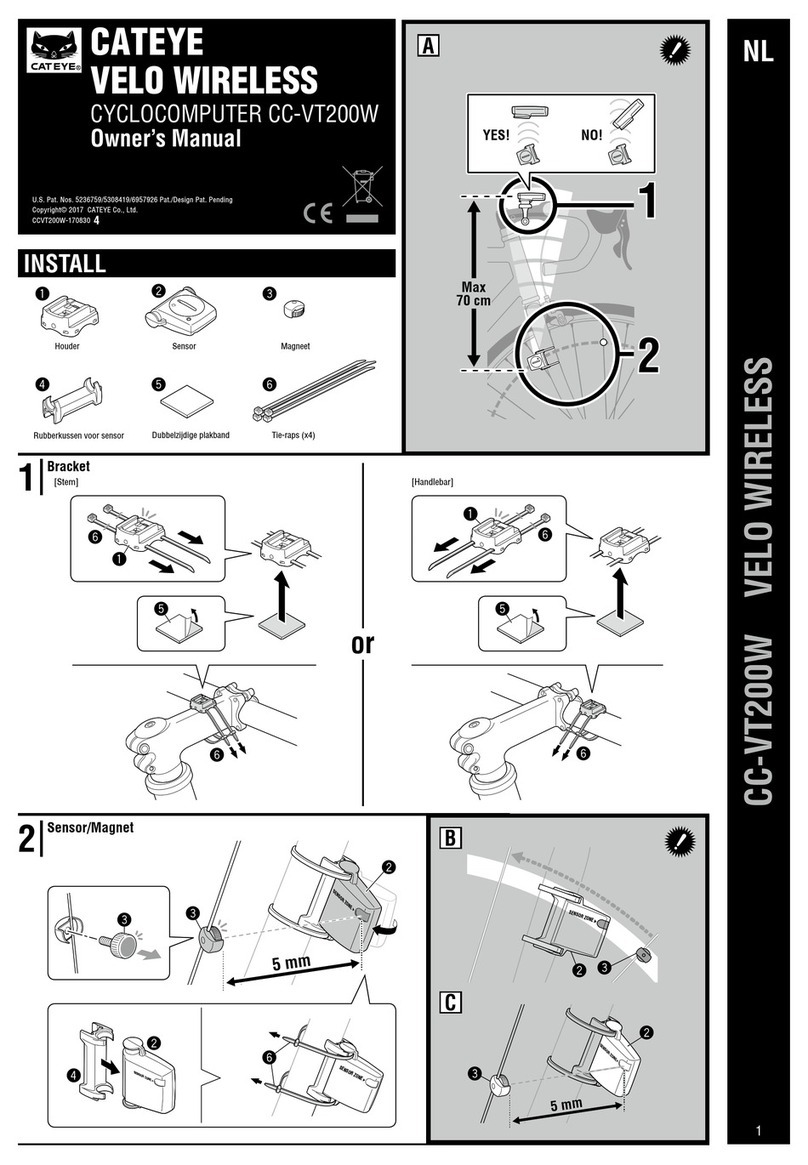
Cateye CC-VT200W owner's manual

Cateye

Cateye CC-VT200W owner's manual

EXT Racing Shox ERA V2S Quick manual

EXT Racing Shox

EXT Racing Shox ERA V2S Quick manual

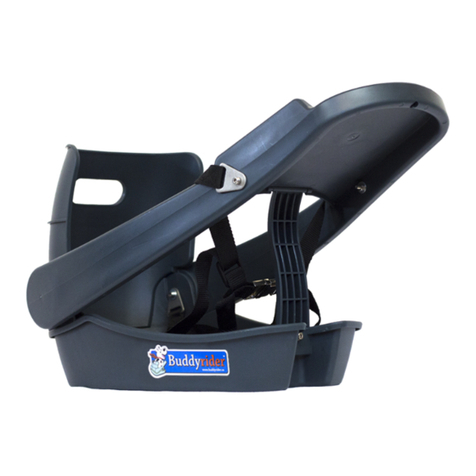
Buddyrider Pet Seat installation instructions

Buddyrider

Buddyrider Pet Seat installation instructions

VDO Cyclecomputing R4GPS Short manual

VDO Cyclecomputing

VDO Cyclecomputing R4GPS Short manual

QERIDOO TrailerQuick owner's manual

QERIDOO

QERIDOO TrailerQuick owner's manual

Continental Refrigerator Ergon Series Original instructions

Continental Refrigerator

Continental Refrigerator Ergon Series Original instructions

Merida Procraft Lenker Installation and operating instructions

Merida

Merida Procraft Lenker Installation and operating instructions

Shimano MTB SHADOW RD Series Dealer's manual

Shimano

Shimano MTB SHADOW RD Series Dealer's manual

Manitou R7 EXPERT Service guide

Manitou

Manitou R7 EXPERT Service guide

Cateye MITY 3 instruction manual

Cateye

Cateye MITY 3 instruction manual

Shimano FC-M771-K Service instructions

Shimano

Shimano FC-M771-K Service instructions

HAUL MASTER 99701 Instructions and precautions

HAUL MASTER

HAUL MASTER 99701 Instructions and precautions

OKBABY SIRIUS manual

OKBABY

OKBABY SIRIUS manual

Bosch 0 275 007 040 instructions

Bosch

Bosch 0 275 007 040 instructions

Funn BIGFOOT Installation and use

Funn

Funn BIGFOOT Installation and use

Hyena BS-A500 product manual

Hyena

Hyena BS-A500 product manual

Lezyne Hecto user manual

Lezyne

Lezyne Hecto user manual

Hamax Siesta with carrier adapter user manual

Hamax

Hamax Siesta with carrier adapter user manual

manuals.online logo
manuals.online logoBrands
  • About & Mission
  • Contact us
  • Privacy Policy
  • Terms and Conditions

Copyright 2025 Manuals.Online. All Rights Reserved.