WIR BLASEN AUF. SIE FALLEN AUF. www.noproblaim.at
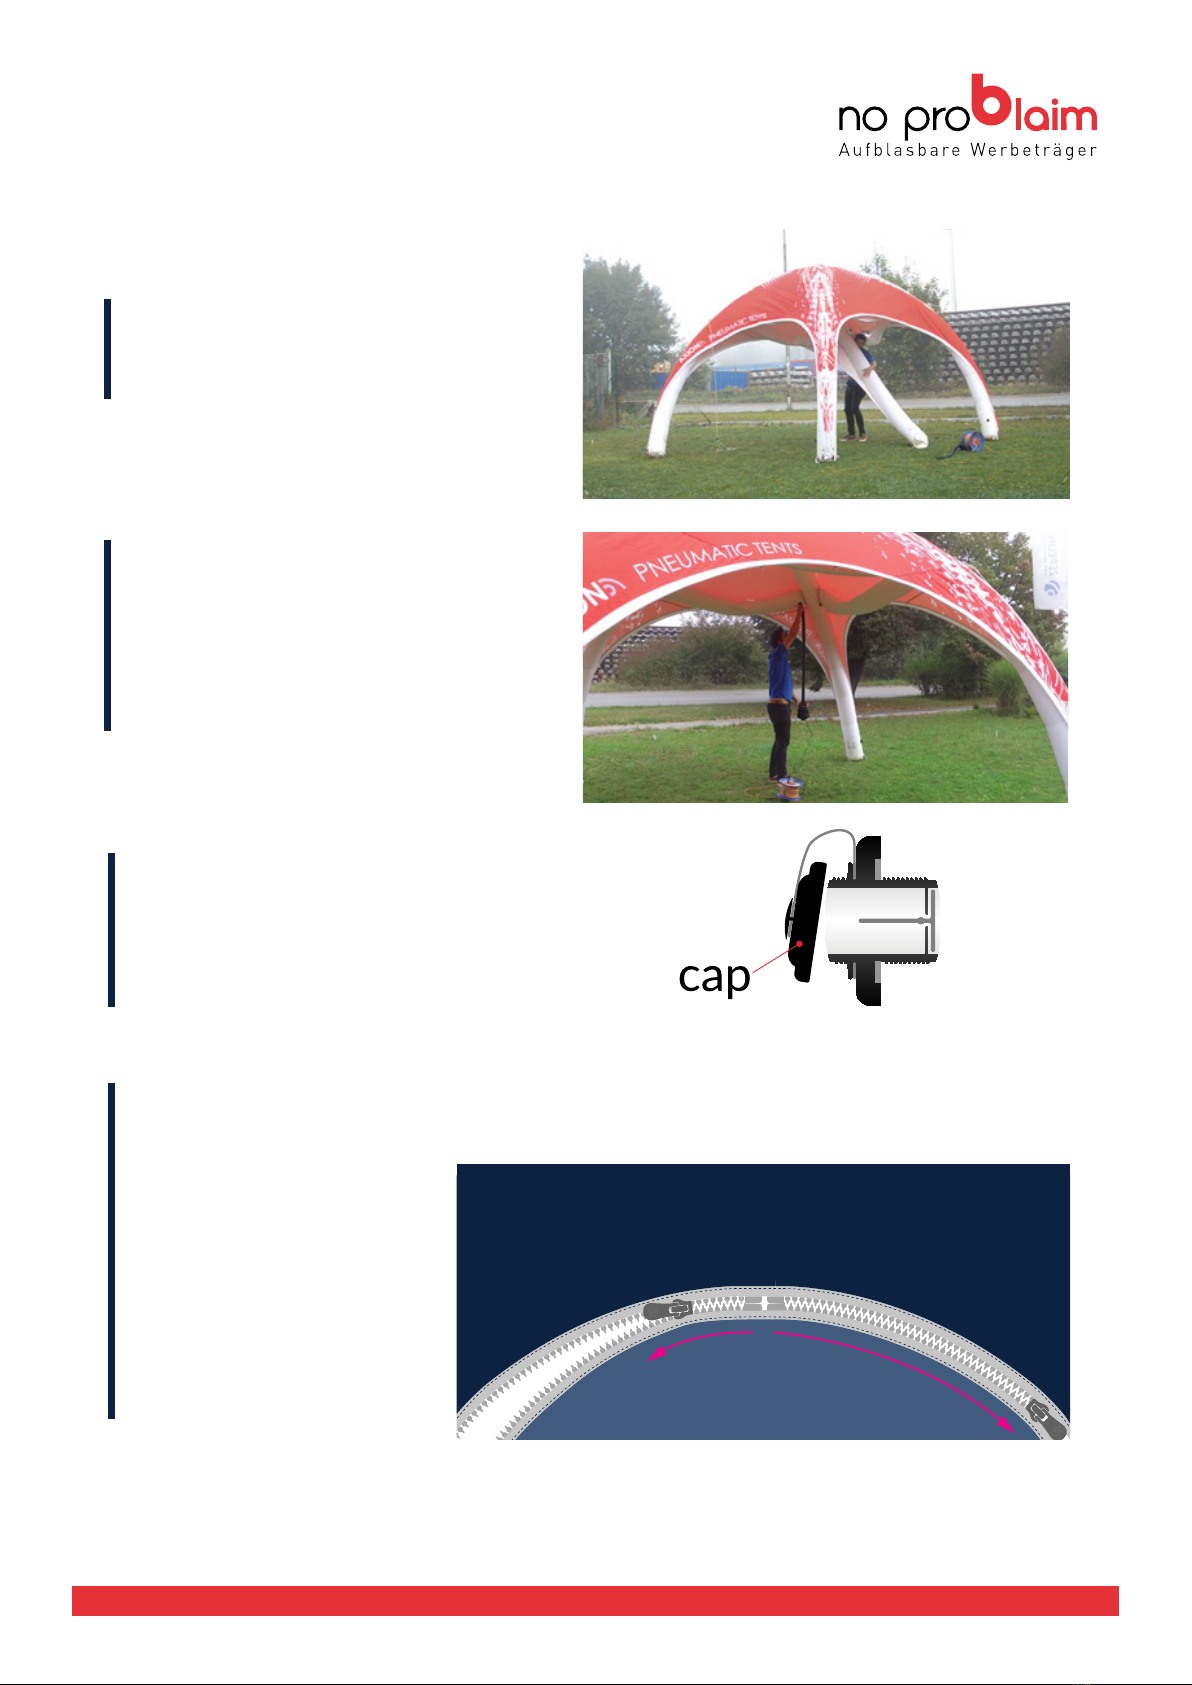
Inflate fourth leg. Once the leg gets
pressure, help the whole tent to erect and
put it to the future posion.
5.
Inflate all 4 horizontal beams to tension the
structure.
6.
After releasing an ination hose, do not forget
to close and tight the small cap of each
ination valve.
7.
Side walls and visors can be zipped on the tent all the time, but we rather suggest to install it to already
inated tent. Each wall or visor ts to each side of the tent. An artwork side of the wall may be faced to
outside or inside of the tent.
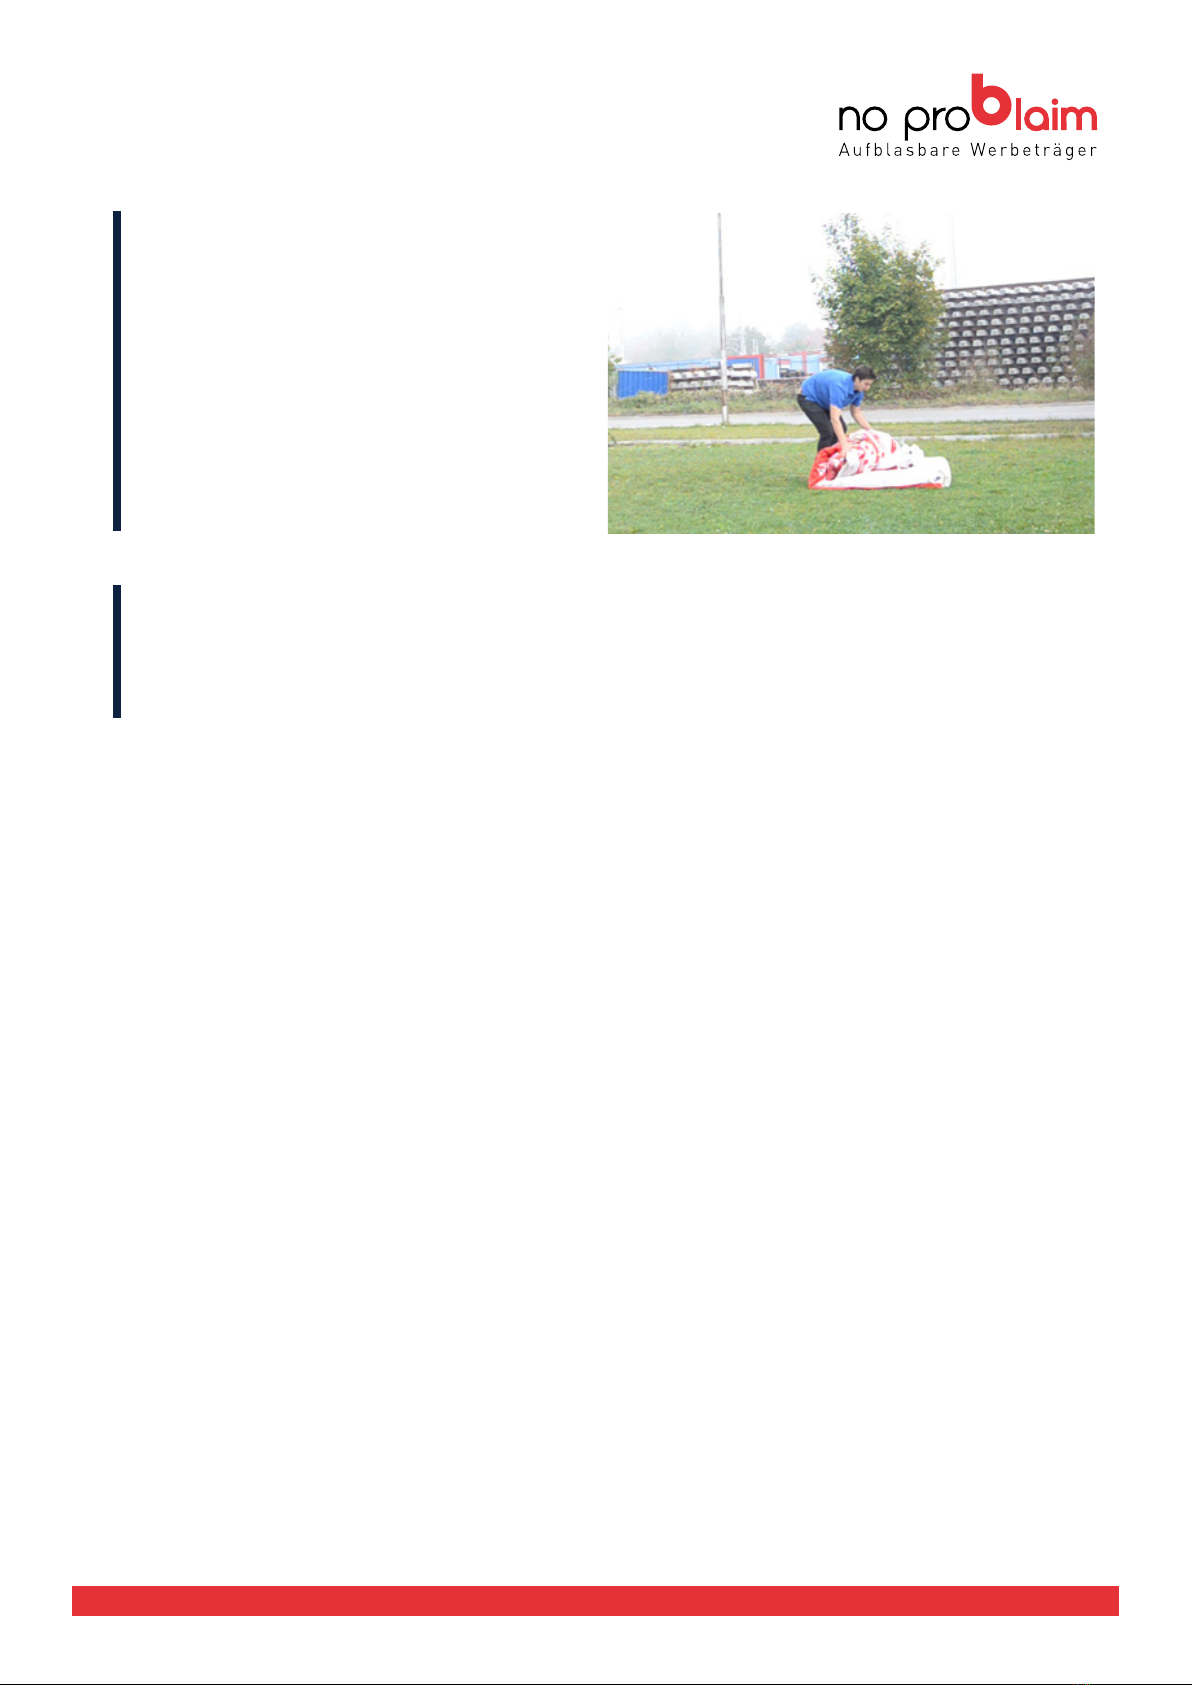
Check span of legs before
zipping the wall on the roof.
Span of legs bigger as width
of side wall can cause
damage of zipper during
zipping on the wall. Try to
minimaze a stress of zipper
by fair handling. Secure end
of zipper with velcro after
zipping on the side wall.
9.
SQUARE SETUP MANUAL
ROOF
WALL
Inflate fourth leg. Once the leg gets
pressure, help the whole tent to erect and
put it to the future posion.
5.
Inflate all 4 horizontal beams to tension the
structure.
6.
After releasing an ination hose, do not forget
to close and tight the small cap of each
ination valve.
7.
Side walls and visors can be zipped on the tent all the time, but we rather suggest to install it to already
inated tent. Each wall or visor ts to each side of the tent. An artwork side of the wall may be faced to
outside or inside of the tent.
Check span of legs before
zipping the wall on the roof.
Span of legs bigger as width
of side wall can cause
damage of zipper during
zipping on the wall. Try to
minimaze a stress of zipper
by fair handling. Secure end
of zipper with velcro after
zipping on the side wall.
ROOF
WALL