Nokia MobilityPass 3G Service manual

3G SECUREkey
ON THE MOVE
3G MOBILE BROADBAND GLOBAL ROAMING ACCESS SOLUTION
NO CONTRACT - LIVE COST CONTROL - PAY AS YOU GO
NO COMPROMISE ON SECURITY
Connect securely on the move wherever you are
Ready to use with PC, Mac, iPad, iPhone, EeePC, mobile, smartphone, laptop, iPod, Blackberry
3G settings for Nokia Windows XP, Vista, 7
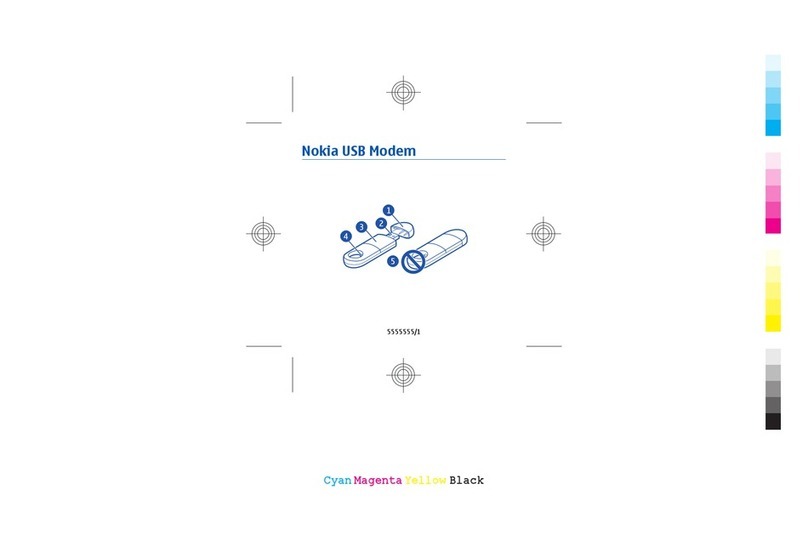
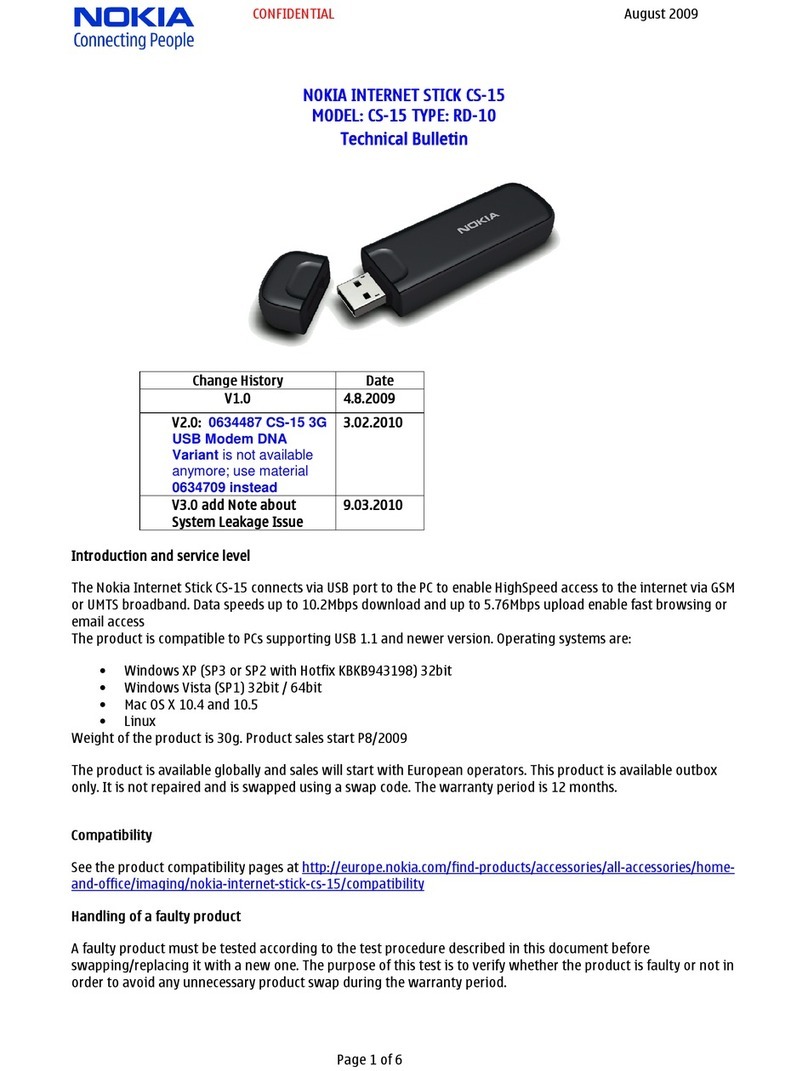
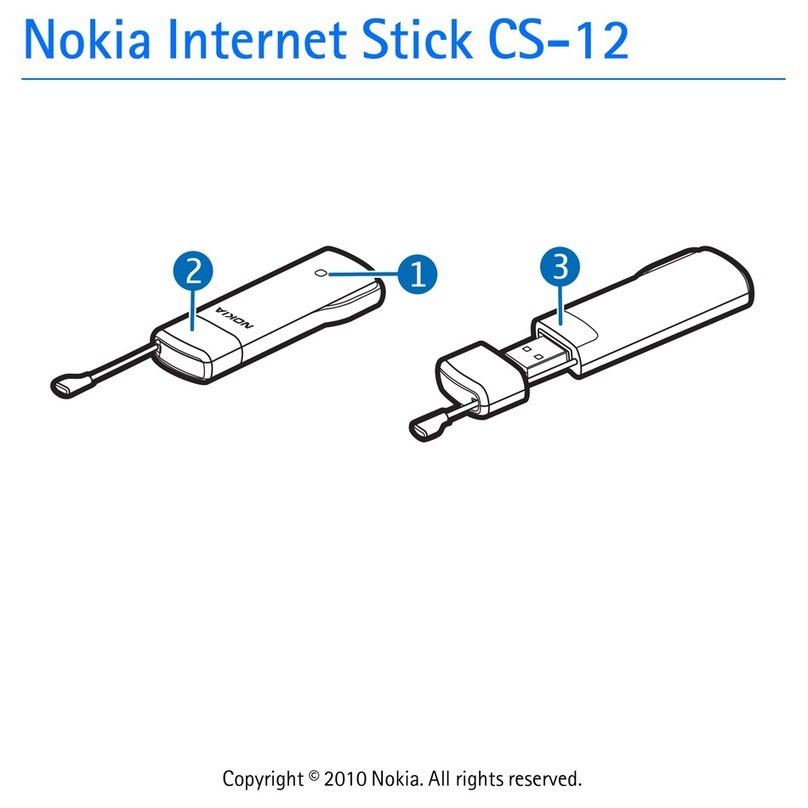
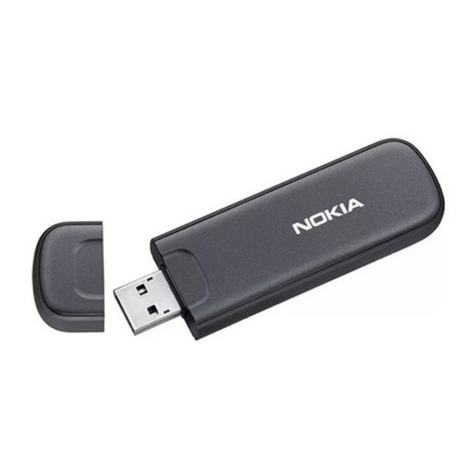
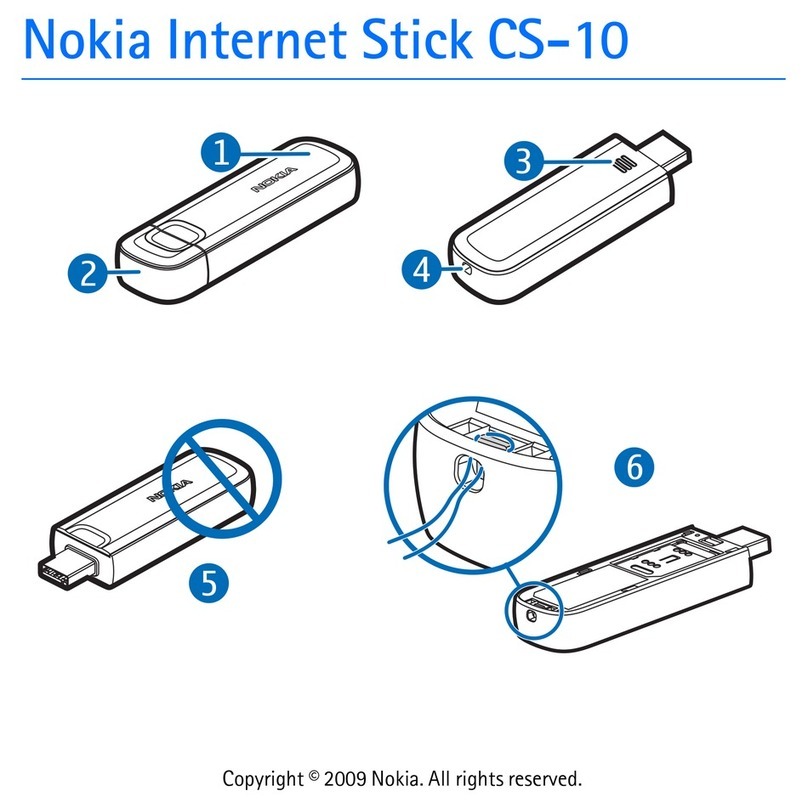
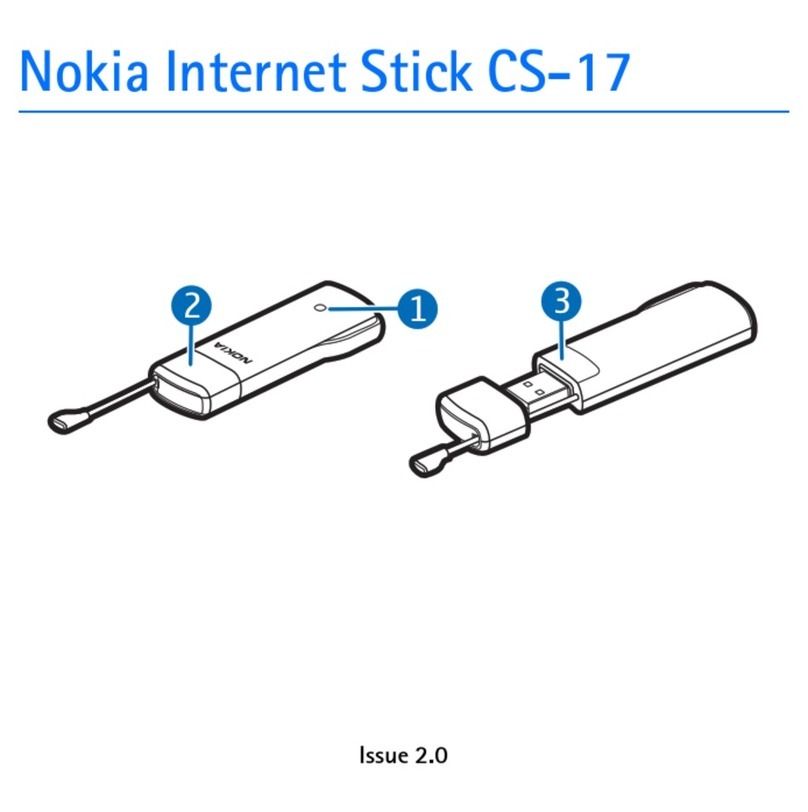
Nokia Internet Modem
Contact us
On line: Open a ticket at www.MobilityPass.com or your memberʼs area.
By phone: USA: +1 360 843 1129 - United Kingdom: +44 203 318 2615 - Japan: +81 345 209 591
Spain: +34 911 883 708 - By Fax: +1 206 203 6104
The MobilityPass Sales Team is available at office hours CET time zone
Powered by MobilityPass® , MobilityPass is a registered trademark of Sharp Rock Technologies 2000-2010
Worldwide Coverage
Connect on the move
Live cost control
Single point of contact
Worldwide single account
Dual secure authentication
Confidentiality & privacy
Simple pricing policy
Easy to use
Super fast Internet
WiFi off-load ready
Reliable backup
Working away from your
business or home.
Use it in a
Taxi, Car, Mobile-home
Yacht, Plane, Ships & Trains
anywhere you need
Remote office
Ideal for:
Road Warriors
Mobile workers
Frequent Travellers
Corporate, Organization
MobilityPass 3G settings Nokia Windows

MobilityPass 3G settings Nokia Windows
3
3G
Mobil Broadband
settings
for Nokia Windows
To create a new connection profile, in the main view,
select Options > Settings... > Connections (Dial-up)
Then New > Create a new connection.
Select Next >, and define the following settings:
In Choose a name for this connection:, enter a name for your
MobilityPass profile.
In Access point name (APN), enter: mobilitypass.com
In Authenticating, enter the your MobilityPass user name and pass-
word,
Leave the domain field empty.
Save the profile, select Finish.
Create a new connection profile
4
You must set the new profile you have created as a default profile.
To manage connection profiles, in the main view, select Options >
Settings... > Connections (Dial-up). The current profiles are dis-
played as a list.
• To set your MobilityPass profile as default, select the profile name
you just create and Default.
Set as a Default connection profile
1
To open the Nokia Internet Modem application, connect the device to
a USB port on your PC, or start the application in the normal
way in your operating system (for example, in Windows XP
Select Start > Programs > Nokia Internet Modem > Nokia Internet
Modem).
The main view of the application is displayed.
You must first configure your MobilityPass connection profile (Step 3)
Important. Windows 7 users must upgrade the modem software as
per instructions on the last page of this guide.
Open the Nokia Internet Modem
2
The main view shows the signal strength of your service provider in
your current location (the more bars displayed, the better the sig-
nal), the name of the network you are using, and the type of the cel-
lular network (such as HSDPA).
Network connection and Signal
Powered by MobilityPass® , MobilityPass is a registered trademark of Sharp Rock Technologies 2000-2010

MobilityPass 3G settings Nokia Windows
6
To select which type of network the device uses for the connection,
select Network type selection and the network type.
You must select Automatic selection (WCDMA first), the device first
tries to use a UMTS network, and if this fails, a GSM network.
If you have problem to detect a network try to set it to GSM first, the
device first tries to use a GSM network.
Then when the network is detected you can reset the Network type
to Automatic selection.
Select Network type
8
In some countries MobilityPass Global Roaming provide access to
several provider with different rates (Zone), you can select the net-
work you prefer to use (see our coverage and rates guide)
To change or search the network for the connection:
Select Operator selection... > Manual selection and the network
You can only select a network whose status is Enabled and part of
the MobilityPass network.
To let the device select the provider automatically, select Automatic
selection.
To return to the main view, select Select
Select your Network
7
To search the network for the connection:
Select Option > Operator selection... then the device scan the net-
work and show you the available network.
If the search fail, please try to do it again.
if the problem persist please change the Network type as set in step
6
To return to the main view, select Select
search for available networks
To manage connection profiles, in the main view, select Options >
Settings... > Connections (Dial-up). The current profiles are dis-
played as a list. Do one of the following:
• To edit a profile you have created, select the profile and Modify.
• To delete a profile you have created, select the profile and Delete.
5Manage connection profile
Powered by MobilityPass® , MobilityPass is a registered trademark of Sharp Rock Technologies 2000-2010

MobilityPass 3G settings Nokia Windows
9
The personal identification number (PIN) code or the universal per-
sonal identification number (UPIN) code (4 digits) helps to protect
your 3G MobilityPass data SIM card.
The (U)PIN code is supplied with your SIM card.
To define PIN code settings, in the main view, select Options >
Settings..., and the device name.
To change the (U)PIN code of your SIM card:
Select Change SIM PIN code. In the Previous SIM PIN code: field,
enter the current code.
In the New SIM PIN code: and Confirm new SIM PIN code: fields,
enter the new code.
To set the device to request the (U)PIN code each time the device
is connected to the PC, select Enable/disable PIN code > Enabled.
PIN code settings
Contact us
www.MobilityPass.com
For Support, please open a ticket from your member area at
https://secure.mobilitypass.com
By phone:
USA: +1 360 843 1129
United Kingdom: +44 203 318 2615
Japan:+81 345 209 591
Spain:+34 911 883 708
By Fax:
+1 206 203 6104
MobilityPass Team Mon-Fri 5 am to 9 pm (CET)
Support
Powered by MobilityPass® , MobilityPass is a registered trademark of Sharp Rock Technologies 2000-2010
10 Window 7 users, please see next pages

01/07/10 07:49Nokia Europe - Software - Nokia Internet Stick CS-10 support
Page 1 of 2http://europe.nokia.com/support/product-support/cs-10/software
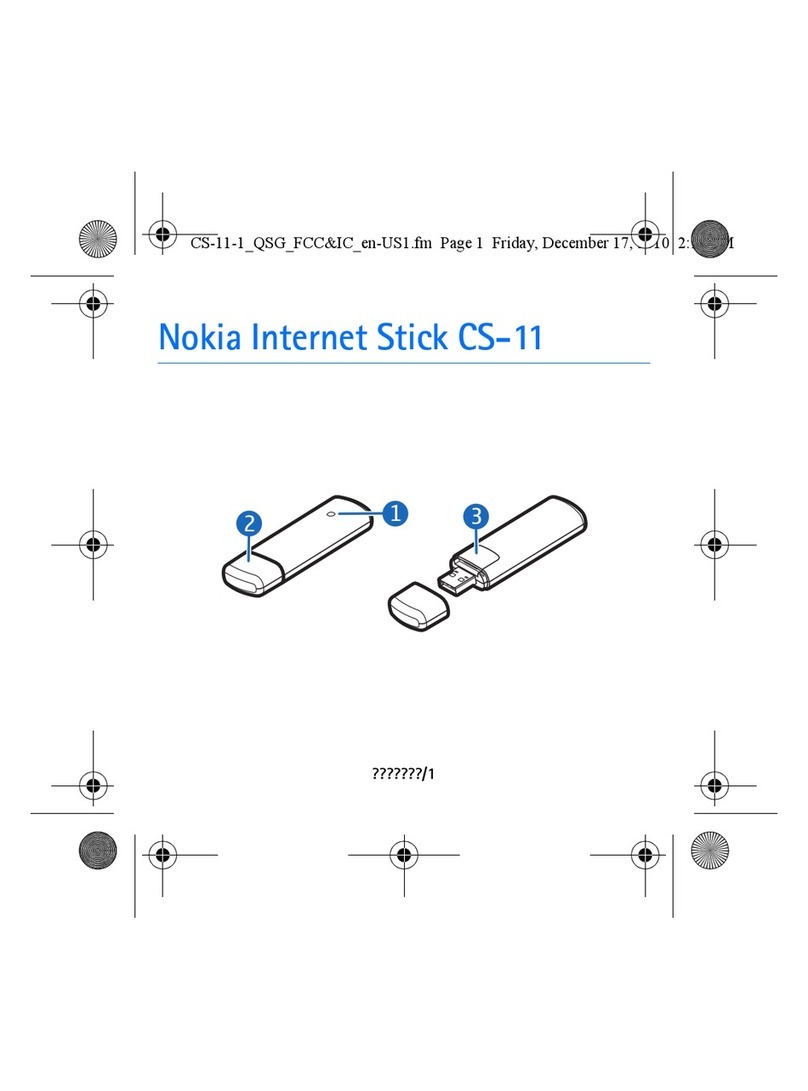
Nokia Internet Stick CS-10 support
Downloads for Nokia Internet Stick CS-10 in English
CS-10_R2.10.4 Release notes:
1. PRECONDITIONS
- Operating system
- Nokia Internet Modem installed on the PC
- Nokia Internet Stick connected to the PC
- SIM card inserted in the Stick
- PC is connected to a reliable power source to prevent damage to the
Internet Stick
- Latest software update executable for the internet stick is available on
the PC
2. CHECK THE CURRENT FIRMWARE VERSION
1. Insert SIM card in the Stick
2. Plug Stick into PC
3. Wait until Nokia Internet Modem Application starts and the led
indicator shows either Blue or Green color.
4. Open Options menu
5. Choose About
6. Check Firmware version from the text box
7. If the firmware version number is lower than 2.10, proceed to chapter
3.
If the firmware version is equal to to 2.10, proceed to chapter 4.
If the firmware version is higher than 2.10, this update process does
not apply
3. UPDATE PROCEDURE FOR STICKS HAVING FIRMWARE OLDER
THAN 2.10
1. Start update by double-clicking on the CS-
10_Setup_R2.10.4_Nokia.exe
2. Confirm your language for the SW update / installation
3. Confirm welcome screen during the setup
4. Read End-User-License Agreement and confirm
5. Confirm installation path and select NEXT to start update
6. During installation new hardware is found and installed
7. After successfull update confirm final screen to close setup and start
Nokia Internet Modem application.
8. After Nokia Internet modem is started on the PC, you will see a
notification about new SW version for the device. Click the blue link to
start the update
9. Select UPDATE on the "Fimware update" window to start the update
process. Make sure that this update is not interrupted as this could
damage your Internet Stick. PC should be connected to wall power
outlet and Internet Stick must not be disconnected during update
process
Note! Any interruption to the UPDATE process may cause the device
permanently damaged.
10. After successful update select CLOSE to finish the update.
Windows 7 32-bit and 64-bit support
APN updates
Connection profile updates
This package updates the PC Windows software and firmware of your
CS-10 to the latest version. You can make the update easily by
downloading this file and running on your PC with the Internet Stick CS-
10 attached. You will always get the latest package on the CS-10
support page.
Microsoft Windows XP (Service Pack 2 with Hotfix KB943198,
or Service Pack 3 or newer)
Microsoft Windows Vista (SP1 or higher)
Windows 7
01/07/10 07:49Nokia Europe - Software - Nokia Internet Stick CS-10 support
Page 2 of 2http://europe.nokia.com/support/product-support/cs-10/software
10. After successful update select CLOSE to finish the update.
11. The Nokia Internet Stick could be used with new PC SW and
Firmware
4. UPDATE PROCEDURE FOR STICKS HAVING FIRMWARE 2.10
1. Start update by double-clicking on the CS-
10_Setup_R2.10.4_Nokia.exe
2. Confirm your language for the SW update / installation
3. Confirm welcome screen during the setup
4. Read End-User-License Agreement and confirm
5. Confirm installation path and select NEXT to start update
6. After successfull update confirm final screen to close setup and start
Nokia Internet Modem application.
.
Table of contents
Other Nokia Modem manuals

Nokia
Nokia CS-15 Service manual

Nokia
Nokia CS-15 User manual

Nokia
Nokia CS-11 User manual

Nokia
Nokia Internet Stick CS-18 User manual

Nokia
Nokia RD-17 User manual

Nokia
Nokia RD-15 User manual

Nokia
Nokia CS-12 User manual

Nokia
Nokia Internet Stick CS-19 User manual

Nokia
Nokia 9216562 User manual

Nokia
Nokia CS-10 User manual
Popular Modem manuals by other brands

3Com
3Com HomeConnect 3CP4130 user guide

TRENDnet
TRENDnet TFM-560X - DATA SHEETS Specifications

Advantek Networks
Advantek Networks AM-56KI-LU user manual

SMC Networks
SMC Networks Barricade SMC7904BRA2 Specifications

Autarco
Autarco ETHERNET stick monitoring installation manual

Digicom
Digicom LCM16P user manual