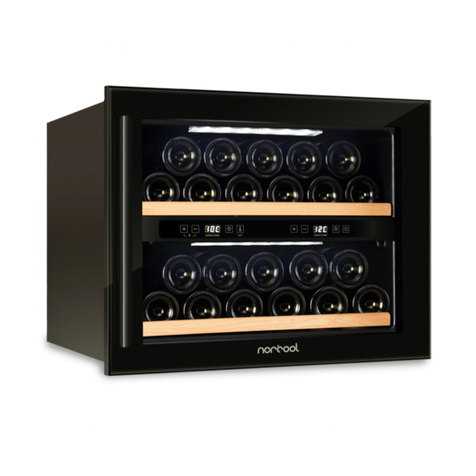
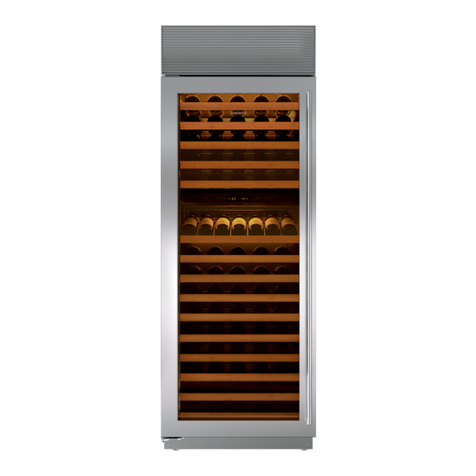
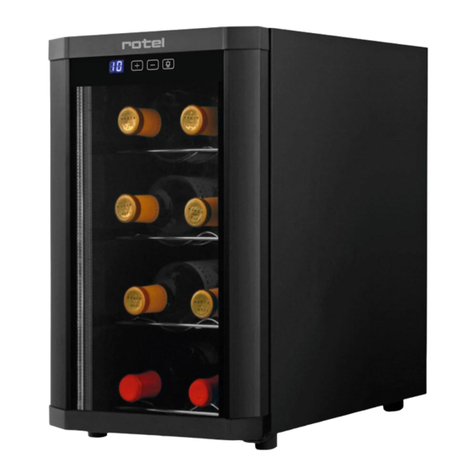
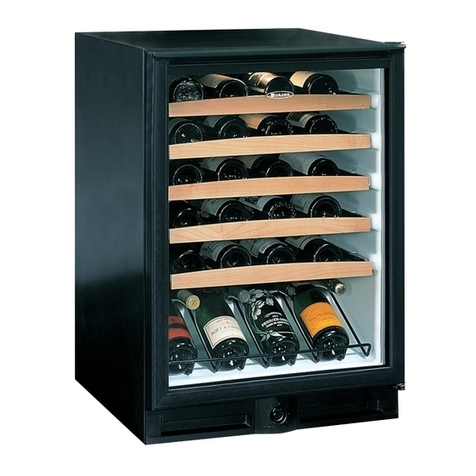
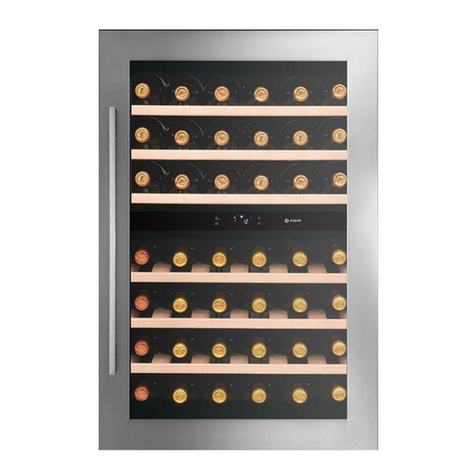
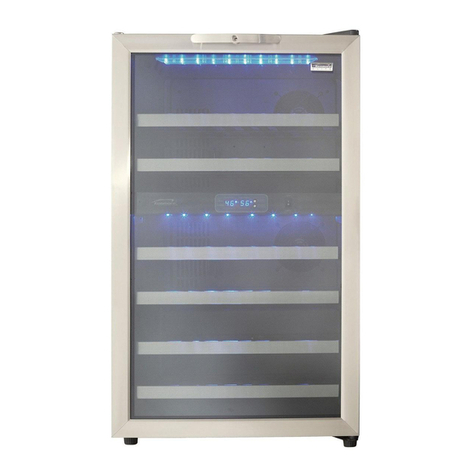
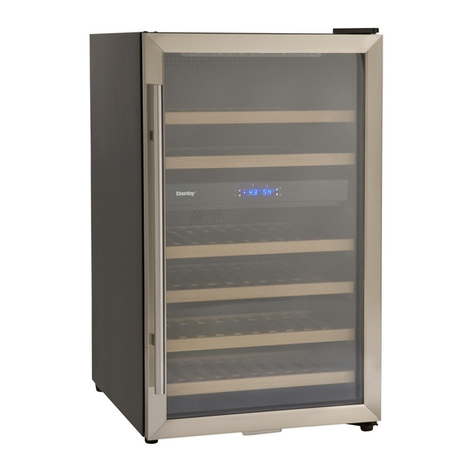
Norcool CAVE 30 BU DZ Product guide

CAVE 30 BU DZ | CAVE 60 BU DZ | CAVE 60 BU DZ D
English
OPERATING &
INSTALLATION
INSTRUCTIONS

2 3
Please visit www.norcool.no for operating &
installation instructions in other languages.
Energy labels
能耗标签
绘图
底图总号
本型号底图号
版本号
标记 处数 更改文件号 签名 日期
设计 冼嘉韵
制图
审核
工艺
会签
标准化
批准
日期
阶段标记 重量 比例
共 张 第 张
图形识别符号
广东哈士奇制冷
科技股份有限公司
技术要求
1.剪切尺寸为220x110mm
2.文字图案颜色按原文件为准
3.材料为白色不干胶过塑
SC60-WD
CAVE 30 BU DZ
220.00 mm
110.00 mm
dB
2010/1060
X
A
135
18 39
SC60WDFG0NO11A
20191104
20191104
A 191104
客户名称:挪威FG
CAVE 60 BU DZ
220.00 mm
110.00 mm
dB
2010/1060
X
142
46 39
能耗标签
绘图
底图总号
本型号底图号
版本号
标记 处数 更改文件号 签名 日期
设计 冼嘉韵
制图
审核
工艺
会签
标准化
批准
日期
阶段标记 重量 比例
共 张 第 张
图形识别符号
广东哈士奇制冷
科技股份有限公司
技术要求
1.剪切尺寸为220x110mm
2.文字图案颜色按原文件为准
3.材料为白色不干胶过塑
SC145-WD
SC145WDFG0NO11A
20191104
20191104
A 191104
客户名称:挪威FG
CAVE 60 BU DZ D
220.00 mm
110.00 mm
dB
2010/1060
X
175
42 39
能耗标签
绘图
底图总号
本型号底图号
版本号
标记 处数 更改文件号 签名 日期
设计 冼嘉韵
制图
审核
工艺
会签
标准化
批准
日期
阶段标记 重量 比例
共 张 第 张
图形识别符号
广东哈士奇制冷
科技股份有限公司
技术要求
1.剪切尺寸为220x110mm
2.文字图案颜色按原文件为准
3.材料为白色不干胶过塑
SC-120W2D
SC120W2DFG0NO11A
20191104
20191104
A 191104
客户名称:挪威FG

4 5
Content
1. Safety Instructions & warnings ................................................................. 5
2. Description of the appliance & equipment .......................................... 8
3. Pre-installation ................................................................................................ 9
4. Installation instructions.............................................................................. 10
5. Control panel & operation instructions................................................. 12
5.1 Switching on/o the cooler ............................................................ 12
5.2 Temperature settings......................................................................... 12
5.3 Light function ....................................................................................... 12
5.4 Lock/unlock function......................................................................... 12
5.5 Door alarm ............................................................................................ 12
5.6 Defrosting .............................................................................................. 12
6. Climate class ................................................................................................... 13
7. Wine storage.................................................................................................. 14
8. Cleaning & maintenance............................................................................ 14
9. Noises ................................................................................................................ 15
10. Troubleshooting instructions................................................................... 15
11. Technical specifications............................................................................. 16
12. Disposal of used products........................................................................ 16
1. Safety instructions and warnings
Please read these instructions fully before installing or operating
the product.
THE MANUFACTURER OF THIS APPLIANCE CANNOT BE HELD
LIABLE FOR DAMAGE CAUSED BY NONCOMPLIANCE WITH THESE
SAFETY INSTRUCTIONS AND WARNINGS.
• Secure the accessories during transportation to prevent damage.
• The appliance is designed for use within a certain temperature range (ambient
temperatures), and should not be used outside this range. The temperature
range for your appliance is specified on the data plate inside the appliance.
This appliance contains the refrigerant Isobutane (R600a), a natural, environmen-
tally friendly gas. It is important to ensure that no components of the cooling
system were damaged during transport or installation. Leaking refrigerant can
damage the eyes.
In the event of any damage:
• Avoid open flames, switching the thermostat, and anything which
creates a spark.
• Disconnect from the mains.
• Air the room in which the appliance is located for at least an hour.
• Contact the manufacturer for further advice.
According to the EN378standard, the room must be at least 1 m3 per 8 g of cooling
agent. The amount of refrigerant in the appliance is stated on the data plate inside
the appliance.
Do not install or use a damaged appliance. Contact your man-
ufacturer immediately for further advice before connecting the
power cord.
Due to the instability of the appliance, install the product in accor-
dance with the instructions to avoid potential hazard.
Do not damage the refrigerant circuit. Carry and position the
appliance with care to prevent damage on the refrigerant circuit.
Do not block the appliance’s vents, as this will impair the e-
ciency of the appliance, increase its electricity consumption and
could damage the appliance.
R600a
WARNING:
WARNING:
WARNING:
WARNING:

6 7
The electrical safety of this appliance can only be guaranteed when there is an
unbroken connection between the appliance and an eective earthing system,
which complies with current local and national safety regulations. It is very impor-
tant that this basic safety requirement is met and checked regularly. If there is any
doubt, the household wiring must be checked by a qualified electrician.
Service and repairs may only be carried out by an authorized and qualified service
technician in accordance with national and local safety regulations. Ensure the
appliance is not plugged in during maintenance or repair work.
The appliance is only completely isolated from the electricity supply when:
• It has been unplugged
• The mains fuse has been switched o
• The screw-in plug fuse has been removed (in countries where this is
applicable)
lf the power cord is damaged, it must be replaced by the manu-
facturer, its service agent or similarly qualified persons in order to
avoid a hazard.
Before connecting the appliance, make sure that the connec-
tion data on the data plate (voltage and frequency), matches the
mains electricity supply. This data must correspond in order to
avoid the risk of damage to the appliance. Consult a qualified
electrician if in any doubt.
Do not connect the appliance to the mains electricity supply using
an extension cord. Extension cords do not guarantee the required
safety of the appliance (e.g. danger of overheating).
Do not splash water on the appliance. It may cause electrical parts
to fail and result in an electric shock.
Do not use any electrical equipment inside the storage compart-
ments of the appliance unless they are of the type recommended
by the manufacturer. Danger of sparks and explosion.
Do not use a steam-cleaning appliance to clean the appliance. Steam
could reach the electrical components and cause a short circuit.
Leaking refrigerant can form a flammable gas-air mixture in
rooms which are too small.
WARNING:
WARNING:
WARNING:
WARNING:
WARNING:
WARNING:
WARNING:
Children aged from 8 years and above, and persons with reduced physical, sensory
or mental capabilities or lack of experience and knowledge can use this appliance
if they have been given supervision or instruction concerning use of the appliance
in a safe way and understand the hazards involved. Children shall not play with
the appliance. Children without supervision shall not perform cleaning and user
maintenance.
This appliance is intended for domestic use only and only for storing wine. It
is designed for indoor use only and must be protected from rain, moisture and
extreme temperature variations.
Do not store explosive substances such as aerosol cans with a
flammable propellant in this appliance.
Do not sit, stand or place any other heavy objects on top of the
appliance. This could result in injury or damage to the appliance.
WARNING:
WARNING:

8 9
2. Description of the appliance & equipment
CAVE 30 CAVE 60
CAVE 60
1 Cabinet
2 Touch control panel
3 Wine shelves
4 Levelling feet
5 Glass door
6 Lower door hinge
Built Under – Dual Zone Built Under – Dual Zone
Built Under – Dual Zone – Double Door
!
3. Pre-installation
Before installation
Unpack the appliance and check for any transportation damage. In the event of
damage, please contact the transportation company to make sure that the dam-
age is noted on the delivery documents. Do not use a damaged product. Contact
the manufacturer if the cooler is damaged.
If item list is provided in the manual, check that all the components are included
and correct. Contact the manufacturer if parts are missing.
Location
The appliance should be installed in a dry, well-ventilated room indoors. The room
temperature should not move above or below the temperature range for which
the appliance is designed. A high ambient temperature in a room will increase the
appliance’s energy consumption.
The appliance should not be installed where it is exposed to direct sunlight or
directly adjacent to a heat producing appliance such as an oven or a radiator.
Ventilation
The air at the back panel of the appliance will warm up. This warm air must be
able to escape. Your appliance is designed to provide this ventilation. Air inlets
and outlets must not be covered or blocked in any way. This will reduce the appli-
ance’s capacity and increase power consumption.
Attaching the handle
1. Separate the gasket from the door gently and put away the gasket. Protect it
from deforming or damage.
2. Attach the handle on the outside of the door by fixing the screws with washers
from the inside of the door.
3. Fix the gasket gently.

10 11
4. Installation Instructions
Installing the appliance
1. Make sure your mains connection is accessible.
2. Align the appliance to the height of the recess by adjusting the adjustable feet.
3. Connect the power cord.
4. Slide the appliance into the recess. Make sure the power cord does not get
wedged. The appliance should not be in direct contact with the floor when slid-
ing it into place since this could damage the floor.
Before using for the first time
Clean the inside of the cooler (see cleaning and maintenance section). Wait for
1 - 1.5 hours after placing the appliance in its final position to allow the refrigerant
to settle before connecting it to the mains power supply.
CAVE 30 BU DZ
CAVE 60 BU DZ
CAVE 60 BU DZ D

12 13
5. Control panel & operation instructions
5.1 Switching the cooler on/o
Press and hold the power button for 6 seconds to switch the wine cooler ON/OFF.
5.2 Temperature settings
CAVE 30 BU DZ and CAVE 60 BU DZ
The preset temperature is 8 °C in the upper zone and 12 °C in the lower zone.
CAVE 60 BU DZ D
The preset temperature is 12 °C in both zones.
Press the + or - buttons for the appropriate zone until required temperature shows
in the display.
The display shows set temperature when the cooler is on.
To change the temperature display from Celsius to Fahrenheit or Fahrenheit to
Celsius, press and hold key 4+5 button for 2 seconds. The display will show the
set value, °C/°F.
5.3 Light
Press the light button to switch the light ON or OFF.
To turn the light ON when door opens, press the light button for 6 seconds, the
display will show “OP”, which means door control function is ON.
To turn the light function OFF, press the light button for 6 seconds, the display will
show “CL”, which means the door control function is OFF.
5.4 Lock/unlock display
Press power button and + button at the same time for one second to lock/unlock
all buttons on the panel.
5.5 Door alarm
The wine cooler is equipped with an alarm that will sound if the door is left open
for more than 60 seconds. Close door or press any key to mute the alarm.
5.6 Defrosting
The wine cooler will defrost automatically every 4 hours for 20 minutes. During
defrost, the compressor stops, but the fan will keep running.
6. Climate class
CAVE 30 BU DZ and CAVE 60 BU DZ
CAVE 60 BU DZ D
Ambient temperature
The appliance’s temperature range is stated on the data plate inside the appliance.
This appliance is designed for use within climate class N, which is equivalent to an
ambient temperature between 16 °C - 32 °C.
If the ambient temperature is above
or below recommended temperature,
the performance of the unit may be
aected. For example, placing your
unit in extremely cold or hot condi-
tions, may cause interior temperatures
to fluctuate. The operation temperature
range may not be reached.
Climate class Ambient temperature
SN +10 °C til +32 °C
N +16 °C til +32 °C
ST +16 °C til +38 °C
T +16 °C til +43 °C
SN – ST +10 °C til +38 °C
SN – T +10 °C til +43 °C
Left zone display Right zone display
Key:
1 - Power button
2 - Left zone
“+” button
3 - Left zone
“-” button
4 - Right zone
“+” button
5 - Right zone
“-” button
6 - Light button
Key:
1 - Power button
2 - Upper zone
“+” button
3 - Upper zone
“-” button
4 - Lower zone
“+” button
5 - Lower zone
“-” button
6 - Light button

14 15
8. Cleaning & maintenance
7. Wine storage
Optimal temperature selection
Whilst wine is best stored at temperatures between 13 °C and 15 °C, your wine can
also be stored at drinking temperature. For red wine, this is between 15 °C and
17 °C. For white wine, this is between 12 °C and 13 °C.
Light
A good wine does not like light. Sunlight, and even incorrectly positioned lamps,
may impair the wine. White wines are particularly sensitive. They should never
be exposed to direct light. Red wines are less sensitive, because the production
method and darker bottles help reduce the harmful eect of sunlight. Storing your
wine in a dark place will help preserve the wine for longer.
• The interior of the cooler should be cleaned regularly to avoid odor.
• Switch o the appliance and unplug it. Take out any removable parts (e.g.
shelves) for cleaning.
• Clean the shelves with warm soapy water with a mild detergent, and dry with
a soft cloth. Do not put shelves in the dishwasher.
• Clean the inside and outside of the appliance, and the door seal, with warm
soapy water with a mild detergent. Prevent water from getting directly in to
the electronic unit or the lighting.
• Remove excess water with a dry soft cloth, and let air-dry.
• Never use abrasive, corrosive or flammable cleaning equipment or solvents.
• Never use steam cleaning equipment to clean the appliance. Steam could get
into the electrical components and cause a short circuit.
• Wipe the door seal with clean water only and then dry with a soft cloth. Never
use oils or grease to clean the door seal. These kinds of cleaning agents can
cause porosity or deterioration over time.
• Use an appropriate glass cleaner to clean the appliance door.
• Make sure you do not damage the data plate, which is located inside the
cooler, during cleaning. The data plate contains important information about
the cooler which will be required in the event of servicing.
• Any vents should be cleaned regularly with a brush or vacuum cleaner. Dust
accumulation increases the energy consumption of the appliance.
• If the appliance is left empty for long periods, switch o, defrost, clean, and
leave the door open to prevent mold developing.
9. Noises
Normal noises
Clicking: Clicking sounds occur when the compressor switches on or o, and when
the valve opens and closes.
Gurgling: Gurgling sounds occur when the cooling agent is circulating inside the pipes.
Humming: Humming sounds occur when the compressor is working. This sound can
be louder during starts and stops.
Other noises
Some noises can be rectified easily by:
• Levelling the appliance and installing it on a flat surface
• Moving the appliance away from adjacent units to separate them to prevent
contact between the appliance and adjacent units
• Placing the internal units (shelves, etc.) in the correct position
• Placing bottles in a stable, lying position
FAULT SOLUTION
The appliance is not cooling - Press the ON/OFF button and turn on the appliance.
- Ensure the fuse is switched on.
- Ensure the power cord is correctly inserted.
The appliance is switching on
more frequently and for longer
periods
Make sure that the vents are not blocked or dusty.
The compressor runs
constantly
- The temperature is set too cold: adjust temperature to a
warmer setting
- The door is open, or something is obstructing proper door
closure.
- The room temperature is hotter than usual.
The interior light is not working Order service call.
The door(s) do not close
properly
- Ensure there are no obstructions preventing door closure.
- Ensure that the door compartments and shelves are co-
rrectly in place.
- Ensure that the door seal is not out of position or torn.
- Ensure that the appliance is level.
The door will not open If the door has just been opened, leave it for few minutes to
allow the air pressure to equalize before trying again.
The external fridge surface is
warm
The exterior walls can be warmer than room temperature.
This is normal while the compressor works to transfer heat
from inside the cabinet.
Smells/odors Check for spillages throughout the cooler. Spillages may
cause odors if left unwashed. Clean as advised under clea-
ning and maintenance.
10. Troubleshooting instructions

16 17
12. Disposal of used products
11. Technical specifications
DESCRIPTION CAVE 30 BU DZ CAVE 60 BU DZ CAVE 60 BU DZ D
Exterior dimensions 295 x 575 x 820 – 880 595 x 575 x 820 – 880 595 x 575 x 820 – 880
W x D x H (mm) 300 x >580 x 820 – 870 600 x >580 x 820 - 870 600 x >580 x 820 – 870
Capacity (standard
bottles, 76mm Ø x
3000,5mm)
18 46 42
Climate class N N N
Energy consumption 135 kWh/annum 142 kWh/annum 175 kWh/annum
Energy class A A B
Noise level 39dB 39dB 39dB
Volt/Hz 220-240 V/50Hz 220-240 V/50Hz 220-240 V/50Hz
Lighting LED light 1W LED light 1W LED light 1W
Weight (net/gross) 28,15kg/31,45kg 43,15kg/47,55kg 43,5kg/47,9kg
Refrigerant R600a R600a R600a
Thermostat setting Upper zone: 4-12 °C
Lower zone: 12-22 °C
Upper zone: 4-22 °C
Lower zone: 4-22 °C
Left zone: 4-22 °C
Right zone: 4-22 °C
Disposal of the packaging material:
The packaging protects your appliance from damage during transportation. All
packaging materials are recyclable and display the recycling symbol.
Ensure that any plastic wrappings, bags, etc. are disposed of safely and kept out
of the reach of children, as they are a potential source of danger.
Please ask your dealer or your local authority about relevant means of safe disposal
Disposal of the appliance:
This appliance is subject to European Directive 2002/96/EC on Waste Electrical
and Electronic Equipment (WEEE). This symbol indicates that this appliance must
not be treated as domestic waste. Valuable raw materials can be reclaimed by
recycling old appliances. By disposing of this appliance correctly, you can help
prevent potentially negative consequences for the environment and public health
Scrapping the appliance:
Pull out the mains plug.
• Cut o the power cord.
• Ensure that the refrigerant circuit is not damaged before disposal.
Information about the refrigerant can be found on the data plate.
• Scrapped appliances must be disposed of in a professional and appropriate
way, in accordance with the current local regulations and legislation.
Notes:

18 19
Notes: Notes:

Version 1.0 - des 2019
Scandinavian Appliances AS
Postboks 61
1740 Borgenhaugen
Norway
T: +47 815 69 117
post@norcool.no
Please visit out website for operating & installation
instructions in other languages.
www.norcool.no
This manual suits for next models
2
Table of contents
Other Norcool Wine Cooler manuals