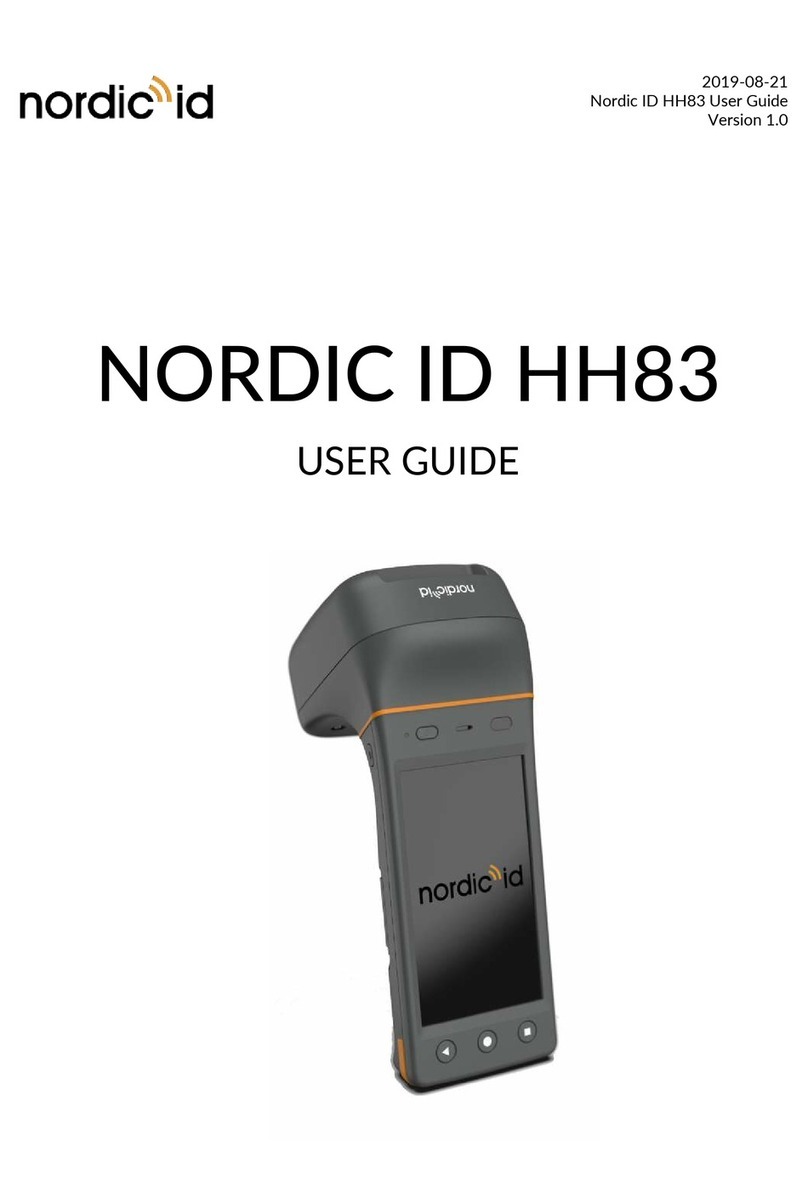
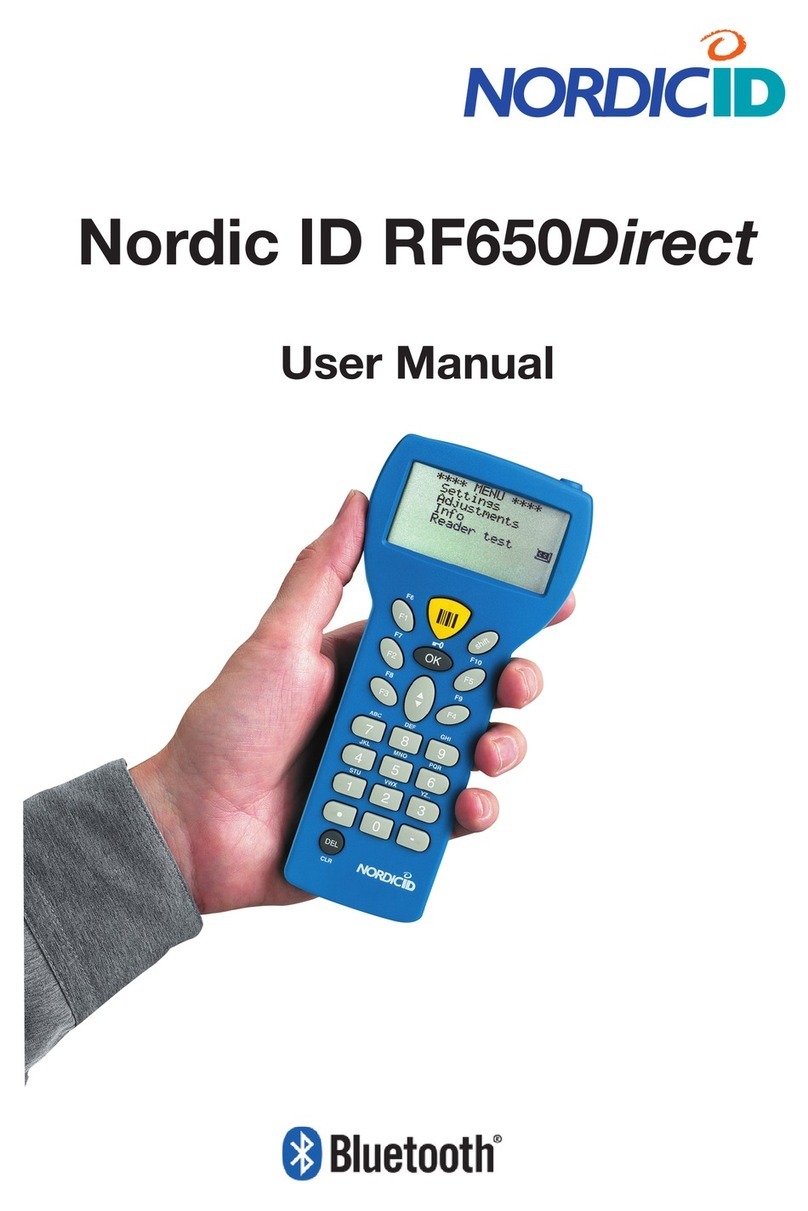
Nordic ID HH8 Series User manual

2020-05-18
Nordic ID HH83/HH85 User Guide
Version 1.3
NORDIC ID HH8x
NORDIC ID HH83 / NORDIC ID HH85
USER GUIDE

Nordic ID Group | Joensuunkatu 7 | FI-24100 Salo | Finland
2 / 38
2020-05-18
Nordic ID HH83/HH85 User Guide
Version 1.3
TABLE OF CONTENTS
GETTING STARTED ..........................................................................................................................................4
1.1. GENERAL.............................................................................................................................................................4
1.2. VARIANTS ...........................................................................................................................................................4
NORDIC ID HH83 VARIANTS .........................................................................................................4
NORDIC ID HH85 VARIANTS .........................................................................................................5
1.3. AVAILABLE ACCESSORIES .............................................................................................................................5
NORDIC ID HH83 AND NORDIC ID HH85 ACCESSORIES .....................................................5
NORDIC ID HH83 ONLY ACCESSORIES ......................................................................................6
NORDIC ID HH85 ONLY ACCESSORIES ......................................................................................6
1.4. INBOX CONTENT .............................................................................................................................................7
1.5. REMOVING AND INSTALLING THE BATTERY..........................................................................................7
BATTERY “HOT SWAP” ....................................................................................................................8
1.6. CHARGING .........................................................................................................................................................9
NORDIC ID HH83/HH85 CHARGING...........................................................................................9
BATTERY CHARGING USING DESKTOP CHARGER .............................................................. 10
1.7. FEATURES OVERVIEW ................................................................................................................................. 11
1.8. USING THE DEVICE....................................................................................................................................... 13
BUTTONS .......................................................................................................................................... 13
1.8.1.1. SCAN BUTTONS........................................................................................................................... 13
1.8.1.2. POWER KEY .................................................................................................................................. 13
1.8.1.3. HOME KEY .................................................................................................................................... 13
1.8.1.4. BACK KEY ...................................................................................................................................... 13
1.8.1.5. APPS TASK MANAGER KEY ...................................................................................................... 13
STATUS LED ..................................................................................................................................... 14
SENSORS ........................................................................................................................................... 14
1.8.3.1. TOF SENSOR................................................................................................................................. 14
1.8.3.2. LIGHT AND PROXIMITY SENSOR ........................................................................................... 15
1.8.3.3. NFC READER................................................................................................................................. 15
VOLUME............................................................................................................................................ 15
SCANNING DIRECTIONS .............................................................................................................. 16
NORDIC ID HH83/HH85 RFID ACD VARIANTS ..................................................................... 18
2D IMAGER ....................................................................................................................................... 19
1.8.7.1. USING CONFIGURATION BARCODES................................................................................... 19
1.8.7.2. USING NORDIC ID RFID DEMO APPLICATION................................................................... 20
1.8.7.3. CONFIGURING VIA NUR ACCESSORY EXTENSION API................................................... 20
1.9. RF PROFILES.................................................................................................................................................... 21

Nordic ID Group | Joensuunkatu 7 | FI-24100 Salo | Finland
3 / 38
2020-05-18
Nordic ID HH83/HH85 User Guide
Version 1.3
SOFTWARE...................................................................................................................................................... 22
2.1. NORDIC ID APPLICATIONS ........................................................................................................................ 22
NORDIC ID RFID DEMO FOR ANDROID.................................................................................. 23
NORDIC ID WEDGE SERVICE...................................................................................................... 24
NORDIC ID APP CENTER .............................................................................................................. 24
2.2. INSTALLING 3RD PARTY APPLICATIONS ................................................................................................. 25
2.3. LOCKING THE USER INTERFACE .............................................................................................................. 27
CREATE THE DESIRED USER INTERFACE ................................................................................ 27
HOW TO LOCK/UNLOCK UI ....................................................................................................... 28
2.4. UPDATE INSTRUCTIONS............................................................................................................................. 29
2.5. BACKUP AND RESTORE CONFIGURATION........................................................................................... 30
CREATE BACKUP ............................................................................................................................ 30
MANUALLY RESTORE BACKUP .................................................................................................. 31
AUTOMATICALLY RESTORE BACKUP WITH USB DRIVE.................................................... 31
AUTOMATICALLY RESTORE BACKUP WITHOUT USB DRIVE........................................... 31
SOFTWARE TRIGGERED RESTORE BACKUP .......................................................................... 31
2.6. ENTERPRISE MOBILITY MANAGEMENT (EMM) ................................................................................... 32
2.7. APPLICATION DEVELOPMENT.................................................................................................................. 33
NUR API IN GENERAL .................................................................................................................... 33
APPLICATION DEVELOPMENT................................................................................................... 33
REGIONAL SETTINGS ................................................................................................................................... 34
COMPLIANCE STATEMENTS...................................................................................................................... 34
4.1. CE ....................................................................................................................................................................... 34
4.2. FCC/IC............................................................................................................................................................... 34
4.3. RF EXPOSURE ................................................................................................................................................. 35
SERVICE AND SUPPORT.............................................................................................................................. 35
WARRANTY ..................................................................................................................................................... 36
RELATED DOCUMENTS AND CONTENT................................................................................................ 36
ABOUT NORDIC ID ....................................................................................................................................... 36
VERSION HISTORY........................................................................................................................................ 37
APPENDICES ................................................................................................................................................... 38
10.1. APPENDIX 1 SAMPLE 2D IMAGER CONFIGURATION BARCODES ................................................. 38

Nordic ID Group | Joensuunkatu 7 | FI-24100 Salo | Finland
4 / 38
2020-05-18
Nordic ID HH83/HH85 User Guide
Version 1.3
GETTING STARTED
1.1. GENERAL
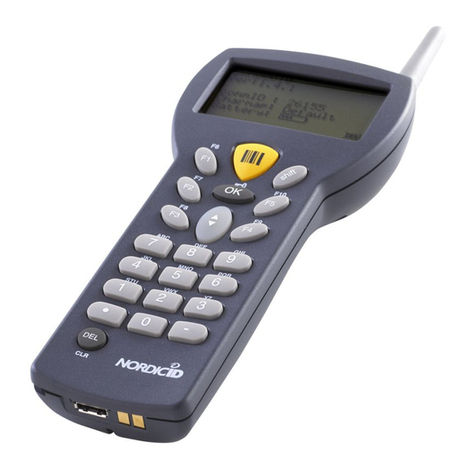
Nordic ID HH8x family is designed for quick, accurate and reliable data collection whether it is for barcode
or UHF RFID reading. Featuring the Android operating system and a 4.7" HD touchscreen with high
processing power. This enables sophisticated software development offering a superb user experience.
The Gorilla Glass 3 touchscreen provides excellent display quality and robustness.
What makes Nordic ID HH83/HH85 RFID ACD so powerful is the Nordic ID NUR2-1W module which
provides state-of-the-art UHF RFID reading performance is an ideal contemporary data collection tool.
The modular design of Nordic ID HH83 enables the only Barcode variant to be upgraded* to
RFID+Barcode variant in future, instead of replacing the device.
* Upgrade must be made by authorized service centers. Upgrade ordering codes are ACN00199/200.
1.2. VARIANTS
NORDIC ID HH83 VARIANTS
The Nordic ID HH83 is available in 5 different variants (all of them with WLAN interface, rear camera and
NFC reader) that are:
CODE
FREQUENCY
RFID ACD
2D IMAGER
4G
HTH00001 N/A No Yes No
HTH00002 N/A No Yes Yes
HTH00004 868 MHz (ETSI) Yes Yes No
HTH00005 868 MHz (ETSI) Yes Yes Yes
HTH00007 915 MHz (FCC) Yes Yes No
Picture 1 Nordic ID HH83 RFID ACD (left) and Nordic ID HH83 Barcode (right) variants

Nordic ID Group | Joensuunkatu 7 | FI-24100 Salo | Finland
5 / 38
2020-05-18
Nordic ID HH83/HH85 User Guide
Version 1.3
NORDIC ID HH85 VARIANTS
The Nordic ID HH85 is available in 3 different variants (all of them with WLAN interface, rear camera and
NFC reader) that are:
CODE
FREQUENCY
RFID ACD
2D IMAGER
4G
HTH00008 868 MHz (ETSI) Yes Yes No
HTH00009 868 MHz (ETSI) Yes Yes Yes
HTH00010 915 MHz (FCC) Yes Yes No
Picture 2 Nordic ID HH85 RFID ACD
1.3. AVAILABLE ACCESSORIES
NORDIC ID HH83 AND NORDIC ID HH85 ACCESSORIES
CODE
DESCRIPTION
ACN00190
HH83 Desktop Charger Kit EU
ACN00191
HH83 Desktop Charger Kit UK
ACN00192
HH83 Desktop Charger Kit US
ACN00193
HH83 4-Bay Desktop Charger Kit EU
ACN00194
HH83 4-Bay Desktop Charger Kit UK
ACN00195
HH83 4-Bay Desktop Charger Kit US
ACN00182
HH83 USB Type-C-to-Ethernet Adapter
ACN00183
Wall adapter QuickCharge3 USB Type-C kit, EU UK US

Nordic ID Group | Joensuunkatu 7 | FI-24100 Salo | Finland
6 / 38
2020-05-18
Nordic ID HH83/HH85 User Guide
Version 1.3
Picture 3 USB Type-C-to-Ethernet Adapter
NORDIC ID HH83 ONLY ACCESSORIES
CODE
DESCRIPTION
ACN00180
HH83 Spare Battery 6700mAh with Cover
ACN00181
HH83 Spare Battery 3350mAh with Cover
ACN00205
Nordic ID HH83 belt holster
Picture 4 Nordic ID HH83 belt holster
NORDIC ID HH85 ONLY ACCESSORIES
CODE
DESCRIPTION
ACN00182
Nordic ID HH85 Battery 10050mAh with Pistol grip cover
Picture 5. Removing the Nordic ID HH85 battery cover

Nordic ID Group | Joensuunkatu 7 | FI-24100 Salo | Finland
7 / 38
2020-05-18
Nordic ID HH83/HH85 User Guide
Version 1.3
1.4. INBOX CONTENT
Nordic ID HH83/HH85 inbox contains following items
•Nordic ID HH83/HH85 device
•Changeable battery (pre-installed inside the unit).
o3350mAh battery included in Nordic ID HH83 Barcode variants
o6700mAh battery included in Nordic ID HH83 RFID ACD variants
o10050mAh battery with pistol grip included in Nordic ID HH85 RFID ACD variants
•Wrist strap
•Safety and regulations card
1.5. REMOVING AND INSTALLING THE BATTERY
Picture 6 Removing and installing battery

Nordic ID Group | Joensuunkatu 7 | FI-24100 Salo | Finland
8 / 38
2020-05-18
Nordic ID HH83/HH85 User Guide
Version 1.3
BATTERY “HOT SWAP”
The Nordic ID HH83/HH85 provides a battery “hot swap” functionality which the user can activate from
the Android “power off” menu (displayed when Power button is pressed during 1 second). This feature
allows removing a (discharged) battery and installing a fully charged one in a matter of seconds, thus
allowing a larger usage time of the device when having extra batteries for replacement.
When selecting “Battery Hotswap”, the device will go to sleep mode and, after waiting for a short
vibration, then the user can swap the battery without losing any data, as the device will not reboot or
power off as it would do without “hot swap” support.
Screenshot 1

Nordic ID Group | Joensuunkatu 7 | FI-24100 Salo | Finland
9 / 38
2020-05-18
Nordic ID HH83/HH85 User Guide
Version 1.3
NOTE! The USB-C and desktop chargers are sold separately by Nordic ID.
NOTE! Due to regulations, devices are delivered with empty battery.
Please fully charge your device before first use.
1.6. CHARGING
NORDIC ID HH83/HH85 CHARGING
The Nordic ID HH83/HH85 can be charged via desktop or USB-C charger. The USB charger needs to
have a USB-C connector and preferably support for Quick Charge 3.0.
Charging time from 0 – 100% via the desktop and Quick Charge 3.0 USB charger is about 4 hours for
both Nordic ID HH83 Barcode and RFID ACD variants.
Due to its larger battery, charging time from 0 – 80% is about 4 hours for Nordic ID HH85 RFID ACD,
and 6 hours to 100%.
The status LED on the unit shows the charging progress, as explained in section 1.8.2: while charging, the
status LED is red when battery level is below 15%, yellow when it’s between 15% and 90% and green
when it’s above 90%.
Picture 7 Charging of the Nordic ID HH83 via USB charger

Nordic ID Group | Joensuunkatu 7 | FI-24100 Salo | Finland
10 / 38
2020-05-18
Nordic ID HH83/HH85 User Guide
Version 1.3
BATTERY CHARGING USING DESKTOP CHARGER
Both the battery in the Nordic HH83 plus a spare battery can be charged simultaneously in the desktop
charger. This means that when using the Nordic ID HH83 4-Bay Desktop Charger, four Nordic ID HH83
devices plus four extra batteries can be charged at the same time, i.e., eight batteries.
NOTE! that one Nordic ID HH85 with pistol grip and one spare battery with pistol grip cover cannot be
charged in the same bay of a desktop charger.
Picture 8Nordic ID HH83 single Desktop Charger and 4-Bay Desktop Charger
Picture 9Features of Nordic ID HH83 Desktop Charger
The behavior (color) of the LEDs depends on how the main Nordic ID HH83/HH85 unit is being connected
(using the USB-C port) to external devices or network and whether an extra battery is being charged or not:
•Power status LED
Green when the desktop charger is connected to power
•Communication mode LED
Off when there is nothing connected to USB-C port
Green when the Nordic ID HH83/85 unit is in client mode (e.g., connected to a computer via USB)
Blue when the Nordic ID HH83/HH85 unit is in host mode (e.g., connected to a network using
USB to Ethernet adapter)
•Extra battery status LED
Red when a Nordic ID HH83/HH85 battery is being charged
Green when a Nordic ID HH83/HH85 battery is fully charged
POWER STATUS
LED
COMMUNICATION MODE
LED
BATTERY STATUS LED
USB-C PORT
(back side)
EXTRA BATTERY
SO

Nordic ID Group | Joensuunkatu 7 | FI-24100 Salo | Finland
12 / 38
2020-05-18
Nordic ID HH83/HH85 User Guide
Version 1.3
Picture 11 Features of Nordic ID HH83 (back side)
The variant shown in Picture 10 and Picture 11 is Nordic ID HH83 Barcode. Keys and user interactions
are the same in Nordic ID HH83 RFID ACD and Nordic ID HH85 RFID ACD, except:
•Nordic ID HH83 RFID ACD and Nordic ID HH85 RFID ACD do not build a ToF sensor.
•Module containing the barcode scanner also builds the RFID UHF reader and antenna.
The Nordic ID HH85 RFID ACD also includes a scan button on the pistol grip:
Picture 12 Nordic ID HH85 RFID ACD

Nordic ID Group | Joensuunkatu 7 | FI-24100 Salo | Finland
13 / 38
2020-05-18
Nordic ID HH83/HH85 User Guide
Version 1.3
NOTE! By default, side buttons in Nordic ID HH8x don’t wake up the reader if sleeping.
1.8. USING THE DEVICE
BUTTONS
The Nordic ID HH83/HH85 devices include six physical keys for user interactions. Location of the keys
can be seen in the Picture 10.
Both Nordic ID HH83 Barcode and RFID ACD variants include two side keys for triggering UHF RFID
and/or barcode reading, allowing usage with both right and left hands.
The Nordic ID HH85 RFID ACD also includes a trigger on the pistol grip, besides of the two side keys.
1.8.1.1. SCAN BUTTONS
The trigger (SCAN) buttons are in Nordic ID HH83 on both sides of the device, and also on the pistol grip
in the Nordic ID HH85. Depending on the application in use, the trigger button starts/stops UHF RFID or
barcode reading. By default, the first press of the button starts the reading and the second press of the
button stops it.
Scanning is the default behavior of these side keys when using Nordic ID applications such as Nordic ID
RFID Demo, Nordic ID Keyboard Wedge or Nordic ID Radea Mobile Client.
The scan buttons information (status) is also available for 3rd party applications via the Android API, as a
push or release event, so that their behavior can be customized.
1.8.1.2. POWER KEY
Power key turns the device On/Off. The power key can be used also to wake the device up if it’s sleeping
and displaying the “Power off” menu if the key is pressed continuously for 1 second.
When pressing the power key continuously for 8 seconds, the device will reboot immediately.
1.8.1.3. HOME KEY
⏺Home key will show the menu of Android OS and/or application if supported by the view/application
or move back to the home screen from any application.
1.8.1.4. BACK KEY
◀Back key equals to tapping a “Return” or “Previous” button in any application. It behaves as the “back”
Android button.
1.8.1.5. APPS TASK MANAGER KEY
⏹Apps key will show the task manager of Android OS. It behaves as the “apps” Android button.

Nordic ID Group | Joensuunkatu 7 | FI-24100 Salo | Finland
14 / 38
2020-05-18
Nordic ID HH83/HH85 User Guide
Version 1.3
STATUS LED
Whilst the Nordic ID HH83/HH85 is being charged, using either the USB-C charger or the Nordic ID
HH83 desktop charger, the status LED indicates the charging progress, i.e. battery level, of the device:
red when battery level is below 15%
yellow when it’s between 15% and 90%
green when it’s above 90%
SENSORS
The Nordic ID HH83/HH85 includes several sensors which can be seen in the Picture 10 and Picture 11.
1.8.3.1. TOF SENSOR
The ToF sensor is located on the top front side of the Nordic ID HH83 Barcode device, by the barcode
scanner. It is used to trigger barcode scanning instead of using the Scan button. ToF mode is disabled by
default. When enabled, the ToF sensor sends an artificial light signal. Barcode scanning is automatically
performed while any item interrupts this signal, e.g., an object finger is placed in front of the sensor at a
given (customizable) distance.
Enable and play with ToF sensor using Nordic ID RFID Demo in Android
Settings
Sensor
Screenshot 2

Nordic ID Group | Joensuunkatu 7 | FI-24100 Salo | Finland
15 / 38
2020-05-18
Nordic ID HH83/HH85 User Guide
Version 1.3
1.8.3.2. LIGHT AND PROXIMITY SENSOR
The light and sensors are located on the front side of the device, by the ear speaker.
The light sensor is used to adjust the brightness of the screen according to the ambient light (if the display
brightness level is set to adaptative).
The proximity sensor detects when you have the phone up to your ear, so that touchscreen is switched
off to prevent accidental tapping.
1.8.3.3. NFC READER
An NFC reader is located on the back side of the Nordic ID HH83/HH85. NFC antenna is indicated with
a ((waves)) icon in the Nordic ID HH83 (there is no icon in the Nordic ID HH85).
Multiple NFC standards are supported, proximity and vicinity, which makes Nordic ID HH83/HH85 also
compliant with existing NFC Android apps.
The Nordic ID RFID Demo app can also be used to read NFC tags and get basic information.
Picture 13 Position of NFC antenna in Nordic ID HH83 and Nordic ID HH85
VOLUME
The Nordic ID HH83/HH85 has a speaker and an earpiece, which volume can be adjusted as typically
done in Android devices.
The Nordic ID HH83/HH85 does not have physical volume control buttons. To change the
volume of the audio, you can use the shortcut at the dropdown notification menu.
Screenshot 3

Nordic ID Group | Joensuunkatu 7 | FI-24100 Salo | Finland
16 / 38
2020-05-18
Nordic ID HH83/HH85 User Guide
Version 1.3
SCANNING DIRECTIONS
To get maximum reading performance, Nordic ID HH83/HH85 reader must be handled by following these
pictures showing ergonomic and easy way to hold and use the device:
Picture 14 Scanning direction with Nordic ID HH83 Barcode
Picture 15 Scanning direction with Nordic ID HH83 RFID ACD and Nordic ID HH85 RFID ACD

Nordic ID Group | Joensuunkatu 7 | FI-24100 Salo | Finland
18 / 38
2020-05-18
Nordic ID HH83/HH85 User Guide
Version 1.3
NOTE! The reading range depends on used tag and environment
NORDIC ID HH83/HH85 RFID ACD VARIANTS
Nordic ID HH83 RFID ACD and Nordic ID HH85 RFID ACD include Advanced Cross Dipole antenna that
includes SW controllable (via Nordic ID RFID demo application and NUR API) antenna polarizations
(vertical and/or horizontal), enabling a nominal reading distance about 15 m / 50 ft.
The linear antenna modes (only one antenna is enabled) are intended for long range reading when tag
density is high, and tags are in horizontal or vertical position (Picture 18).
Enabling both linear antennas provides a lower reading speed but it does provide the best reading
performance when tags are in random positions (Picture 19).
Picture 18 RFID tags in horizontal and vertical alignment
Picture 19 RFID tags in random alignment

Nordic ID Group | Joensuunkatu 7 | FI-24100 Salo | Finland
19 / 38
2020-05-18
Nordic ID HH83/HH85 User Guide
Version 1.3
2D IMAGER
This section describes methods for configuring 2D imager of Nordic ID HH83/HH85. The 2D imager
module in use is Opticon MDI-4100 2D scan engine.
There are three different ways to configure the 2D imager that are
1. Using configuration barcode
2. Using Nordic ID RFID demo application
3. Configuring via NUR Accessory extension API
1.8.7.1. USING CONFIGURATION BARCODES
The easiest way to configure 2D imager is to read a configuration code with the 2D imager. Please use
Opticon’s online configuration tools to create a configuration barcode and print it onto paper. Then scan
the code with the 2D imager of Nordic ID HH83 and new settings will be set and saved automatically.
Quick Instructions to generate imager configuration barcodes:
1. Opticon’s online configuration tools: http://opticonfigure.opticon.com/
2. Select “Browse” in the left corner of the page
3. Select “Code options”
4. Select “Settings of readable codes”
5. Select “Enabling of readable codes”
6. Select a barcode from the list e.g. Code 39
7. Press “Add” button at the bottom
8. From right corner of the page, select “Barcode Type”: e.g. PDF417
9. You can adjust the size of the code from the “Barcode Size”
10. Select “Advanced” from the lower part of the right column
11. The “2D code” field indicates the corresponding configuration string.
Find example configuration barcodes below. More configuration barcodes can be found at APPENDIX 1.
1 - Enable 1D codes: Tri-Optic, Industrial 2 of 5, Code 39 and S-Code
2 - Disable 1D codes: Tri-Optic, Industrial 2 of 5, Code 39 and S-Code

Nordic ID Group | Joensuunkatu 7 | FI-24100 Salo | Finland
20 / 38
2020-05-18
Nordic ID HH83/HH85 User Guide
Version 1.3
1.8.7.2. USING NORDIC ID RFID DEMO APPLICATION
Nordic ID RFID Demo application allows testing of different kind of barcode configurations effortlessly.
Configurations can be read and set from specific file. The specific file is a simple text file containing
configuration command strings generated by the Opticon’s configuration tool. The configuration settings
of Nordic ID RFID demo applications can be accessed via Settings menu or barcode functionality.
Opticon’s configuration tools do provide configuration strings instead of graphic barcodes when you
select “Enabling a single readable code” instead of “Enabling of readable codes” in step 4. Barcode type
must be 2D-Code like PDF417. Format of configuration string is:
@MENU_OPTO@ZZ@<config codes separated by @>@ZZ@OTPO_UNEM@
Opticon’s configuration tools shows two or three letter configuration code for each configurable item.
Example:
Enable Tri-Optic = JZ, Enable Code39 = B2
Configuration string = “@MENU_OPTO@ZZ@JZ@B2@ZZ@OTPO_UNEM@”
After sending configuration file to the reader, Nordic ID RFID demo will send “save settings” command
automatically to the 2D imager. Source code of Nordic ID RFID demo is public, so one can study how 2D
imager configuration using the specific files has been implemented on Android. See section 2.7.2 for more
information.
1.8.7.3. CONFIGURING VIA NUR ACCESSORY EXTENSION API
NUR Accessory Extension API provides command for sending configuration string to the 2D imager:
byte [] imagerCmd (String cmd, int type);
cmd: Configuration string.
type: Type of imager in use (0= Opticon MDI-4100 2D scan engine)
Return value is byte array of response depending on command code(s) sent to the 2D imager. Null if
command string is not valid. The first byte of array contains ACK (0x6 success) or NAK (0x15 fail).
Example:
After sending configuration to the 2D imager, settings are ready to use but next power down causes
settings to lost. Therefore, it’s important to save settings to non-volatile memory of imager.
//SAVE CONFIGURATION TO IMAGER MEMORY
imagerCmd (“@MENU_OPTO@ZZ@Z2@ZZ@OTPO_UNEM@”, 0);
This manual suits for next models
2
Table of contents
Other Nordic ID Barcode Reader manuals


