82K Swirl Nozzle Attachments
E2001 Nordson Corporation
All rights reserved
1007839A
Issued 5/01
Manual 27-84
To order parts, call the Nordson Customer Service Center or your local
Nordson representative.
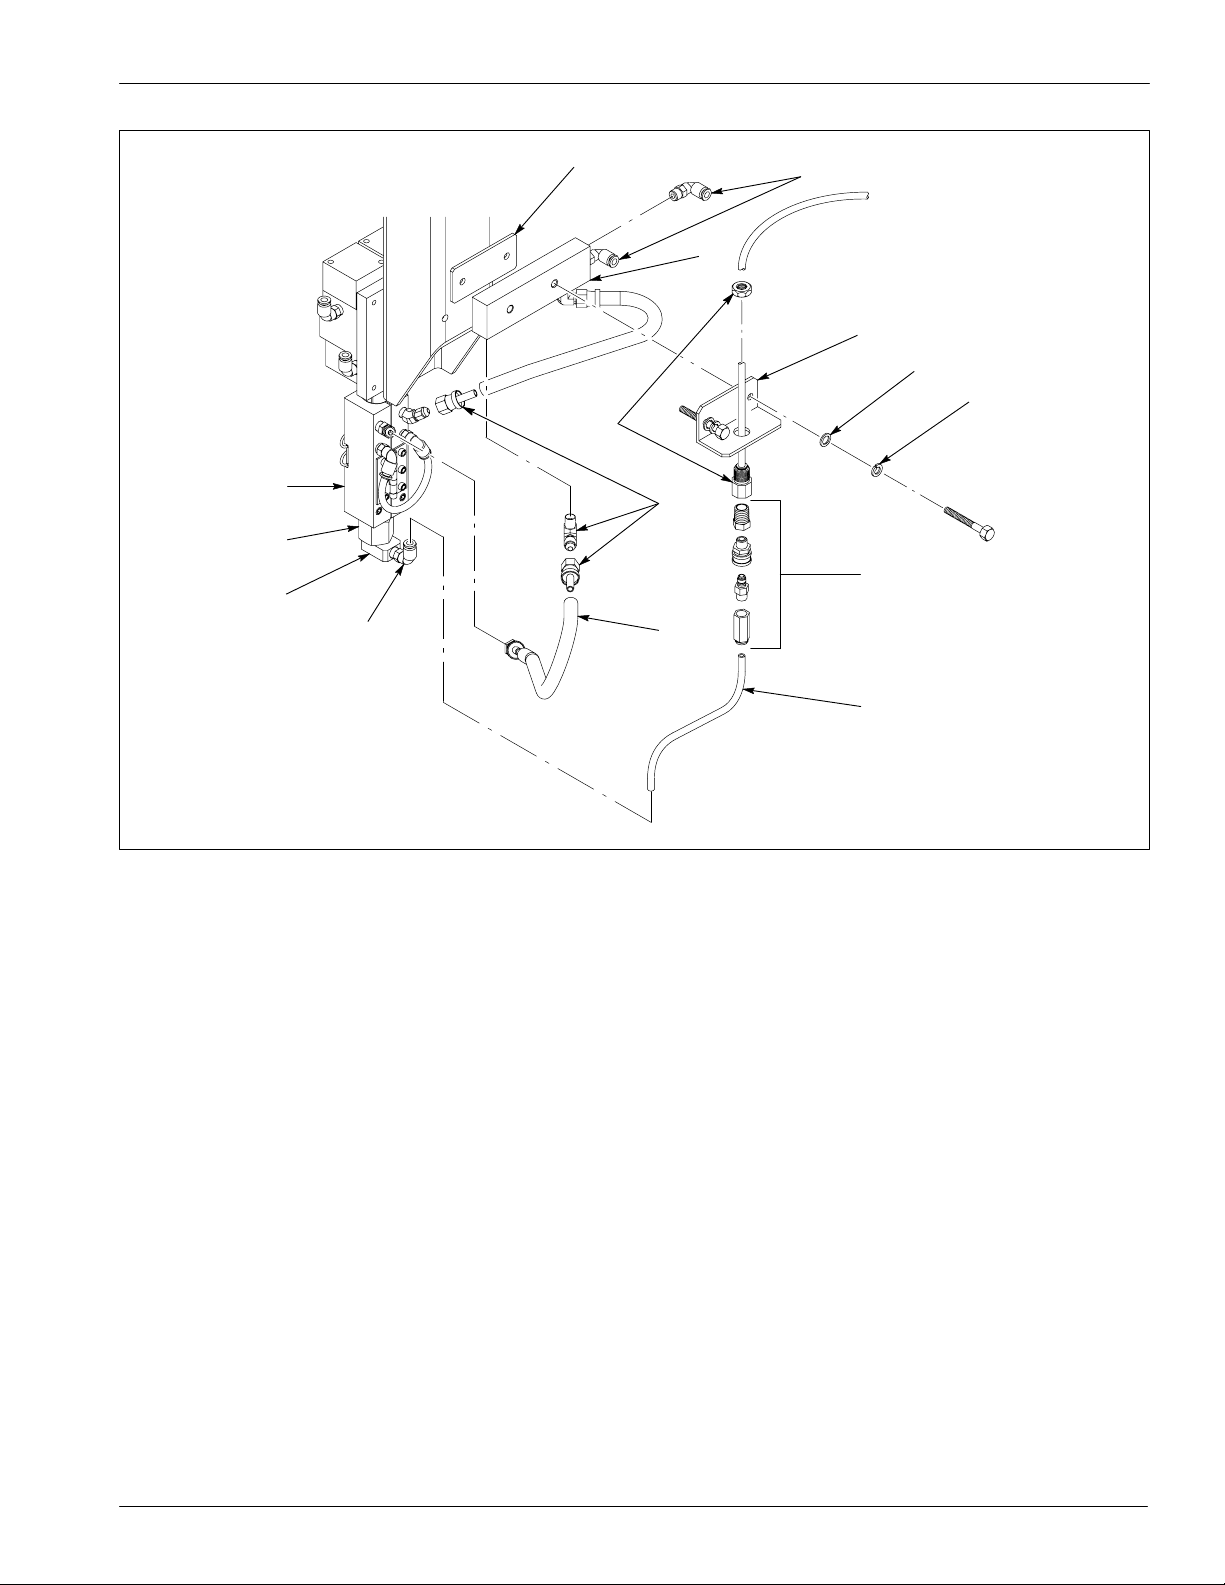
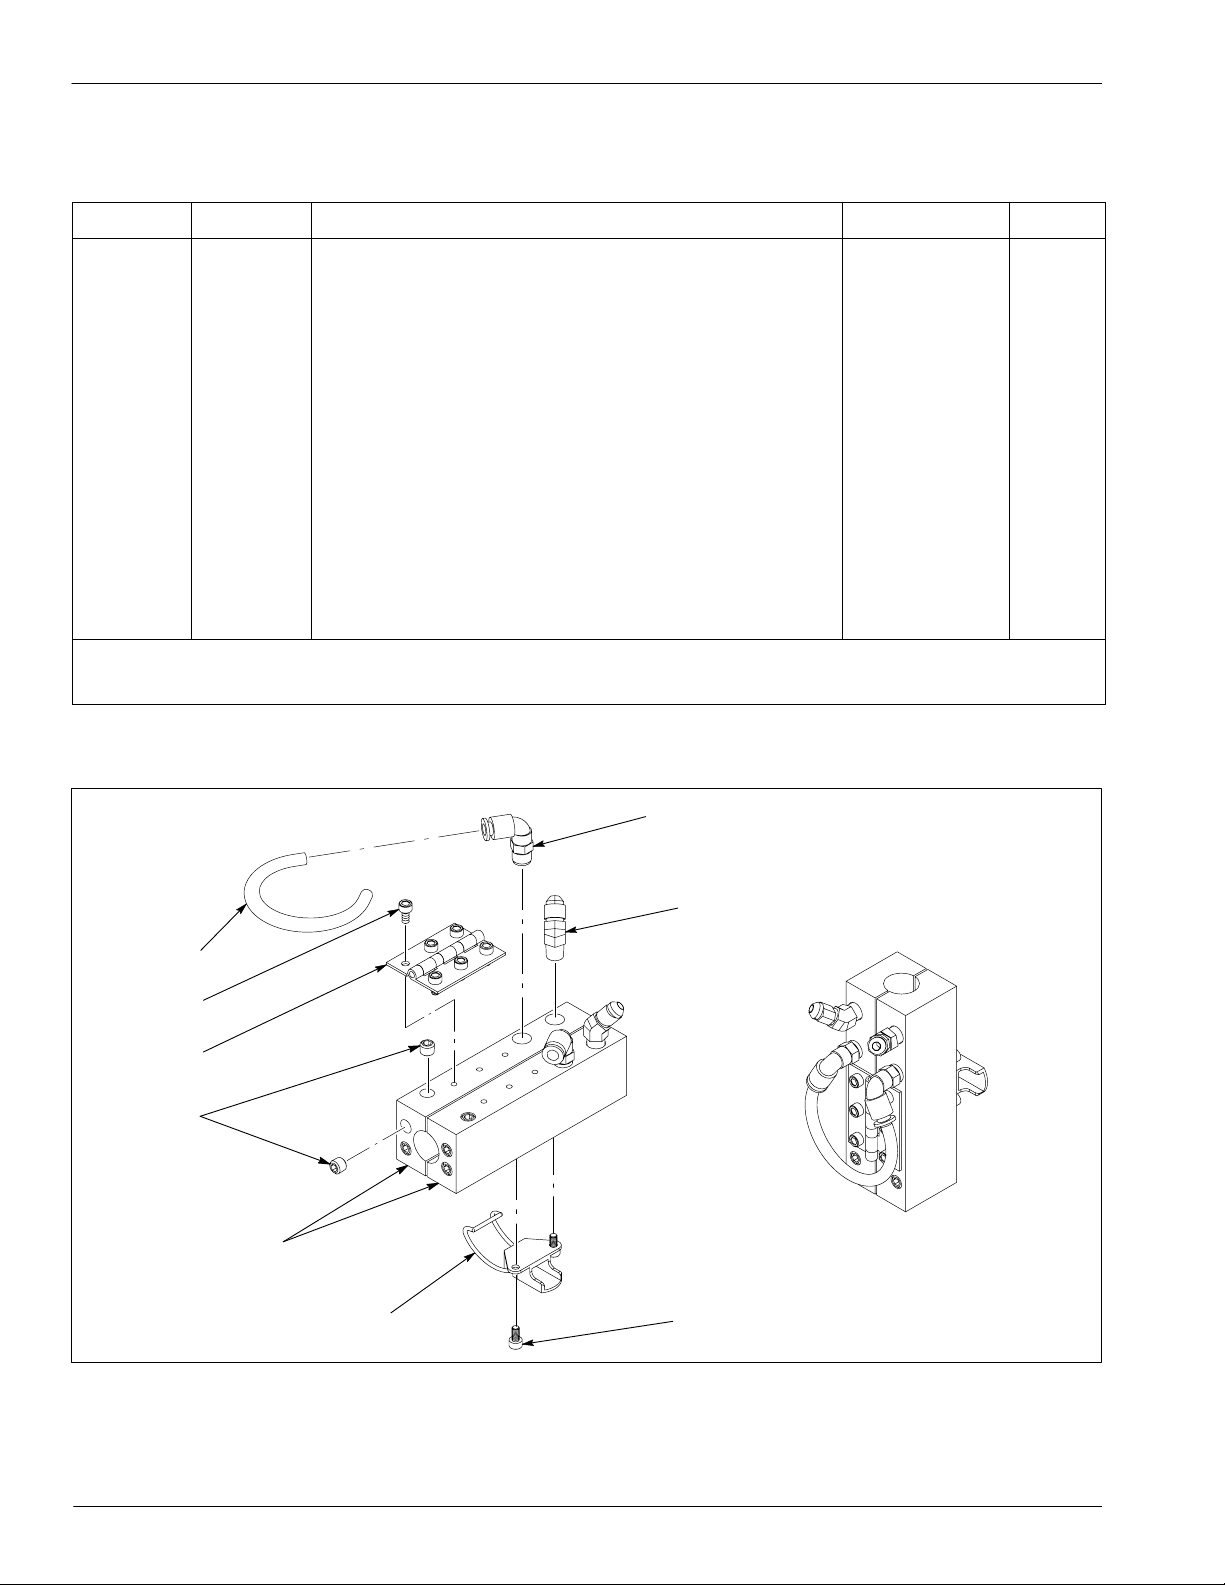
See Figure 4.
Item Part Description Quantity Note
—1005731 Assembly, mounting, temperature conditioning, 2K swirl,
supply air
1
1 1005733 SInsulator, Haysite, 1.50 x 2.75 x 0.125 in. thick 1
2 972119 SElbow, male, 1/4tube x 1/8NPT 3
3 1005734 SManifold, temperature conditioning, pneumatic swirl 1
4 1007967 SBracket, air supply, 2K swirl 1
5 983410 SWasher, flat, M6, narrow, steel, zinc 2
6 983140 SWasher, lock, E, split, 1/4, steel, nickel 2
7 972725 SConnector, bulkhead, 1/4in. tube 1
8 973372 SBushing, pipe, hydraulic, 1/4x 1/8, steel, zinc 1
9 241041 SCoupling, quick disconnect 1
10 241042 SCoupling, quick disconnect 1
11 972659 SConnector, female, 1/4tube x 1/8NPT 1
12 282286 STubing, 1/4in. OD blue urethane, 2 ft AR
13 329829 SConnector, female, 1/4in. hose, 7/16-20 barbed 4
14 1007842 SElbow, male, 37 D, 7/16-20, 1/8NPT, brass 2
15 1007966 SHose, push-lock (801), 0.25 in. ID, 2 ft AR
NS 900481 SAdhesive, pipe/thread/hydraulic sealant AR
NS 900464 SAdhesive, threadlocking AR
AR: As Required
NS: Not Shown
6. Parts
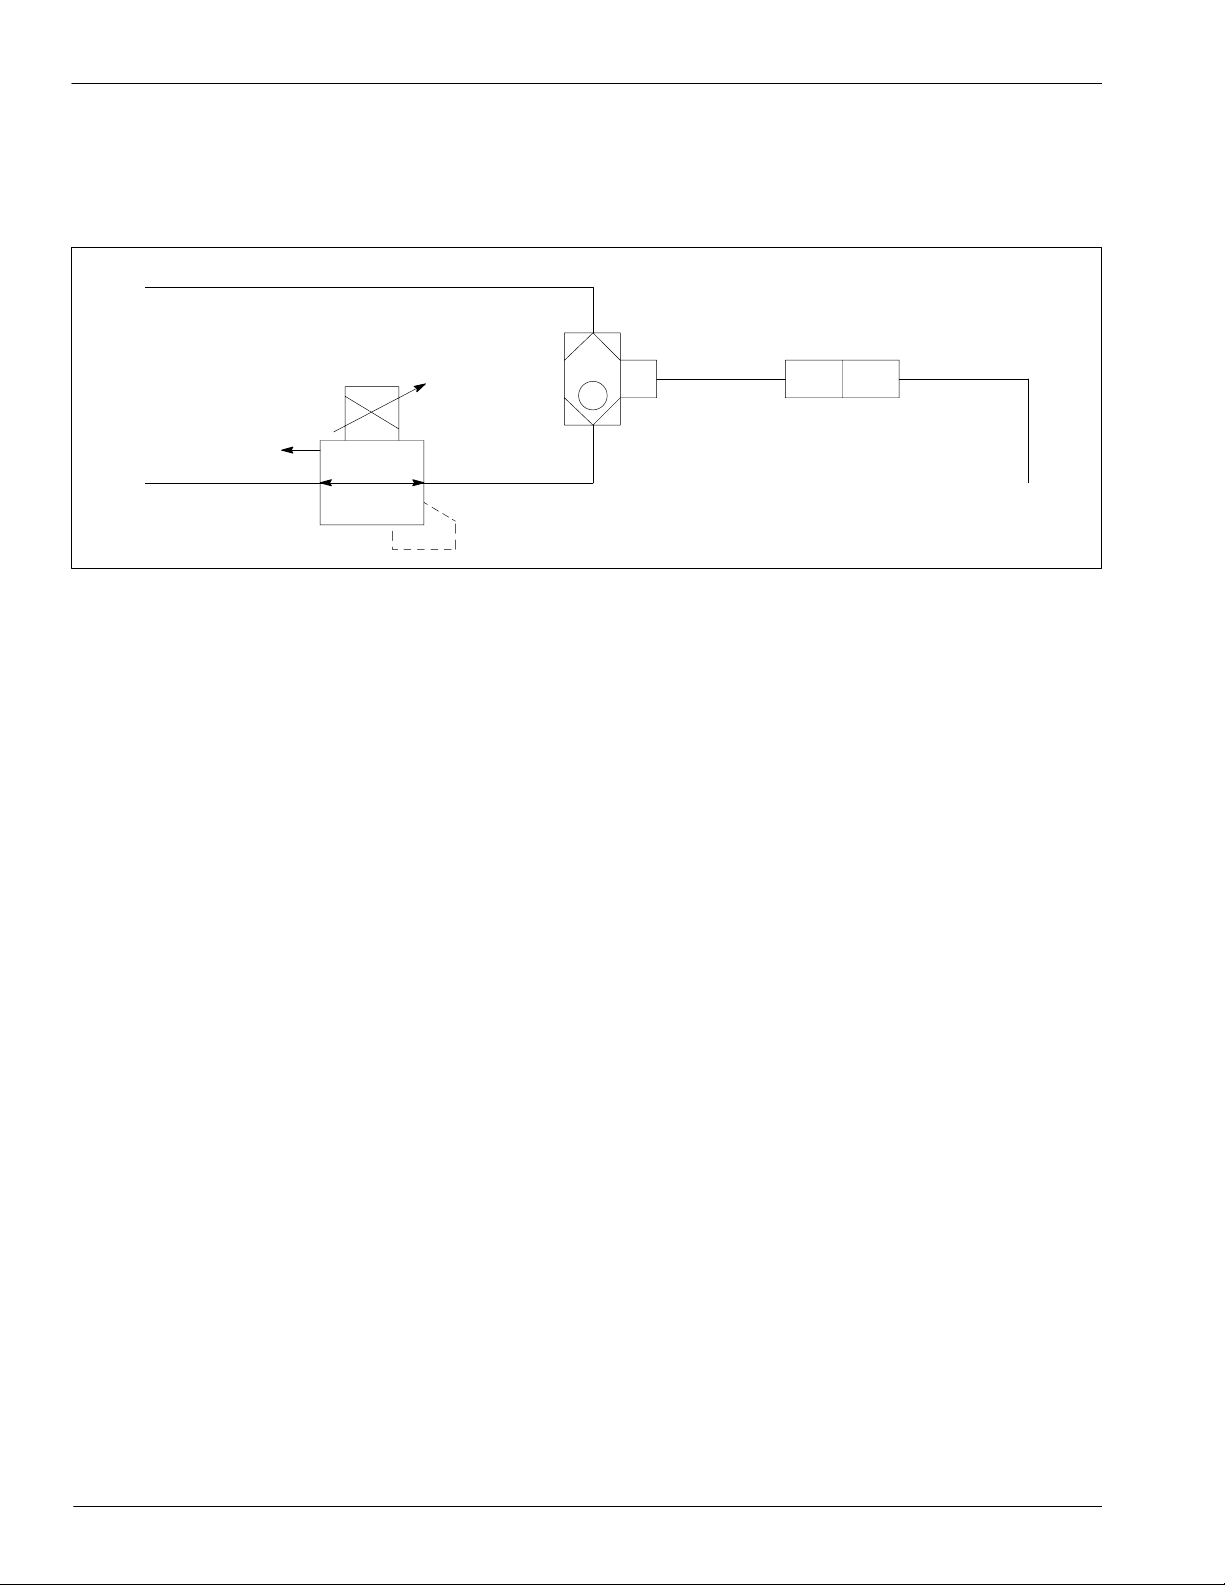
Temperature Conditioning
Mounting Assembly