2Copyright © 2015 Nortek Security & Control LLC
WARNING: Failuretofollowthesewarningsandinstructionscan
leadtoheatgeneration,rupture,leakage,explosion,fire,or
otherinjury,ordamage.Donotinsertthebatteryintothe
compartmentinthewrongdirection.Alwaysreplacethe
batterywiththesameorequivalenttype(seeSpecifications
below).Neverrechargeordisassemblethebattery.Never
placethebatteryinfireorwater.Alwayskeepbatteriesaway
fromsmallchildren.Ifbatteriesareswallowed,seek
immediatemedicalattention.
WARNING: ThisPerchloratewarningappliesonlytoManganese
DioxideLithiumcellssoldordistributedONLYinCalifornia,
USA.PerchlorateMaterial‐specialhandlingmayapply.See
www.dtsc.ca.gov/hazardouswaste/perchlorate.
SPECIFICATIONS
REGULATORY INFORMATION
FCC Notice
ThisdevicecomplieswithPart15oftheFCC'sRules.Operationis
subjecttothefollowingtwoconditions:
1Thisdevicemaynotcauseharmfulinterference,and
2Thisdevicemustacceptanyinterferencereceived,including
interferencethatmaycauseundesiredoperation.
Thisequipmenthasbeentestedandfoundtocomplywiththelimits
foraClassBdigitaldevice,pursuanttoPart15oftheFCCRules.These
limitsaredesignedtoprovidereasonableprotectionagainstharmful
interferenceinaresidentialinstallation.
Thisequipmentgenerates,usesandcanradiateradiofrequency
energyand,ifnotinstalledandusedinaccordancewiththe
instructions,maycauseharmfulinterferencetoradio
communications.However,thereisnoguaranteethatinterference
willnotoccurinaparticularinstallation.Ifthisequipmentdoescause
harmfulinterferencetoradioortelevisionreception,whichcanbe
determinedbyturningtheequipmentoffandon,theuseris
encouragedtotrytocorrecttheinterferencebyoneormoreofthe
followingmeasures:
• Reorientorrelocatethereceivingantenna.
•Increasetheseparationbetweentheequipmentandreceiver.
• Connecttheequipmentintoanoutletonacircuitdifferent
fromthattowhichthereceiverisconnected.
•Consultthedealeroranexperiencedradio/TVtechnicianfor
help.
ThisproductcomplieswithFCCradiationexposurelimitsforan
uncontrolledenvironment.Avoidoperatingthisproductatadistance
lessthan20cmfromtheuser.
CAUTION: Anychangedormodificationsnotexpresslyapproved
bythepartyresponsibleforcompliancecouldvoidtheuser's
authoritytooperatethisequipment.
Industry Canada (IC) Compliance
ThisdevicecomplieswithIndustryCanadalicense‐exemptRSS
standard(s).Operationissubjecttothefollowingtwoconditions:(1)
thisdevicemaynotcauseinterference,and(2)thisdevicemustaccept
anyinterference,includinginterferencethatmaycauseundesired
operationofthedevice.
Repairstocertifiedequipmentshouldbemadebyanauthorized
Canadianmaintenancefacilitydesignatedbythesupplier.Anyrepairs
oralterationsmadebytheusertothisequipment,orequipment
malfunctions,maygivethetelecommunicationscompanycauseto
requesttheusertodisconnecttheequipment.
Usersshouldensurefortheirownprotectionthattheelectrical
groundconnectionsofthepowerutility,telephonelinesandinternal
metallicwaterpipesystem,ifpresent,areconnectedtogether.This
precautionmaybeparticularlyimportantinruralareas.
Usersshouldnotattempttomakesuchconnectionsthemselves,but
shouldcontacttheappropriateelectricinspectionauthority,or
electrician,asappropriate.
LIMITED WARRANTY
ThisNortekSecurity&ControlLLCproductiswarrantedagainst
defectsinmaterialandworkmanshipfortwo(2)years.Thiswarranty
extendsonlytowholesalecustomerswhobuydirectfromNortek
Security&ControlLLCorthroughNortekSecurity&ControlLLC’s
normaldistributionchannels.NortekSecurity&ControlLLCdoesnot
warrantthisproducttoconsumers.Consumersshouldinquirefrom
theirsellingdealerastothenatureofthedealer’swarranty,ifany.
TherearenoobligationsorliabilitiesonthepartofNortekSecurity&
ControlLLCforconsequentialdamagesarisingoutoforinconnection
withuseorperformanceofthisproductorotherindirectdamages
withrespecttolossofproperty,revenue,orprofit,orcostofremoval,
installation,orreinstallation.Allimpliedwarrantiesforfunctionality,
arevalidonlyuntilthewarrantyexpires.ThisNortekSecurity&
ControlLLCWarrantyisinlieuofallotherwarrantiesexpressedor
implied.
2GIG
NortekSecurity&ControlLLC
1950CaminoVidaRoble,Suite150
Carlsbad,CA92008‐6517USA
FortechnicalsupportintheUSAandCanada:
Dial:855‐2GIG‐TECH(855‐244‐4832)
Email:2gigtechsupport@nortek.com
Visitwww.2GIG.comordealer.2gig.comtechnicalsupporthoursofoperation
FortechnicalsupportoutsideoftheUSAandCanada:
Contactyourregionaldistributor
Visitwww.nortekcontrol.comforalistofdistributorsinyourregion
77‐000004‐001Rev.J
ANortekCompany
WirelessSignalRange 350ft(106.7m),openair,with2GIG
WirelessControlPanel
CodeOutputs Alarm;AlarmRestore;Supervisory;Low
Battery
TransmitterFrequency 345.000MHz(crystalcontrolled)
UniqueIDCodes Overone(1)milliondifferentcode
combinations
SupervisoryInterval 70minutes
ExternalInputSamplingCurrent 20μA
ExternalInput 24VACStandardDoorbellCircuit
SensorDimensions(HxD) 2.75x1.17x0.63in(6.99x2.97x1.60cm)
Weight(includingbatteryandmag‐
net)
1.1oz(31.2g)
HousingMaterial ABSPlastic
Color White
OperatingTemperature 14°to104°F(‐10°to40°)
RelativeHumidity 5‐95%Non‐Condensing
Battery(installedwithpulltab) One(1)CR20323VorequivalentLithium
battery
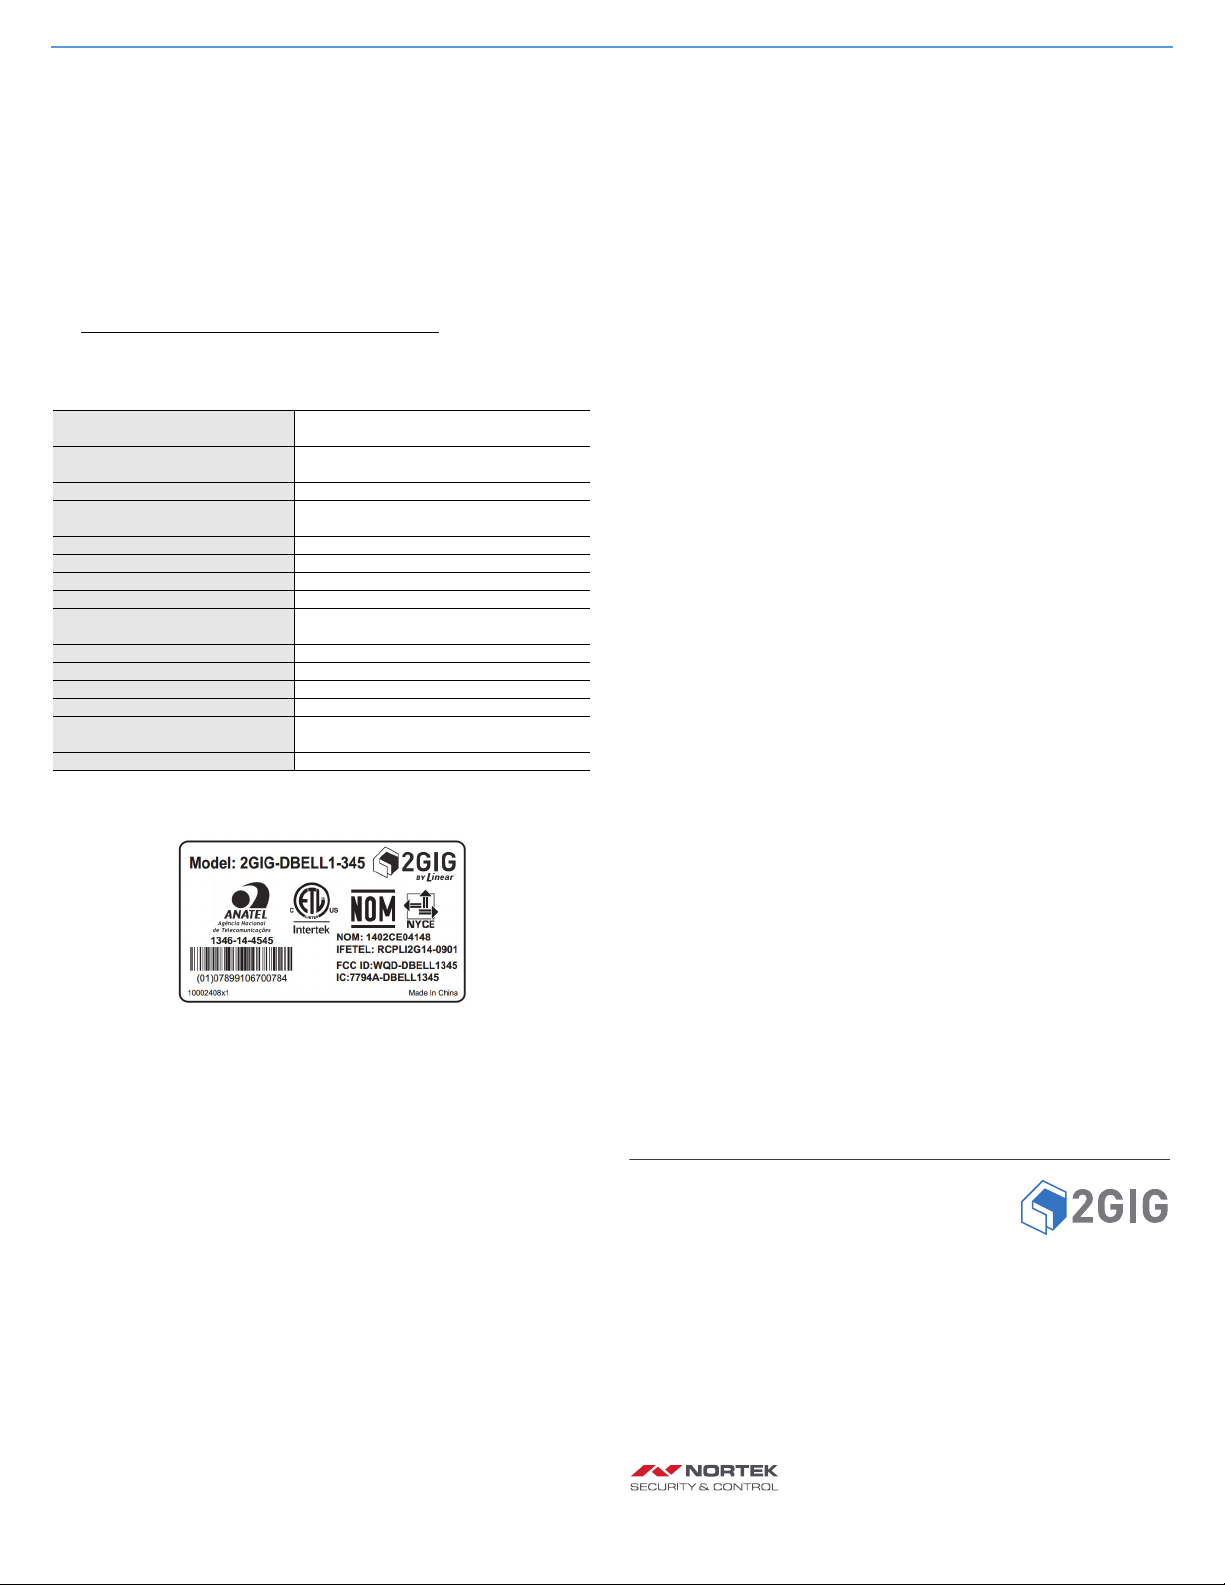
Certification Anatel,ETL,FCC,IC,IFETEL,andNOM


