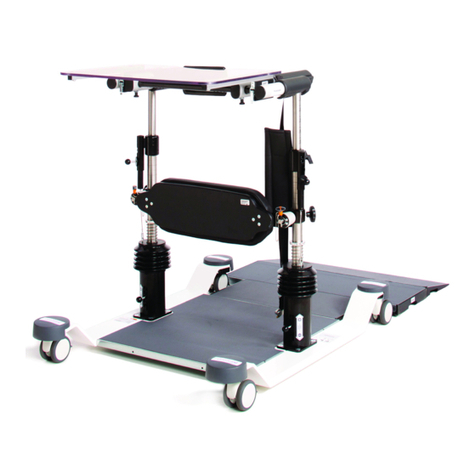
Assembly Instructions Continued
3- To engage in the frame, press in the brass
spring button to allow the tube to enter the frame,
push the tube until the spring button “clicks” into
position and the button is visible through the hole
in the frame. See diag. 4
4- Repeat for all cross tubes
5.1 Cleaning Instructions
Clean regularly, use a general purpose, neutral
detergent and warm water
Do not use abrasive cleaners or cloths as this will
damage the surfaces of the product.
Allow to dry thoroughly
The trays are designed to clip on/off for cleaning. To
remove, unclip the rear edge and lift clear. To refit,
engage the clips on the front of the tray on the front
cross tube and secure by clipping the rear edge of
the tray onto the rear cross tube.
Check tray is level and secure before use.
5.2 Maintenance
Inspect the product regularly for signs of wear or
damage, particularly the condition of the castors
Check all fixing clips are inserted correctly and there
is no excessive movement.
If you see or suspect a fault do not use –contact
your dealer immediately.
NRS Healthcare is a Leading Supplier of Community Equipment and
Daily Living Aids, to view our full range, visit our website:
www.nrshealthcare.co.uk
9- Engage the clips on the front of the tray onto
the cross tube tabs. See diag. 7, and then clip the
rear edge of the tray onto the rear tube.
See diag. 8
10- Repeat for the upper tray.
5- Align the other frame side onto the four side tubes
and engage the spring buttons as described above,
ensure all spring buttons have clicked into place and
are visible through the holes in the frame.
7- Fit the trays: Note, fit the lower tray first.
8- With the tray sideways enter the frame and rotate
into position see diag. 6
11- Fit the castors to
the frame by pushing
them into the bottom of
the frame, align the
holes in the frame with
the holes in the castor
leg and secure with e-
clip. See diagram 9,
repeat for all four
castors, ensuring they
are all at the same
height. Turn product
upright and check it is
level and stable.
6- Turn the trolley
upside down and
place on the
handles.
See diag. 5
Note: Trolley height can be adjusted to suit the user,
but ensure all castors are set to the same level and
the trays are level
Brass spring
button
engaged
correctly in
the frame side
