NUTRICHEF PKAIRFR75 User manual

PKAIRFR75
CountertopOvenAirFryCooker
Healthy KitchenAir Fryer Convection Cooking

www.NutriChefKitchen.com
2
In order to make the best use of this appliance and use it
safely, please read these introductions carefully before use
and keep it for future reference.
Preface
The Countertop Oven Air Fryer is an easy and healthy way to prepare your favorite
fried food and snacks. This specication is only applicable to PKAIRFR75 products.
Content
Chapter I Safety Instructions ........................................................................... 2
Chapter II Parts and its function ....................................................................... 6
Chapter III Operation panel and its function description ..................................... 7
Chapter IV Operating instructions .................................................................. 10
Chapter V Cleaning & Care ............................................................................ 11
Chapter VI Troubleshooting Guide ................................................................. 12
Features and Technical Specs ........................................................................ 13

www.NutriChefKitchen.com
3
Chapter I
Safety Instructions
1. This product is for household use only. Do not use it for other purposes.
2. This appliance should not be used by children aged 15 or under and by persons
with reduced physical, sensory or mental capabilities, or lack of experience and
knowledge. Children should be supervised to ensure that they do not play with
the appliance.
3. After unpacking the appliance, keep plastic bags away from small children to
avoid any risk of suocation.
4. The packaging material must be taken o while using; otherwise during the
working the product will lead to re, burn and so on.
5. The input voltage of the product is 120V/60Hz, before connecting the product to
the power supply, please check whether it is in line with the local power supply
voltage, higher or lower voltage may damage the components or aect the
performance of the product. In order to avoid loss, it is suggested that the regulator
should be used.
6. This product is type I electric appliance, before using please ensure that grounding
wire is in good condition, so as to avoid leakage accident.
7. It is necessary to use 10A or above grounding socket alone. The plugs must be
inserted into the socket thoroughly, so as to prevent the elements from overheating
and burn out, causing short circuit or re hazards.
8. Please do not run this appliance in the mode of external timer or independent
remote control system so as to prevent short circuit, self-ignition and other dangers.
9. The appliance is strictly prohibited for other purpose of using other than food baking.
10. It is strictly forbidden to plug or pull the power plug with wet hand in order to
avoid electric shock.
11. Please operate the appliance on the even and stable surface. In case of re please
do not operate this product on ammable materials such as carpet, towel, plastic,
paper and so on.
Warning: Never leave the appliance unattended during food drying. If the
appliance is suitable for probe usage, only use a temperature probe
recommended for this oven - risk of re.
Warning: Avoid touching heating elements or interior surface during
and after use - risk of burns.
Warning: The appliance and its accessible parts become hot during use.

www.NutriChefKitchen.com
4
12. Please do not use this product on unstable, humid, high temperature, smooth
and heat-liable countertops, so as to avoid injuries, accidents and property losses
caused by electric shock, re and slipping.
13. Please do not use this product with environment of gas and electric leakage;
otherwise which will cause re and electric shock.
14. Please do not use this product under or near the ammable materials such as
curtains, and closets to prevent re.
15. Do not let the appliance operate unattended in order to prevent food burnt
causing re and other dangers.
16. Do not place the appliance against a wall or against other appliances. Leave at
least 10cm free space on the back and sides and 10cm free space above the
appliance.
17. Please ensure that the power line does not contact with sharp edges, edges,
other sharp objects or surface of high heat, in order to prevent electric leakage
and cause electric shock or re.
18. While working, please use the handle of the frying basket. It is forbidden to touch
the high temperature surface and interior of the product to avoid scalding.
19. This product shall not be air burned for a long time (without any food), in case of
self-ignition causing damage accidents and property losses. It is suggested that
it should not be used for more than 3 hours.
20. During operation, please don't put bagged, canned or bottled items, cotton cloth
or ammable materials on the products’surface or cover products, to avoid res
and explosions.
21. It is forbidden to put any ammable materials such as paper, plastic and other
kinds of materials into the electric baking oven to avoid the danger of re.
22. The explosive items such as glassware, closed containers and other items are not
allowed to place in an electric baking oven to be heated so as to avoid the danger
of explosion.
23. During the process to ensure that the food does not come up against the heating
pipe shield; please do not bake large food, otherwise it will easily lead to smoke,
re.
24. It is strictly forbidden to touch the stirring blade and the high temperature parts
in the pan during working or before cooling, so as to avoid scalding.
25. If acidic ingredients that PH value is less than 5 were baked (such as vinegar,
lemon juice and other sauces), please be sure to use foil packs.
26. During hot air frying, hot steam is released through the air outlet openings.
Keep your hands and face at a safe distence from the steam and from the air
outlet openings. Be careful of hot steam and air when you remove the pan
from the appliance.
27. Unplug the plug, must grasp and pull the plug, do not yank or distortion of
power line, to avoid power line damage resulting in leakage risk.
www.NutriChefKitchen.com
5
28. Please use high temperature heat insulation objects to take high temperature
items out to prevent scalding.
29. After each use, the frying pan, frying basket and stirring blade need to be cleaned,
to prevent residual slag powder and oil when baking in the next time will cause
smoke or re.
30. After the use of the products, the surface of the heating element still has residual
heat. In order to prevent scalding, please clean it after cooling.
31. When there is no one to use, clean or move the product, if the product fails,
please remove the power plug to prevent damage caused by electric leakage or
accidental start.
32. If the power cord is damaged, in order to avoid danger, the manufacturer, its
maintenance department or the professional sta of the similar department
must replace it.
33. Do not put this product into water or other liquid to wash or immerse, do not
spray water on it to avoid components damage or leakage.
34. If the product has broken down or damaged, please stop using it and send it to
the service shop of our company, do not repair it by yourself to avoid dangerous.
35. When discarding this product, please cut o the power line and turn it back to
the qualied authorities to discard.
Handy hints:
•Please take the air fryer, frying basket and stirring blade out using cleaning agent
to clean prior to the rst time using, after cleaning then put into electrical baking
oven and set the time for 10 minutes to preheat so as to eliminate remaining odor
in the process of packaging or transport.
•It may emit slight smoke or odor when using for the rst time, which is normal
with appliance.
•The use of original accessories that are recommended.
•The light in the machine is generated by heating tube, when the machine reaches
the set temperature, the heating tube stop heating, light will temporarily disappear,
when the temperature is lower than the set temperature, the heating tube back
to work, light shows again, which is normal.
•Do not use heat-liable containers such as plastic or paper to carry food into the
electric baking oven;
•Do not use glass or ceramic plate or cover;
•The air fryer is not a water components, when the water level of the air fryer is too
high that causing water leakage, which is normal, it is recommended to put the
air fryer into water pool for cleaning, don't put water into the appliance;
•Let the appliance cool down for approximately 30 minutes before you handle
or clean it.

1. Air Inlet Opening
2. Air Outlet Opening
3. Control Panel
4. Transparent Window
5. Opening button
6. Handle shank
fold button
7. Stirring blades
8. Grill
9. Handle
10. Propeller shaft
11. Frying pot
12. Stirring shaft
www.NutriChefKitchen.com
6
Chapter II Parts and its Function

www.NutriChefKitchen.com
7
Chapter III Operation panel and its function description
S.N. Name of parts Function
1 Air inlet opening Sucking cold blast air for cooling down the appliance
2 Air outlet opening Air outlet opening for eliminating hot air
3 Control panel Setting for temperature, time, start/cancel
4 Transparent window Use to observe the food baking status
5 Opening button Press this two buttons with hands at the same time then
the entire upper part will open to let you fetch and put food
6 Handle shank fold
button
When hand hold the knobs, slide to the direction of the
palm of the hand meanwhile turn the knobs downward
then can realize the fold of the knobs.
7 Stirring blades Using to stir the foods so as to ensure it is heated evenly.
8 Grill For carrying foods
9 Handle of the pot Folding handle can be used to operate pot.
10 Propeller shaft Using to delivery power of stirring shaft to stirring blade
11 Frying pot
Using to place foods and other accessories, when installation
and place please use hot temperature mitts, so as to avoid
danger of scalding.
12 Stirring shaft Using to provide power of stirring.

www.NutriChefKitchen.com
8
FUNCTIONAL KEYS CORRESPONDING MENU OPTIONS
Tem.“+”, Tem.“-” Time“+”, Time“-”
Function selection, start/cancel, stirring
WIFI indicator light, stirring indicator light, subscribe indicator light, time indicator
light, temperature indicator light
Hint: The "start" and "cancel" functions of the electric baking oven are set on the
same icon .
1. Function menu: The function menu key has the default mode and independent
mode. The corresponding diet temperature and time in the default mode are all
set, and the ingredients are prepared according to the amount and method of the
diet. Finally press the "start/cancel" icon on the panel;
2. Adjusting temperature: After selecting cooking mode, determine the temperature
required for cooking. Please use the temperature adjustment button to adjust to
the required temperature. There are two icons, "+" and "-" on the operation panel,
press to adjust the temperature setting value to increases or decreases by 5
centigrade. When one of the icons is pressed, the temperature will increase or
decrease rapidly at 5 centigrade. (Temperature adjustment range: 80-200 centi
grade, recyclable)
Note: You can adjust the time and temperature, while the unit starts to run and
heated
3. Adjusting time: Determine the time required for cooking food. Please use the
time adjustment button to adjust to the time required. There are two icons of "+"
and "-" for time adjustment on the operation panel. When each icon is pressed, the
time setting value increases or decreases by 1 minute. When one icon is pressed,
the time increases rapidly or decreases in 1 minute.
(Time adjustment range: 01-60min, recyclable)
4. Start/cancel: After determining the temperature and time required for cooking
food, please press the "start/cancel" icon on the operating panel. The display
screen every 5s will display the temperature and time alternately (from time to start)

www.NutriChefKitchen.com
9
If you need to turn OFF the machine in halfway, you can turn it o manually.
To do this, press the“start /cancel “button on the operation panel. After the work is
nished, if you need to continue to work, please operate the buttons and adjust it
according to the above mentioned steps.)
5. Stirring function: When you need to use the stirring function, please assemble
the stirring blade, close the upper cover to adjust the corresponding temperature
and time, after press the "start /cancel" icon, and then press“stirring“ button,
then the corresponding stirring indicator light will shine for long time. When the
cooking is nished, the stirring blade will be taken out with the frying basket. Due
to high temperature inside, precaution of scalding during operation
6. Reservation function: Press the "function" button to select the mode, after set
the baking time and temperature, press “function" button, to start reservation
mode, the reservation indicator lights is on, press the time "+" and "-" button can
set reservation time, and then press start/cancel button, the machine will start
countdown time. After time ends cooking is nished.
7. Preheating function: If you want to preheat, please set the cooking time and
temperature rst, then press the "stirring" button. At this time, the preheating
indicator lamp will light up. After press the“start/cancel “button the machine will
work for 5 minutes and keep preheating state. After the preheating is completed,
put in foods, close the upper cover of the machine, press the "start /cancel" button
again, and the machine enters the working state.
Note:
1. When the machine ends, you will hear 5 times of "tick" hint, which indicating that
the appliance reaches the setting time, and the interface will display "00 min". The
fan will stop working after 45s. After cooking complete take the fryer out from the
product, and then place it on the heat-resistant surface (Note: if not exit to the
main interface, then every 2 minutes will buzzer once for remind)
2. When opening machine, the main working parts of the machine such as stirring,
fan and heating tube will be cut o. The control panel will still keep working state
and will continue to work after closing the cover.

www.NutriChefKitchen.com
10
Chapter IV Operating instructions
•Before rst time use
1. Remove all the packing materials.
2. Take out the frying pan and frying basket remove packing bags.
3. Clean the frying pan and frying basket with warm water, wipe the inside and
outside of the electric baking oven with a wet cloth immersed in detergent, when
it is completely dry then use it.
4. Place the electric baking oven on an even and stable surface. Please use a single
power supply line.
5. There should be enough space around the electric baking oven to ensure that its
surface to other items keep at least 10cm distance, the air outlet cannot place any
items.
Note: For the rst time, it is necessary to preheat the electric baking oven for 5
minutes in order to remove the residual oil and smoke. There may be bad smell
when rst time use, this is normal, and it is not the electric baking oven failure.
•Operating instructions step-by-step
1. Place the frying pan into the machine, and place the frying basket into the frying
pan, if need for stirring, equip the stirring blade into the stirring shaft.
2. Put food into frying basket and make sure that the height of the food does not
exceed the height of the frying basket.
3. Close the machine cover; plug the power supply, the operation panel has sound
and indicator light.
4. Press "function" button, select the independent mode or the default menu mode
5. The time and temperature can be adjusted in the independent mode. The default
menu has the set time and temperature.
6. After the setting is completed, press the "start /cancel" button.
7. According to your need to press "stirring" button, to start the stirring function, at
this time the stirring indicator light will keep long bright.
8. If you need to nish the baking ahead of time, press "start/cancel" button

www.NutriChefKitchen.com
11
9. After baking complete, the machine has a buzzer sound, press the open button
and take out the food. For the oiled food, it is advised to take the frying pan frying
basket and stirring blade out, to prevent the oil drop to the desktop. In the process
of operation, please pay attention to scalding.
Tips:
•For better baking, it is recommended preheating 5 minutes before using.
•Some of the foods can be wrapped by foil for better baking;
•Time can be adjusted according to personal tastes, to observe from the window to
avoid food scorched;
•While continuous baking the previous uses pan should be clean up, so as to avoid
next time baking producing burning smoke or aect the appearance of food;
Chapter V Cleaning & Care
1. Remove the power cord from the wall socket and let the appliance cool down.
2. If there is oil at the electric baking oven, please wipe it with a soft damp cloth
immersed with mild detergent.
3. Frying pan, frying basket, stirring blade and other accessories could be took out
and then cleaned in water.
4. Do not immerse the whole unit in water or other liquid to clean in order to avoid
the danger of electric shock or functional failure.
5. After cleaning, wait until the product is dried and put it in a cool and dry place.

www.NutriChefKitchen.com
12
Chapter VI Troubleshooting Guide
Air fryer does not work
T
he appliance is not plugged in Insert the plug into an appropriate
grounded power socket
D
id not start Start operation control panel
The ingredients fried in
the fryer are not
completely cooked
T
oo many ingredients were used
Place ingredients by batch into the
fry basket
T
he cooking temperature is too lo
w
Set temperature control button at
required temperature
The cooking time is too short
To fry for a longer time
The food is fried unevenly
W
hile cooking without stirring Need ideal stirring
Fried snacks are not crisp
U
sed not the traditional
i
ngredients
Use snacks designed to be baked in
a traditional oven, or lightly brush
some olive onto the snacks
Cannot slide the frying
basket into the appliance
properly
Frying basket handle is not placed
correctly
Install frying basket properly, adjust
the height of foods, place
ingredients according to required
capacity
T
here are ingredients in air fryer
There are too much food in frying
basket cannot close
White smoke is coming
out of the product
Y
ou are frying greasy foods
It is normal when you are preparing
greasy ingredients in air fryer, large
amounts of oil can smoke
T
he pan contains greasy residue
f
rom previous uses
Make sure you clean the frying pan
properly after each use
Stirring blade not working
Stirring blade was not properly
c
onstructed with synchronou
s
m
otor
Press button, reconstruct it
S
tirring function not started Check the status of stirring function
T
he baked ingredients is too large,
s
tirring blade blocked
Adjust the size of ingredients, start
again
D
isplay screen shows”E01”
Temperature sensor open ended
Contact customer service center or
come to local special shop for
maintenance
D
isplay screen shows”E02”
Temperature sensor short circuit
Contact customer service center or
come to local special shop for
maintenance
When nish or cancel, fan
not stop timely
F
an with 45 seconds time lapse
s
hut down to protect machine
It is normal, after 45 seconds fan will
be shut down automatically
Problem Possible Cause(s) Resolution(s)

www.NutriChefKitchen.com
13
PKAIRFR75
Countertop Oven Air Fry Cooker
Healthy Kitchen Air Fryer Convection Cooking
Features:
•Air-Frying Made Easy: Insert Food & Set the Time
•Simple Kitchen Electric Oven Plug-in Design
•Achieve Tasty & Low-Fat Foods with Benets
•Next Generation Pneumatic Convection Oven Cooker
•Hassle-Free Air Fry Operation with Digital LCD Display
•Built-in Stirring Blade for Even Heating All-Around
•Adjustable Time & Temperature Settings
•Reduce Oil for Fat-Free Food Prep
•Rapid Air Circulation Vortex Fan
•Convenient Air Fry Dome Lid Window
•Laboratory Tested to Prepare Healthier Meals, Quicker
•Prepares Signicantly Healthier Foods than Traditional Frying
•Stain Resistant & Easy-to-Clean
•Non-Stick Removable Teon Frying Basket
•Safe for Placement on Any Kitchen Table or Counter
•Excellent for Chicken, Steak, Ribs, Fish, Shrimp, Fries & More!
What's in the Box:
•Air Fryer
•Slide-Out Frying Basket
•Stirring Blade Attachment
•Grill Plate
Technical Specs:
•High Powered Heating Element: 1350 Watt
•Temperature Settings: 180-400° Fahrenheit (82-205° Celsius)
•Frying Basket Capacity: 6.8 Quarts
•Maximum Time Setting: 60 Minutes
•Construction Material: Engineered ABS, Teon Frying Basket
•Power Cord Length: 3.3’ Ft.
•Power Supply: 120V
•Food Basket/Pan Size (L x H): 10.6’’ x 3.95’’-inches
•Total Fryer Size (L x W x H): 13.4’’ x 14.0’’ x 11.0’’ -inches
Questions? Issues?
We are here to help!
Phone: (1) 718-535-1800
Email: [email protected]

Table of contents
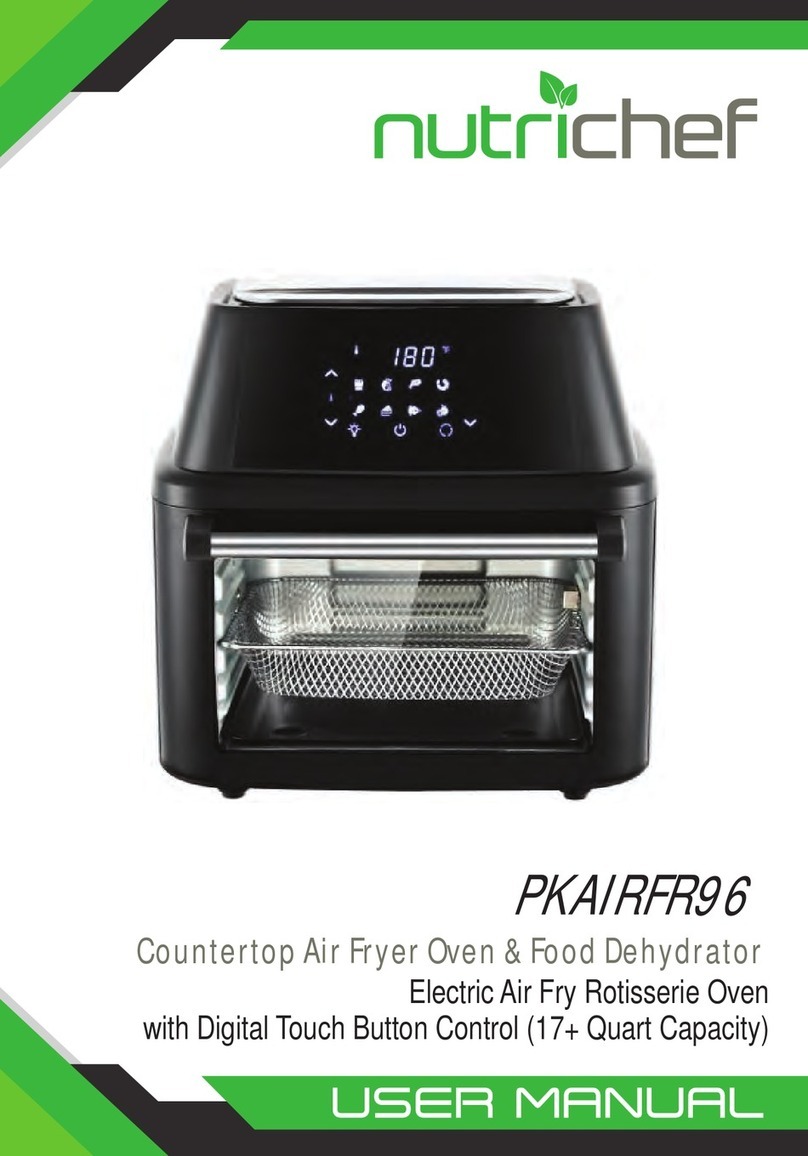
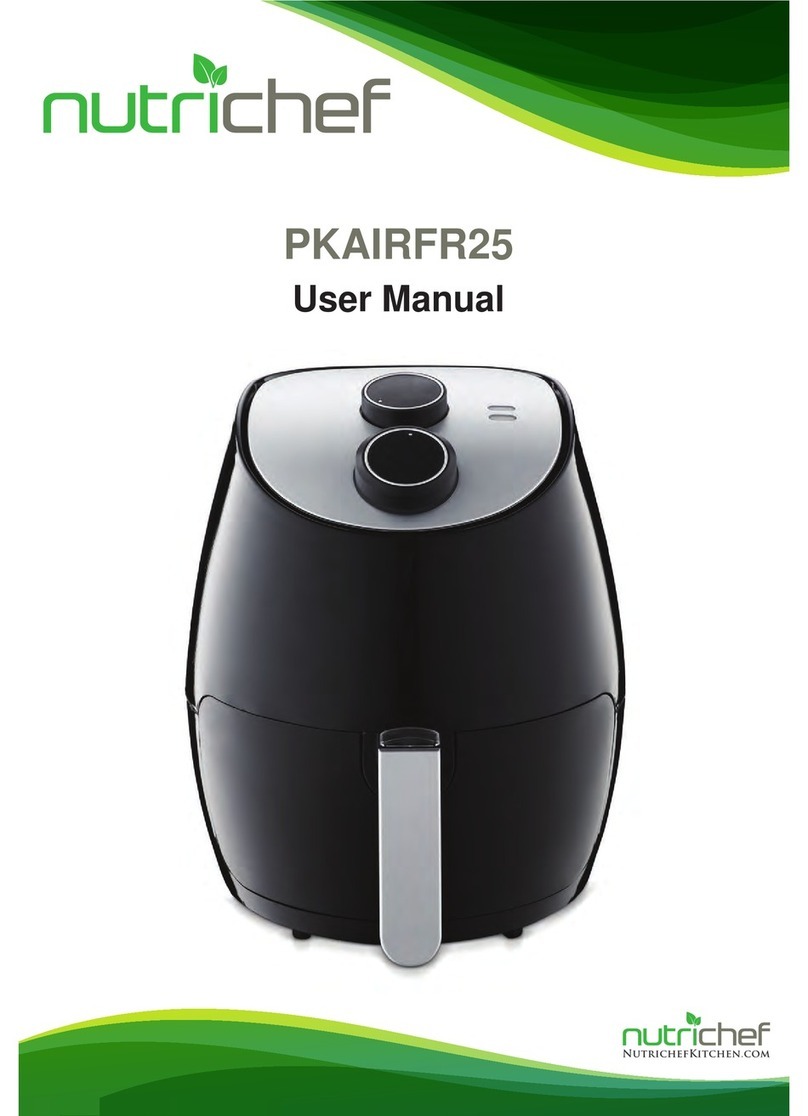
Other NUTRICHEF Fryer manuals

NUTRICHEF
NUTRICHEF PKAIRFR52 User manual

NUTRICHEF
NUTRICHEF PKAIRFR54 User manual

NUTRICHEF
NUTRICHEF PKAIRFR46 User manual

NUTRICHEF
NUTRICHEF PKAIRFR28 User manual

NUTRICHEF
NUTRICHEF PKAIRFR96 User manual

NUTRICHEF
NUTRICHEF PKAIRFR48 User manual

NUTRICHEF
NUTRICHEF PKAIRFR18 User manual

NUTRICHEF
NUTRICHEF PKAIRFR25 User manual

NUTRICHEF
NUTRICHEF PKAIRFR24 User manual

NUTRICHEF
NUTRICHEF PKAIRFR22 User manual