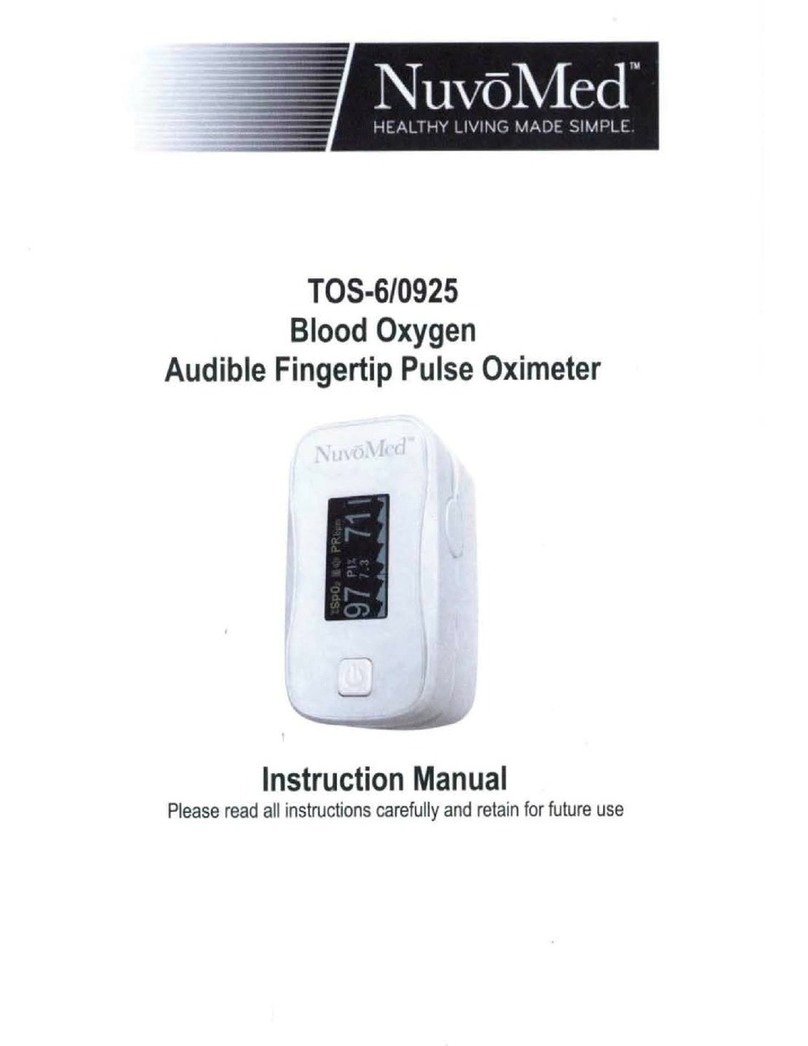
NuvoMed TOS-6/0925 User manual

TOS-6/0925
Blood Oxygen
Audible Fingertip Pulse Oximeter
Instruction Manual
Please read all instructions carefully and retain for future use

Introduction
3
Know your Device
Indications for Use
Important Safety Information and Precautions
Warning
Preparation
4
Parts
Battery Warning
Instructions for Use
5-6
Set Up Your Device
Measurement
Setting of Parameter
Care and Maintenance
7
Troubleshooting
Specifications
8
EMC Declarations
9-11
Warranty Information
12
2

Know your Device
Indications for Use
The Pulse Oximeter, based on all digital technology, is intended for noninvasive spot-check measurement of
functional oxygen saturation of arterial hemoglobin (SpO2). Advanced DSP algorithm can minimize the
influence of motion artifact and improve measurement accuracy of low perfusion.
The Oximeter can be used to measure human Hemoglobin Saturation and heart rate through finger. The
product is suitable for family, hospital (including clinical use in internist/surgery, Anesthesia, pediatrics,
intensive care and etc.) oxygen Bar, social medical organizations, physical care in sports and etc.
Important Safety Information and Precautions
•Do not attempt to service the Pulse Oximeter. Only qualified service personnel should attempt any needed
internal servicing.
•Prolonged use or the patient’s condition may require changing the sensor site periodically. Change sensor
site and check skin integrity, circulatory status and correct alignment at least every 2 hours.
•SpO2 measurements may be adversely affected in the presence of high ambient light. Shield the sensor
area (with a surgical towel, or direct sunlight, for example) if necessary.
•The following reason will cause interference to the testing accuracy of the pulse oximeter.
•High-frequency electrosurgical equipment.
•Placement of a sensor on an extremity with a blood pressure cuff arterial catheter, or intravascular line
•The patient has hypotension severe vasoconstriction severe anemia or hypothermia.
•The patient is in cardiac arrest or is in shock.
•Fingernail polish or false fingernails may cause inaccurate SpO2 readings.
WARNING
•Do not use this device over a wound, as this can cause further injury.
•This device possible cause improper result due to external interference, such as acceleration during
transport or transport in general.
•Do not attempt to modify this device in any way.
•Do not immerse this device in water or clean with cleaning products, alcohol, or solvents. Carefully follow
cleaning instructions provided.
•Remove batteries if this device will not be used for three or more months.
•Ensure that the device is used in the environment specified in the EMC declaration in this IM, otherwise,
may result in improper operation.
•Use of this device adjacent to or stacked with other device should be avoided because it could result in
improper operation.
•This electrical medical equipment requires specific precautions regarding electromagnetic compatibility. It
must be installed and used according to the electromagnetic information.
•Do not use this device where flammable gases or liquids are present.
•Never drop the device.
•Store this device in a cool, dry place. Do not subject this device to extreme temperatures, humidity, or
sunlight. This device might not meet performance specifications if stored or used outside the ranges
specified in the “Specifications” section. Keep away from rain.
Technical description is contained in the instruction manual.
3

Preparation
Table 3.1.1 Parts Definition and Description
Name
Description
Power Button
Turn on the machine
TFT Display
Display the SP02 / PR
data & Plethysmogram
Note:
•When battery power is at lowest level, the battery capacity indicates symbol of
remind users of replacement of battery.
•The plethysmograph can be regarded as correct if the wave is fluctuated regularly.
BATTERY WARNING:
•Do not mix alkaline, stand (carbon-zinc) and rechargeable batteries (nickel hydride).
•Do not mix old and new batteries.
•Non-rechargeable batteries are not to be recharged.
•Rechargeable batteries are to be removed from the unit being charged (if removable).
•Rechargeable batteries are only to be charged under adult supervision (if removable).
•Exhausted batteries are to be removed.
•The supply terminals are not to be short-circuited.
•Only batteries of the same or equivalent type as recommended are to be used.
•Batteries are to be inserted with the correct polarity (see diagram).
4

Set Up Your Device
Battery Installation
1. Press the tab on the battery cover at the back of this device, so
as to lift it up and remove.
2. Insert 2 AAA (Included) alkaline batteries according to the +/–
markings.
3. Snap the battery cover on, ensuring it clicks into place. Make
sure that the battery cover is securely in positon.
NOTE: When the low battery symbol appears on screen, turn off this
device and follow the instructions above to replace batteries.
CAUTION
Never leave any low battery in the battery compartment as it may leak and cause damage to this device.
Measurement
Press power button to turn the Pulse Oximeter on.
Put one of fingers into rubber hole of the oximeter (it is best to put
the finger thoroughly) with nail surface upward,then releasing the
clamp.
Note: The oximeter will be automatically powered off when no finger
in the device for longer than 16 seconds.
Setting of Parameter
When the device is under measuring interface, press the power button for 1 second in order to entering
into Menu Setup (Figure 1).
Menu Setup
Under the Menu Setup, user can short press the power button each time moving the “*” symbol to the
back of the SYSTEM SETTINGS, ALM SETTING, SPO2 SETTING or PR SETTING for adjustment.
•SYSTEM SETTINGS (Figure 2)
Move the “*” symbol to the back of SYSTEM SETTINGS, press the power button for 1 second going to set
the MODE, DEMO, BRIGHTNESS & RESTORE. Short press the power button to select the item between
MODE, DEMO, BRIGHTNESS & RESTORE.
MODE - Move the “*” symbol to the back of MODE, long press the power button to select CONTINUOUS
or SINGLE measurement (REMARK: only SINGLE measurement will give audible read out of the readings
for the user after 30 seconds.)
DEMO - Move the “*” symbol to the back of DEMO, long press the power button to turn it ON/OFF.
BRIGHTNESS - When the “*” symbol shows behind “BRIGHTNESS”, long press the power button each time
can change the brightness value from 1 to 5.
RESTORE - When the “*” symbol shows behind “RESTORE”, long press the power button can change to
“OK”, which causes the device to restore factory data setting.
•ALM SETTING (Figure 3)
Move the “*” symbol to the back of ALM SETTING, press the power button for 1 second going to set the
ALM & BEEP. Short press the power button to select the item between ALM & BEEP.
5
Other manuals for TOS-6/0925
1
Table of contents
Other NuvoMed Medical Equipment manuals
Popular Medical Equipment manuals by other brands

Getinge
Getinge Arjohuntleigh Nimbus 3 Professional Instructions for use

Mettler Electronics
Mettler Electronics Sonicator 730 Maintenance manual

Pressalit Care
Pressalit Care R1100 Mounting instruction

Denas MS
Denas MS DENAS-T operating manual

bort medical
bort medical ActiveColor quick guide

AccuVein
AccuVein AV400 user manual