NuWave Moxie Vacuum Quick guide

Owner’s Manual & Complete Recipe Book
NuWave Moxie®Vacuum
High-Performance Digital Blender

2 • NuWave Electric Skillet Complete Cookbook
As a special thank-you for registering your NuWave unit, you’ll
automatically receive an additional 6 months added to your limited
manufacturer’s warranty!*
All you have to do is follow these
simple steps.
Using your smartphone or
smart device, scan the QR code
located on the unit label located
on the back of the unit.
You will be directed to NuWave’s
product registration page with
your unit’s unique serial number
automatically entered in the
appropriate field.
NOTE: If you do not have a
web-enabled smart device,
simply visit nuwavenow.com/QR
and manually enter in your unit’s
serial number.
Fill out the remaining information
and complete the optional survey.
Once you submit your
information, you will receive a
confirmation email containing
your extended warranty details.
1
2
3
4
REGISTER
NOW!
*Register your product within 1 year of date of purchase for a free
6-month extension of limited warranty.

1
2
3
Open your mobile app store
(App Store, Google Play).
Search for "QR code readers".
Simply download the QR code reader to your phone,
open it and scan the code, you are ready to go.
NOTE: You may need to open your downloaded QR
code reader each time you want to scan a QR code.
DOWNLOAD THE QR CODE
APP TO YOUR MOBILE DEVICE
6
for an additional
months
warranty!
QR code readers
Como agradecimiento especial por registrar su NuWave Brio,
¡recibirá automáticamente 6 meses adicionales a su garantía
limitada del fabricante! *
Todo lo que tiene que hacer es seguir estos simples pasos.
¡REGÍSTRESE
AHORA!
1
2
3
4
For more about our innovative products, visit:
NuWave Brio®6Qt
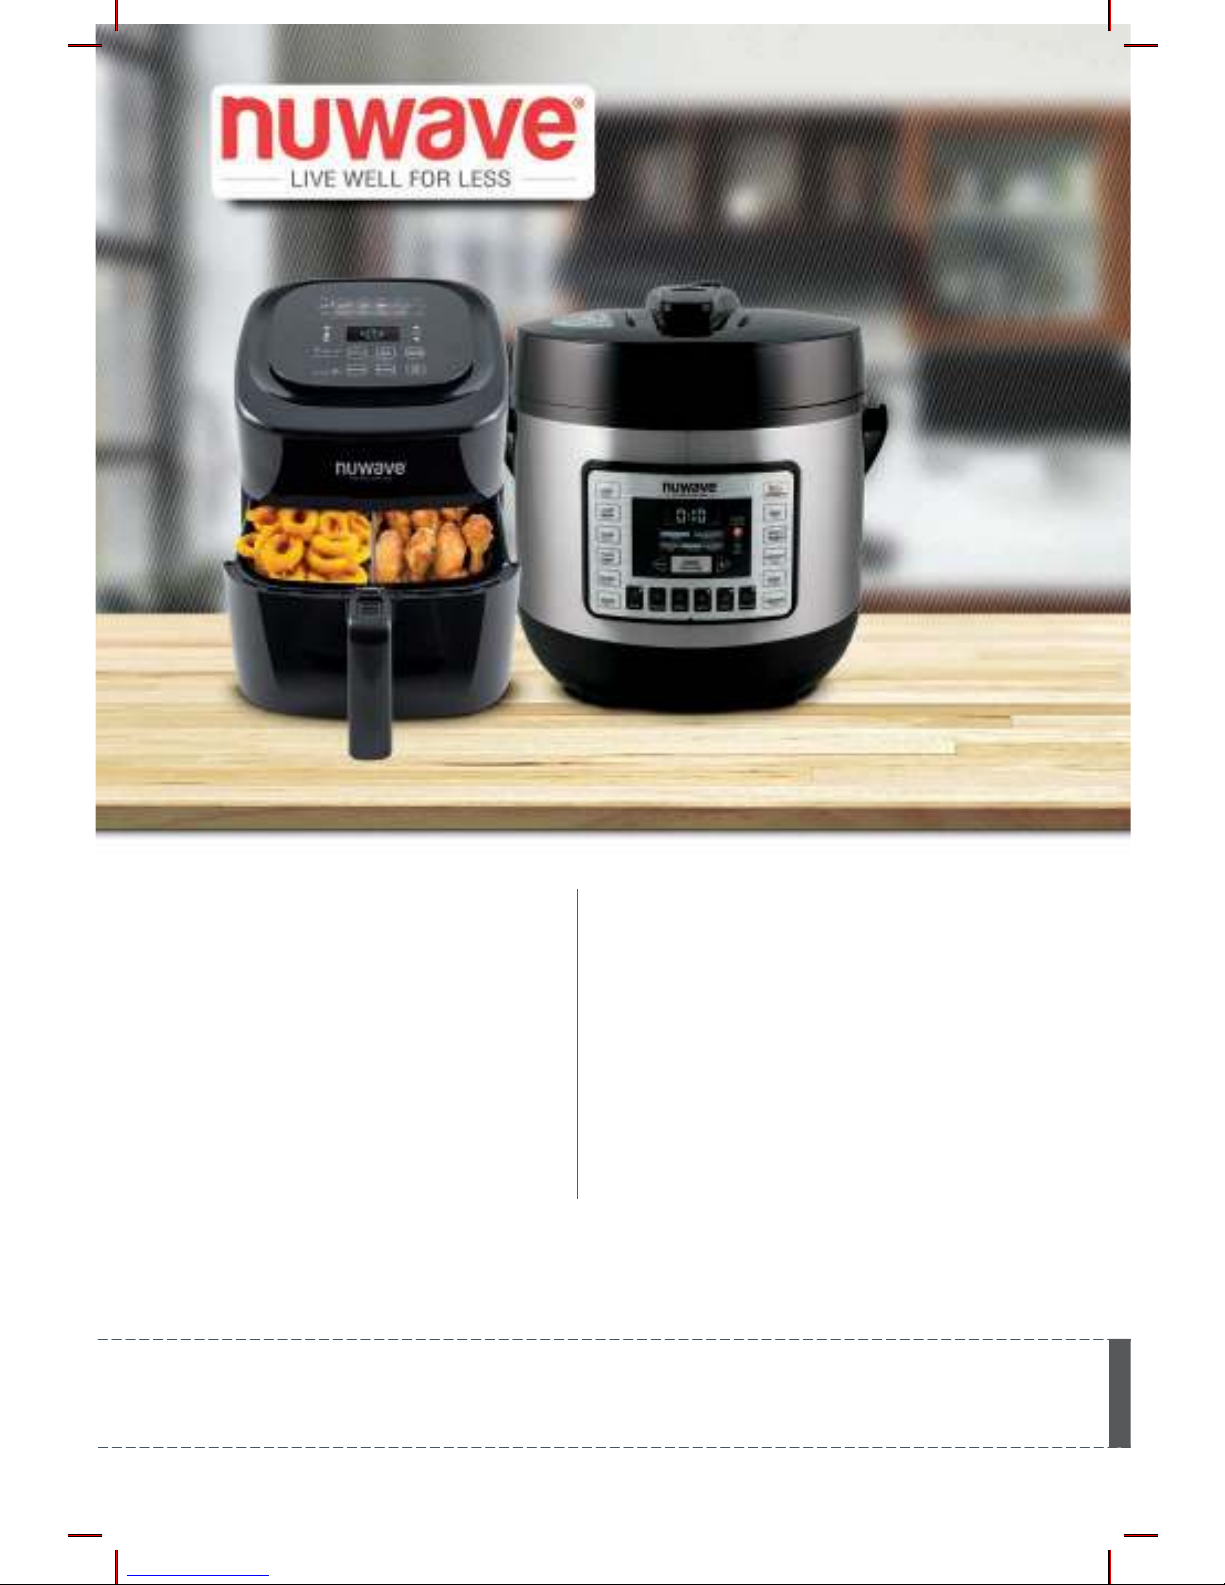
Digital Air Fryer
NuWave
Nutri-Pot®6Q
Digital Pressure Cooker
Super-heated air cooks
your food to crispy,
tender perfection.
The digital touch screen
gives you precise
temperature control.
Easily cook rice, poultry,
vegetables and more all
with the press of a button!
The Nutri-Pot’s safety
release valve and hinged
lid make for convenient
and safe operation.
1
2
3
DESCARGUE LA APLICACIÓN QR
CODE EN SU DISPOSITIVO MÓVIL
6
!para una garantía
adicional de
meses
Lectores de códigos QR
1-877-689-2838
www.nuwavenow.com
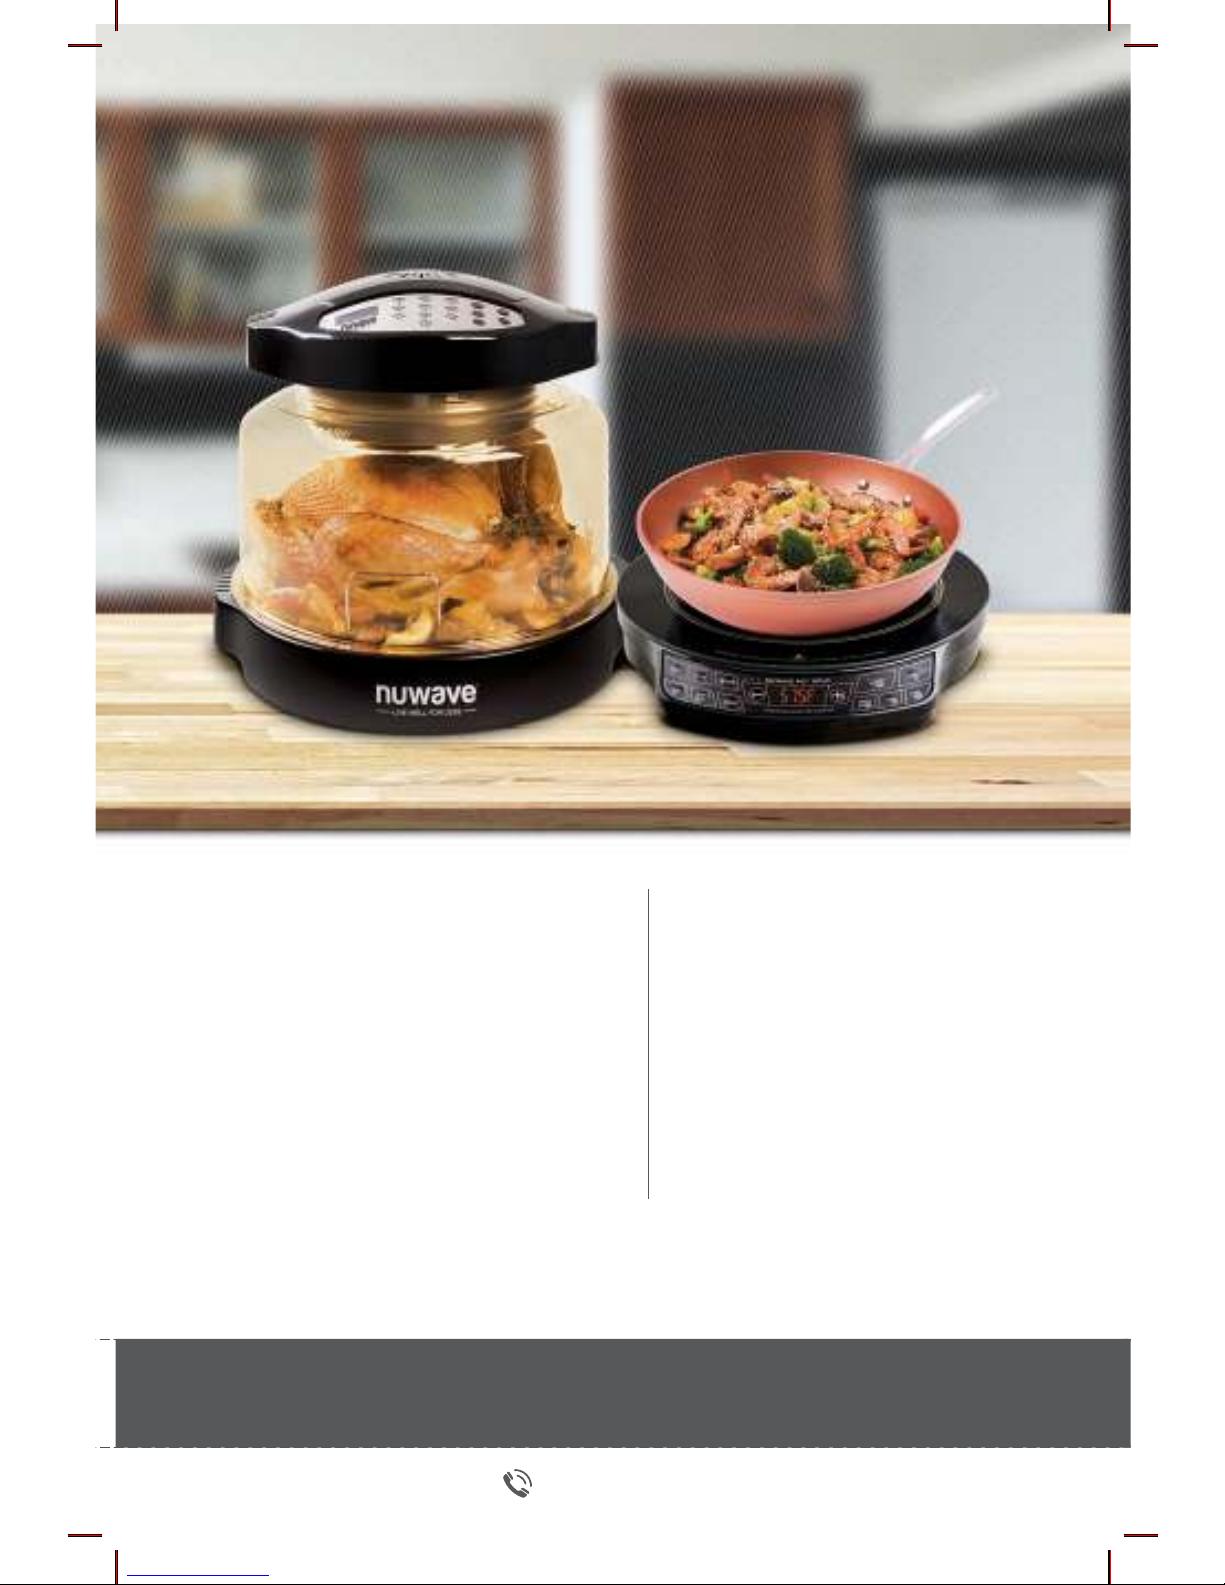
NuWave Oven®
Pro Plus
Cook healthier meals
faster and more efficiently
with Triple Combo
Cooking Power.
NuWave PIC®
(Precision Induction
Cooktop)
Cook faster, safer,
and more efficiently
than you ever could
on your gas or
electric stovetop.

With the simple press of a button, the
NuWave Moxie can remove all the
excess air from the blender.
By vacuuming the air out of the
blender, you can ensure no air is
being mixed with your ingredients
during the blending process,
maximizing the nutritional value and
ensuring your blender creations will
remain fresh longer.
For more about our innovative products, visit:
NuWave BruHub®
Coffee Maker
Quality and convenience at your
ngertips. The NuWave BruHub
accommodates virtually all of your
favorite single-serve pods, but
with more avor. Makes an 8- or
12-ounce cup and full carafe.
The thermal stainless steel carafe
keeps coffee hot for hours.
NuWave Moxie®
High-Performance
Vacuum Blender

1-877-689-2838
www.nuwavenow.com
NuWave Duralon®Healthy Ceramic
Non-Stick Cookware
Coated with Duralon Healthy Ceramic
Non-Stick coating for easy cleanup, this
versatile cookware is perfect for use
in ovens or on gas, electric, and even
induction cooktops.
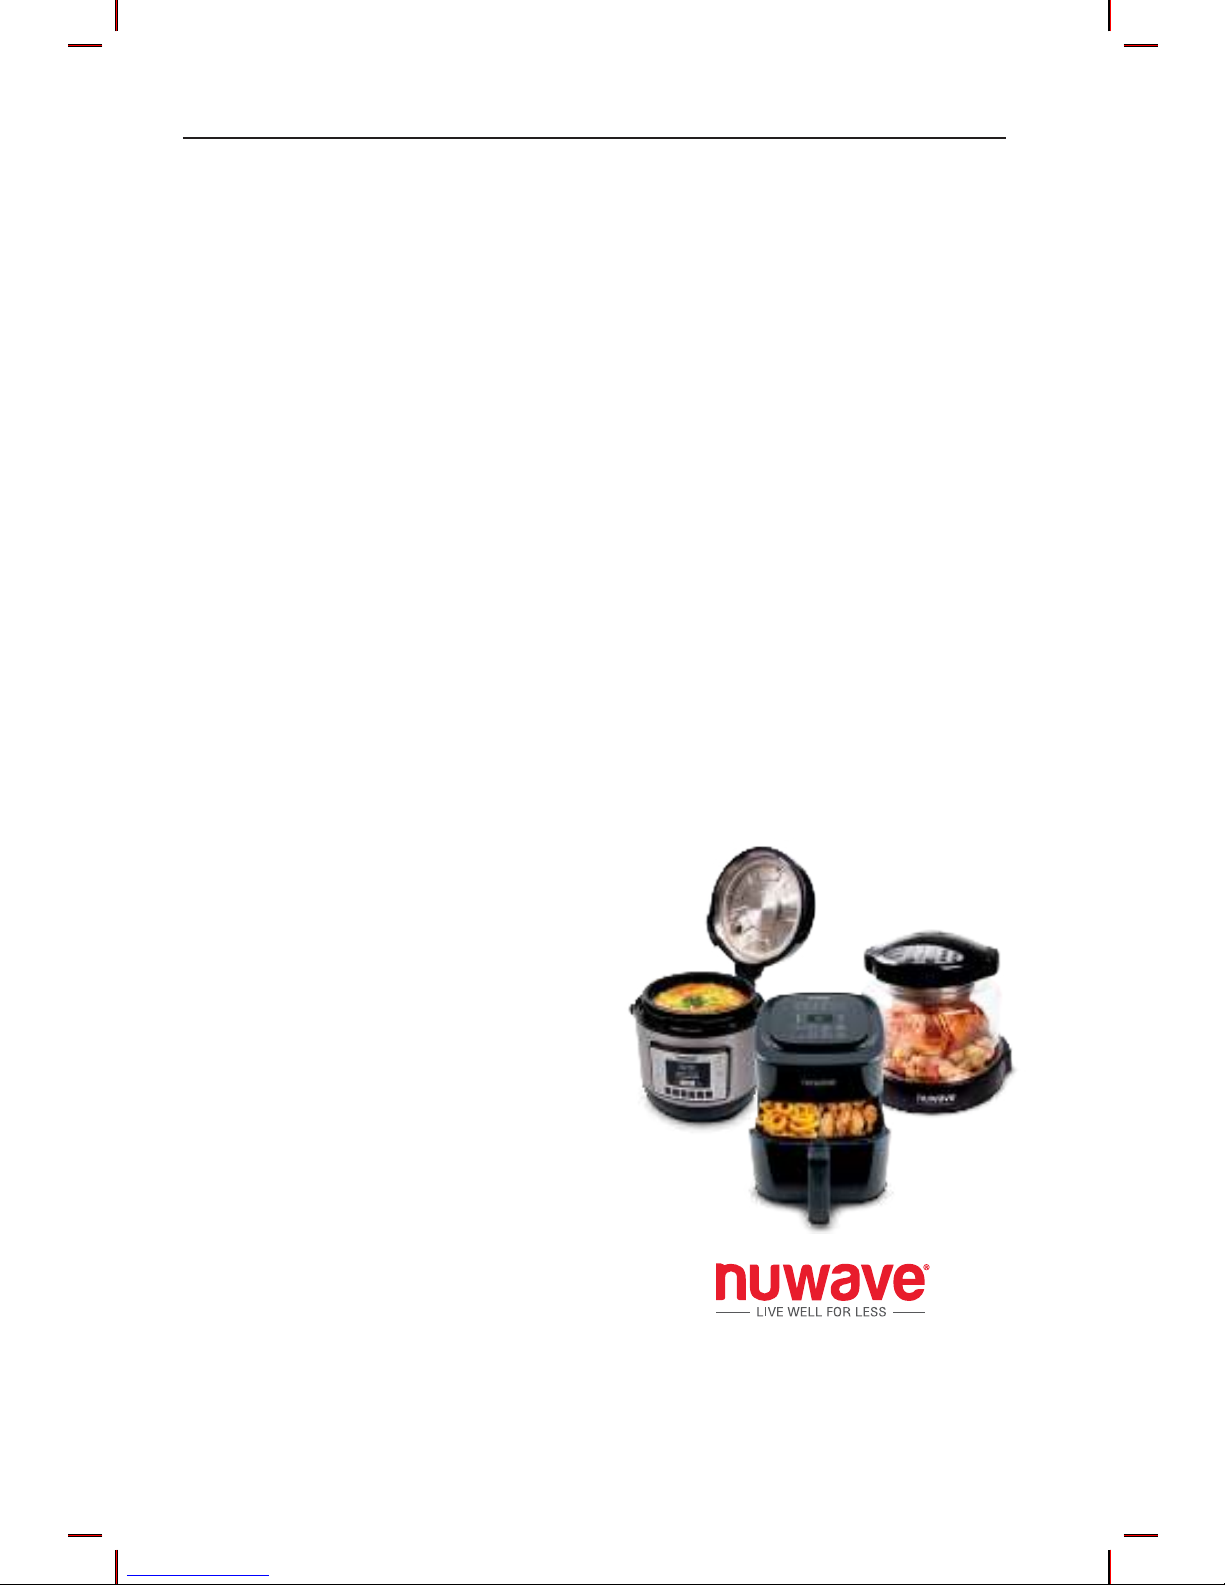
TABLE OF CONTENTS
OWNER’S MANUAL
Important Safeguards .................... 9
Additional Safeguards .................. 10
Parts Description...........................11
Assembly Guide ...................... 12-15
Operating Instructions ............. 16-18
Care & Maintenance ............... 19-20
Troubleshooting ...................... 21-22
Limited Warranty ..................... 23-24
Juices
Green Emotion ............................. 26
Tummy Elixir ................................ 27
Carrot Ginger ............................... 28
Almond Milk ................................. 29
Carbonara .................................... 30
Jams & Spreads
Fig Jam ........................................ 32
Homemade Hazelnut Spread....... 33
Nut Butter ..................................... 34
Guacamole................................... 35
Homemade Mayonnaise .............. 36
Sauces
Apple Sauce................................. 38
White Bean Hummus ................... 39
Sun-dried Tomato Pesto .............. 40
Cranberry Sauce .......................... 41
Salsa Verde.................................. 42
Tzatziki Sauce.............................. 43
Tuscan Pesto ............................... 44
Thai Peanut Dipping Sauce ......... 45
Nacho Cheese Sauce .................. 46
Hummus ....................................... 47
Dressings
Classic Dijon Salad Dressing ....... 49
Ginger Lime Dressing .................. 50
Classic Ranch Dressing ............... 51
Soy Sesame Dressing ................. 52
Classic Caesar Dressing.............. 53
Lemon Poppy Seed Dressing ...... 54
Soups
Cumin-scented Carrot Soup ........ 56
Chilled Fruit Soup ........................ 57
Beet Soup .................................... 58
Tomato Basil Bisque .................... 59
Gazpacho..................................... 60
Potato Trufe Cauliower Soup ... 61
Desserts
Blueberry Lemon Mufns ............. 63
Banana Oat Pancakes ................. 64
Classic Crepes ............................. 65
Spanish...................................... 66-85
nuwavenow.com

9
Owner’s Manual
IMPORTANT SAFEGUARDS
READ ALL INSTRUCTIONS
WARNING: When using the Moxie Blender, basic safety precautions
should always be followed:
1. To protect against risk of electrical shock, do not immerse Blender Base,
cord, plug, or any part of the main unit in water or any other liquids.
2. Close supervision is necessary when any appliance is used near
children. The Moxie Blender is not intended for use by children, persons
with reduced physical, sensory, or mental capabilities or those with lack
of expertise or knowledge of this unit.
3. Unplug the Moxie Blender from outlet when not in use, before putting on
or taking off parts, and before cleaning.
4. Avoid contact with moving parts.
5. Do not operate the Moxie Blender with a damaged cord or plug, if the
appliance malfunctions, is dropped, or damaged in any manner, contact
Customer Service at 1-877-689-2838 or email help@nuwavenow.com for
information on examination, repair, or adjustment.
6. NOT INTENDED FOR OUTDOOR USE.
7. Do not let cord hang over the edge of table or counter. Do not let cord
contact hot surfaces, including from a stove.
8. Keep hands, utensils, and foreign objects out of the Jar while blending to
reduce the risk of severe injury to persons or damage to blender. A scraper
may be used, but only when blender is NOT running.
9. Do not place on or near a hot gas or electric burner, or in a heated oven.
10. CAUTION! Blades are sharp. Handle blender carefully. Do not handle blades.
11. Always operate blender with Lid and Jar correctly in place. Blender will not
operate if Lid is not firmly in place and the dot is not lined up with the handle.
12. Alteration or modification of any part of the blender or the use of
attachments not recommended by the manufacturer may cause fire, injury,
or damage to property.
13. Do not add hot or boiling liquids to Jar.
14. Never knock Jar against a surface to loosen ingredients. Remove Jar from
Moxie Blender’s Base first, then use a rubber spatula to remove mixture
from bottom of Jar.
15. Do not shake or rattle Jar while in use.
16. Never remove Jar before the Moxie Blender’s blades have come to a
complete stop.
17. When making nut butters or recipes with oil-based ingredients, do not process
for more than 1 minute after the mixture begins to circulate in Jar. Blending for
longer periods than this can cause overheating of the Moxie Blender.

10
Owner’s Manual
ADDITIONAL SAFEGUARDS
Electrical Information
The Moxie Blender is supplied with a short power cord to reduce the
risk of entanglement or tripping. Extension cords may be used if care
is exercised in their use. If an extension cord is used:
1. The marked electrical rating of the extension cord should be at least as
great as the electrical rating of the Moxie Blender.
2. The longer cord should be arranged so that it will not drape over
the countertop or tabletop where it could be pulled on by children or
tripped over unintentionally. The Moxie Blender should be operated
on a separate electrical outlet from other operating appliances due
to wattage limitations. Certain models of the appliances may have a
polarized plug (one blade is wider than the other). To reduce the risk
of an electric shock, this plug is intended to fit into a polarized outlet
one way. If the plug does not fit fully into the outlet, reverse the plug.
If the plug still does not fit properly, contact a qualified electrician.
Do not attempt to modify the plug in any way.
SEE CARE AND MAINTENANCE BEFORE USE
SAVE THESE INSTRUCTIONS:
Read and understand the entire manual before using the Moxie Blender.
1. DO NOT remove blades in any way or attempt to remove for cleaning.
2. Turn power off and unplug Moxie Blender BEFORE touching movable
parts or reaching in with a utensil. Turn power OFF and unplug when Moxie
Blender is unattended.
3. Do not operate blender if abnormal sounds or motion is detected. If a
hard or foreign object comes into contact with blades in Jar, do not serve.
Inspect the Moxie Blender’s blade assembly after each use, and if there
are loose, damaged, or missing parts, contact Customer Service at
1-877-689-2838 or email help@nuwavenow.com.
4. Always use extreme caution when operating and maintaining the Moxie
Blender or any appliance.
WARNING: Never use the Moxie Blender’s blade assembly with loose,
damaged, or missing parts.
NOTICE: THE FAILURE TO FOLLOW ANY OF THE IMPORTANT
SAFEGUARDS, ADDITIONAL SAFEGUARDS, OR THE INSTRUCTIONS
FOR SAFE USE IS A MISUSE OF YOUR MOXIE BLENDER THAT CAN VOID
YOUR WARRANTY AND CREATE THE RISK OF SERIOUS INJURY.
Other manuals for Moxie Vacuum
1
Table of contents
Languages:
Other NuWave Blender manuals

NuWave
NuWave INFINITY 28202 User manual

NuWave
NuWave Moxie Vacuum User manual

NuWave
NuWave Moxie Pro User manual

NuWave
NuWave INFINITY 28202 User manual

NuWave
NuWave 28401 User manual

NuWave
NuWave Moxie Pro User manual

NuWave
NuWave INFINITY 28202 User manual

NuWave
NuWave Moxie 28101 User manual

NuWave
NuWave Twister Quick guide

NuWave
NuWave Infinity ProPlus 28301 User manual


