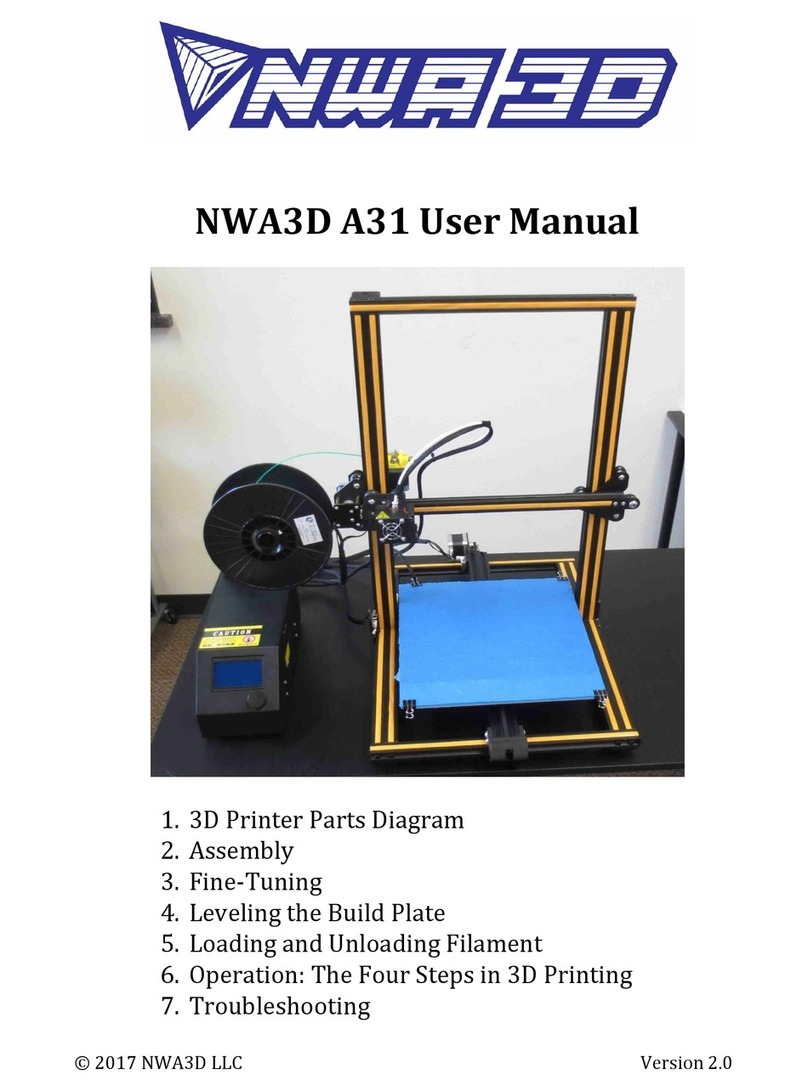
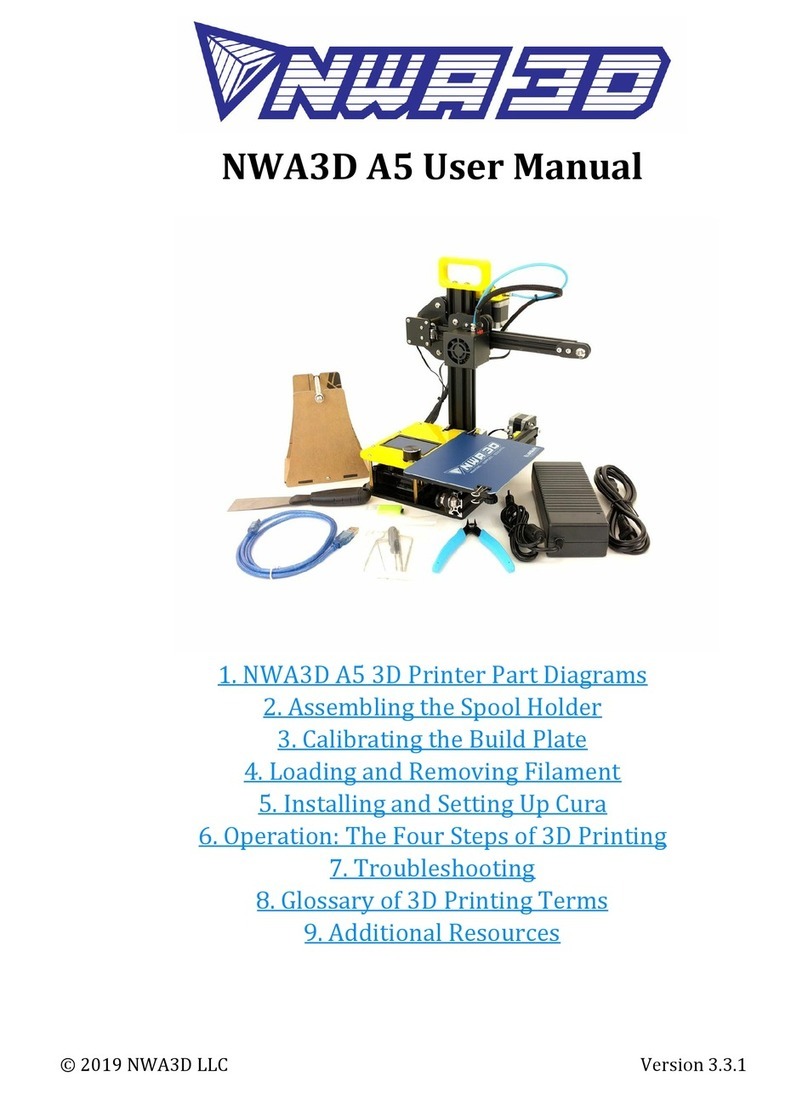
NWA3D A5 User manual

NWA3D A5 User Manual
1. NWA3D A5 3D Printer Part Diagrams
2. Assembling the Spool Holder
3. Leveling the Build Plate
4. Loading and Unloading Filament
5. Operation: The Four Steps of 3D Printing
6. Troubleshooting
7. Glossary of 3D Printing Terms
8. Additional Resources
© 2018 NWA3D LLC Version 3.1

NWA3D A5 User Manual
1. NWA3D A5 3D Printer Part Diagrams
(Detailed description of all terminology in Section 7. Glossary of 3D Printing Terms)
© 2018 NWA3D LLC 2

NWA3D A5 User Manual
2. Assembling the Spool Holder
1. Loosen the nuts on the two bolts
installed on the spool holder side
pieces until they are near the end
of the bolt threads—but don’t
remove them completely.
2. Slide the base of the spool holder
into the side piece while at the
same time sliding the nut into the
small groove in the base.
3. Attach the side piece to the base by
tightening the bolt with a 3mm hex
key (Allen) wrench. Do not
over-tighten or it will crack.
4. Repeat Steps 2 and 3 to attach the
other side piece.
© 2018 NWA3D LLC 3

NWA3D A5 User Manual
3. Leveling the Build Plate
Video Tutorial: How to level the build plate
To 3D print good parts, the build plate needs to be level and at the correct distance
from the nozzle. If it’s too close to the nozzle, the nozzle will dig into the build
surface, or the melted plastic will not be able to come out of the nozzle. If it’s too far
from the nozzle, the part will not stick to the build surface or will warp.
If you use blue painter’s tape as your print surface, the nozzle needs to be about
0.10mm from the build plate in all locations. This is about the thickness of a single
sheet of copier paper. If you use a LokBuild print surface, the nozzle needs to be
about 0.20–0.25mm from the build plate in all locations. This is about the thickness
of two sheets of copier paper (or one sheet folded in half to double its thickness).
You want to adjust the height of the build plate so that you can slide the paper
between the nozzle and the build plate with some resistance. You should feel the
paper vibrating and dragging when you move it between the nozzle, but not so close
that the copier paper buckles.
1. Select Setup > Auto home. This will move the nozzle to the home position at the
front left corner of the build plate, where the X, Y, and Z axis are set to 0,0,0.
2. When the motors stop, select Setup > Disable motors. This will allow you to
move the hot end of the extruder assembly (X axis) and build plate (Y axis) by
hand.
Pro Tip: The Z axis motor is also disabled, and you don’t want it to move at all. So
you should handle the printer gently during the leveling process. Keep it on a flat
surface and don’t tip it while leveling.
3. For painter’s tape print surfaces, slide a piece of copier paper between the nozzle
and the build plate. For LokBuild print surfaces, first fold the paper in half to
double its thickness, then slide it between the nozzle and build plate.
4. Move the hot end (X axis) and build plate (Y axis) so that the nozzle is directly
© 2018 NWA3D LLC 4

NWA3D A5 User Manual
above front right corner nut under the bed. Adjust that nut until the paper slides
with just a tiny bit of drag, then move the nozzle and repeat the process at the
other two nut locations. We recommend adjusting the nut on the front right first,
then the back one on the right, then the one in the center of the left side.
5. Repeat Steps 1–4 until the amount of tension on the paper is consistent at all
locations, including the center of the build plate.
6. The first layer of the print will show whether the distance between the nozzle
and build plate is correct. Refer to the following graphic for clarity.
a. If the bed is too high, the extruded plastic will squeeze out the sides of the
nozzle. The nozzle will plow the plastic and leave a first layer that is too thin.
© 2018 NWA3D LLC 5

NWA3D A5 User Manual
Or it may be so close that no plastic is extruded at all.
b. If the bed is too low, the extruded plastic may not stick to the build plate.
Even if it does stick to the build plate, parallel lines of filament on the first
layer will look mounded, with gaps in between them.
Pro Tip: You can “Hot Level” your printer by carefully adjusting the nuts during
the first layer of the build while the plate is moving until the distance between
the build plate and the nozzle is producing smooth extruded lines. Be careful of
the moving parts to not get pinched. After you have fine-tuned the bed level
during the first layer, you may want to stop the build, clear the build plate, and
restart the build so it will look better on the bottom.
© 2018 NWA3D LLC 6

NWA3D A5 User Manual
4. Loading and Removing Filament
Video Tutorial: How to remove clogs, load, and change filament
1. Loading filament
a. Load a spool of filament into the spool holder. Slide the bolt through the
spool’s center hole, and then place the bolt into the recessed grooves on the
spool holder.
b. Cut the end of the filament at an angle so the irregular melted plastic at the
end doesn’t cause a clog. It will also be easier to feed into the extruder and
Bowden tube.
c. Feed the end of the filament into the extruder by hand as you squeeze the
extruder release lever.
d. Push the filament all the way through the Bowden tube until it stops when it
© 2018 NWA3D LLC 7

NWA3D A5 User Manual
hits the back of the nozzle.
e. Select Setup > Preheat PLA.
f. When the printer is fully heated, remove all of the filament color left in the
printer from previous prints before you start a new print. To do this,
manually push filament through the extruder as you squeeze the extruder
release lever until the new color starts coming out of the nozzle.
Pro Tip: Never leave the printer preheated with material inside of it when it
is not printing. The filament will bake inside of the nozzle assembly and
create a clog.
2. Removing filament
To remove the filament cleanly, you should do a “soft pull.” This involves heating
the nozzle to 100°C, then pulling the filament out of the printer.
a. Select Setup > Preheat soft pull and wait until the nozzle temperature
reaches the set temperature
b. Wait a minute for the temperature to become stable.
c. When the nozzle temperature is a stable 100°C, squeeze the extruder release
lever and pull the filament out of the extruder with a steady, firm motion.
d. Cut the end of the filament to remove the irregular melted plastic at the end.
Pro Tip: Feed the end of the filament into the hole on the side of the spool.
This will insure it doesn’t get tangled and cause a build to fail the next time
you use it.
e. Remove the filament from the filament spool holder.
© 2018 NWA3D LLC 8

NWA3D A5 User Manual
5. Operation: The Four Steps of 3D Printing
3D printing involves these four steps:
1. Create a 3D file (Make)
2. Slice the file for 3D printing (Slice)
3. Send the file to the printer (Transfer)
4. Select the file on the printer (Print)
1. Create or find a 3D file
a. You can create a 3D model—a digital geometry—using any CAD (computer-
aided design) software program. We recommend free programs, such as
TinkerCAD and OnShape. Autodesk’s Fusion360 is free to students. Another
is SketchUp, which has free licenses available for schools. These programs
take some time to learn, and can be challenging. But they are also rewarding,
especially when you see your own creation being printed on your 3D printer!
Every CAD program allows users to save or export digital files for 3D
printing. You want to save your file as an STL file (“filename.stl”). The STL file
is the standard file format for 3D printing. In some programs, it’s as easy as
the Save command. In others, you need to select the File > Export option, and
choose the STL format. OBJ files can also be sliced and 3D printed.
b. You can find 3D models in many online libraries of digital content.
Thingiverse, GrabCAD, and Instructables are examples, and many other sites
exist.
2. Slice the file for 3D printing
Video Tutorial: How to set up Cura 3.1
Slicing is the process of converting your 3D model into the layered print
language your printer can understand, called G-Code. We recommend using free,
open-source slicer programs. Our favorite slicers are Ultimaker Cura and
Repetier Host. Both are free and easy to use. We’ve included Cura and its setup
profile on your printer’s SD card because it’s easier for beginners. For beginning
users, we recommend that you install Cura on a single PC or Mac and use it to do
your slicing.
There are a lot of slicers that will create G-Code automatically for your printer.
All you have to do is input the correct settings for your printer (using the files we
included), import your 3D model, and save the G-Code. It’s that easy!
© 2018 NWA3D LLC 9

NWA3D A5 User Manual
a. Install Ulitmaker Cura on a PC or Mac (both the .exe and .dmg versions are
included on your microSD card).
b. Open the Cura application. When it’s opened for the first time, you’ll see the
“Add Printer” window. Select “Custom > Custom FDM machine.” In the lower
left, type “NWA3D A5” for the printer name, and then click the “Add Printer”
button on the lower right.
© 2018 NWA3D LLC 10

NWA3D A5 User Manual
c. In the Machine Settings window, enter the following settings:
X (Width): 125 mm
Y (Depth): 150 mm
Z (Height): 100 mm
Build plate shape: Rectangular
Origin at center: unchecked
Heated bed: unchecked
GCode flavor: RepRap
Number of Extruders: 1
Material Diameter: 1.75 mm
Nozzle Diameter: 0.4 mm
d. Don’t change any other settings. Click the “Finish” button at the bottom right
of the window.
© 2018 NWA3D LLC 11

NWA3D A5 User Manual
e. Select Settings > Profile > Manage Profiles then click on the Import button.
Select “NWA3D A5 Printer Profile.curaprofile” from the microSD card. This is
the medium-quality settings for the NWA3D A5. We recommend that you use
this profile as your default. If you modify your Cura settings, you can always
reload this profile from the microSD card to reset your profile to this default.
f. Here are the key Cura parameters for the NWA3D A5:
Layer Height 0.2mm Wall Thickness 0.8mm
Top/Bottom Thickness 0.8mm Infill Density 20%
Gradual Infill Steps 0 Printing Temp 220°C
Diameter 1.75mm Flow 100%
Enable Retraction On Print Speed 50mm/s
Travel Speed 120mm/s Initial Layer Speed 15.0mm/s
Enable Print Cooling On Generate Support On
Support Placement Everywhere Build Plate Adhesion Skirt
Print Sequence All at Once
© 2018 NWA3D LLC 12

NWA3D A5 User Manual
g. The following images show these settings, visible with the default visibility
settings in Cura. Initial Layer Speed is an advanced slice setting, activated by
clicking the gear icon next to each input box.
© 2018 NWA3D LLC 13

NWA3D A5 User Manual
h. The document “Complete Cura Settings for NWA3D A5.pdf” is included on the
microSD card. Refer to it if you want to compare your settings. The images in
that document show all the settings for the NWA3D A5 Cura profile. You can
always reset your settings to the original default NWA3D A5 settings by
importing the “NWA3D A5 Printer Profile.curaprofile” from the microSD
card.
i. You may need to check “Generate Support” and select the “Everywhere”
support placement, depending on the shape of the part you are printing. Also,
you can change the layer height from 0.2mm to 0.1mm for a smoother, higher
quality part, although the print will take longer.
j. As you become more advanced with 3D printing, you may want to
experiment with many settings. Remember that you can always revert to
these default settings at any time by reloading the “NWA3D A5 Printer
Profile.curaprofile” on your microSD card, or ask us for help by filling out a
Troubleshooting Request.
k. Load a model file in Cura. Rotate and move the file to the best orientation for
printing. You may want to scale the file at this point as well.
Scale Tool:
© 2018 NWA3D LLC 14

NWA3D A5 User Manual
Rotate Tool:
l. When you are satisfied with the Cura settings and the position, orientation,
and scale of the model, you are ready to print! Insert your microSD card that
came with your printer into your computer and select “Save to Removable
Drive” to save the file to the microSD card.
Pro Tip: You can also save the file to the computer by selecting “Save to File”
or connect your printer to your computer and print over USB using the
“Monitor” feature.
3. Send the file to the printer
a. Remove the microSD card from the computer.
b. Insert the microSD card into the slot on the front of the A5 control board,
underneath the control knob.
c. By using this method, no computer needs to be plugged into your printer and
it will run autonomously until the print is finished.
4. Print!
a. On the NWA3D A5 control screen, select Refresh SD card (the last selection
on the bottom of the main screen). and select “Print from SD.”
b. Select your print (.Gcode) file.
© 2018 NWA3D LLC 15

NWA3D A5 User Manual
c. Watch the 3D printer create your model!
6. Troubleshooting
This section covers the most common printing problems and how to fix them.
Because 3D printing is still an emerging technology, a small level of tinkering and
troubleshooting is needed. But if this section doesn’t solve your printing problems,
then contact us by filling out the Troubleshooting Request on our website. We’re
here to help you every step of the way to get you 3D printing!
1. Step-by-Step Troubleshooting
a. Step 1: Diagnose the problem.
This may seem obvious, but many problems can be solved if you take
a step back and see exactly what the printer is doing incorrectly.
b. Step 2: Determine if the problem is mechanical or digital.
●Mechanical problems are in the actual operation of the printer,
such as the motors that drive the X, Y, and Z axes, the motor that
pushes the filament, the nozzle heater, and the level of the build
plate. The most common mechanical problems are caused by a
build plate that is not adjusted correctly, a clogged nozzle, or an
unplugged connector on a motor or limit switch.
●Digital problems are in the slice file that you prepare in Cura or
other slicing program. Important slice file settings include layer
height, print (nozzle) temperature, and print speed.
c. Step 3: Fix the problem.
Once you’ve discovered what the actual problem is, you can fix it with
the following procedures. (If none of these fix the problem, contact
us!)
2. Mechanical problem #1: Leveling the build plate
Video Tutorial: How to level the build plate
a. If the nozzle is digging into the build plate or is so close that no
filament can extrude, you’ll know the build plate is too close.
b. If your print looks like spaghetti or the nozzle knocked the model off
of the build plate, then you’ll know the build plate is too far away.
c. Many of the failures in 3D printing are caused by a build plate that is
not level or is not the correct distance from the nozzle. See the section
“Leveling the Build Plate” in this manual.
© 2018 NWA3D LLC 16

NWA3D A5 User Manual
3. Mechanical problem #2: Filament is not coming out of the nozzle
Video Tutorial: How to remove clogs, load, and change filament
When filament is not coming out of the nozzle, the nozzle may be clogged.
You have three good options for clearing a clogged nozzle:
1. You can pull the clog out of the nozzle using the “soft pull” method.
2. You can “floss” the clog out of the nozzle using a nozzle cleaner.
3. You can heat the nozzle and push the clog through the nozzle.
Pro Tip: Do NOT remove the nozzle or disassemble the hot end of the
printer when you have a clog. Instead, try these three options. If they
don’t fix the problem, complete a troubleshooting request and our
Service Team will help you.
Pro Tip #2: Never leave your printer nozzle at build
temperature (220°C) while the printer is idle. The melted
plastic remaining in the nozzle will “bake” onto the nozzle
and become a hard carbon blockage.
a. Try to pull the clog out of the nozzle using the “soft pull” method:
1. Turn the machine on, select Setup > Preheat soft pull, and wait
until the temperature reaches 100°C.
2. When the nozzle temperature stabilizes at 100°C, squeeze the
extruder release lever with one hand and pull the filament out of
the extruder with your other hand with a steady, even force.
3. Inspect the end of the filament. If the end of the filament has the
shape of interior of the nozzle—a thicker cone-shaped plug—you
have successfully pulled all of the filament out of the nozzle,
including the clog.
4. If the clog did not clear using the “soft pull” method, clip the
melted end of the filament off, reload it, and select Setup >
Cooldown and wait five minutes for the hot end to cool down.
Then repeat the soft pull process.
© 2018 NWA3D LLC 17

NWA3D A5 User Manual
Pro Tip: Every time you change filament on your 3D printer,
remove the filament with the nozzle at around 100°C. This
“soft pull” method usually removes all the old color of
filament from the hot end, so when you begin printing again,
the new color will begin printing immediately.
b. Use a nozzle cleaner to clear the nozzle:
1. Remove the filament using the “soft pull” method.
2. Select Setup > Preheat PLA. Wait for the nozzle to reach the set
temperature of 220°C for PLA.
3. Raise the Z axis carriage by selecting Controls > Move axis > Move
1mm > Move Z and spinning the knob. (You can also manually
rotate the leadscrew to move the gantry up.)
4. When the nozzle has reached 220°C, use pliers to carefully insert
the nozzle cleaner up into the tip of the nozzle. IT IS VERY HOT, SO
BE CAREFUL NOT TO BURN YOURSELF!
5. Squeeze the extruder release lever with one hand and push the
filament into the extruder manually.
6. Alternate “flossing” with the nozzle cleaner and pushing the
filament through the extruder until a consistent bead of filament is
extruded through the nozzle.
c. Try to push the clog through the nozzle:
1. Select Setup > Preheat PLA. Wait for the nozzle to reach the set
temperature of 220°C for PLA.
2. When the nozzle has reached 220°C, squeeze the extruder release
lever and load the filament. When the filament would normally
stop, keep pushing to manually push the filament out of the hot
end nozzle of the extruder assembly.
3. Watch the filament to ensure it is not curling as it comes out of the
nozzle. After pushing several inches of filament through, it should
be going relatively straight. If it isn’t, turn off the printer and do
another soft pull (step a).
4. Digital problems: Slicer settings
Video Tutorial: How to set up Cura 3.1
Sometimes, models don’t print correctly because the settings in the
G-Code are wrong. Here are some steps to make sure your Cura settings
are correct.
© 2018 NWA3D LLC 18

NWA3D A5 User Manual
a. Check your slice file in Cura. Make sure the print is centered in the
build area, is making good contact with the build surface, and isn’t too
big for the build envelope.
b. Check the slice settings.
●Make sure that the layer height is between 0.1mm (high-quality
prints) and 0.3mm (low-quality prints).
●Check the speed and temperature. For PLA, they should be set to
30–50mm/s and 220°C.
●Make sure the filament diameter is 1.75mm and the flow rate is
100%.
●Make sure the Heated bed checkbox is unchecked in the Machine
settings window (the NWA3D A5 does not have a heated bed). To
view the Machine settings window, select Settings > Printer >
Manage printers …, then click the Machine Settings button in the
popup window.
●Check the Fill Density (infill) and make sure it is at least 5%. You
may need to adjust this value to your liking for your model.
●Refer back to the “Operation” section of this manual for other
slicer settings and to better understand Cura.
c. Your part may need supports. If it’s rounded you may need to select
“Everywhere” for the support type. If it’s intricate, it may need to
select “Raft” for the Build Plate Adhesion Type. (A raft is a hatch
pattern on the build plate that the model will print on.) If the part
warps when you begin to build it, you may need to select the “Brim”
adhesion type and reslice the file. (A brim will help the part stick so it
doesn’t curl up at the edges.)
d. If you think your slice settings are really messed up, try re-loading the
file “NWA3D A5 Printer Profile.curaprofile” from the microSD card.
The profile will restore the slicer settings to a medium-quality profile
that will work well. Click Settings > Profile > Manage profiles. In the
Profiles Preferences window, click on the Import button, navigate to
the printer profile “NWA3D A5 Printer Profile.curaprofile” that came
on the microSD card in the Cura folder, and open it. Your slice and
build parameters are now reset to our default settings for the NWA3D
A5.
© 2018 NWA3D LLC 19

NWA3D A5 User Manual
7. Glossary of 3D Printing Terms
3D
Three-dimensional
3D Printing
The process of creating a three-dimensional object from a digital file. Usually, it
is achieved by stacking two-dimensional layers of material to form a physical 3D
object. There are many different 3D printing processes that use many different
materials, but the most common process is material extrusion—also known as
Fused Deposition Modeling and Fused Filament Fabrication—which uses
thermoplastic filament. Also known as additive manufacturing.
3D Printer
It’s basically a crazy robotic hot glue gun! A type of industrial robot that prints
three-dimensional objects from a digital source. This machine usually reads
g-code files that give it specific instructions on how to print an object. Examples
include the A5, A31, and all the other awesome printers we carry.
3D Design Program
A type of software used to visualize, design, and manipulate 3D products while
providing a test environment for strength and dynamic analysis. Also known as a
Computer Aided Design (CAD) program or 3D Modeling Software. Free examples
for educators include Autodesk Inventor, Fusion360, SketchUp, Onshape, and
Tinkercad.
3D Modeler
A type of multimedia artist or animator who creates three-dimensional models
or visuals of items using a variety of different computer software programs and
tools. Also, a program used to manipulate 3D shapes to create objects for
animation or production.
A5
The A5 is an open source material extrusion 3D printer design that prints 125 x
150 x 100mm. NWA3D heavily modifies this original design to meet the rigorous
classroom environment and calls the version an NWA3D A5. We build, modify,
and test every printer. We are the sole-source provider of the NWA3D A5.
© 2018 NWA3D LLC 20
Other manuals for A5
2
Table of contents
Other NWA3D 3D Printer manuals