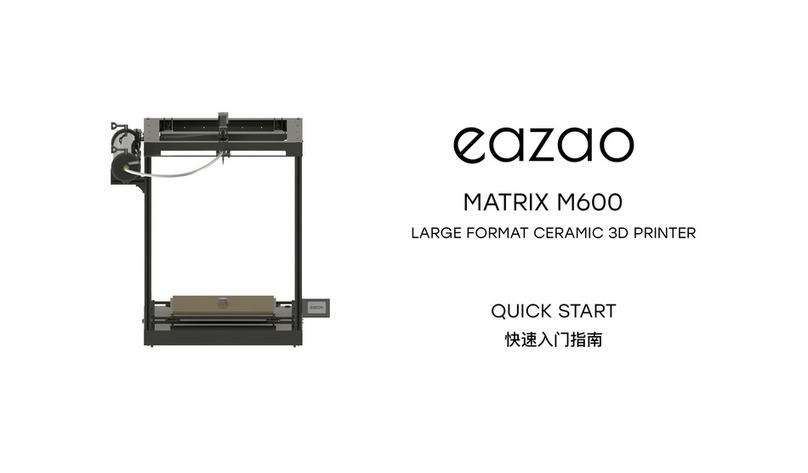
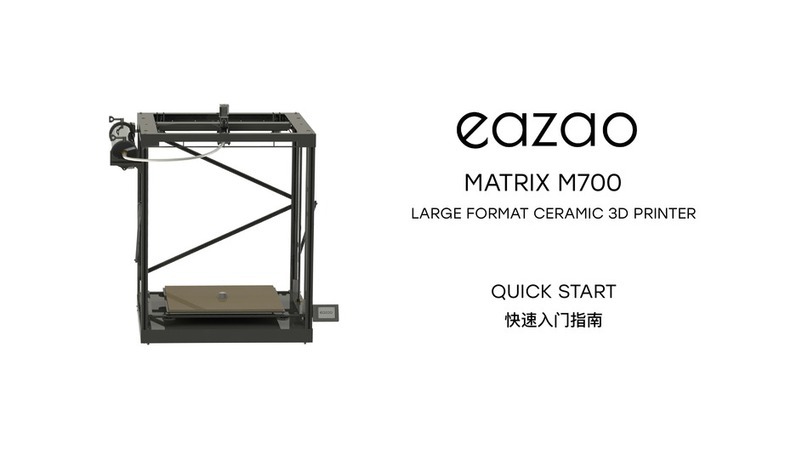
Eazao Zero User manual

Eazao Zero
INSTRUCTION MANUAL
MODEL NUMBER: Eazao Zero
DESKTOP CERAMIC
3D PRINTER


Important
Warranty Note
Getting the most out of your 3D Printer:
Read the manual carefully
Visit www. eazao.com
Join Eazao Technical Forum for online support
If you experience any issues with this product, or it’s
performance is not what you had expected, please contact
us at Eazao before returning the item to the store.
It is likely that we can resolve any problems for you via
phone or email.
We can be reached through your local distributor. Or on
Skype account: +86-15650567969 (Mon-Fri; 10:00am-6:00pm
GMT +8)
Email: suppor[email protected]
Web: www.eazao.com
It will help you get set up with ease
We’ve got additional support videos and guides
https://groups.google.com/g/eazao
We’re always happy to help

CERAMIC 3D Printer
Warranty Details
The product is guaranteed to be free from defects in workmanship and mother
board for a period of 12 months from the date of purchase. The extruder is
guaranteed to be free of defects for 90 days. Printing with materials setting
other than manuals setting or which are different from those recommended on
the website www.eazao.com, will result in the immediate loss of the Warranty.
Defects that occur within this warranty period, under normal use and care, will
be repaired, replaced or refunded at our discretion. The benefits conferred by
this warranty are in addition to all rights and remedies in respect of the product
that the consumer has under the China laws. In case you purchase from Eazao
distributor, your warranty shall be covered by distributor’s Warranty and
honored by Eazao distributor too.
Our goods come with guarantees that cannot be excluded under the Chinese
Consumer Law. You are entitled to a replacement or refund for a major failure
and for compensation for any other reasonably foreseeable loss or damage.
You are also entitled to have the goods repaired or replaced if the goods fail to
be of acceptable quality and the failure does not amount to a major failure.
MODEL: Eazao Zero 180
days warranty

Safety Instructions
Before you get started, please read these important safety instructions.
CAUTION: The Eazao 3D Printer includes moving parts that can cause injury and
generates high temperatures if you buy microwave kiln. Never reach inside of the Eazao
3D Printer while it is in operation, and allow time for the microwave kiln to cool down
after operation.
HOT INTERIOR MOVING PARTS
Vapours/fumes may be irritating at operating temperatures. Always use the Eazao
3D Printer in an open, well ventilated area.
Do not leave the Eazao 3D Printer unattended during operation.
Contact with microwave kiln may cause burns. Wait for printed objects to cool
before removing them from the microwave kiln.
Always take care when using the Scraper. Never direct the Scraper towards your
fingers.
Only use the Eazao 3D Printer in a clear working area.
•The printer must not be exposed to water or rain, or damage will occur.
•The printer is designed to be used with ambient temperature ranging 15 ° C - 30 ° C,
and humidity ranging 20% - 50%. Operating outside these limits may result in low
quality models.
•In case of emergency, turn off the 3D printer at the power outlet.
•It is recommended that you use eye protection when cleaning/sanding printed models
to avoid small particles contacting eyes.
•Please read and understand the contents of this installation and user manual carefully.
Failed to make full use of the manual to make full use of the Eazao 3D printer.
•The Eazao 3D printer is not suitable for use by persons with weak physical and/or
mental abilities, or lack of experience and knowledge, unless the person responsible for
its safety gives supervision or guidance on the use of the equipment. Children should
be under constant supervision when using the printer.
•Before installation, you should make sure that the Eazao 3D Printer is unplugged from
the power supply. Only use furniture that can safely support Eazao 3D Printer.
•Ensure the mains socket-outlet is near the equipment and is easily accessible.

Technical Specications
Technical Specifications
Print Technology
Build Volume
Layer Resolution
Extrusion Feeding Method
Nozzle Diameter
Print Speed
Supported Print Materials
DIW (Direct Ink Writing)
150 x 150 x 240 mm (Width x Depth x Height)
0.4 -1mm
Electric Push Rod + Screw Extrusion
1.5mm, 2mm, 3mm
10mm/s - 40mm/s
Porcelain, Clay etc
Software
Operating systems
Slicer Software
Input Formats
Output Format
Connectivity
Windows, Mac, Linux
Cura, SLic3r, Simplify3D etc
.STL, .OBJ etc
.GCODE
Full color touch screen, SD Card, USB
Electrical
Input Rating DC 12 V 10A
Physical Dimensions
Printer Frame Dimensions
Package Size
Package Weight
350 x 300 x 500 mm(Width x Depth x Height)
550 x 440 x 320 mm(Width x Depth x Height)
14KG

Parts List
1 x eazao zero 3D Printer
1 x Electric Putter
1 x Power Adapter
1 x USB Cable
1 x 2GB SD Card
1 x Tube
1 x Hex Key Set
1 x Printing Platform
1 x Barrel
1 x Getting Started Guide(Not shown)
1 x Needle Set
1 x Instruction Manual(Not shown)
*1 x Microwave Kiln(Optional)
*1 x Glaze Set(Optional)
*The optional part needs to be ordered separately according to your needs and is not in the
equipment.

INTRODUCTION 1
1.1 What is Ceramic 3D Printing? 1
1.2 From 3D Design to Printed 3D Object. 1
PRODUCT OVERVIEW 3
2.1 Printer Front View. 3
2.2 Printer Rear View. 4
2.3 Printer Side View. 5
2.4 Electric Putter. 5
SET UP 6
3.1 Unboxing and Assembly. 6
3.2 Main Interface. 7
3.4 Home Option. 8
3.5 Extrusion Option. 8
3.6 Leveling Option. 8
3.7 Printing Option. 8
3.8 Settings Option. 8
3.9 Clay Pre-extrusion. 9
3.10 Levelling the print bed. 11
3.10.1 The levelling wizard. 11
3.11 Print checking chart. 12
PRINTING 13
4.1 Printing a file. 13
4.2 Good 3D Printing Practices. 14
4.3 Removing 3D objects from the print bed. 15
4.4 Materials. 15
4.5 Clay. 15
4.6 Storage. 15
4.7 Creating and Printing your own Models. 16
4.7.1 Saving files to SD Card. 16
4.7.2 Creating a GCODE file using Cura. 16
4.7.3 Installing Cura. 16
4.7.4 Adding your Eazao Zero to Cura. 18
4.7.5 Import cura slice configuration file. 20
4.7.6 Loading a 3D design into Cura and slice. 26
SERVICING 30
5.1 Servicing your Eazao Zero. 30
5.1.1 Extruder cleaning. 30
5.1.2 Electric putter cleaning. 30
5.1.3 Extruder diagram. 31
5.1.4 Introduction of electric putter "extrusion" interface. 31
5.1.5 Routine Component Check. 32
Contents

FINISHING 32
6.1 Finishing Techniques. 32
6.1.1 Useful Tools/Equipment. 32
6.1.2 Polishing. 33
6.1.3 Surface Glazed. 33
MAINTENANCE 33
7.1 Maintenance. 33
DISPOSAL OF PACKAGING 34
TROUBLE SHOOTING 35
9.1 Troubleshooting. 35
9.1.1 Printing Problems. 35
9.1.2 Connectivity Problems. 36
9.1.3 Other Problems. 36
9.1.4 Note Supplement. 37
APPENDIX 38
Contents

INTRODUCTION
1.1 What is Ceramic 3D Printing?
1.2 From 3D Design to Printed 3D Object.
Slice to GCODE
3D Design
Ceramic 3D Printing is a process whereby a real object is created from a 3D Design.
Direct Ink Writing (DIW) is one of the most common technologies used by 3D Printers
to achieve this. DIW works on an 'additive' principle by laying down material, such as
porcelain or clay, in layers to create a 3D object.
3D Design Slice to GCODE Setup Eazao 3D Printer
Printing Process 3D Printed Object
Having a 3D design is the first step to creating a 3D
Object. There are a number of free 3D Designs that
can be downloaded and printed for personal use.
Websits such as Thingiverse.com, Pinshape.com and
YouMagine.com are a good place to start, but there
are many more available!
Alternatively, you can create your own 3D Design using 3D Modelling Software.
Programs such as Sketchup or Blender allow this, however this can take some
practice before successfully modelling your 3D Design. After you've finished your 3D
Design,byou can export it as an. STL file,to be imported into a 'Slicer' program such as
Cura.
A 'Slice' converts a 3D Design (usually an .STL or .AMF
format)into individual layers. It then generates the
machine code (such as GCODE) that the 3D Printer
will use for printing.
We recommend the program Cura as it uses a simple interface and includes a large
amount of support material.
1

INTRODUCTION
Setup Eazao 3D Printer
3D Printing Process
It's important to check your printer before every print. We've
included some steps on page 14 in section 4.2 Good 3D
Printing Practices for you to quickly refer to each time.
Now that you've loaded a GCODE file into the printer, you
need to make sure that the clay has been sent to the needle
to complete the pre-extrusion, see Pre-extrusion, then start
printing. While printing, the nozzle will move along the X
and Y axis as each layer is printed. This can take some time,
depending on the size of the 3D model, print speed of the
3D printer and resolution of each layer.
Here is an example of how size, infill, and resolution can affect printing time:
Dimensions: 70 x 84 x 124mm 100 x 100 x 170mm
Infiill: 0% 0% 0% 0%
Resolution: 1mm 0.5mm 1mm 0.5mm
Print Time: 16min 32min 33min 1hr 3min
Filament Used: 130g 130g 253g 253g
3D Printed Object.
Once the printer has completed all of the layers, you will have a 3D Printed Object. The
results are certainly worth it, with 3D models ranging from simple to complex.
2

PRODUCT OVERVIEW
2.1 Printer Front View.
1. Extruder
2. X-Axis Frame
3. G 1/2 Tube Quick Connect
4. Needle
5. Print Bed
6. Z-Axis Frame
7. SD Card Slot
8. Full Color Touch Screen
1
2
3
4
5
6
7
8
3

PRODUCT OVERVIEW
2.2 Printer Rear View.
1. Microsd
2. Electric Putter Connection Cable
3. USB Port
4. Power Switch
5. Plug Socket
1
2
3
4
5
4

PRODUCT OVERVIEW
2.3 Printer Side View.
12
3
1. Lock Nut
2. Z-Axis Limit Bolt
3. Thumbwheels
2.4 Electric Putter.
2
3
1
4 5 6 78
10
9
1. 57 Stepper
2. Threaded Push Rod
3. Anti-Rotation Flange
4. Reducer
5. Cartridge Fixing Ring
6. Cartridge
7. Fixed Screw
8. Thrust Block
9. Finger Screw Nut
10. Rubber Piston
* As shown in the figure above, the electric putter stroke is at the maximum position.
5

SET UP
3.1 Unboxing and Assembly.
Your Eazao 3D Printer is carefully packed to avoid damage in transit. Take your time
unpacking it. The printer is preassembld and requires only minimal set up before
powering on.
1.Carefully remove the 3D printer from the box and place on a
clean, level work space.
2.Cut the 2 x Cable ties holding the Print Bed to the X-Axis
Frame.
3.Ensure the power switch is in the OFF position, then the
power supply cable into the back of the 3D Printer. Insert the
other end into a nearby mains power outlet. Turn on the power
outlet, then turn on the power switch at the back of the 3D
Printer.
4. Connect the control cable to the electric putter, one end
of the cable is connected to the motor, and the other end is
connected to the printer.
5.After a few seconds, the touchscreen will initialize and show
the Main interface.
6

SET UP
3.2 Main Interface.
3.3 Move Option.
*Preheat: Please ignore this option.
*Move: Manual control movement of XYZ axis of 3D printer.
*Home: Manually reset the XYZ axis of the 3D printer to the zero point.
*Printing: After inserting the SD card, select the file from the SD card to print.
*Extrusion: Extruder and electric putter control.
*Leveling: Print platform leveling settings before printing.
*Settings: Screen language and other settings.
*More: Follow-up development function.
After entering this option, you can move XYZ three-axis, and the upper right corner can
adjust the distance of each movement.
7

SET UP
3.4 Home Option.
3.6 Leveling Option.
3.5 Extrusion Option.
3.7 Printing Option.
3.8 Settings Option.
After entering this option, you can control the XYZ axis to zero.
In this option, the print bed can be leveled by manual.
In this option, you can control the push rod motor and extrusion motor.
Select the gcode file to be printed from here.
In this option, you can set the screen language.
8

SET UP
3.9 Clay Pre-extrusion.
1
2
3
Electric putter return operation sequence
Installation mattersElectric putter retracted position state
1.Click the extrusion option on the screen, First select the return ratio "10-200-2000",
then select "BackPutter", and finally click the "Out" option, and return the push rod
motor to the motor side.
Note: When putter approaching to the side of the motor, please click the "Shutdown"
option to terminate the return, otherwise the motor will be damaged.PrintPutter-This
step needs to ensure that each adjustment of the electric putter must be carried out and
cannot be omitted, otherwise it will cause printing failure.
2.Install the cartridge filled with clay in the order shown in the figure above, and
connect the two ends of the cartridge and the extruder with a tube.
3.Description of Extrusion Interface Button Function
Button“Out”: Back Instruction
Button“In”: Forward Instruction
Button“PrePutter”: Pre-extrusion Mode
Button“10-20-2000”: Travel Selection Instruction
Button“PrintPutter”Print Mode
Button“Shut down”Emergency Stop Instruction
Button“BackPutter”Back Mode
Button“Back”: Returns to the Previous Interface
Note: For detailed explanation of the operation flow of the electric putter to realize
the return function, pre-extrusion, and normal printing, please refer to page 31: 5.1.4
Introduction of electric putter "extrusion" interface.
9

SET UP
1
2
3
Installation matters
Electric putter pre-extrusion clay sequence
The clay can be squeezed out smoothly from needle
Installation matters
3.First select the return ratio "10-200-2000", then select "PrePutter", and finally click
the "In" option, the electric putter pushes the clay forward, the clay enters and exits the
extrusion motor, and extrudes from the needle.
10

SET UP
3.10 Levelling the print bed.
3.10.1 The levelling wizard.
4. When a clay is extruded from the needle, select the shutdown option to turn off the
push rod motor and the extruder.
Levelling the print bed and board is arguably the most important step in producing
successful prints and should be checked before every print. Before levelling the Print
Bed board check all springs and thumbwheels are in place.
1. Clean off any excess clay residue from the tip of the needle.
2. Put the board on the print bed and clamp it with clamps.
3. Enter the main interface and select "Leveling "option.
4. In this option ,click "Point1" to move the needle, you can rotate the nut under the
print bed to adjust the distance between the needle and the print bed board. Set 2,3,4,5
point in sequence.
5. On each corner, turn the relevant thumbwheel until you can just slide a piece of copy
paper between needle and print bed board with slight resistance, about 0.1mm.
6. So far the printer leveling is completed.
1
About 0.1mm
11
Table of contents
Other Eazao 3D Printer manuals