Carima DM400A User manual
USER
MANUAL
CARIMA 3D PRINTER
www.carima.com
DUAL
ENGINE Dual 2K
THE
WORLD
FIRST
THE
WORLD
FIRST
400 x 330 x 500mm
The first large build size with
single exposure at single layer
Native 132µm
PIXEL SIZE
(X/Y)
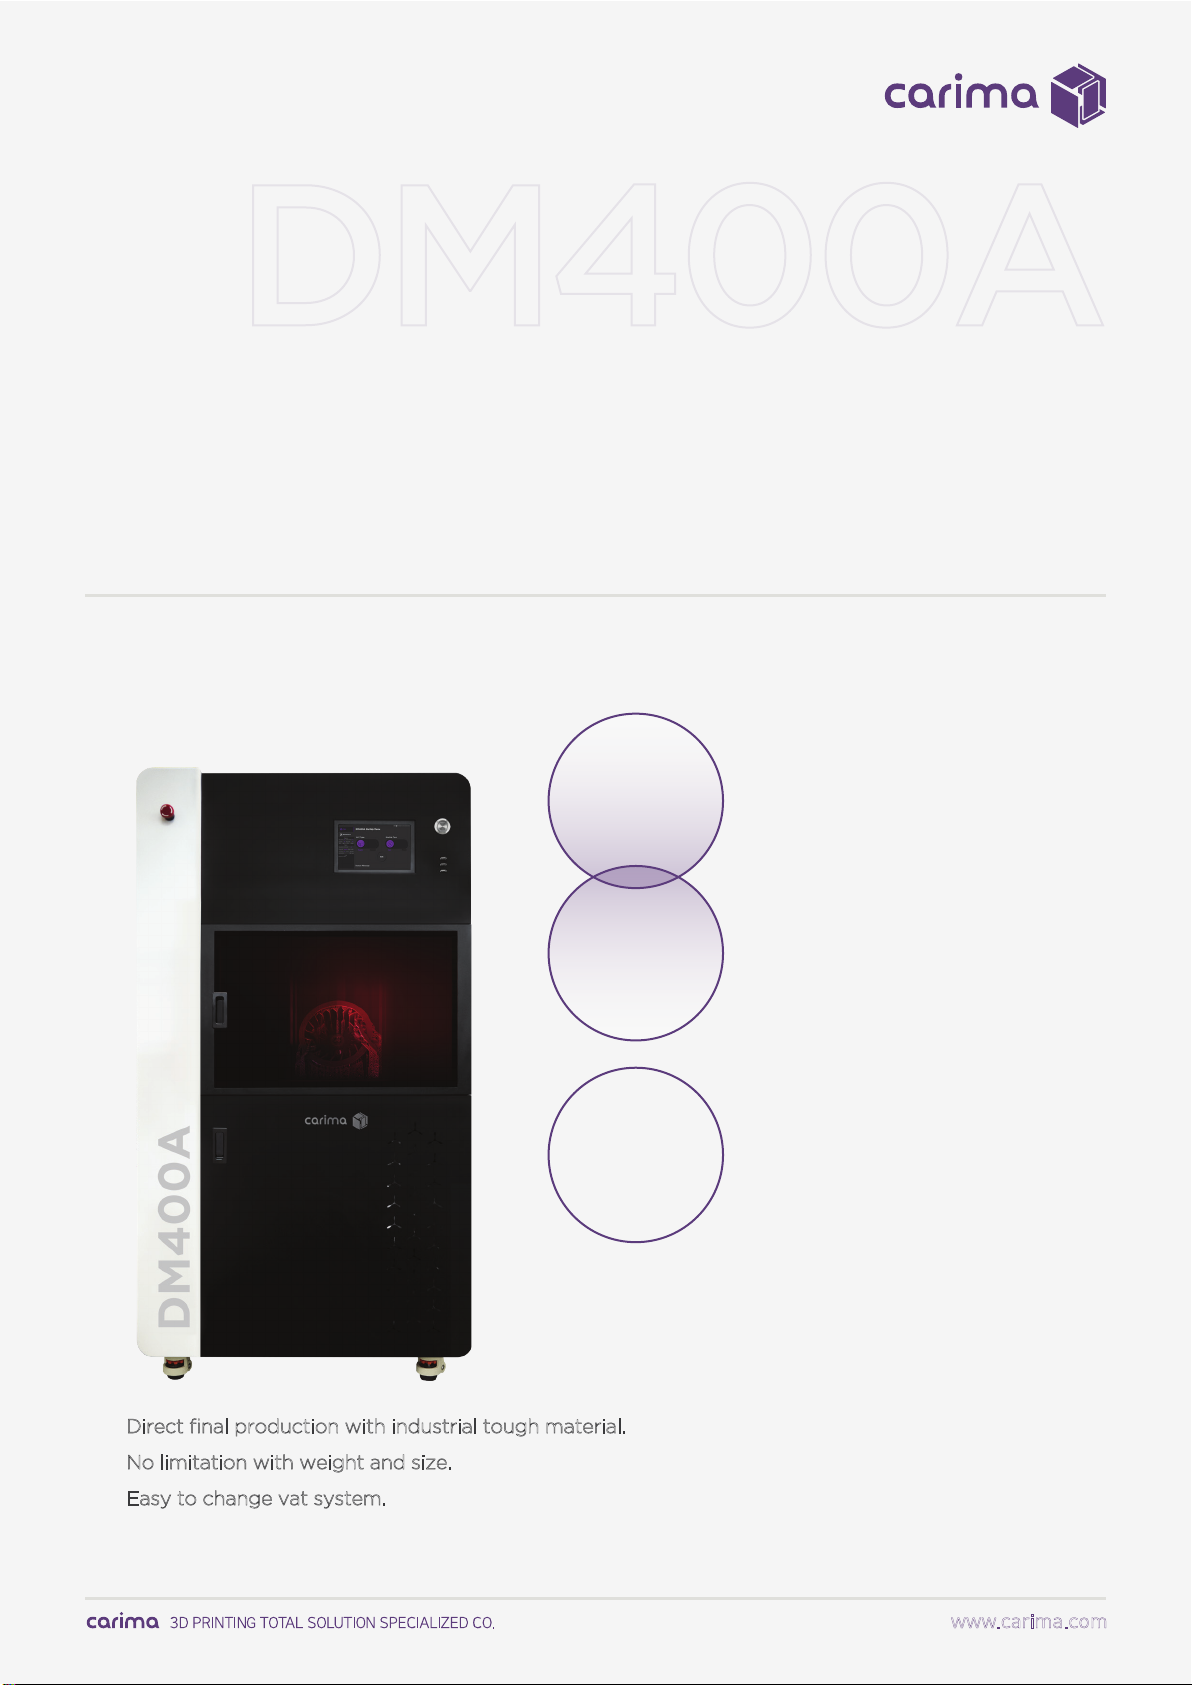
DM400A
Direct final production with industrial tough material.
No limitation with weight and size.
Easy to change vat system.
This manual provides
instructions on how to
use the "DM400A."
Understand how to
use "DM400A"
through the manual
and experience
Carima’s "DM400A"
easily and conveniently.
00
CONTENTS
DM400A USER MANUAL
www.carima.com
Introduction
Specification
Product Overview
Process Overview
Safety Warnings &
01
Contents
01
02
03
Finishing Prints
03
Demounting & 17-18
Post-processing
Preparation and Setup
02
04-05
06-16
Printing Preparation
Using the LCD Panel
Maintenance
04
19-20Maintaining the Printer
& Maintaining Other Accessories
[email protected]82-2-3663-8877
Introduction
01
INTRODUCTION
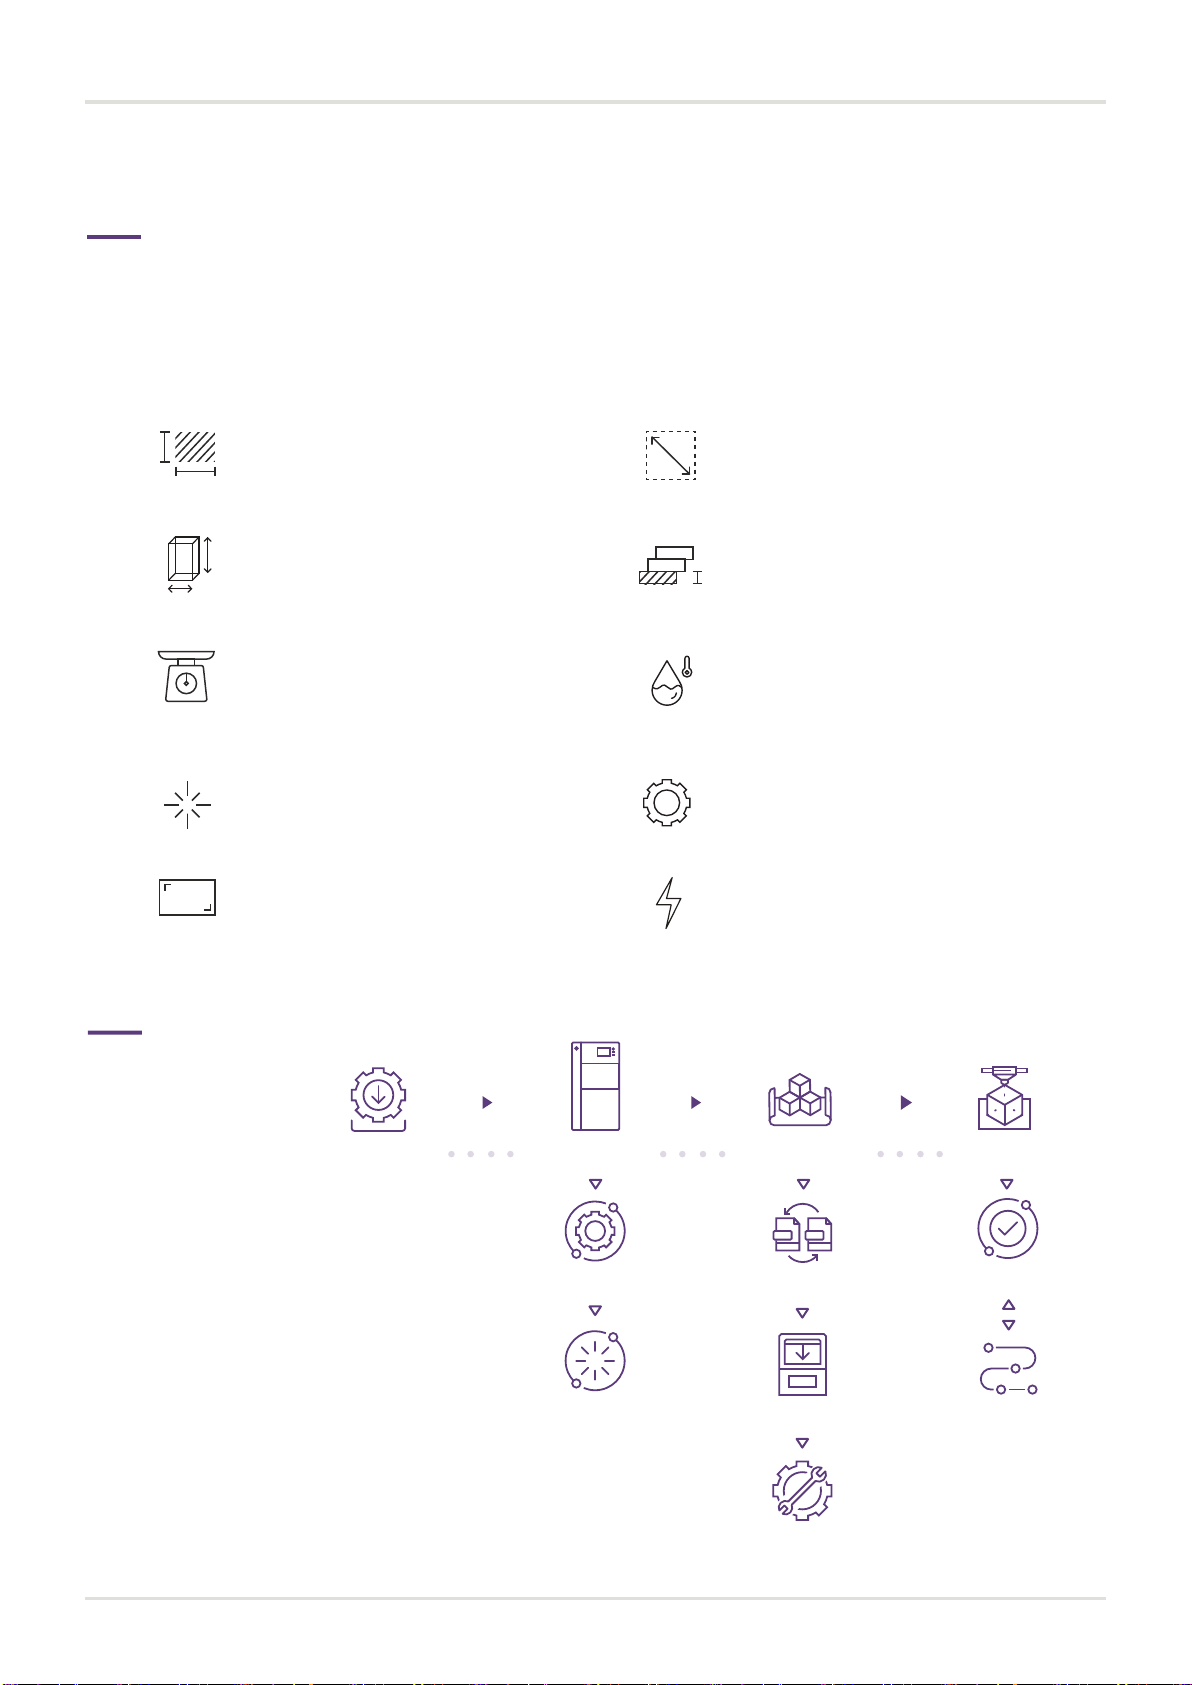
DM400A Specification
The DM400A uses a high-resolution engine to enable precise and perfect output even in a large area.
DM400A USER MANUAL
www.carima.com
132 μm
Precision
50,100, 125, 150 μm
Layer Thickness
405nm UV LED
Light Source
Dual 2K high 2560 x 1600
Resolution
Product Size (mm) [W x D x H]
1010 x 1134 x1933
Weight
1000 kg / 2205 lbs
(Printer 750kg, Resin 220kg)
Embedded touch screen
Control Type
18-26 (℃) / 64-79 (℉)
20% - 50% (humidity)
Using Environment
Power
AC 100-220V 50~60Hz 4A
Printing Size(mm) [W x D x H]
400 x 330 x 500
[email protected]82-2-3663-8877
Process
Overview
Convert File
Load Data
Control Setting
Setup
Load
Install
(CARIMA SLICER)
PreparingSetting Printing
Check
Post-
processing

Product Overview
02
INTRODUCTION
DM400A USER MANUAL
www.carima.com
[email protected]82-2-3663-8877
Internal Structure
03
02
Front
01
Back
Vat
Level Sensor
Actuator
Level Controller
Sweeper
101 cm
193 cm
LED Power Button
USB Port
LCD Touch Screen
Print Room Cover
Emergency Power
Button
Build Plate
Printer Cooler
Key Insert Lock
Power Cable
Connector
Ethernet
Connector

This information is intended to protect your safety and prevent property damage.
Please be aware of the precautions before using, to prevent serious injuries and printer damage.
03
INTRODUCTION
DM400A USER MANUAL
www.carima.com
Safety Warnings
When printing, put the printer in a well-ventilated place because resin may smell.
Do not use volatile objects near the printer as they may cause fire or explosion.
When the printer power is on, please do not force shutdown by pressing the emergency power button
on the front of the printer. Forced shutdown shortens the life of the digital light engine and may cause
mechanical failure. Please shut down the printer through a shutdown process such as power off and
automatic system shutdown on the LCD panel.
If metal fragments and other types of liquid leaks into the printer, it may cause mechanical malfunction.
Also, operating the printer with wet hands may cause electric shock. Use protective equipment while
using the printer.
* Latex rubber gloves can also be used in place of the nitrile gloves provided.
The warranty benefits of the printer will be forfeited if disassembled or modified artificially.
Carima will not be held liable for the loss caused by this.
For inquiries regarding “After Sale Service” and product warranty, please contact Team Viewer Service.
There are potential risks to the printer in terms of chemical composition and voltage. To prevent injury on
children and pets, please install the printer in a safe place.
If the printer power cable and USB cable are damaged due to being pulled or stepped on the rough
surface, please note that sparking or voltage malfunction may occur.
In addition, there is a risk of fire due to overheating when the power is turned off.
Setting up a printer in a place with a lot of moisture or temperature changes can cause deformation and
malfunction of the product.
[email protected]82-2-3663-8877
The printer should be used on a hard and flat floor.
When moving the printer, be sure to completely shut down the printer, and then remove the vat and
build plate so that the resin in the vat does not overflow or leak.

04
DM400A USER MANUAL
www.carima.com[email protected]82-2-3663-8877
PREPARATION AND SETUP
Printing Preparation
Preparation and Setup
To start printing, the resin must be sufficiently filled.
Please prepare resin, cleaned sweeper and build plate.
Resin Refill
* Maintenance - Resin
Press the Start button, check the amount of resin available and refill the resin.
Move the build plate to the origin position to accurately determine the amount of resin.
Pour the resin slowly so that large waves do not occur far from the resin check sensor.
When refilling the resin into the vat, it is recommended to supplement while measuring the amount of
resin.
If too much resin is filled, the printable height may be limited.

DM400A USER MANUAL
www.carima.com
05
[email protected]82-2-3663-8877
PREPARATION AND SETUP
Information on maintaining the build plate
To clean the build plate, you can scrape the hardened debris attached to
the build plate by a scraper or a spatula. If you want to print using other
resin after printing, please wipe off the stained resin before use.
Information on the use of sweeper
Before printing, please check if there is any
debris in the gap of the sweeper and remove it
before printing. Printing with foreign substances
may affect the printing result.
Information on the use of resin
Use protective equipment when using resin. Pour resin before printing and
on inevitable occasions, press the 'Pause' button and wait for a complete
stop before slowly pouring the resin into the vat.
Sweeper
* Adding the resin during output can cause bubbles and adversely affect the print.
06
www.carima.com
PREPARATION AND SETUP
DM400A USER MANUAL
www.carima.com[email protected]82-2-3663-8877
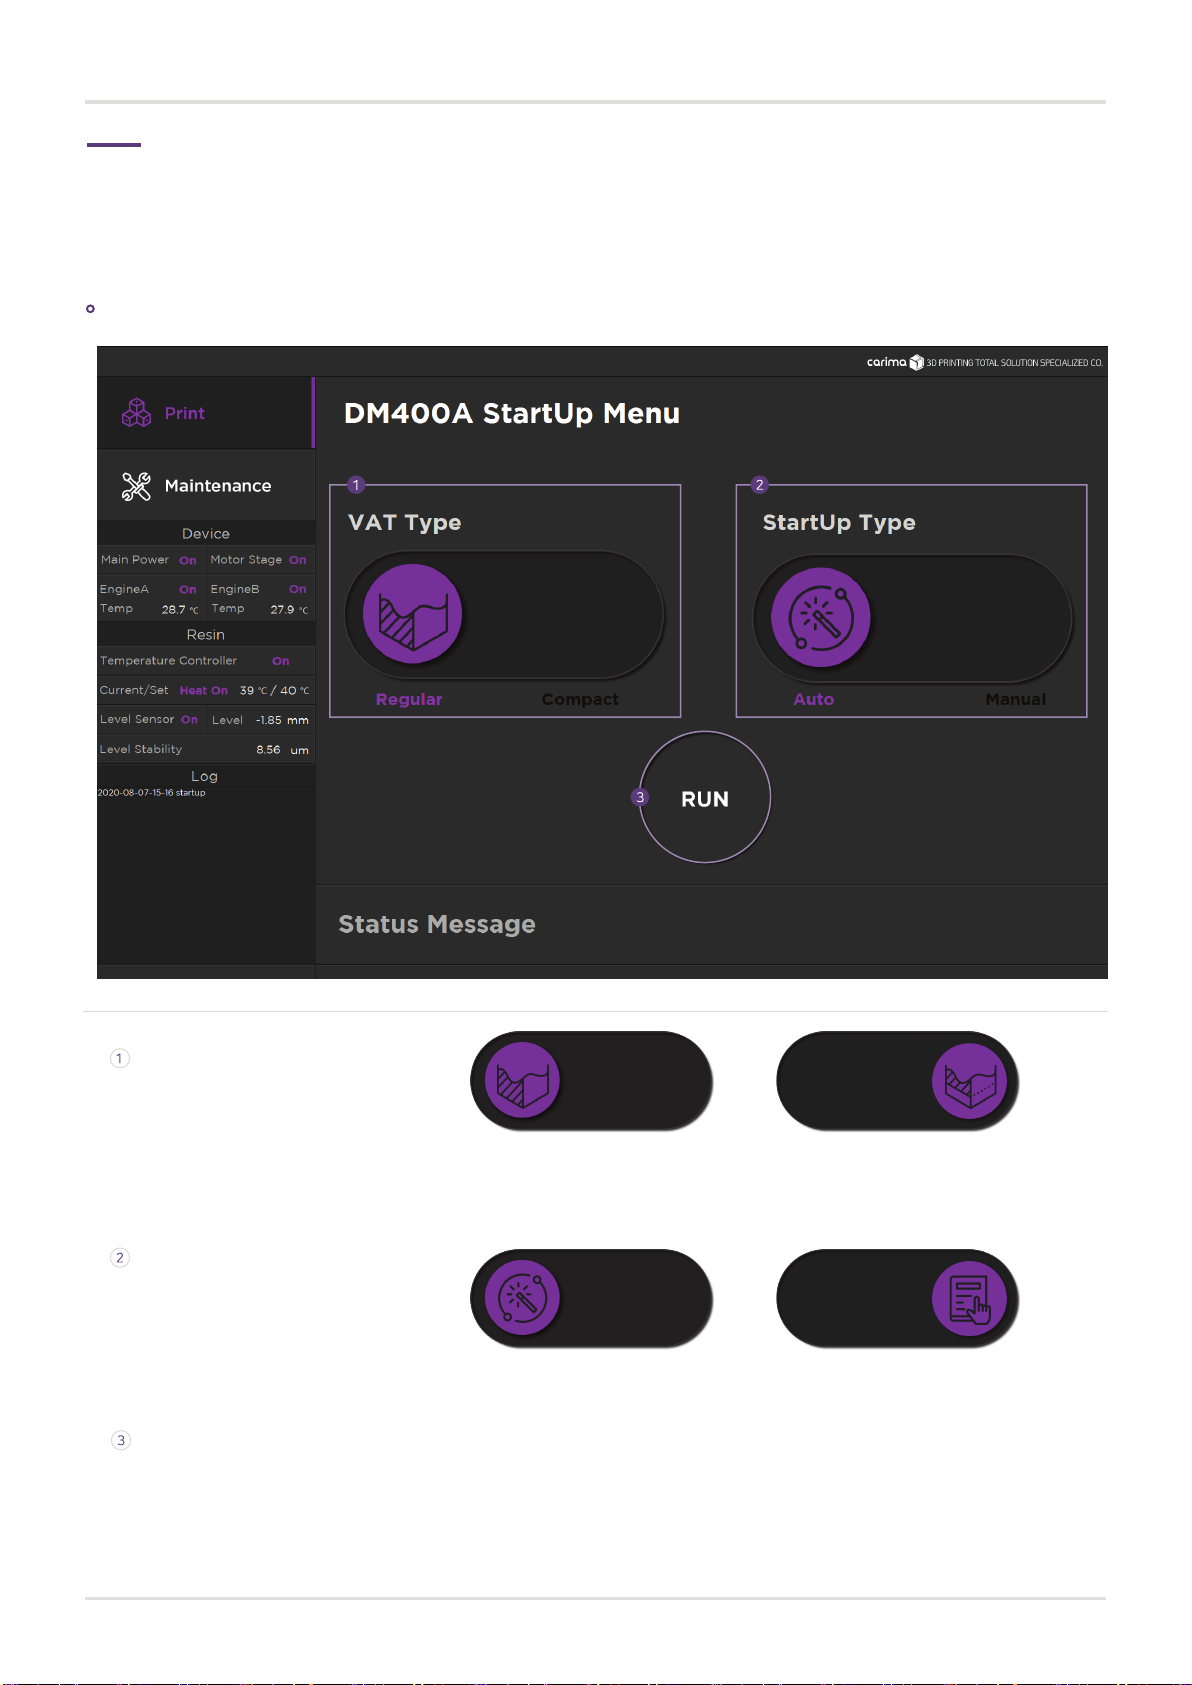
Using the LCD Panel
Use the LCD panel to set most of the settings.
Main
RUN :
Check the selected vat and usage mode
and start printing with "Run"
Vat type :
Select the vat to be used.
Regular :
Regular Vat (500mm depth)
Compact :
Low Capacity Vat (130mm depth)
Auto :
Auto Setting Mode
Manual :
Manual Setting Mode
Start Up type :
Select the mode to use.
07
www.carima.com
PREPARATION AND SETUP
DM400A USER MANUAL
www.carima.com[email protected]82-2-3663-8877
STATUS :
It shows printer status such as Main Power,
Moter Stage, Engine, and Sensor.
RESIN :
It shows the resin temperature and the level
settings.
Print
Maintenance
Select Recipe Select Data Printing
Step1
Update Admine
Step2 Step3
Resin Stage Engine Connect
Advance
Menu & Status
08
www.carima.com
DM400A USER MANUAL
www.carima.com
PREPARATION AND SETUP
[email protected]82-2-3663-8877
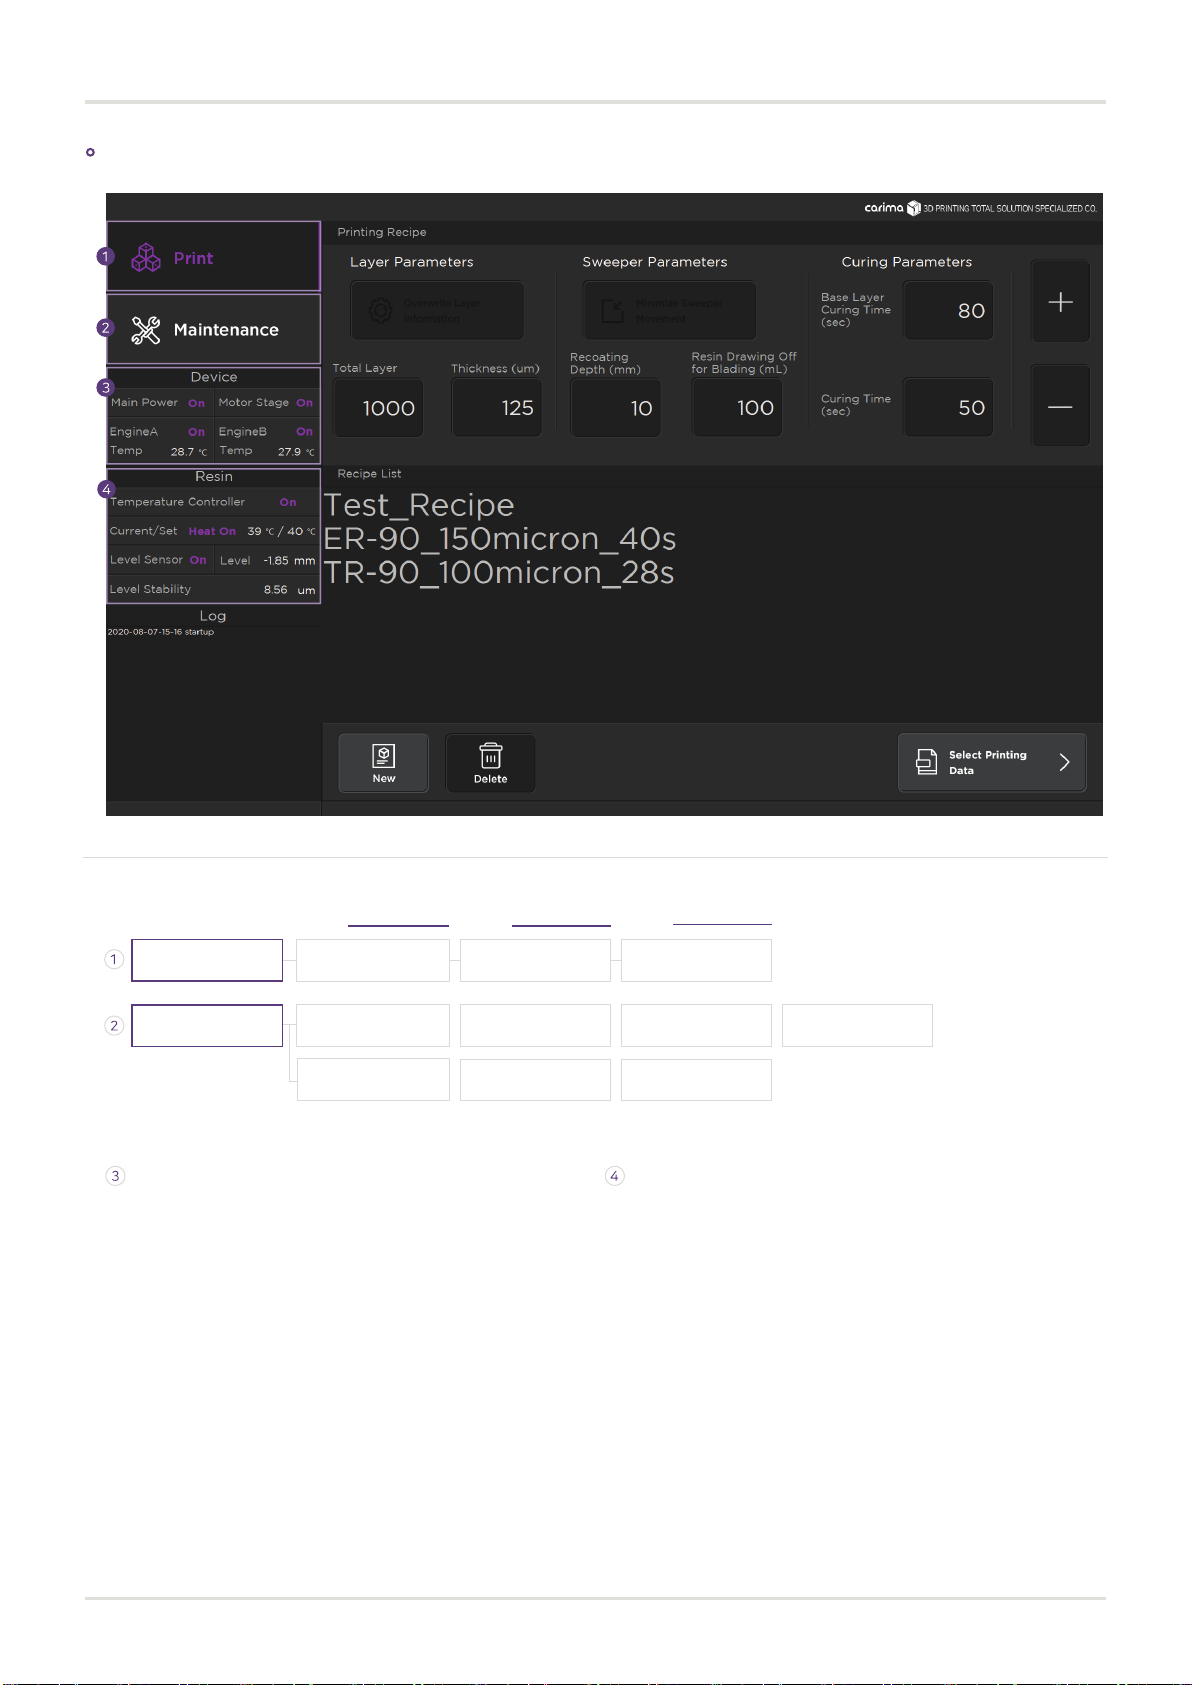
Print
Recipe List :
This is a list of recipes.
Select the recipe to be printed.
Printing Recipe :
You can change the setting value of the selected recipe.
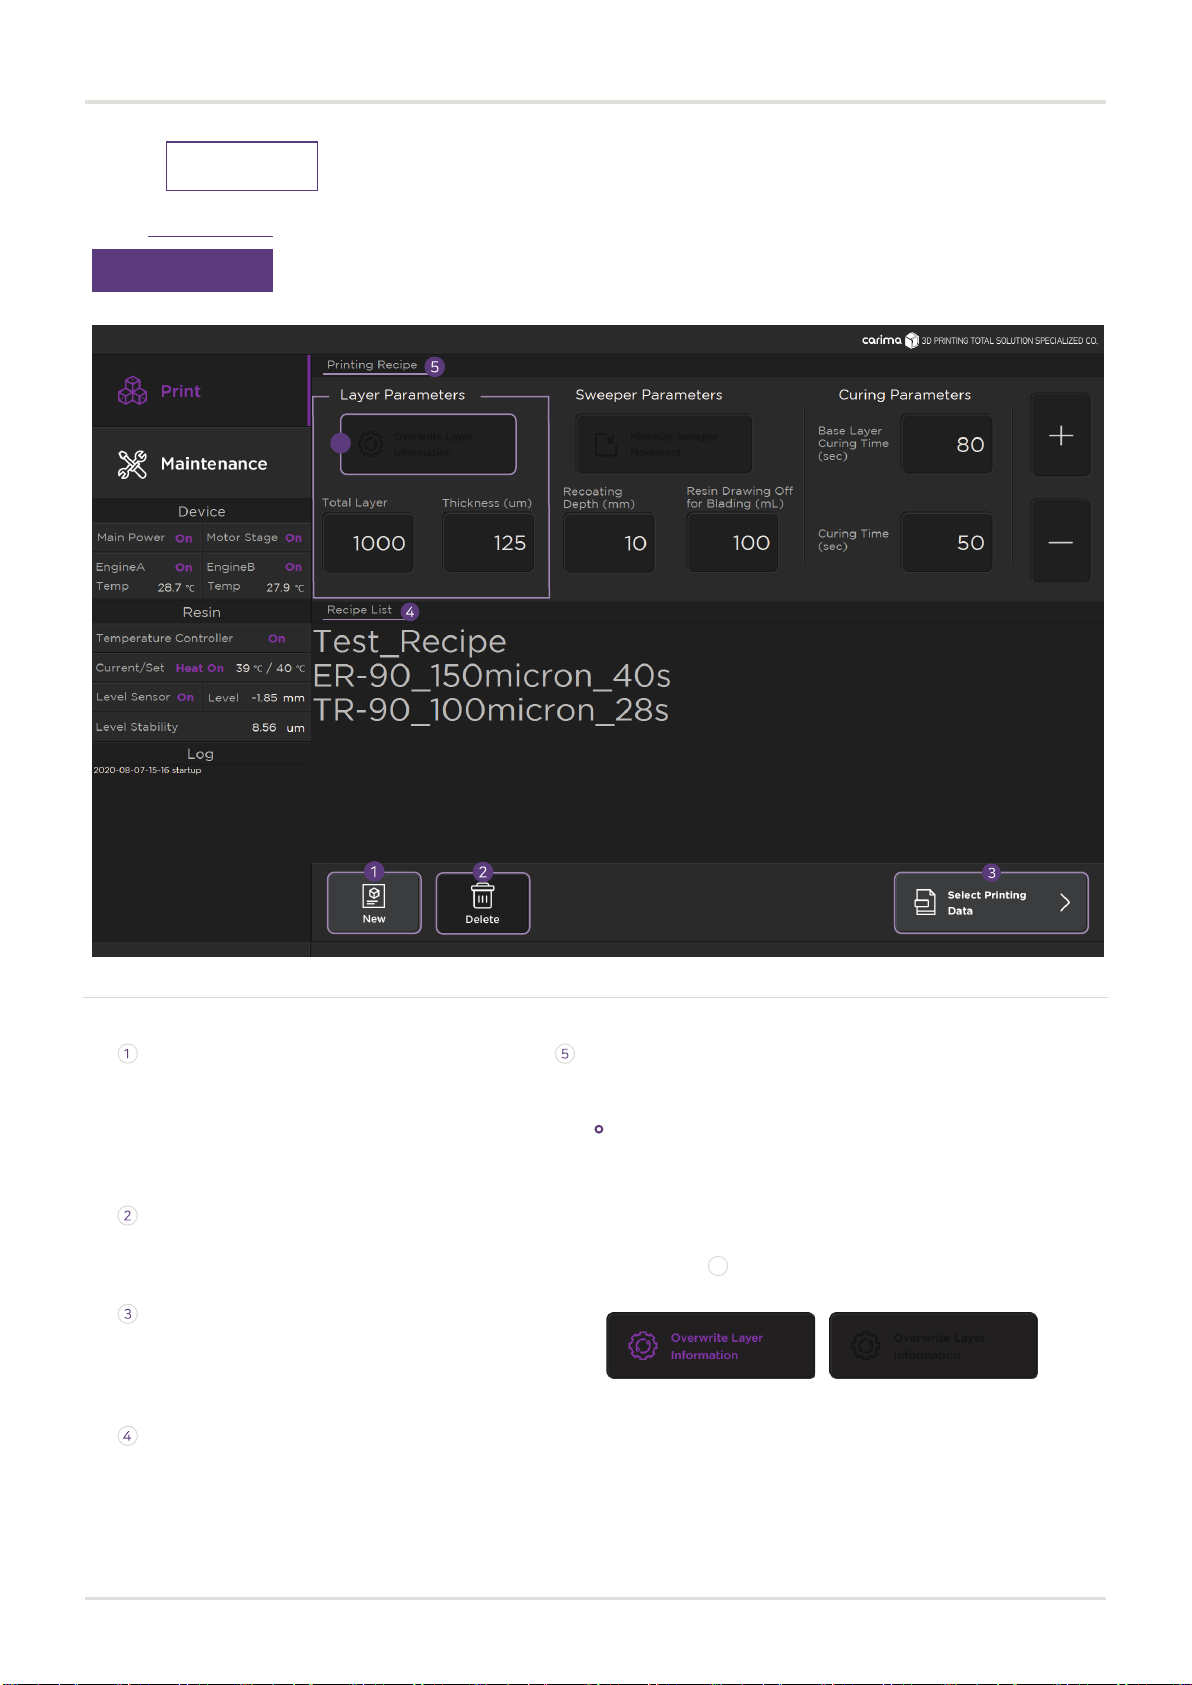
New :
Create a new recipe.
After setting the name of the recipe, set the
printing parameter value.
Delete :
Delete the recipe.
Printing Data Select :
After completing the recipe selection, it proceeds
to the next step (output data selection).
This function ignores the value retrieved from the
printing data and prints with the currently set value.
You can activate the function with the (Total Layer, Layer
Thickness) button.
01
Step1
Select Recipe
a
Activated Deactivated
Layer Parameters :
a
Table of contents
Other Carima 3D Printer manuals


