OLDE MIDWAY SPIN2000 User manual

SPIN2000
INSTRUCTION
MANUAL

2
WARNING
Misuse of this machine may result in serious injury.
Please read and follow all precautions below.
This machine is not a toy and should not be operated by children.
Take proper safety precautions when using this machine.
Do not use the machine for other than its intended purpose and do not modify.
Use only on grounded outlet and with a grounded 3-prong extension cord that
meets or exceeds electrical rating.
Do not immerse in water.
Do not touch moving parts. Keep body, hair, jewelry, clothes, etc., away from
machine when in use.
Always turn machine off using the ON/OFF switch before unplugging.
NEVER touch floss head while in motion or shortly after use, until cooled.
SPECIFICATIONS
Heating Power
Motor Power
Electric Voltage
Frequency
Yield
1000W
80W
110V
50Hz/60Hz
1/30 sec

3
COTTON CANDY MACHINE & CART PARTS
(PREINSTALLED)

4
If your model includes a cart, please advance to page 7
to complete the cart assembly before proceeding.
1. Wipe the pan and floss head with a damp clean cloth and dry
thoroughly. Do not clean with detergent or abrasive chemicals.
2. If you did not purchase the cart, place the cotton candy machine on
a flat stable surface. The machine operates at very high speeds
making stability essential.
3. Plug the machine into a grounded outlet that meets the
requirement of the machine. Avoid using electrical extension cords
and outlet adapters, if possible.
FIRST-TIME SET UP PROCEDURE
!

5
4. Carefully, hold the pan on top of the base aligning pan brackets with the
four latches. (Fig. 1)
5. Securely latch the pan to the machine by hooking the latch ring over the
pan brackets and pressing down on each of the four latches until fully
engaged. (Fig. 2)
NOTE: For Safety, All four latches must be completely closed and
secure before unit will turn on. The latch as shown above must also
have the safety pin inserted.
6. Read the operating instructions completely to familiarize yourself with
the equipment and process.
Pan Bracket
Fig. 1
Fig. 2
Latch
Safety Switch
(not shown)

6
OPERATION INSTRUCTIONS
1. Press the power switch ON and allow the machine to run for 1-2 minutes.
Note: If the machine begins to vibrate excessively, turn the Power Switch to OFF. Unplug the machine and
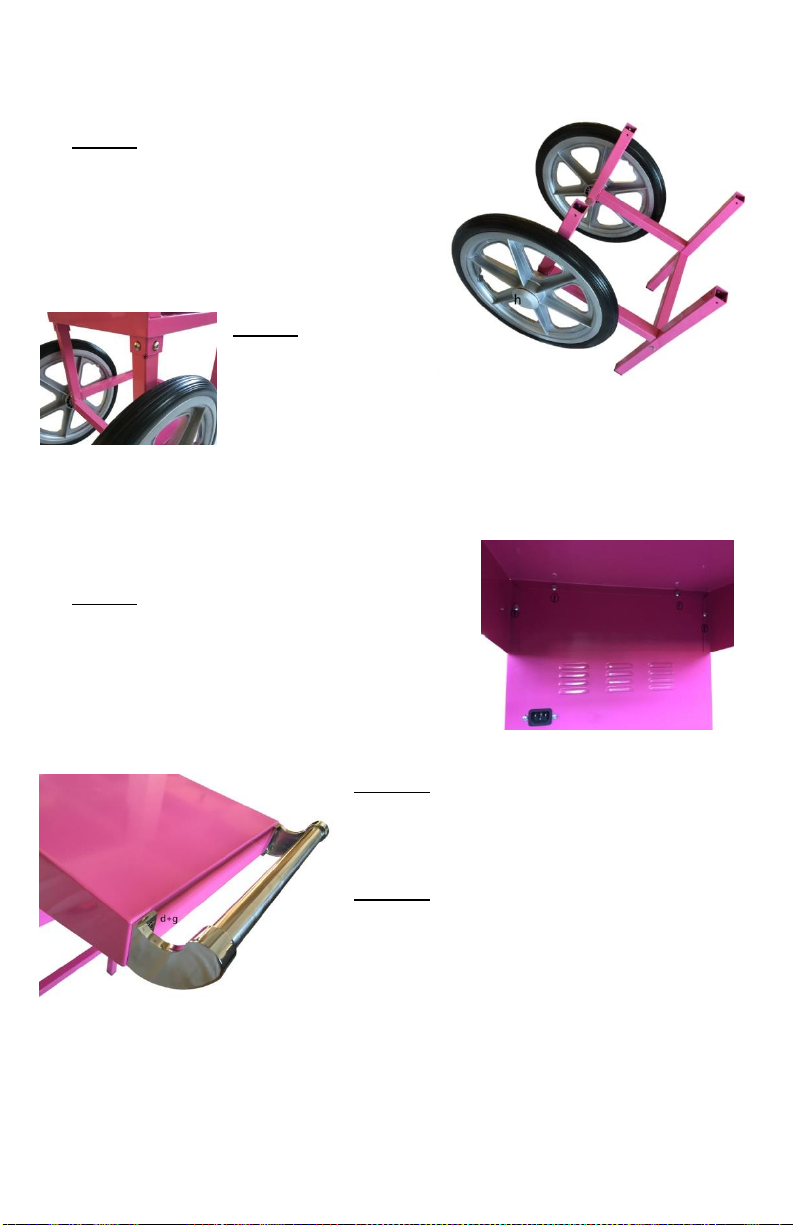
make sure it’s on a level working surface.
2. Press the heating controller switch ON. Allow the machine to heat up for 4-5
minutes.
3. Empty one spoon of granulated sugar or cotton candy sugar mix into the
floss head. CAUTION: THE FLOSS HEAD SPINS AT ULTRA-FAST SPEEDS AND IS
HOT. DO NOT TOUCH THE FLOSS HEAD. DO NOT ADD MORE THAN ONE
SCOOP OF SUGAR MIX.
4. After approximately 30 seconds, cotton candy will begin to appear in the
pan. Note: Keep all jewelry and loose clothing away from the spinning floss head.
5. Insert the open end of the cotton candy cone, or candy stick gently into the
cotton candy. Spin the cotton candy onto the cone in a counter-clockwise
direction, twisting the cone as you go. Pull up slowly, while still rolling the
cotton candy onto the cone until the desired portion has been reached.
6. Continue creating cones until all the sugar has been removed from pan.
There is no need to preheat the machine to start a second batch if done
immediately after the first. Note: Failure to spin off excess sugar may increase the likelihood of
smoke or burned sugar on next use.
IMPORTANT! Rest the machine 20 minutes after 60 minutes of continuous use.
7. Turn the machine OFF, unplug and allow cooling completely before touching.
Remove pan, wipe clean with a damp cloth and dry thoroughly. Avoid using
excessive water when cleaning.

7
STEP 1: Remove the 6 preinstalled bolts (C) from the cross posts (F).
STEP 2: Arrange leg post (D), U bar (E),
and cross post (F). Cross post (F) should be
attached to the hole furthest away from the
black end cap on leg post (D).
See Fig. 1
STEP 3: Build the other side of the cart using leg
post (D) and 2 cross posts (F) into the same
shape as in Step 2.
STEP 4: Connect each side of the cart frame
together with the final cross post (F), secure cross
post to legs (D) using bolts (c).
STEP 5: Place washer (b) between the wheel and U bar (E), insert bolt
(a) through tire, place washer (b) on the other end of the bolt. Repeat
for the remaining tire.
STEP 6: Insert a screw driver through the hole on
tool (I)and twist to tighten. If the wheels do not
spin, loosen the bolts slightly. See Fig. 2.
COTTON CANDY CART ASSEMBLY
Fig. 1
Fig. 2
Fig. 2

8
STEP 7: Press on end-cap (h) to hide
the bolts on outside of tire. See Fig. 3.
STEP 8: Turn the
frame upright.
Remove the pan
from the cotton candy machine. Set the cotton candy
machine base on the posts, the power outlet should
be between the wheels. Align the base to the bracket holes. Secure
with 2 bolts (e). Repeat for the remaining posts. See Fig. 4
STEP 9: Hold the shelf (C) into place on the
same side as the wheels. Secure using
bolts (f). Repeat for the other shelf on the
opposite side of the machine. See Fig. 5
STEP 10: Attach handle bracket (J) to
one side of the shelf using bolts (d) and
nuts (g) under the shelf. See Fig. 6
STEP 11: Insert one end of the handle
(H) into the affixed bracket; arrange the
other end of the handle into the loose
bracket. Attach bracket to frame using
bolts (d) and nuts (g) under the shelf.
The cart assembly is now complete. Return to page 4 for initial set up
instructions and operating procedure.
Fig. 4
Fig. 5
Fig.6
Fig. 3

9
CARE & MAINTENANCE
CLEANING
After your final batch of cotton candy in a session, keep the machine running
and hot while cleaning the floss head by slowly pouring a small amount of water
into the center. NOTE: The water will immediately become hot steam. Keep
the floss head spinning through until water runs almost clear. Then, allow the
machine to cool and dry with a damp cloth to remove excess sugar.
The cotton candy pan may be cleaned with mild soap and a soft cloth. Do not
use detergents.
REMOVING BURNT SUGAR
It is normal for a small amount of sugar to burn inside the machine, even with
regular cleanings. The cotton candy machine will not be harmed, nor the
produced candy. You may use a light-duty scrubbing sponge (do not use steel
wool or other abrasive materials) and a diluted vinegar solution.
CHANGING THE BELT
This package includes a spare belt.
To access belt: Remove the cotton candy pan. Remove the screws holding on the
top cover of the machine.
To adjust belt: Remove the top cover of the machine. Loosen the 4 motor
screws, reposition the motor slightly, and retighten the screws. Replace the top
cover and secure with screws.

10
TROUBLESHOOTING
MACHINE HAS NO POWER
Check to make sure that the bowl is seated correctly and all four latches are
engaged and secure. If the safety switch is engaged and both switches are ON,
unplug the machine and check the fuse; replace if defective. Contact us for
further assistance if this does not resolve the problem.
FLOSS HEAD WILL NOT SPIN, OR SMOKES
Turn the power switch off, unplug the machine and clean the burnt sugar off
with a soft cloth.
EXTREME VIBRATION
Make sure the floss head is even, pan is securely attached, and machine is level.
FLOSS HEAD SPINS BUT DOES NOT HEAT
Ensure wires underneath floss head are not damaged. If the wires are not
damaged there may be an issue with the Temperature Sensor.
ELECTRICAL CORD IS LOST
Replace with a standard 20 Amp electrical cord like those for a computer or
printer, designed for 110V power.
FLOSS HEAD DOES NOT SPIN
Belt may be damaged, loose, or unattached. See “Changing the Belt” under
Care & Maintenance for further instructions.
Please contact us for assistance at 954-577-1043
Table of contents
Other OLDE MIDWAY Kitchen Appliance manuals