manuals.online logo
Brands
  1. Home
  2. •
  3. Brands
  4. •
  5. Olympus
  6. •
  7. Microscope
  8. •
  9. Olympus Lext OLS3100 User manual

Olympus Lext OLS3100 User manual

Other Olympus Microscope manuals

Olympus BX45 User manual

Olympus

Olympus BX45 User manual

Olympus X-Tr Operating instructions

Olympus

Olympus X-Tr Operating instructions

Olympus SZX16 User manual

Olympus

Olympus SZX16 User manual

Olympus CHA-P User manual

Olympus

Olympus CHA-P User manual

Olympus BX60 User manual

Olympus

Olympus BX60 User manual

Olympus BHTP User manual

Olympus

Olympus BHTP User manual

Olympus Fluoview FV1000 User manual

Olympus

Olympus Fluoview FV1000 User manual

Olympus CX31 User manual

Olympus

Olympus CX31 User manual

Olympus VM Series User manual

Olympus

Olympus VM Series User manual

Olympus SZX2-LTTR User manual

Olympus

Olympus SZX2-LTTR User manual

Olympus VS120 Owner's manual

Olympus

Olympus VS120 Owner's manual

Olympus U-FWT User manual

Olympus

Olympus U-FWT User manual

Olympus DP22 User manual

Olympus

Olympus DP22 User manual

Olympus BX-RFAA User manual

Olympus

Olympus BX-RFAA User manual

Olympus VS120 User manual

Olympus

Olympus VS120 User manual

Olympus DP21-SAL User guide

Olympus

Olympus DP21-SAL User guide

Olympus CX41 User manual

Olympus

Olympus CX41 User manual

Olympus IX73 User manual

Olympus

Olympus IX73 User manual

Olympus BX43 User manual

Olympus

Olympus BX43 User manual

Olympus CHA-P User manual

Olympus

Olympus CHA-P User manual

Olympus CK40M FRAME Operating instructions

Olympus

Olympus CK40M FRAME Operating instructions

Olympus FV3000 User manual

Olympus

Olympus FV3000 User manual

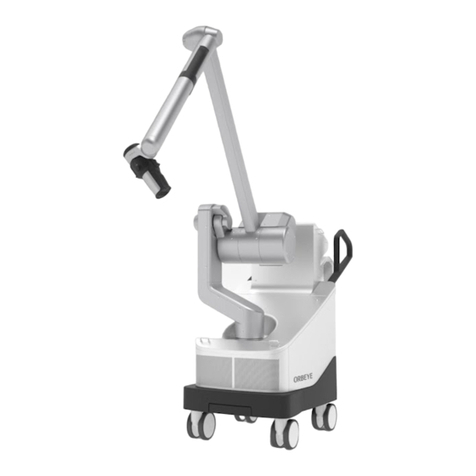
Olympus ORBEYE Manual

Olympus

Olympus ORBEYE Manual

Olympus STM7 User manual

Olympus

Olympus STM7 User manual

Popular Microscope manuals by other brands
Brütsch Rüegger FUTURO instruction manual

Brütsch Rüegger

Brütsch Rüegger FUTURO instruction manual

Elenco Electronics EDU-41003 instructions

Elenco Electronics

Elenco Electronics EDU-41003 instructions

Nikon SMZ25 instruction manual

Nikon

Nikon SMZ25 instruction manual

National DC3-163 instructions

National

National DC3-163 instructions

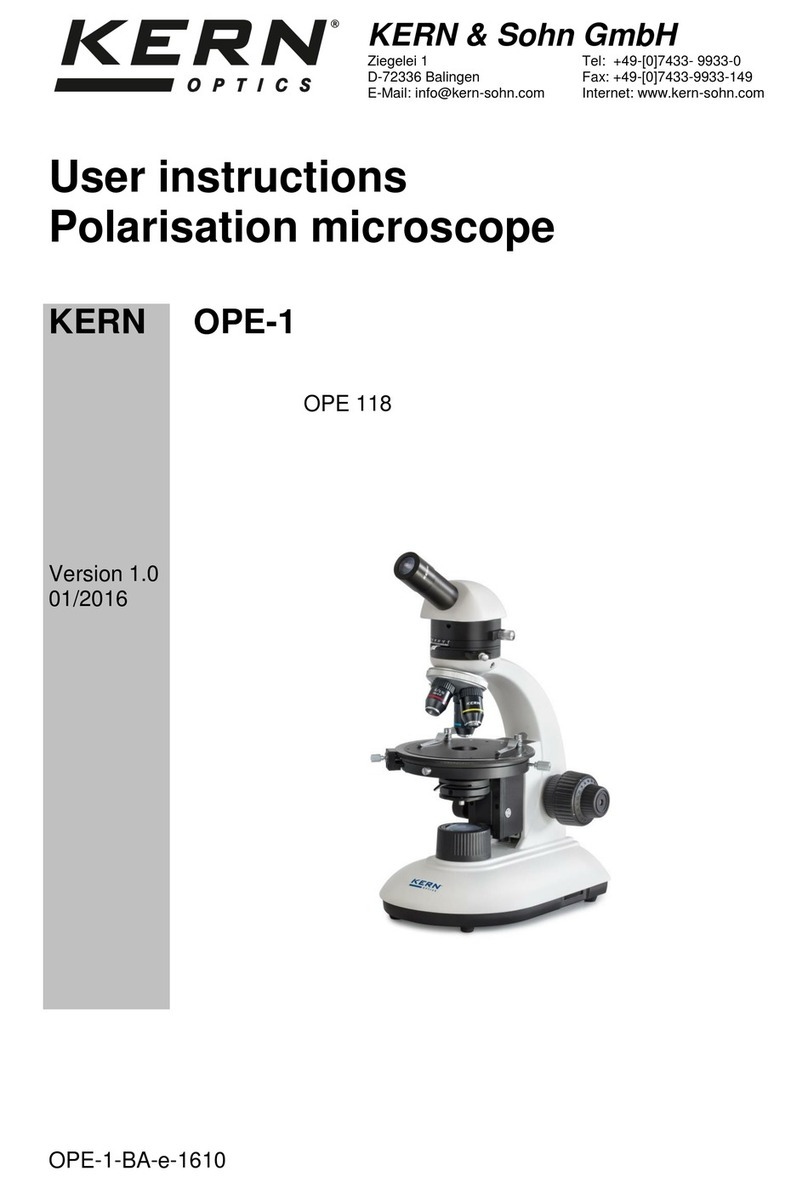
KERN Optics OPE-1 User instructions

KERN Optics

KERN Optics OPE-1 User instructions

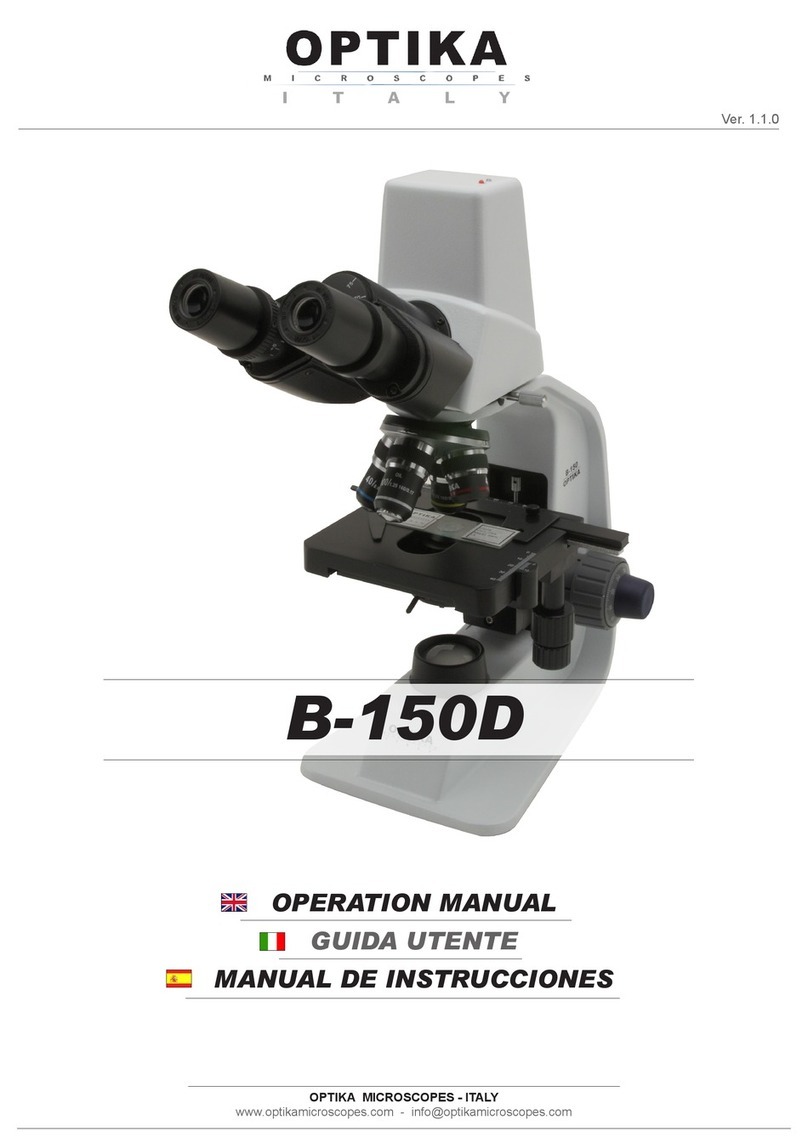
OPTIKA MICROSCOPES B-150D Operation manual

OPTIKA MICROSCOPES

OPTIKA MICROSCOPES B-150D Operation manual

Prior Lux POL operating instructions

Prior

Prior Lux POL operating instructions

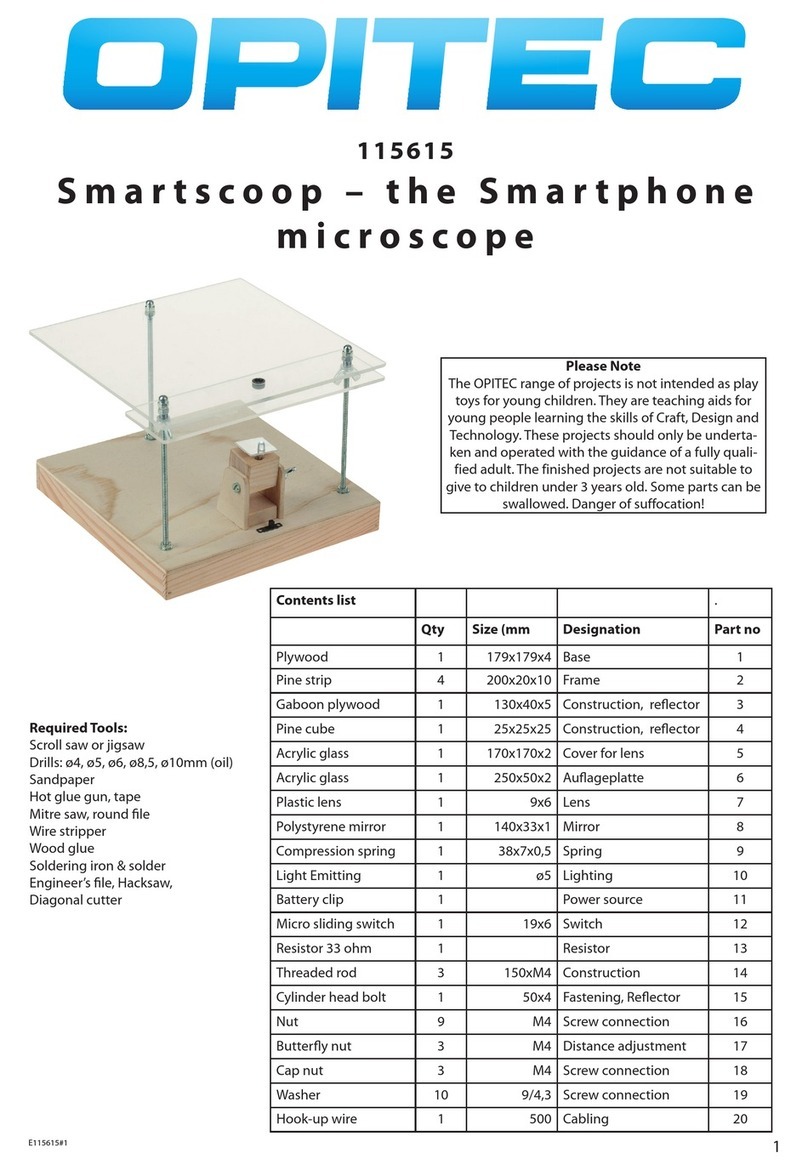
Opitec Smartscoop 115615 instructions

Opitec

Opitec Smartscoop 115615 instructions

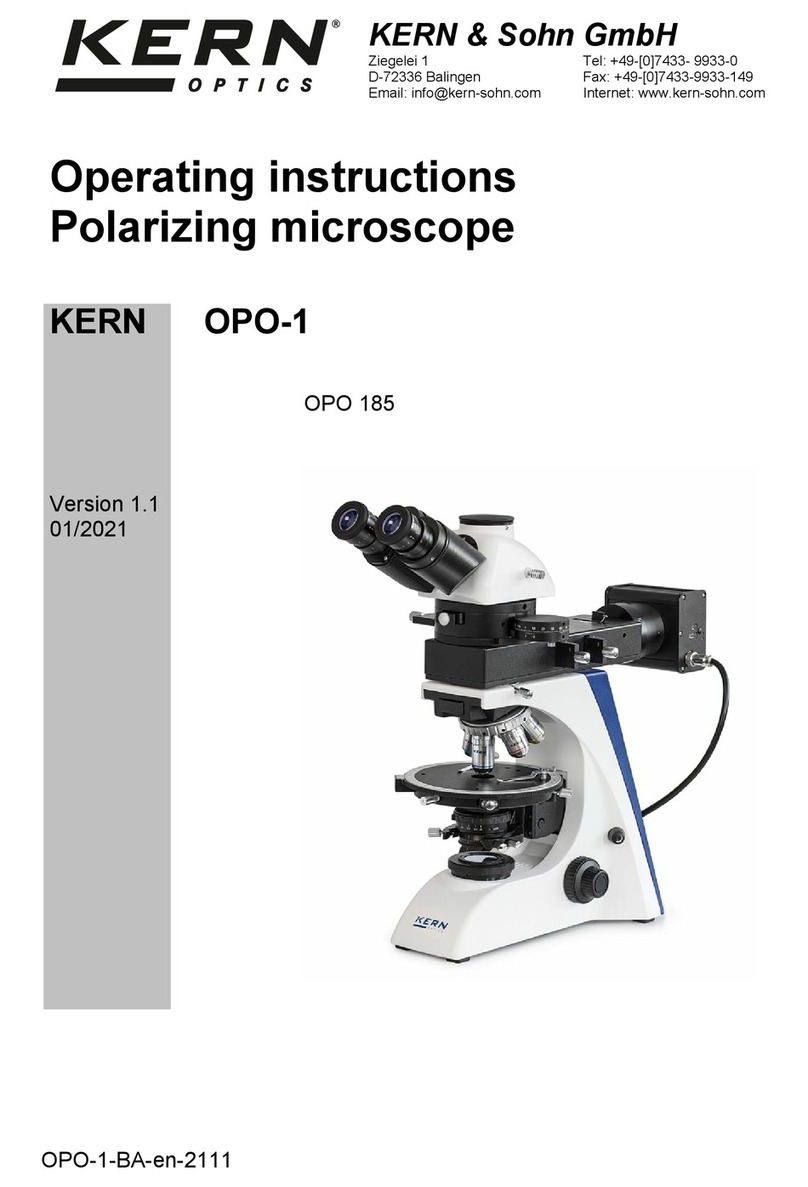
KERN OPO-1 operating instructions

KERN

KERN OPO-1 operating instructions

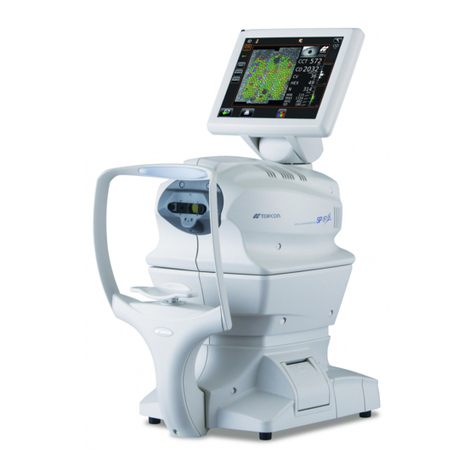
Topcon SP-1P user manual

Topcon

Topcon SP-1P user manual

AO Cycloptic Reference manual

AO

AO Cycloptic Reference manual

Leica DVM5000 Setup manual

Leica

Leica DVM5000 Setup manual

MshOt MZ62 user manual

MshOt

MshOt MZ62 user manual

Celestron 44345 instruction manual

Celestron

Celestron 44345 instruction manual

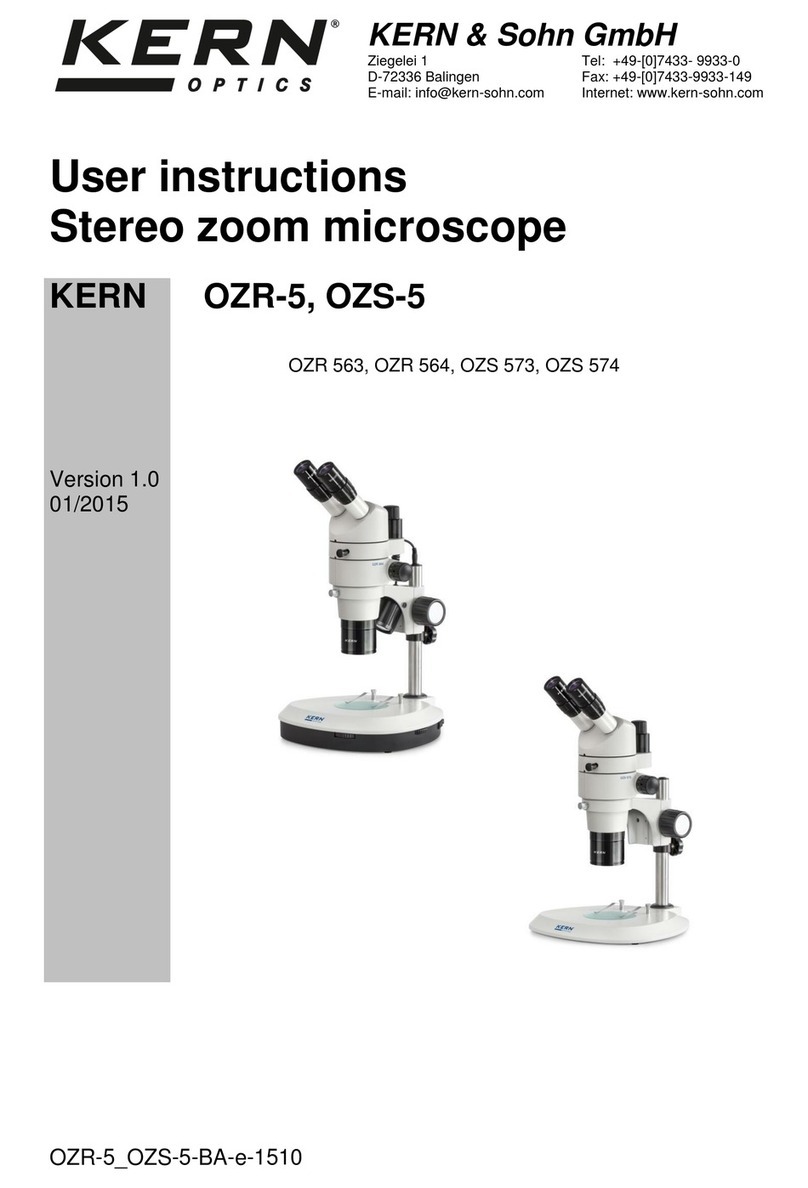
KERN Optics OZR-5 User instructions

KERN Optics

KERN Optics OZR-5 User instructions

VWR VisiScope 384 Series instruction manual
VWR

VWR VisiScope 384 Series instruction manual

Leica DI C800 User's manual & installation instructions
Leica

Leica DI C800 User's manual & installation instructions

Atlantis SL 2000 user manual

Atlantis

Atlantis SL 2000 user manual

manuals.online logo
manuals.online logoBrands
  • About & Mission
  • Contact us
  • Privacy Policy
  • Terms and Conditions

Copyright 2025 Manuals.Online. All Rights Reserved.

The name "LEXT" is formed from the words "Laser" and "Next," and means "next-generation 3D confocal laser microscopes".
CONFOCAL LASER SCANNING
MICROSCOPE
OLS3100
TM
NEW
Greater simplicity with higher precision:
The next step in the evolution of three dimensional
laser confocal metrology.
1
LEXT minimizes manual operation, improving ease of use for everyone.
Even a first-time user can operate the system like an expert, and obtain fast reliable measurement results.
The system features not only improved functionality, but also an even higher level of measurement performance.
Constantly evolving toward greater simplicity and higher precision,
LEXT meets a diverse range of needs in fine surface profile measurement.
2
Welcome to the world of LEXT 3D
Automatic operation achieves speedy, high-precision output.
Position and
magnification settings
New, Operation Navigator feature is an online wizard
that guides the user in the operation of the LEXT
The operation navigator provides
animations to guide the user through
each step of microscopic observation.
You can complete a series of steps by
simply operating the mouse in the same
way as shown in the animations
appearing on the screen.
The motorized, high-speed revolving nosepiece ensures
the safe and speedy microscopic inspections
Motorized switching between magnifications helps the user to
increase work efficiency and to keep the specimen safe; an
automatic retracting function prevents an objective lens from
coming contact with a specimen. It also
offers excellent parfocality of all
objective lenses and an automatic light
intensity adjusting function keeps
brightness levels unchanged after
magnification switching.
High-speed automatic focusing and one-push gain
enable the user to complete preparations for 3D image
capturing quickly and easily
The speed of the automatic focusing function has been made
three times faster so that the user can reach an image or a point
on an image in an instant. Additionally, one-push gain allows the
user to adjust brightness optimally and to complete preparations
for 3D image capturing with ease.
Click
3D image capturing with one click automatically
detecting upper and lower limits
With LEXT, 3D image capturing is performed by just one click of
the “3D capture button.” Upper- and lower-limit settings or other
cumbersome preparations are unnecessary. A beginner can
obtain a 3D image of the best quality easily. For experienced
users, this automated 3D image capturing feature lightens their
work load and contributes greatly to increasing their work
efficiency.
3
Auto Fine View does it all automatically
The brightness and contrast of a captured image are automatical-
ly adjusted. Image conditioning is typically a manual process
requiring an experienced operator. Using the auto fine view
function of LEXT, anybody can acquire ideal, high-quality 3D
images without special training.
Introducing the user to a new 3D world
by providing a variety of image presentation
patterns, high precision measurement and
advanced analytical techniques
A captured image is rendered to an ideal 3D image by
using LEXT’s display capabilities. High precise
measurement, high repeatability, and advanced analytical
techniques related to roughness and particle analyses
provide the user with a new dimension of microscopic
observation.
Welcome to the world of LEXT 3D
Display, measurement and
analysis
Image
capturing
Wired frame
Microlens
Image intensity
profile
Step height
measurement
Surface
roughness
analysis
After auto
processing
Before
processing
4
Wafer bump
Powerful 3D display facilitates measurement and analysis.
● Adjustable 3D image
The angle of a 3D image can be now changed freely
with the mouse by grabbing the image. In addition,
the 3D image can be scaled up or down in 100 steps
using the mouse wheel. This is done using a unique
algorithm to prevent the quality of the enlarged image
from deteriorating. The background color can now
also be changed to improve the observation and
contrast of the specimen.
● 3D measurement
Step height, line width and the distance between two
points can now be measured on the 3D image.
Allowing measurement conditions to be recognized
intuitively.
Display
Measurement
Step height measurement
Line width measurement
Distance between two points measurement
5
Filamentation electrode
● A variety of 3D image presentation patterns
A variety of 3D image presentation patterns are provided,
including surface texture, real color, wired frame, etc. A 3D image
can be rendered to make it more visually effective.
● Surface roughness analysis
Non-contact surface roughness measurement can be gathered
using the small laser spot. Further minute roughness analysis can
be made using the unique ROI function. Roughness can also be
made along a single line much like conventional roughness
gauges.
Welcome to the world of LEXT 3D
Analysis
Toner film
Surface
Surface 1
Corny layer cells
Reverse face of a Si wafer
Texture
Surface 2
Wired frame
Texture
Real color (brightfield observation)
Stud bump
Surface
Perspective
Balance perspective
Surface roughness
analysis
Light guide plate (for LCD)
6
7
Versatile observation methods to handle a wide range of applic
● Brightfield observation
Color information can be obtained from brightfield (color)
observation. Therefore, brightfield observation can be used
effectively to observe a flaw on a color filter or to locate the
position of an area of corrosion on metal.
● DIC (Differential Interference Contrast) observation
In DIC observation, it is possible to observe a scratch or flaw as
small as a few nanometers in height that could not be observed in
a brightfield observation.
● Laser confocal
Observation with a much higher level of resolution impracticable
with conventional microscopes is now possible through a
combination of a 408 nm laser and confocal optics.
● Laser confocal DIC
Microscopic unevenness on a surface can be observed in three
dimensions in real time, which is impossible with conventional
laser microscopes. Observation of surface conditions with the
level of dimensional reality comparable to that of an SEM has
been made fully possible, opening up a new dimension in surface
profile observation.
Display
Laser printer toner
Reverse face of a wafer
Circuits patterns on wafer
Polymeric film
Non confocal image
Confocal image
8
ations.
Welcome to the world of LEXT 3D
● Real-time distance measurement
A distance can be measured in real time by using image intensity
profile. A distance can be measured in live observation.
● Particle analysis
Particles can be automatically separated using the separator
function, threshold values can be set, and the range of detection
can be specified. Automatic measurement of all particles can be
made using various particle measurement parameters, and
measured data can be statistically processed to support
advanced particle analyses.
● Split screen display
An image observed in one observation mode and the same image
observed in another observation mode can be displayed
simultaneously during live observation. A target point can be
located easily by observing a microscopic image with color
information and a high-resolution LSM (Laser Scanning
Microscope) image simultaneously. By using this two-screen
display function, the quality of a specimen can be checked by
comparing it with a reference specimen in live observation, and
whether it is acceptable or not can be determined.
Measurement
Analysis
Stud bump
Test patterns (Chromium)
Corny layer cells
9
World-class resolution and precision.
Objective lens
Circular confocal
pinhole
LED light
CCD
Photomultiplier
Laser
● World’s highest level of resolution
The optical system designed exclusively for use with 408-nm
laser light (violet opt system) prevents the occurrence of
aberrations associated with the use of a short-wavelength light
source, and brings the highest performance out of the 408-nm
light source. Such a high level of resolution has been made
possible by the confocal optical system having an optimized
circular pinhole and the high-
speed XY scanner with the
MEMS technology of Olympus.
With the world's highest-level
planar resolution, a line or space
of 0.12 µm can be resolved.
Additionally, the 0.01 µm height
resolution supports the user in
undertaking measurements of
microscopic surface profiles.
Basic concept of a light path in the violet opt system
Basic concept of the two-dimensional scanner
Multiple points
at peak
intensity
Intensity
Height
MEMS scanner
Incident light
Scan pattern
0.12 µm line and space 14,400x
● Further advanced, the world’s highest level of
repeatability
Advanced optical techniques of Olympus accumulated over
years have made possible the planar measurement
repeatability of 3σ= 0.02 µm and the height measurement
repeatability of 3σ= 0.04 + 0.002L mm (L = measured length
in µm). A guide with high performance in terms of straightness
and a high-precision linear scale are used for Z-axis scanning.
These parts combined with the further advanced CFO search
function contribute to very high level of repeatability. The high
degree of reliability makes it possible for LEXT to meet the
highly demanding needs of diverse fields of research and
industry.
● Measurements that can be trusted
Highly reliable data can be provided based on the strict
traceability system that is linked with the JCSS (Japan
Calibration Service System). JCSS Japan Calibration Service System
Block Gauge
OLYMPUS
Stabilized He-Ne Laser
Calibration standard Calibration block
LEXT (OLS3100)
Traceability chart
Japan (NMIJ/AIST)
CFO search function
The original I-Z curve is
drawn based on the upper,
high-luminance points, and
maximum luminance values
are calculated with high
accuracy by using an
advanced formula. The high
repeatability of LEXT is
made possible through the
height data being obtained
in this process.