Olympus CX33 User manual
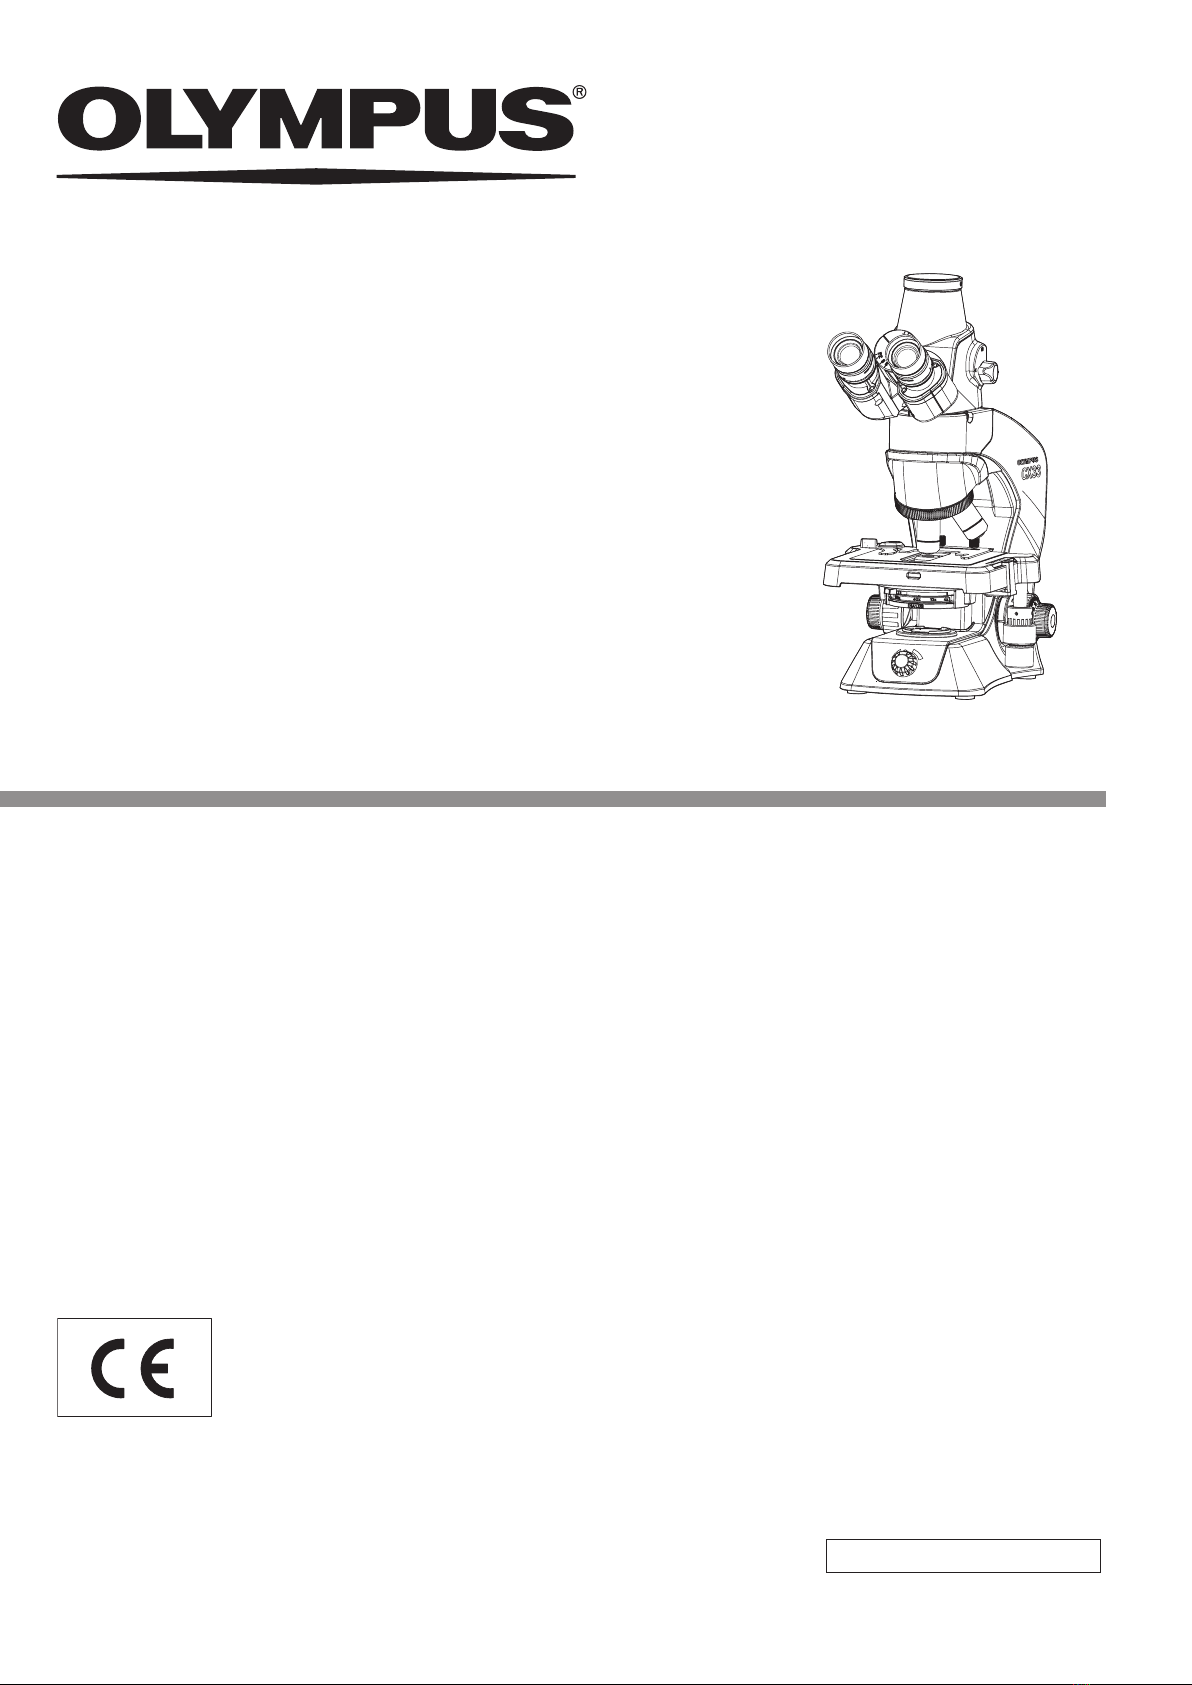
INSTRUCTIONS
This instruction manual is for the Olympus biological microscope.
To ensure the safety, obtain optimum performance and to familiarize yourself fully with the use
of this microscope, we recommend that you study this manual thoroughly before operating this
microscope, and always keep this manual at hand when operating this product.
Retain this instruction manual in an easily accessible place near the work desk for future
reference.
Biological Microscope
CX33
AX 8881
Optical Microscope and Accessory

In accordance with European Directive on Waste Electrical and Electronic Equipment, this
symbol indicates that the product must not be disposed of as unsorted municipal waste, but
should be collected separately.
Refer to your local Olympus distributor in EU for return and/or collection systems available in
your country.
NOTE: This product has been tested and found to comply with the limits for a Class A digital device,
pursuant to Part 15 of the FCC Rules. These limits are designed to provide reasonable protection
against harmful interference when the product is operated in a commercial environment. This product
generates, uses, and can radiate radio frequency energy and, if not installed and used in accordance
with the instruction manual, may cause harmful interference to radio communications.
Operation of this product in a residential area is likely to cause harmful interference in which case the
user will be required to correct the interference at his own expense.
FCC WARNING: Changes or modifications not expressly approved by the party responsible for compliance
could void the user’s authority to operate the product.
For Korea only
B급 기기 (가정용 방송통신기자재)
이 기기는 가정용(B급) 전자파적합기기로서 주로 가정에서 사용하는 것을
목적으로 하며, 모든 지역에서 사용할 수 있습니다.

Safety precautions ....................................................................................................................................... 1
1 Standard combination......................................................................................................................... 5
2 Nomenclature of operating portions ...................................................................................... 6
3 Outline of brightfield/darkfield observation methods ............................................. 7
4 Observation procedures .................................................................................................................... 9
1 Turning ON the LED illumination ......................................................................................................................................9
2 Selection between the eyepiece light path and the camera light path .....................................9
3 Placing the specimen ............................................................................................................................................................10
4 Selecting the objective ..........................................................................................................................................................14
5 Focusing on the specimen ................................................................................................................................................14
6 Adjusting the interpupillary distance ........................................................................................................................15
7 Adjusting the diopter. ..............................................................................................................................................................16
8 Adjusting the aperture diaphragm (AS) ................................................................................................................17
9 Attaching the darkfield ring slit (for darkfield observation only) .......................................................17
10 Acquiring the image with the camera .....................................................................................................................18
11 Using the 100X oil immersion objective ................................................................................................................19
5 Glossary of optical performance terminology .............................................................21
6 Troubleshooting ......................................................................................................................................23
7 Specifications ............................................................................................................................................25
8 List of optical performances ........................................................................................................26
Contents

9 Assembly .......................................................................................................................................................27
9-1 Assembly diagram ......................................................................................................................................... 27
9-2 Assembly procedures ................................................................................................................................. 28
1 Removing the standard 10X eyepiece ....................................................................................................................28
2 Attaching the eyepiece micrometer ..........................................................................................................................28
3 Attaching the eyepieces (Standard 10X eyepieces or WHSZ15X-H) ...........................................29
4 Attaching the objective CXPL20X or CXPL100XO .......................................................................................29
5 Attaching the specimen holder CX3-SHP or CX3-HLDT .........................................................................30
6 Attaching the camera adapter U-TV1XC and the camera .....................................................................30
7 Attaching the filter holder CH2-FH and darkfield ring slit CH2-DS ..................................................31
8 Attaching the filter of 45mm in diameter ..............................................................................................................31
9 Connecting the AC adapter and power cord ...................................................................................................32
10 Attaching the allen wrench holder .............................................................................................................................33

1
CX33
If the product is used in a manner not specified by this manual, the safety of the user may be imperiled. In addition, the
product may also be damaged. Always use the product according to this instruction manual.
The following symbols are used in this instruction manual.
CAUTION : Indicates a potentially hazardous situation which, if not avoided, may result in
minor or moderate injury.
NOTE
: Indicates a potentially hazardous situation which, if not avoided, may result in
damage to the product or other property.
TIP
: Indicates the useful knowledge or information for use.
CAUTION - Installation of the product -
Wear protective equipment such as gloves, etc.
When you observe the specimens which have potentiality of infection, wear protective equipment such as gloves, etc.
to prevent the specimens from touching your skin directly.
When you maintain the product which may have contacted the specimens which have potentiality of infection, wear
protective equipment such as gloves, etc., or clean the product before operation.
After observation, clean the portions where specimens contacted directly.
Remove the specimen when moving the product.
When moving this product, be sure to remove the specimen first, since it is in danger of dropping and spattering.
In case the specimen is damaged, promptly take the infection prevention measures.
When disposing of the product, follow the regulations and rules of your local government.
When disposing of the product which contacted the specimens which have potentiality of infection, follow the
regulations and rules of your local government.
Install the microscope on a sturdy, level table or bench.
For safety in particular, do not place a mat, etc. under the product.
CAUTION - Light from the objective -
Do not look directly at the light coming out from the objective or the light reflected from the specimen.
Be careful about the light coming out from the objective, since not only visible light but also light of invisible
wavelengths (such as ultraviolet and infrared) may be emitted depending on the illumination methods.
Safety precautions
CAUTION - Prevention of infection -

2
CAUTION - Electric safety -
Always use the AC adapter and power cord provided by Olympus.
If the proper AC adapter and the power cord are not used, the electric safety and the EMC (Electro-Magnetic
Compatibility) performance of the product cannot be assured. If no power cord is provided, please select the proper
power cord by referring to the section “Proper selection of the power cord” at the end of this instruction manual.
Always connect the ground terminal.
Connect the ground terminal of the power cord and that of the power outlet. If the product is not grounded, our
intended electric safety and EMC performance of the product cannot be assured.
Do not use this product near the sources of strong electromagnetic radiation.
Proper operation may be interfered. Be sure to evaluate the electromagnetic environment before operating the product.
Disconnect the power cord in case of emergency.
In case of emergency, disconnect the power cord from the power cord connector of the product or from the power
outlet.
Install the product at the location where you can reach the power cord connector or the power outlet with your hand to
disconnect the power cord immediately.
This product complies with the emission and immunity requirements described in IEC61326 series.
CAUTION - LED (light emitting diode) -
Do not look directly at the light from LED for a long time.
If you feel that the light from LED is too bright during observation, adjust the light intensity using the brightness
adjustment knob before continuing the observation. The LED built in this product is basically eye-safe. However, do not
look directly at the light from LED for a long time while feeling too bright, since it may cause damage to your eyes.
CAUTION - Safety symbols -
The following symbols are attached to the product.
Study the meaning of the symbols and always use the product in the safest possible manner.
Symbol Meaning
Indicates a non-specific general hazard. Follow the description given after this symbol
or in the instruction manual.
Indicates that the main switch is ON.
Indicates that the main switch is OFF.

3
CX33
1. Be careful not to apply the impact or let the dirt/dust attached to the microscope when carrying it.
2. Do not use the product in areas where it may be subjected to direct sunlight, high temperature and/or humidity, dust or
vibrations. (For conditions of operating environments, see “7 Specifications” on page 25.)
3. When installing the microscope, assure sufficient space around the microscope.
4. When carrying this microscope, disconnect the AC adapter from the microscope, and store the AC adapter and the power
cord in the microscope frame. Then, hold both sides of the arm as shown in the lower left picture, and carry it carefully. Then,
hold both sides of the arm a as shown in the picture on the left, and carry it carefully. (For procedures to store the AC
adapter and the power cord, see “Storing the AC adapter and power cord” on page 32.)
Handling precautions
·This product is a precision instrument. Handle it with care
and avoid subjecting it to a sudden or severe impact.
·Never disassemble any part of the product. Otherwise,
failure could be caused.
·The objectives are screwed in tightly to prevent them from
being loosened during transportation. When removing the
objective, rotate it in the arrow direction as shown in the
picture on the left using the slip prevention rubber sheet,
etc.
·Be sure to use the specified objectives (objectives
provided with the microscope frame and CX-Plan series).
If incorrect objectives are combined, the performance
cannot be delivered.
·The tube of this microscope is removable, but do not
attach the tube of other microscopes.
NOTE
·Do not hold the stage b or the tube c, since they may
be damaged.
·When carrying the microscope, be sure to remove the
specimen and filters in advance, since they are in a risk of
falling. Also, be careful not to touch the objective.
·Do not carry the microscope keeping the AC adapter
connected to the microscope. The AC adapter or the
microscope may be damaged by hitting the output
connector of the AC adapter.
·When carrying the microscope, be careful not to touch the
objective.
NOTE
c
b
a

4
1. Do not leave stains or fingerprints on the lenses and filters. If they get dirty, blow away dust with a commercially
available blower and gently wipe the lens or filter with a piece of cleaning paper (or clean gauze). Only when cleaning
fingerprints and oil stains, slightly moisten a piece of cleaning paper with commercially available absolute alcohol
and wipe them off with it.
Since the absolute alcohol is highly flammable, it must be handled carefully. Be sure to keep it away
from open flames or potential sources of electrical sparks. For example, the electrical equipment that
is switched ON and OFF may cause the ignition of a fire. Also, always use absolute alcohol only in a
well-ventilated room.
2. Wipe the portions other than the lens with a dry soft cloth. If the dirt cannot be removed by dry-wiping, moisten a soft
cloth with diluted neutral detergent and wipe the dirty surface with it.
Do not use organic solvents because they may deteriorate the coated surface or plastic parts.
3. After using this product, store it in a dry place or cover it with a dust cover. If you need the dedicated dust over (made
by Olympus), contact Olympus.
Do not use a highly sealable cover, such as a plastic bag, etc. as a dust cover. The humidity in the
microscope may increase to damage the product.
4. When disposing of this product, be sure to follow the regulations and rules of your local government. Contact Olympus
for any questions.
CAUTION
NOTE
NOTE
Maintenance and storage
Intended use
This product has been designed to be used to observe magnified images of specimens in various routine work and
research applications.
This includes the observation of living cells or of specimen taken from tissues to gain physiological or morphological
information at hospitals or laboratories. Typical field of applications are genetics, human blood and tissue examination,
neurology, pharmacology and cellular biology.
Do not use this instrument for any purpose other than its intended use.
This product complies with the requirements of directive 98/79/EC concerning in vitro
diagnostic medical devices. CE marking means the conformity to the directive.
This product is applied with the requirements of EMC standard IEC/EN61326-2-6 and
IEC/EN61326-1 concerning electromagnetic compatibility.
This product complies with the emission and immunity requirements described in IEC61326
series. The electromagnetic environment should be evaluated prior to operation of this product.

5
CX33
1 Standard combination
Refer to the drawing below and make sure that all necessary units are included in the product you purchased.
Option units
Eyepieces
Revolving nosepiece
Stage
Tube
Power cord
AC adapter
· Eyepiece (2 pieces)
WHSZ15X-H
· Filter holder
CH2-FH
· Darkfield ring
CH2-DS
· 20X objective
100X objective
· Eyepiece micrometer
(Ø24mm, Thickness: 1.5mm)
· Ø45mm filter
· Camera adapter
U-TV1xC
· Camera
DP22 or DP27
· Specimen hold plate · Specimen holder
CX3-SHP CX3-HLDT
Objective
Microscope
frame
Condenser

6
2 Nomenclature of operating portions
Y-axis knob
Revolving nosepiece
X-axis knob
Light path selection knob
Aperture diaphragm lever
Specimen holder
Brightness adjustment knob
(The filter of 45mm in
diameter can be inserted.)
Diopter adjustment rings
Binocular portion
Diopter adjustment rings
Aperture diaphragm lever
X-axis knob
Brightness adjustment knob
(The filter of 45mm in
diameter can be inserted.)
Specimen holder
Light path selection knob
Filter
Filter holder
(For darkfield observation)
Coarse focusing knob
Specimen holder
fixing knobs
Coarse focusing knob
Fine focusing knob
Fine focusing knob
Main switch
: Power is ON.
: Power is OFF.
Main switch
Y-axis knob
Fine focusing knob
X-axis knob
Y-axis knob
Pre-focusing lever
Tension adjustment ring
Coarse focusing knob
Fine focusing knob
Binocular portion

7
CX33
(Operation portion) (Page)
c
Filter
(Diameter:45mm) 31
2 Brightness adjustment knob 9
1 Main switch 9
4 Specimen holder 10
3 Light path selection knob 9
5 X-axis/Y-axis knobs 12
7 Coarse/fine focusing knobs 14
2 Brightness adjustment knob 9
8 Binocular portion 15
6 Revolving nosepiece 14
7 Coarse/fine focusing knobs 14
a Aperture diaphragm lever 17
6 Revolving nosepiece 14
9 Diopter adjustment ring 16
2 Brightness adjustment knob 9
Place the specimen on the stage.
Engage the 10X objective in the light path.
Bring the specimen into focus and adjust the brightness.
Set the main switch to (ON) and adjust the brightness.
For brightfield observation, adjust the aperture diaphragm.
Select the light path. (Trinocular tube)
Only for darkfield observation
Place the darkfield
ring slit. b
Filter holder
17
Adjust the interpupillary
distance.
Adjust the diopter.
Observation
Adjust the brightness.
Engage the objective you use in the light path and bring
the specimen into focus.
Place the necessary filter.
3 Outline of brightfield/darkfield observation methods

8
Make a copy of this observation procedure guide and put it near the microscope to use for observation.
TIP
9
3
1
7
5
2
b
a
4
8
6
c

9
CX33
4 Observation procedures
1 Turning ON the LED illumination
Set the main switch a to (ON).
Rotating the brightness adjustment knob b in the arrow direction
increases the brightness and rotating it in the opposite direction
decreases the brightness.
1
2
2 Selection between the eyepiece light path and the camera light path
You can select the light path for observing the image with eyepieces or the
light path for observing the image on monitors, etc. via camera.
Rotate the light path selection knob a of the trinocular tube to
select the light path. (Light intensity ratio: 100:0)
: Eyepiece
: Camera
Be sure to rotate the light path selection knob completely
until it stops to acquire the proper observation image.
1
NOTE
a
a
b

10
For procedures to attach the specimen holder (option), see
page 30.
When using the specimen hold plate CX3-SHP (Option)
Rotate the coarse focusing knob a in the arrow direction to fully
lower the stage.
Place the specimen on the resin sheet b.
·The outside of the aperture c of the resin sheet is not
illuminated by the light from the condenser, the specimen
cannot be observed.
When operating the X-axis knob, be careful not to cover
the aperture of the stage with the resin sheet.
·The specimen hold plate cannot be used in combination
with the 100X oil immersion objective because the optical
performances cannot be delivered sufficiently during
observation using the 100X oil immersion objective.
·The specimen hold plate cannot be used for the darkfield
observation because the shadow appears in the center of
the field of view during darkfield observation.
For fixing the stage, see page 13.
TIP
1
2
NOTE
TIP
3 Placing the specimen
Specimen holder for observing one specimen
Rotate the coarse focusing knob a in the arrow direction to fully
lower the stage.
Press the specimen holding lever knob b backward (arrow direction)
to open the lever c, and slide the specimen from front to back on
the stage to place it.
After placing the specimen, return the specimen holding lever c
gently.
Place the specimen carefully. If you return the specimen
holding lever c with excess force or release your hand
from the specimen holding lever knob b in the middle,
the lever may collide with the specimen to damage it.
Placing the specimen with one hand
Rotate the coarse focusing knob a in the arrow direction to fully
lower the stage.
Place the specimen on the front side of the stage.
Spread the specimen holding lever c at the edge of the specimen
as shown in the picture on the left, and slide the specimen from front
to back on the stage to place it.
1
2
3
NOTE
1
2
3
b
c
b
a
a
a
c
c

11
CX33
b
a
When using the specimen holder CX3-HLDT (Option)
Rotate the coarse focusing knob a in the arrow direction to fully
lower the stage.
Press the specimen holding lever knob b backward (arrow direction)
to open the lever c, and slide the specimen from front to back on
the stage to place it.
After placing the first specimen until it touches the end, place the
second specimen so that it touches the first specimen.
After placing the specimens, return the specimen holding lever c
gently.
Place the specimen carefully. If you return the specimen
holding lever c with excess force or release your hand
from the specimen holding lever knob b in the middle,
the lever may collide with the slide glass to damage it.
1
2
3
4
NOTE
Slide glass
It is recommended to use the following slide glassesa.
Length: 76 mm, Width: 26 mm, Thickness: 0.9 to 1.4 mm
(Thickness: 0.9 to 1.2 mm for darkfield observation)
Use the cover glass b with the thickness of 0.17mm to
fully deliver the performance of objective.
NOTE
b
c
a

12
Scale of specimen position
By reading and taking a note of X-axis and Y-axis scales of the observation
position on the specimen, you can return to the original observation position
easily even if the specimen is moved.
< Reading the scale >
Read the "0" position of the outside scale (vernier scale) by the inside
scale (main scale).[ a ]
The scale indicates the unit of 1 mm.
Read the position where the outside scale line coincides with the
inside scale line by the outside scale (vernier scale).[ b ]
The scale indicates the unit of 0.1 mm.
The position shown in the left picture can be read as
137.8 mm.
1
2
TIP
Moving the specimen
· Rotating the upper Y-axis knob a moves the specimen in the Y-axis
direction (front and back).
· Rotating the lower X-axis knob b moves the specimen in the X-axis
direction (right and left).
Stage movable range: Depth 52 mm x Width 76 mm
·Do not move the specimen by touching the specimen
holder directly by hand, since it will damage the rotary
mechanism of the knobs.
·The rotation torque of X-axis and Y-axis knobs become
heavier near the end of movable range of X-axis and
Y-axis. In this case, stop rotating the knob.
· If the stage knob rubber c is attached and it is difficult to
operate the stage, remove the stage knob rubber.
If you want to change the height of the stage knob rubber, move
the stage knob rubber up and down to adjust it.
· When attaching the stage knob rubber, insert the larger one to
the Y-axis knob (upper side) and the smaller one to the X-axis
knob (lower side) from below.
NOTE
TIP
b
c
a
ab

13
CX33
How to track the
image that moves
to the left (how to
move the image to
the right)?
Move the
specimen to the
front.
How to move
the image in the
lower area to the
upper area?
Move the
specimen to the
left.
Direction of moving the image
How to track an observation image
The up-down and left-right movements of the image
observed through eyepieces are opposite to the
movements of the specimen.
NOTE
Fixing the stage
If you want to move the observation position by moving the specimen with
your finger without using the specimen holder, the stage can be fixed so
that it does not move unexpectedly.
Move the X-axis/Y-axis knobs to match the hole a at the back right
of the stage with the screw hole b.
Put the stage fixing knob c through the hole a, and screw it in the
screw hole b to fix the stage.
The stage fixing knob is provided with the microscope.
Be sure to store the stage fixing knob in the safe place.
1
2
NOTE
b
a
c

14
5 Focusing on the specimen
Rotate the coarse focusing knob a in clockwise direction (arrow
direction) facing the microscope from right side to move the objective
c to the specimen as close as possible.
While observing the specimen through the eyepieces, slowly rotate
the coarse focusing knob a in the direction opposite to the arrow
to lower the stage.
When the specimen comes into view, rotate the fine focusing knob
b to bring the specimen into focus precisely.
1
2
3
The tension of the coarse focusing knob can be adjusted.
Insert a commercially-available flathead screwdriver into the groove c of
the tension adjustment ring. Rotating it clockwise (arrow direction) increases
the tension and counterclockwise decreases the tension of the coarse
focusing knob a.
If the stage descends by its own weight or the focus obtained
with the fine focusing knob b is lost soon, the tension is set
too loose. In this case, rotate the tension adjustment ring in
the arrow direction to increase the tension.
TIP
Adjusting the tension of the coarse focusing knob
4 Selecting the objective
Hold the revolving nosepiece a and rotate it so that the intended
objective comes exactly above the specimen.
·Do not rotate the revolving nosepiece by holding the
objective.
·Be careful if you rotate the revolving nosepiece while
observing the edge of the slide glass with the high
magnification objective (40X, etc.), the objective may
interfere with the specimen holder.
For attaching and removing the objectives, see page 29.
1
NOTE
TIP
a
c
ba
c
b
a

15
CX33
6 Adjusting the interpupillary distance
The interpupillary distance adjustment is to adjust the distance between
two eyepieces according to the distance between your eyes. This makes
it possible to observe a single image and to reduce eye strain during
observation.
Keep the right and left eyepieces horizontally. While looking through
the eyepieces, move the binocular portion either in a or b direction
until the right and left fields of view coincide completely. The value
shown by the indicator (protrusion) c on the left side eyepiece sleeve
represents your interpupillary distance.
· Note your interpupillary distance so that it can be easily
adjusted next time.
· You can adjust your interpupillary distance by moving the
binocular portion either to upper or lower side. Select the upper
side or the lower side according to your observation posture.
1
TIP
a
b
Using the pre-focusing lever
The pre-focusing lever prevents the specimen from being damaged by
collision between the specimen and objective.
After bringing the specimen into focus with the high magnification
objective, rotate the pre-focusing lever a in the arrow direction until
it stops.
To provide a certain margin for focusing range, rotate the pre-focusing
lever a by about half turn in the direction opposite to the arrow
direction from the stopped position.
1
2
If the pre-focusing lever is not positioned appropriately,
the stage may not rise and the specimen may not be
focused. In this case, adjust the pre-focusing lever
position again.
It is recommended to use the pre-focusing lever to prevent the
specimen from damage, but if you do not use the pre-focusing
lever, rotate the pre-focusing lever in the direction opposite to
the arrow direction until it stops.
NOTE
TIP
c
a

16
7 Adjusting the diopter.
The diopter adjustment is to compensate for the difference in eyesights
of left and right eyes of the observer.
Rotate the diopter adjustment rings a of the right and left eyepieces
and move each scale “0” to each index b.
Engage the 10X objective in the light path and rotate the coarse/fine
focusing knobs to bring the specimen into focus.
Change to the 40X objective, and rotate the coarse/fine focusing knobs
to bring the specimen into focus.
Change to the 10X objective. While looking through the right eyepiece
with your right eye, rotate the diopter adjustment ring a to bring the
specimen into focus.
In the same manner, while looking through the left eyepiece with
your left eye, rotate the diopter adjustment ring to bring the specimen
into focus.
Change to the 40X objective again, and rotate the coarse/fine focusing
knobs to bring the specimen into focus.
Change to the 10X objective, and check that the specimen is in focus
by looking through the right and left eyepieces.
If the specimen is not in focus, repeat from 4 to 6.
1
2
3
4
5
6
TIP
0 10 20 30 40 50 60 70 80 90 100
Eyepiece micrometer
a
For attaching the eyepiece micrometer, see page 28.
TIP
b
a
While looking through the eyepiece equipped with the eyepiece
micrometer, rotate the diopter adjustment ring a to adjust so that
the scales and lines of the eyepiece micrometer can be viewed clearly.
Engage the 10X objective in the light path. While looking through the
eyepiece equipped with the eyepiece micrometer, rotate the coarse/
fine focusing knobs to bring the specimen into focus.
While looking through the eyepiece which is not equipped with the
eyepiece micrometer, rotate the diopter adjustment ring a to bring
the specimen into focus.
1
2
3
When the eyepiece micrometer is attached to the eyepiece
Table of contents
Other Olympus Microscope manuals

Olympus
Olympus BX51-P User manual

Olympus
Olympus FH User manual

Olympus
Olympus IX81-ZDC2 User manual

Olympus
Olympus VANOX User manual

Olympus
Olympus STM7 User manual

Olympus
Olympus Discover FV10i Owner's manual

Olympus
Olympus IX73 User manual

Olympus
Olympus GX41 User manual

Olympus
Olympus CHA User manual

Olympus
Olympus SZX16 User manual

Olympus
Olympus U-LGPS User manual

Olympus
Olympus Fluoview FV1000 User manual

Olympus
Olympus IX71 User manual

Olympus
Olympus U-D7RES User manual

Olympus
Olympus BHSU Installation instructions

Olympus
Olympus ST. HS User manual

Olympus
Olympus V60 User manual

Olympus
Olympus BX41 User manual

Olympus
Olympus CH2 Series Operating instructions

Olympus
Olympus U-MDOB3 User manual