TO OLYMPUS MICROSCOPE SERVICING PERSONNEL
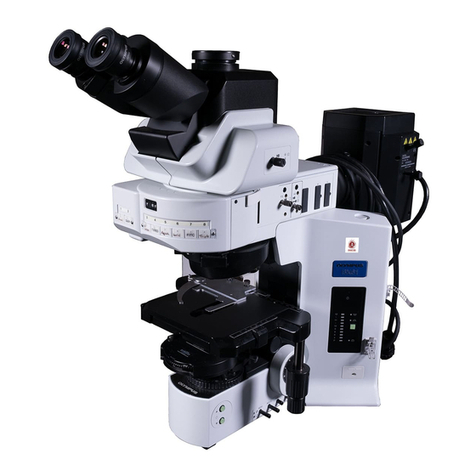
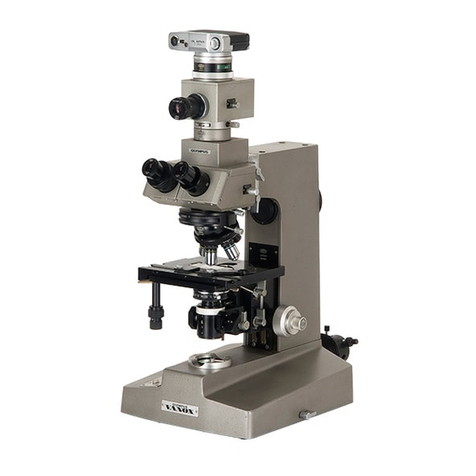
Model
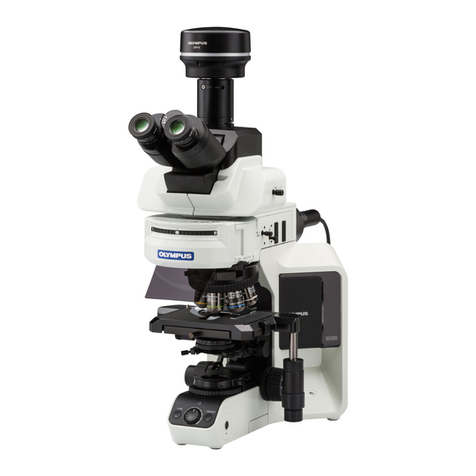
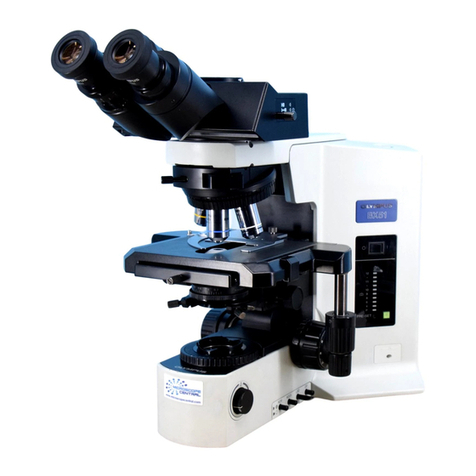
VANOX
(AH)
is
designed
as
aversatile research microscope equipped
with
various accessories.
This repair manual describes repairing procedures in principle
for
its standard configuration
as
abiological
microscope.
The
focusing mechanism
of
the microscope
is
largely
different
from
that
of
BH
or
BH2 since the
former
must
assure
robbustness,
durability
and accuracy compatible
with
heavy accessories
to
be
attached
to
it.
Therefore,
the
focusing mechanism
can
rarely
be
troubled in practical
use.
After
it
has
been
used
for
a
long
time,
however,
it
will
require lubrication and repair
to
protect
it
from
dust,
humidity,
etc.
The
special
tools
listed in this manual must
be
employed
for
disassembling the instrument; otherwise
it
may
not
be
disassembled
or
parts may
be
damaged.
The
observation
tube
is
equipped
with
aconstant tube length adjustment
(to
automatically compensate
for
variation
of
interpupillary
distance between binocular tubes) and must
be
adjusted elaborately
as
described
in this manual
after
disassembly
of
the prism. Do
not
attempt
disassembly
of
the prism when the special
tools
for
adjustment are
not
available
at
the
site.
In
the
diescriptions contained in this manual,
"right"
and
"left"
are
defined in the direction
as
seen
by
the
microscopist
sitting
in the observing position through the microscope, unless other wise specified.
For cleaning lenses, a
liquid
mixture
of
alcohol (3) and ether (7) should
be
used.
For
details, reference
should
be
made
to
"How
to
Clean
the
Microscope" which
is
available upon separate request.
Requisites
for
repairs:
1.
First
of
all, ascertain
what
parts
of
the microscope the user
or
owner
of
which wishes you
to
repair.
2. Never fail
to
check
the
entire
function
of
the microscope before you commence its repair.
a)
Find
out
what
parts
are
defective and
how
much they are damaged.
b)
Prior
to
repair,
think
of
the best possible order
of
disassembling the defective parts in amost
efficient
way.
3.
After
completing
the
repair, check the functions
of
not
only
the re-assembled parts
but
also the entire
microscope
to
make sure no defect should be
left
unremedied.
4.
Be
careful
not
to
deform
repair parts during the assembly; make
it
practice
to
use
tools and jigs
specified
for
purpose.
5. Make repairs
promptly
and
accu
rately.


