manuals.online logo
Brands
  1. Home
  2. •
  3. Brands
  4. •
  5. Olympus
  6. •
  7. Printer
  8. •
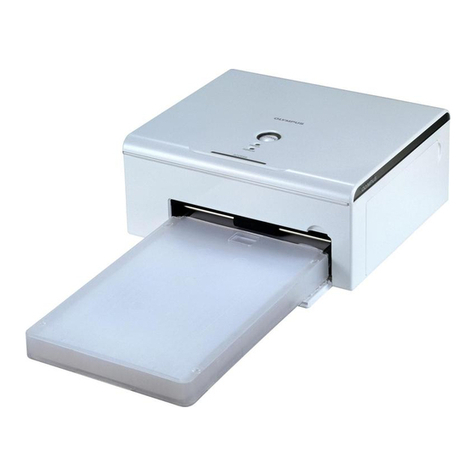
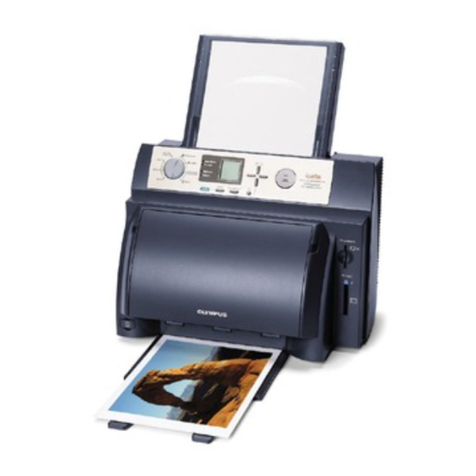
  9. Olympus PS100 - Photo Printer - 50 Sheets User manual

Olympus PS100 - Photo Printer - 50 Sheets User manual

QUICK START GUIDE
P-S100
Digital Photo Printer
OK
OK
PRINT
SEL.PRINT
EXIT
PC / PRINTER
GO
SELECT
PC
OK
For printing, a paper-in tray and a ribbon cartridge are required (both
supplied, as well as commercially available as replacements).
Thank you for purchasing this OLYMPUS
Digital Photo Printer P-S100.
This guide contains instructions for
using this printer with other Olympus
Dock&Done products.
For details on operations and settings,
refer to the supplied user’s manual
For inquiries, contact the OLYMPUS service
center listed in the user’s manual.
Your new life of photography has begun.
What is QDock&Done?
Dock&Done is a total digital photography system that puts personal
imaging into a single process. For example, by simply setting the digital
camera on the cradle, new pictures are saved, photo printing is prepared,
and the camera’s batteries are recharged.
aSet the print order (DPOF) for the image files to be
printed on the digital camera.
bConnect the USB cable to the cradle of the digital
camera.
cConnect the AC adapter and the power cord, then
turn on the printer.
dSet the digital camera on the cradle.
eOn the digital camera, select “PRINT” from the
“PC/PRINTER” menu, then press the 9button.
Image files with print orders are printed.
QDock&Done printing
Digital Camera
Print with a
PictBridge-compatible camera
QDock&Done-compatible digital camera
QDock&Done-compatible
digital camera and storage unit*
Print directly by
QDock&Done
Digital
Photo Printer
PC
Regular printing
* Sold separately
Printer setting
Setting the paper-in tray
aOpen the ribbon cartridge
door.
Setting the ribbon cartridge
bRemove slack from the ribbon.
If the ribbon cassette has been
used before, take in any ribbon
slack before loading.
cInsert the ribbon cartridge into the printer following
the direction of the arrow, and then close the ribbon
cartridge door completely.
• Push the cartridge until it clicks.
• If the ribbon cartridge door cannot
be closed completely, take out the
ribbon cartridge and then reinsert
it.
Go to “Printing with the PictBridge-compatible camera” for PictBridge
printing. Go to “Printing with a PC” for PC printing.
Connecting with a Dock&Done-compatible digital
camera
Tips
• If you do not set the print order, select “SEL.PRINT” to set printing in the
PictBridge mode.
• For details on the print order (DPOF), refer to the reference manual supplied
with the digital camera.
Tip
Availability of these models may vary from country to country.
User registration
To stay informed of important updates and news regarding your Olympus
product, it is recommended to register your purchase. You can register by
one of the following ways:
• Register online
Install the software from the supplied CD-ROM.
When restarting your computer after installation, the registration screen
appears.
• Use the registration card*
Fill out the supplied registration card, and return it by mail.
Open the paper-in tray door
and insert the paper-in tray
all the way.
• Push the paper-in tray until it clicks into place.
• When closing the paper-in tray door, push the paper-in tray door tab in as
you close the door until it clicks into place and locks.
* Not provided in some areas.
NG058202
Printed in MALAYSIA
857C087-20
PCDOCK
OK
STORING ONLY
EXIT
20SEC. TILL AUTO-STORE
STORE PRINT
DOCK MODE
STORE SEL. PRINT
OK
GO
SELECT
RESTART
CANCEL
DOCK MODE
SUSPEND
PC
Lower the
shutter
Printing
On the digital camera, select the desired item from the
“QDOCK MODE” menu.
A
Press the a/cbutton to select the desired item.
“STORE :PRINT” Stores only the newly taken image files of the
digital camera, and print the image files with the
print order.
“STORING ONLY” Stores only the newly taken image files of the
digital camera.
“STORE :SEL. PRINT”*Stores only the newly taken image files of the
digital camera, and the print setting screen
appears.
“EXIT” Closes the “QDOCK MODE” menu without
storing or printing.
* This is for PictBridge mode. For details on the print settings, refer to the reference
manual supplied with the digital camera.
Tips
• “STORE
:SEL.PRINT” is not available if print orders of image files are set.
• The storage unit starts storing image files automatically if no menu operation is
performed within 20 seconds.
aPress the 9button on the digital camera during
printing.
The confirmation screen appears.
Use the USB cable supplied with the digital camera for connection.
aConnect the digital camera to the printer.
Cancel automatic print
bSelect “CANCEL,” then press the 9button.
Printing is canceled, and the digital camera turns off
automatically.
Tip
If you select “RESTART,” printing will restart.
Printing with a PictBridge-compatible cam
era
bControl print operations using the digital camera.
Tip
For details on PictBridge, refer to the instruction manual supplied with the digital
camera.
Use a commercially available USB cable (A-B type, less than 3 m (9.8 ft.)).
Connect your PC to the printer.
Printing with a PC
Tip
For details, refer to the user’s manual supplied with the printer.
Dock&Done-compatible
camera
Another PictBridge-compatible
camera
Connecting the Dock&Done-compatible digital
camera to the storage unit
aSet the print order (DPOF) for the image files to be
printed on the digital camera.
bConnect the printer and the storage unit with the
Dock&Done cable KP16 (sold separately), connect the
AC adapter and the power cord to the printer, then
turn the printer on.
cDock the cradle of the digital camera to the storage
unit.
dTurn on the storage unit, then set the Dock&Done/PC
mode switch to “QDOCK.”
eSet the digital camera on
the cradle.
The “QDOCK MODE”menu is
automatically displayed on the camera screen.
Tip
For details on connections, refer to the user’s manual supplied with the storage unit.
PRINT
SEL.PRINT
EXIT
PC / PRINTER
GO
SELECT
PC
Dock&Done-compatible
digital camera screen
Sample digital
camera screen
QDock&Done
storage connector
Lift the shutter
9button
ac buttons
Lower the shutter
BPress the 9button.

Other manuals for PS100 - Photo Printer - 50 Sheets

1

Other Olympus Printer manuals

Olympus CAMEDIA P-440 User manual

Olympus

Olympus CAMEDIA P-440 User manual

Olympus P-10 User manual

Olympus

Olympus P-10 User manual

Olympus Camedia P-330E User manual

Olympus

Olympus Camedia P-330E User manual

Olympus oep-4 User manual

Olympus

Olympus oep-4 User manual

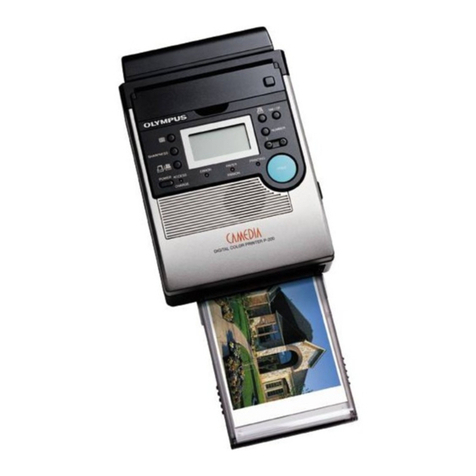
Olympus CAMEDIA P-200 User manual

Olympus

Olympus CAMEDIA P-200 User manual

Olympus CAMEDIA P-200 User manual

Olympus

Olympus CAMEDIA P-200 User manual

Olympus P 400 Quick start guide

Olympus

Olympus P 400 Quick start guide

Olympus OP1 SERIES User manual

Olympus

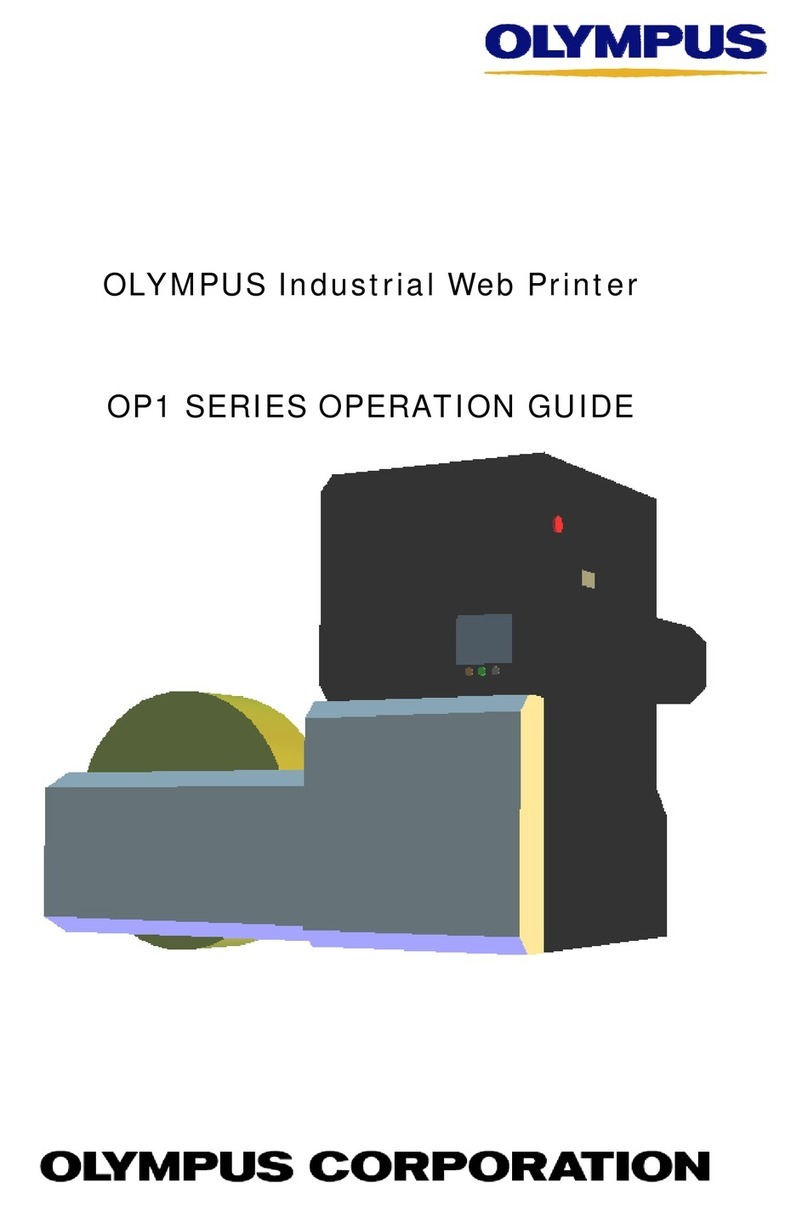
Olympus OP1 SERIES User manual

Olympus P 400 Product information sheet

Olympus

Olympus P 400 Product information sheet

Olympus PS100 - Photo Printer - 50 Sheets User manual

Olympus

Olympus PS100 - Photo Printer - 50 Sheets User manual

Olympus CAMEDIA P-330 User manual

Olympus

Olympus CAMEDIA P-330 User manual

Olympus CAMEDIA P-300E User manual

Olympus

Olympus CAMEDIA P-300E User manual

Olympus P-10 User manual

Olympus

Olympus P-10 User manual

Olympus P 400 User manual

Olympus

Olympus P 400 User manual

Olympus P 400 Product information sheet

Olympus

Olympus P 400 Product information sheet

Olympus UP-2100 User manual

Olympus

Olympus UP-2100 User manual

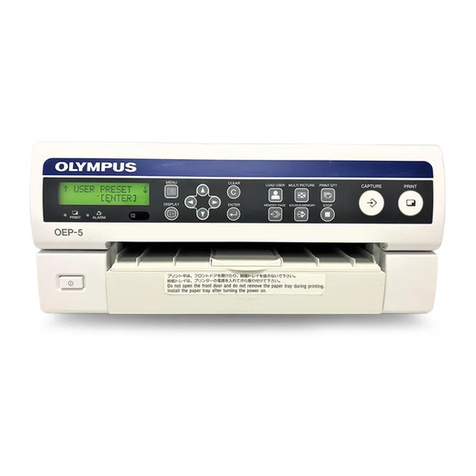
Olympus OEP-5 User manual

Olympus

Olympus OEP-5 User manual

Olympus P-11 User manual

Olympus

Olympus P-11 User manual

Olympus P-10 Manual

Olympus

Olympus P-10 Manual

Olympus CAMEDIA P-400ID User manual

Olympus

Olympus CAMEDIA P-400ID User manual

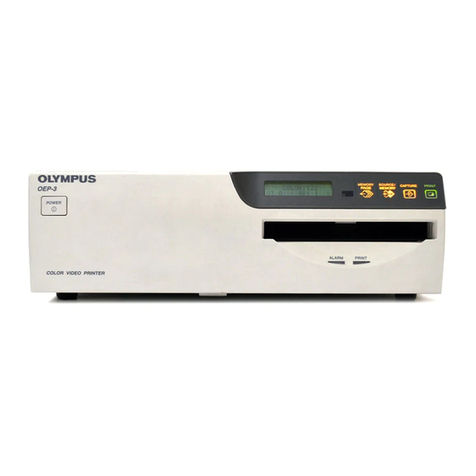
Olympus OEP-3 User manual

Olympus

Olympus OEP-3 User manual

Popular Printer manuals by other brands

Hitachi PH instruction manual

Hitachi

Hitachi PH instruction manual

Brother HL-2400C Series Service manual

Brother

Brother HL-2400C Series Service manual

Kyocera TASKalfa PA4500ci Operation guide

Kyocera

Kyocera TASKalfa PA4500ci Operation guide

Printronix P8000 Series Maintenance manual

Printronix

Printronix P8000 Series Maintenance manual

Brother VC-500W user guide

Brother

Brother VC-500W user guide

Lexmark Z2400 Series user guide

Lexmark

Lexmark Z2400 Series user guide

Brady BradyPrinter S3000 user manual

Brady

Brady BradyPrinter S3000 user manual

Epson Stylus Color 670 manual

Epson

Epson Stylus Color 670 manual

Lexmark M1145 Connection guide

Lexmark

Lexmark M1145 Connection guide

Cycjet ALT360HP manual

Cycjet

Cycjet ALT360HP manual

Xerox 8860MFP - Phaser Color Solid Ink Evaluator guide

Xerox

Xerox 8860MFP - Phaser Color Solid Ink Evaluator guide

Epson B-510DN - Business Color Ink Jet Printer Specifications

Epson

Epson B-510DN - Business Color Ink Jet Printer Specifications

Brother PocketJet 6 user guide

Brother

Brother PocketJet 6 user guide

Seiko IP-7900 Operation guide

Seiko

Seiko IP-7900 Operation guide

ZHUHAI HONOR TECHNOLOGY XPOS-I100 user guide

ZHUHAI HONOR TECHNOLOGY

ZHUHAI HONOR TECHNOLOGY XPOS-I100 user guide

Lexmark Multifunction Laser Using

Lexmark

Lexmark Multifunction Laser Using

Printronix T8000 Administrator's manual

Printronix

Printronix T8000 Administrator's manual

Kyocera ECOSYS M6230cidn quick guide

Kyocera

Kyocera ECOSYS M6230cidn quick guide

manuals.online logo
manuals.online logoBrands
  • About & Mission
  • Contact us
  • Privacy Policy
  • Terms and Conditions

Copyright 2025 Manuals.Online. All Rights Reserved.