Page - 37
• When the system does send a signal to the Echo transceiver, a few seconds is needed for this
“handshake” to occur. If the system is operated rapidly, as in quickly repeating arm and disarm
cycles, the Echo will not have time to receive the signal from the system, and therefore it will stop
responding and reporting the system’s status. This symptom does not occur in normal operation.
• A final point to remember is that the Echo transceiver cannot receive a signal from the host alarm
system while it itself is transmitting. For normal operations, the Echo’s buttons are pressed and
released. Even when “Panic” is operated, the Echo button should be released as soon as “Panic”
engages. Otherwise, the Echo cannot receive the signal from the system.
Programming the Omega Echo:
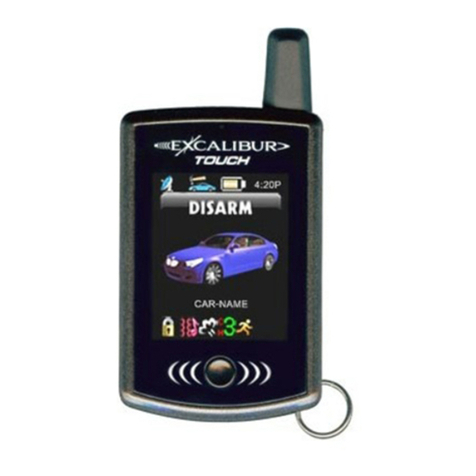
The optional Omega Echo transceiver has several user-programmable features:
✓Chirp or Mute The chirps may be turned off, and replaced with vibration.
✓Vehicle Type Choices are a passenger car, pickup truck, or van/SUV.
✓Time Adjust To set the Echo’s clock time.
✓Start Melody; and Stop Melody These are played with remote starting.
Programmingthesefeatures isasequential process- thecontrolleris placedintoprogramming mode, then
each programmable operation is accessed in turn, and either changed as desired, or left as is, and then the
next step is accessed. Programming is done using the Echo unit’s three round side buttons:
A- AtthistimeChirporMutecanbechosenbypressingthe“:”buttonfor1second.
B- Hold this button for 5 seconds to enter programming mode.
OR
1) Press and
hold the
“P” button
2) After 5 seconds the Echo chirps twice; release the “P” button; the upper rear of the
vehicle will flash; Vehicle Type may be chosen now.
Introduction to the K-9 Vehicle Security System
Page - 4
The K-9 system must be connected to existing power
doorlocks. Insomecases,thismayrequireoptionalparts
or labor.
*
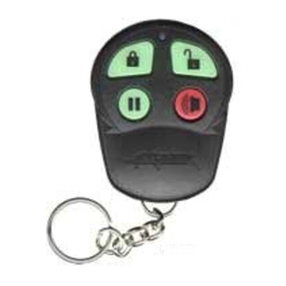
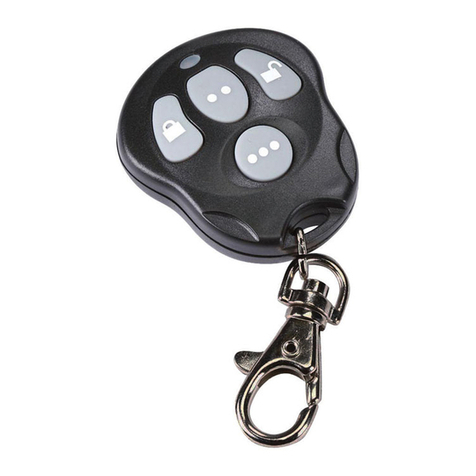
Pressing and releasing the
“arm/lock” button arms the
securitysystem and locksthe
doors.* Pressing and
holding this button for three
seconds will first arm, and
thenactivatethePanicfeature,
locking the doors.
Pressing the “II” button for two
seconds can be used to activate
an extra output, or “2nd
channel”, for an optional
function such as trunk release.
Pressing and releasing this
button twice arms or disarms
the system without the
confirmation chirps.
Pressing and releasing the “disarm/
unlock” button disarms the system
and unlocks the doors unless
the system is activated. The
unlock operation may be
configuredsothatpressingthis
buttononcedisarmsthesystem
and unlocks only the driver's
door, and pressing a second
time unlocks all of the doors.
Pressing and holding this
button for three seconds will
first disarm, and then activate
thePanicfeature,unlockingthe
doors.
Pressing the “arm/lock” and “disarm/unlock”
buttons together activates the 3rd channel output.
The red “III” button is multi-functional-it may
beprogrammedactivatethePanicfeature,without
locking or unlocking the doors, or instead it can
operate the 3rd channel output.
Lights when
transmitting.


