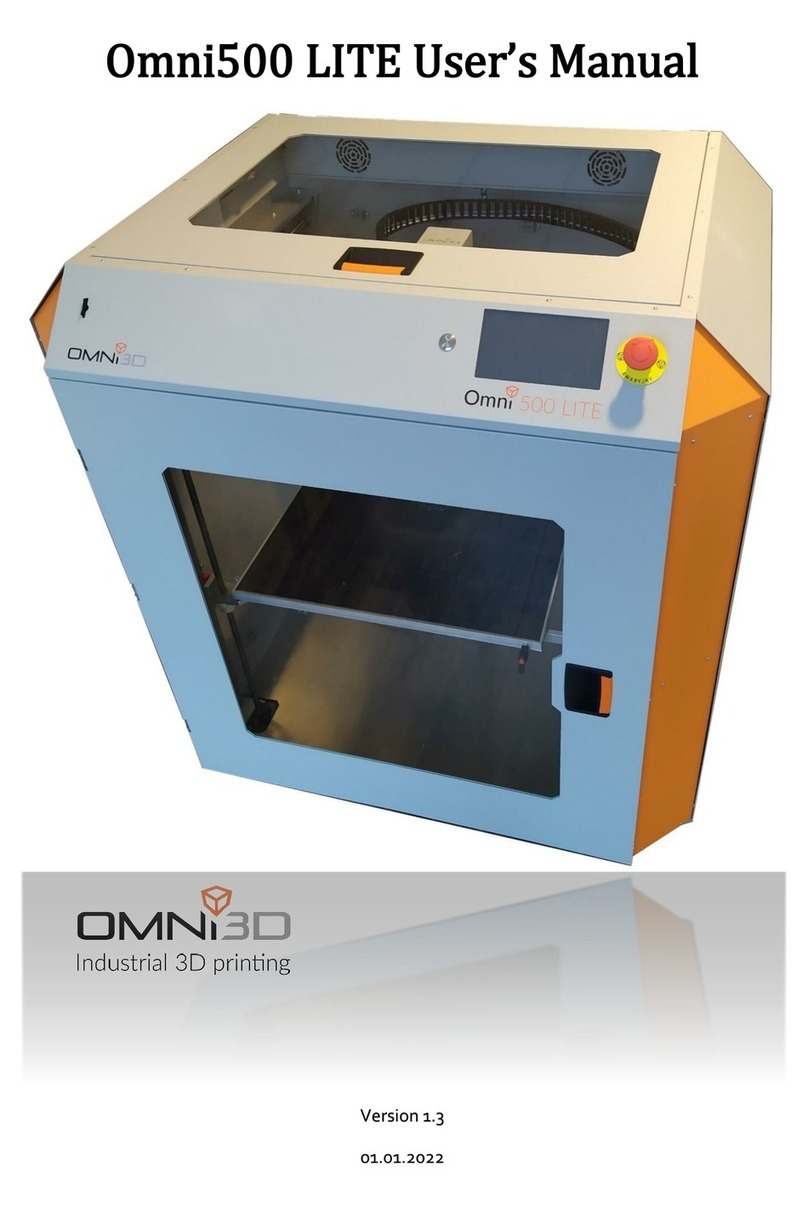
Omni3D Omni200 User manual

User manual
- 3D printer
Omni200

3
3
3
3
5
5
6
6
7
8
10
10
18
19
19
20
21
22
29
29
30
31
34
35
38
1. Important Informaon
1.1. Cauon
1.2. Consumables
1.3. Ambient requirements
2. Product Introducon
2.1. Main components
2.2. Extruder
2.3. Build plaorm
2.4. Accessories list
2.5. Specificaon
3. Start Up
3.1. Menu preview
3.2. Build plaorm calibraon
3.3. Consumables loading/unloading
3.3.1. Installaon of spool holder and bowden tube
3.3.2. Consumables loading
3.3.3. Consumables unloading
3.4. Slicing soware configuraon
4. 3D model prinng
4.1. Starng print process
4.2. Removing finished printout
Cleaning and maintenance
Materials - prinng informaon
Troubleshoong
Contact
Table of Contents

1. Important Informaon
1.1. Cauon
①
During the prinng process nozzle temperature can reach 260 °C, and the build plaorm 120 °C. For safety
reasons do not touch ready prints/ nozzle/ plaorm while prinng or cooling process.
②
Use the original power cord to prevent any damage to electrical parts.
1.2. Consumables
Omni3D printers can be used with a wide range of filaments. However, for the best print results we recom-
mend you to use Omni3D filaments or other good quality materials. Poor quality materials can provide to
clogging or even damage the extruder.
1.3. Ambient requirements
The 3D printers can work properlly with the temperature between +15 °C and +32 °C, and the ambient
humidity between 30% and 90%. Filaments should be stored hermecally if they are opened and not used for
a long me. When exposed to the environment, they will absorb moisture and dust, which will later affect print
quality.

Do not touch the heated bed during preheang or prinng.
Do not touch the prinng head during preheang or prinng.
Keep hands and other body parts away form moving parts.
Cauons
Uwaga wysoka temperatura
Caution high temperature
Uwaga wysoka temperatura
Caution high temperature
UWAGA!
Trzymaj ręce z dala od ruchomych części
Keep hands away from moving parts
WARNING!

2. Product Introducon
2.1. Main components
①
Touchscreen
②
USB port
③
Build plaorm
④
Extruder
⑤
Electronics fan
⑥
Power socket and switch

2.2. Extruder
2.3. Build plaorm
①
Nozzle;
②
Heat block;
③
Heater + tempetature sensor;
④
Heatbreak;
⑤
Heatsink;
⑥
Object fan;
⑦
Extruder fan;
⑧
Extruder cover;
⑨ Filament
clamp
①
Build plaorm;
②
Magnec mat;
③
Leveling screw (4 pcs);
④
Heang panel

2.4. Accessories list

Quanty
1
1
1
1
1
1
4
1
2
1
1
1
1
Name
Power cord
USB flash drive
Magnec mat
Full metal build plaorm
Extruder ejector rod
Wrench 6mm
Hex key 1.5 / 2 / 2.5 / 3 mm
Spool holder
Nozzle cleaning needle
Bowden tube
Side cuers
Feeler gauge
Tweezers

2.5. Specificaon
Operang voltage:
Power consumpon:
Fuse:
Print technology:
Build volume (XYZ):
Layer resoluon:
Print speed:
Files format:
Nozzle (φ):
Filament (φ):
Suitable filament materials:
Hotend temperature:
Build plaorm temp.:
Connecvity:
System requirements:
Slicer:
Operang condions:
Storage condions:
Dimension (WxHxD):
Weight:
100-240 V/AC, 50/60 Hz
max. 320 W
F10AL, 250 V
Fused Filament Fabricaon (FFF)
200 x 200 x 200 mm
0.05-0.3 mm
20-100 mm/s
GCODE
0.4 / 0.6 / 0.8 mm
1.75 mm
ABS-42, ASA-39, HIPS-20, PET-G-32, PLA-36, TPU-93A
max. 260 °C
max. 120 °C
UBS Drive / WIFI
Windows 7 or later, Mac OS 10.6.8 or later
Cura, Simplify3D and other
temperature: +15 °C - +32 °C, relave humidity: 30-90% (non-condensing)
temperature: 0 °C - +35 °C, relave humidity: 30-90% (non-condensing)
400 x 400 x 480 mm
22.6 kg

3. Start Up
3.1. Menu preview
- touchscreen is acve when the power supply is connected,
- touch the screen to perform an operaon,
- do not touch the screen with the sharp arcles.
In system menu you can check device informaon, restore default
sengs, change menu language and calibrate the touch screen.
Menu provides manual control of printer movement, preheang,
consumable loading/ unloading, leveling, fans control, emergency stop,
sound and lights on/ off.

Tools / Manual
Manual printer homing, control of movements of each axis and
execuon of the extruder gear movement.
Axes homing
Y axis moves forward
Retracon
Plaorm moves down
X axis moves right
X axis moves le
Extrusion
Y axis moves backward
Plaorm moves up
Back to previous menu
Movement value seng

Tools / Preheang
Set the temperature of the build plaorm and extruder.
Build plaorm
Decrease temperature
Current temperature
Increase temperature
Press and start heang
Target temperature
Hotend
Back to previous menu

Tools / Filament
Consumables loading and unloading.
Current temperature Target temperature
Press and start heang
Unload / Retracon
Load / Extrusion
Stop the movement of the extruder gear
Back to previous menu

Tools / Fan
Manual fan operaon sengs.
Object fan
Air volume decrease
On / Off
Extruder fan
Back to previous menu
Air volume increase

Tools / Leveling
Tools / Stop
Prinng menu
Select file and confirm to start prinng process Page up / Page down
Back to previous menu
Body1.gcode
Body2.gcode
Body3.gcode
Body4.gcode
Aer using this opon form the main menu, we go to the selecon
of the file to print.
Printer emergency stop - turn off all the motors and heaters.
With this tool, you can calibrate the build plaorm.
Detailed instrucons can be found in secon 3.2.

Prinng menu
Prinng parameters adjustment
Stop prinng
Prinng speed
Prinng process
Pause
Print me
Nozzle temperature
Remaining print me
Plaorm temperature
mm/s

Prinng parameters adjustment during the
process.
Back to previous menu
Object fan
Nozzle temperature
Print speed percentage
Biuld plaorm temperature Flow compensaon

3.2. Build plaorm calibraon
The build plaorm has been calibrated and leveled during producon, while some deviaon may
occur during shipping, so leveling must be performed before first print. The leveling procedure is
performed automacally.
Warning: The plaorm must be preheated to operang temperature before calibrang.
Aer all the steps, the build plaorm calibraon is done.

3.3. Consumables loading / unloading
3.3.1. Installaon of the spool holder and the Bowden tube

①
Cut off the end, ensuring a sharp p and feed it through the bowden. Then insert it into the extruder.
②
Enter the “Tools” menu and choose the “Filament” icon.
3.3.2. Consumables loading
③
Click on the temperature window to heat
the nozzle. Make sure the temperature is
appropriate for the filament you are using.
④
If the set temperature has been reached, click the down arrow
and gently push the filament into the extruder inlet unl the feeder
grips it.
Table of contents
Other Omni3D 3D Printer manuals