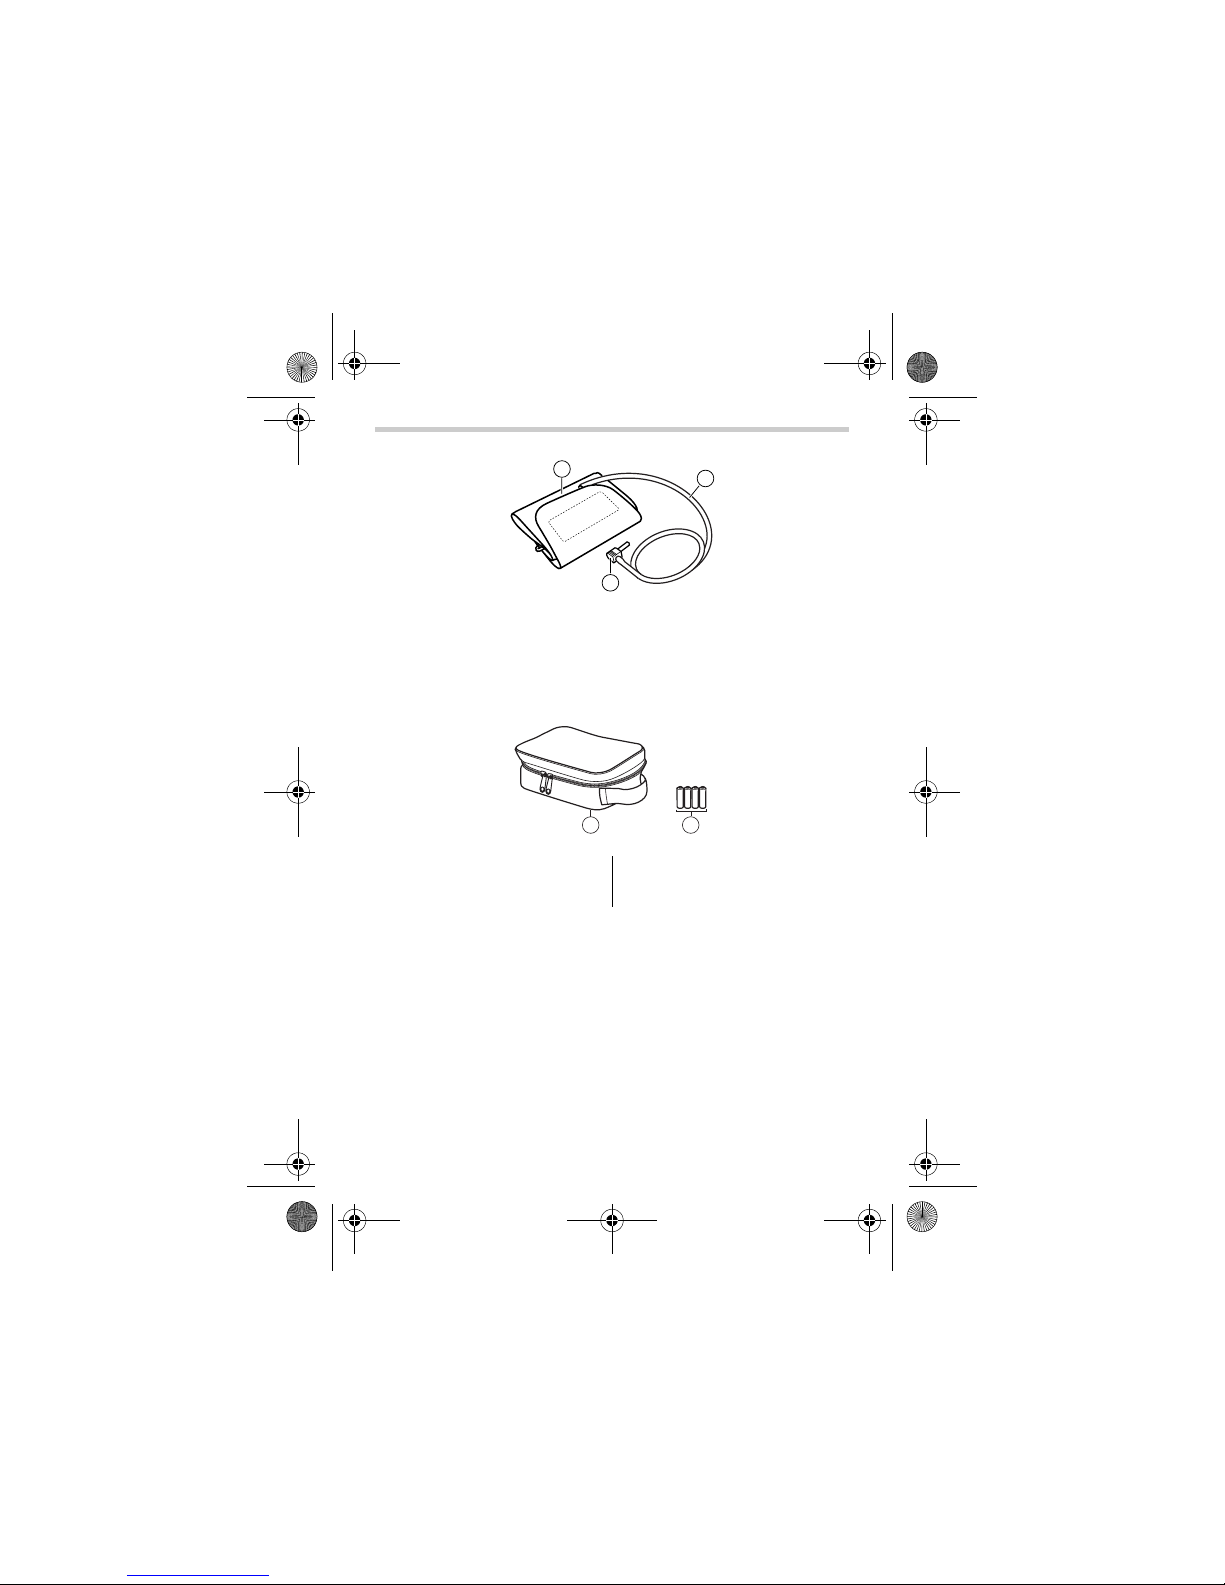
Omron HEM-7300 User manual

HEM-7300-C3_B_M01_100309.pdf
INSTRUCTION MANUAL
Automatic Blood Pressure Monitor
Model HEM-7300
HEM-7300-C3_B_M.fm Page 1 Tuesday, March 9, 2010 10:17 AM
All for Healthcare

2
Contents
Before using the unit
Introduction..................................................................................3
Important Safety Information......................................................4
1. Overview......................................................................................6
2. Preparation..................................................................................9
2.1 Installing/Replacing the Batteries........................................9
2.2 Setting the Date and Time ................................................11
Operating instructions
3. Using the Unit ...........................................................................14
3.1 How to Sit Correctly When Taking a Measurement..........14
3.2 Applying the Arm Cuff.......................................................16
3.3 Taking a Reading..............................................................18
3.4 Using the Memory Function..............................................23
Care and maintenance
4. Handling Errors and Problems................................................27
4.1 Error Messages.................................................................27
4.2 Troubleshooting ................................................................29
5. Maintenance and Storage........................................................31
6. Optional Parts...........................................................................33
7. Technical Data ..........................................................................34
8. Some Useful Information about Blood Pressure...................36
HEM-7300-C3_B_M.fm Page 2 Tuesday, March 9, 2010 10:17 AM

3
Introduction
Thank you for purchasing the OMRON HEM-7300 Upper Arm Blood
Pressure Monitor.
The OMRON HEM-7300 is a fully automatic blood pressure monitor,
operating on the oscillometric principle. It measures your blood
pressure and pulse rate simply and quickly. For comfortable controlled
inflation without the need for pressure pre-setting or re-inflation, the
device uses advanced “IntelliSense” technology.
The unit also stores up to 90 measurements in memory and calculates
an average reading based on the three most recent measurements
taken within 10 minutes of the last reading.
Please read this instruction manual thoroughly before
using the unit. For specific information about your own
blood pressure, CONSULT YOUR DOCTOR.
Before using the unit
HEM-7300-C3_B_M.fm Page 3 Tuesday, March 9, 2010 10:17 AM

4
Important Safety Information
Consult your doctor during pregnancy, arrhythmia and arteriosclerosis.
Please read this section carefully before using the unit.
Warning:
Indicates a potentially hazardous situation which, if not avoided, could
result in death or serious injury.
(General Usage)
• Always consult your doctor. Self-diagnosis of measurement results
and self-treatment are dangerous.
• People with severe blood flow problems, or blood disorders, should
consult a doctor before using the unit. Cuff inflation can cause internal
bleeding.
(Battery Usage)
• If battery fluid should get in your eyes, immediately rinse with plenty of
clean water. Consult a doctor immediately.
Caution:
Indicates a potentially hazardous situation which, if not avoided, may
result in minor or moderate injury to the user or patient or damage to the
equipment or other property.
(General Usage)
• Do not leave the unit unattended with infants or persons who cannot
express their consent.
• Do not use the unit for any purpose other than measuring blood
pressure.
• Do not disassemble the unit or arm cuff.
• Do not inflate the arm cuff over 299 mmHg.
• Do not use a mobile phone, or other devices that emit electromagnetic
fields, near the unit. This may result in incorrect operation of the unit.
• Do not operate unit in a moving vehicle (car, airplane).
HEM-7300-C3_B_M.fm Page 4 Tuesday, March 9, 2010 10:17 AM

5
Important Safety Information
(Battery Usage)
• If battery fluid should get on your skin or clothing, immediately rinse
with plenty of clean water.
• Use only four “AAA” alkaline batteries with this unit. Do not use other
types of batteries.
• Do not insert the batteries with their polarities incorrectly aligned.
• Replace old batteries with new ones immediately. Replace all four
batteries at the same time.
• Remove the batteries if the unit will not be used for three months or
more.
• When the batteries are replaced, you may need to reset the date and
time. If the year is flashing on the display screen, refer to “2.2 Setting
the Date and Time”.
• Do not use new and used batteries together.
General Safety Precautions
• Do not inflate the arm cuff when it is not wrapped around your arm.
• Do not apply strong shocks and vibrations to or drop the unit.
• Do not take measurements after bathing, drinking alcohol, smoking,
exercising or eating.
• Do not wash the arm cuff or immerse it in water.
Save these instructions for future reference.
HEM-7300-C3_B_M.fm Page 5 Tuesday, March 9, 2010 10:17 AM

6
1.Overview
1. Overview
Main unit
A. Air jack
B. Date/time setting button ( )
C. START/STOP button
D. Memory button ( )
E. AC adapter jack
F. Display
G. Battery compartment
F
C
A
G
E
D
B
HEM-7300-C3_B_M.fm Page 6 Tuesday, March 9, 2010 10:17 AM

7
1.Overview
Display
H. Systolic blood pressure
I. Diastolic blood pressure
J. Heartbeat symbol
1. Flashes during measurement
2. If flashing after measurement
complete indicates blood
pressure out of recommended
range
K. Deflation symbol
L. Memory symbol
Displayed when viewing values
stored in memory
M. Average value symbol
Displayed when viewing value
for the last three measurements
N. Battery low symbol
O. Movement error symbol
Displayed if you move your
body during the measurement
P. Pulse / Memory number
Q. Date/Time display
R. Irregular heartbeat symbol
S. Guest symbol
H
I
K
M
O
J
Q
S
P
R
L
N
HEM-7300-C3_B_M.fm Page 7 Tuesday, March 9, 2010 10:17 AM

8
1.Overview
Arm Cuff
Package contents
T. Arm cuff
(Medium cuff: arm circumference 22-32 cm)
U. Air tube
V. Air plug
W. Storage case
X. Four “AAA” alkaline (LR03)
batteries
• Instruction manual
V
U
T
XW
HEM-7300-C3_B_M.fm Page 8 Tuesday, March 9, 2010 10:17 AM

9
2.Preparation
2. Preparation
2.1
Installing/Replacing the Batteries
1. Turn the main unit upside down.
2. Slide the battery cover in the
direction of the arrow while
pressing the ribbed part of the
cover.
3. Install or replace four “AAA”size
batteries so that the + (positive)
and - (negative) polarities match
the polarities indicated on the
battery compartment.
4. Put the battery cover back in
place.
Slide the battery cover as
indicated, until it clicks into
place.
Note: The measurement values continue to be stored in
memory even after the batteries are replaced.
HEM-7300-C3_B_M.fm Page 9 Tuesday, March 9, 2010 10:17 AM

10
2.Preparation
Battery Life & Replacement
If the battery low symbol ( ) appears on the display, replace all four
batteries at the same time.
- When the battery low symbol ( ) starts to blink, you will still be
able to use the unit for a short while. You should replace the
batteries with new ones ahead of time.
- When the symbol ( ) remains lit, the batteries are exhausted. You
should replace the batteries with new ones at once. Turn the unit off
before replacing the batteries.
• Remove the batteries if the unit will not be used for three months or
more.
• If the batteries have been removed for more than 30 seconds, the
Date/Time setting will need to be reset. See “2.2 Setting the Date and
Time” for details.
• Dispose of batteries according to applicable local regulations.
Four new “AAA”alkaline batteries will last for approximately 300
measurements, when used to take three measurements a day.
Since the supplied batteries are for monitoring use only, they may have
a shorter life and not last for 300 measurements.
HEM-7300-C3_B_M.fm Page 10 Tuesday, March 9, 2010 10:17 AM

11
2.Preparation
2.2
Setting the Date and Time
Your blood pressure monitor automatically stores up to 90
measurements values with the date and time. To make use of the
memory and average values functions:
• Set the unit to the correct date and time before taking a measurement
for the first time.
• If the batteries have been removed for more than 30 seconds, the
Date/Time setting will need to be set.
1. Press and hold the Date/time
setting button ( ) to adjust the
date and time. The year digits
(2008) will flash on the display.
2. Press the Memory button ( ) to
advance the digits one at a time.
Notes:
• The range for the year setting is
2008 to 2030. If the year
reaches 2030, it will return to
2008.
• If you hold down the Memory
button ( ), the digits will
advance rapidly.
HEM-7300-C3_B_M.fm Page 11 Tuesday, March 9, 2010 10:17 AM

12
2.Preparation
3. Press the Date/time setting
button ( ) to confirm the setting
when the desired number
appears on the display.
The year is set and the month
digits flash on the display.
4. Repeat steps 2 and 3 to set the
month.
The month is set and the day
digits flash on the display.
5. Repeat steps 2 and 3 to set the
day.
The day is set and the hour digits
flash on the display.
HEM-7300-C3_B_M.fm Page 12 Tuesday, March 9, 2010 10:17 AM

13
2.Preparation
6. Repeat steps 2 and 3 to set the
hour.
The hour is set and the minutes
digits flash on the display.
7. Repeat steps 2 and 3 to set the
minutes.
The minutes settings is set.
Press the Date/time setting
button ( ) to turn the monitor
off.
When adjusting the date and
time, press the Date/time setting
button ( ) to turn the monitor
on, follow the steps above, and press the START/STOP
button to turn the monitor off.
HEM-7300-C3_B_M.fm Page 13 Tuesday, March 9, 2010 10:17 AM

14
3.Using the Unit
3. Using the Unit
3.1
How to Sit Correctly When Taking a Measurement
You can take a measurement on either your left or right arm.
Notes:
• Measurements should be taken in a quiet place and you should be in
a relaxed, seated position. Make sure that the room is not too hot or
cold.
• Avoid eating, drinking alcohol, smoking, or exercising for at least 30
minutes before taking a measurement.
• Do not move or talk during measurement.
Correct
Posture Remove tight fitting clothing from
your upper arm, and any thick
clothing such as a sweater.
Do not place the cuff over thick
clothes and do not roll up your sleeve
if it is too tight.
Sit upright
with your
back straight. Place your arm on a table so
that the cuff will be at the
same level as your heart.
The gap between the
chair and the top of the
table should be between
25cm to 30cm.
Operating instructions
HEM-7300-C3_B_M.fm Page 14 Tuesday, March 9, 2010 10:17 AM

15
3.Using the Unit
Notes:
• Correct posture during measurement is necessary to get accurate
results.
• You should also try to measure your blood pressure at the same time
each day. (Within 1 hour after waking up is recommended.)
Incorrect Posture
These situations could lead to higher blood pressure values due to
strain or the arm cuff being lower than the heart.
If the arm cuff is at a lower position than your heart use cushions
etc., to adjust the height of your arm.
• Arched back (leaning forwards)
• Sitting cross-legged
• Sitting on a sofa or at a low table
so that you tend to lean forward
HEM-7300-C3_B_M.fm Page 15 Tuesday, March 9, 2010 10:17 AM

16
3.Using the Unit
3.2
Applying the Arm Cuff
Notes:
• Be sure to wrap the arm cuff correctly so that you get accurate results.
• Measurements can be taken in light clothing. However, please remove
thick clothes, such as sweaters, before taking a reading.
• You can take a measurement on either your left or right arm. The
blood pressure can differ between the right arm and the left arm and
therefore also the measured blood pressure values can be different.
Omron recommends to always use the same arm for measurement. If
the values between the two arms differ substantially, please check
with your doctor which arm to use for your measurement.
Taking measurements on the left arm
1. Insert the air plug into the
air jack on the left side of
the main unit.
2. Put your left arm through
the cuff loop.
Note: If the cuff isnot assembled,
pass the end of the cuff
furthest from the tubing
through the metal D-ring to
form a loop. The smooth
cloth should be on the
inside of the cuff loop.
HEM-7300-C3_B_M.fm Page 16 Tuesday, March 9, 2010 10:17 AM

17
3.Using the Unit
3. Position the arm correctly.
Taking measurements on the right arm
Apply the cuff so that
the air tube is at the
side of your elbow.
• Be careful not to rest
your arm on the air
tube, or otherwise
restrict the flow of air
to the cuff.
• The cuff should be 1
to 2 cm above the
elbow.
4. When the cuff is positioned correctly, close the fabric fastener
FIRMLY.
1) The air tube should run
down the inside of your
forearm and be in line with
your middle finger.
2) The bottom of the cuff
should be approximately 1
to 2 cm above your elbow.
3) Apply the cuff to your
upper arm so that the
coloured marker (blue
arrow under tube) is
centred on the middle of
your inner arm and points
down the inside of the
arm.
1 to 2 cm
HEM-7300-C3_B_M.fm Page 17 Tuesday, March 9, 2010 10:17 AM

18
3.Using the Unit
3.3
Taking a Reading
1. Press the START/STOP button to turn on the unit.
All symbols appear on the display.
The cuff starts to inflate automatically. As the cuff inflates, the
unit automatically determines your ideal inflation level. This
unit detects the pulse during inflation. Do not move your arm
and remain still until the entire measurement process is
completed.
Note: To stop the inflation or measurement, press and release
the START/STOP button. The unit will stop inflating,
start deflation and will turn off.
2. When the measurement is complete, the
arm cuff completely deflates. Your blood
pressure and pulse rate are displayed.
HEM-7300-C3_B_M.fm Page 18 Tuesday, March 9, 2010 10:17 AM

19
3.Using the Unit
3. Press the START/STOP button
to turn the unit off.
Note: If you forget to turn the
monitor off, it will
automatically turn off after
two minutes.
Notes:
• Self-diagnosis of measured results and treatment are dangerous.
Please follow the instructions of your doctor.
• Wait 2-3 minutes before taking another blood pressure measurement.
Waiting between readings allows the arteries to return to the condition
prior to taking the blood pressure measurement.
HEM-7300-C3_B_M.fm Page 19 Tuesday, March 9, 2010 10:17 AM

20
3.Using the Unit
Using the Guest Mode
The monitor stores measurement values for one user in the memory.
The guest mode can be used to take a single measurement for another
user.
No measurement values are stored in the memory when the guest
mode is selected.
1. Press and hold the START/STOP button for 3 seconds.
The Guest symbol ( ) appears on
the display.
2. Release the START/STOP button.
The cuff starts to inflate automatically.
Note: To stop the inflation, press the START/STOP button.
The monitor will stop inflating, start deflating and turn
off.
3. Inflation stops and the measurement is started. When the
measurement is completed, your blood pressure and pulse
rate appear on the display.
HEM-7300-C3_B_M.fm Page 20 Tuesday, March 9, 2010 10:17 AM
Table of contents
Other Omron Blood Pressure Monitor manuals

Omron
Omron HEM-9200T User manual

Omron
Omron BP765 User manual

Omron
Omron M6 Comfort User manual

Omron
Omron HEM-711 User manual

Omron
Omron INTELLI-SENSE HEM-780 User manual

Omron
Omron BP4350 User manual

Omron
Omron BP769CAN User manual

Omron
Omron i-Q142 User manual

Omron
Omron IntelliSense HEM-650 User manual

Omron
Omron HEM-7121 User manual

Omron
Omron HBP-1100 User manual

Omron
Omron M7 Intelli IT User manual

Omron
Omron MIT Elite User manual

Omron
Omron HEM-712CLC User manual

Omron
Omron RS7 Intelli IT User manual

Omron
Omron Elite 7300IT User manual

Omron
Omron ReliOn HEM-741CREL User manual

Omron
Omron M10-IT User manual

Omron
Omron M6 Comfort User manual

Omron
Omron HEM907KIT User manual