One Stop Gardens 97439 Manual

6’ X 6’ GREENHOUSE
97439
SET UP AND MAINTENANCE INSTRUCTIONS
Visit our website at: http://www.harborfreight.com
Read this material before using this product.
Failure to do so can result in serious injury.
SAVE THIS MANUAL.
Copyright©2007 by Harbor Freight Tools®. All rights reserved. No portion of this manual or any artwork
contained herein may be reproduced in any shape or form without the express written consent of
Harbor Freight Tools. Diagrams within this manual may not be drawn proportionally. Due to continuing
improvements, actual product may differ slightly from the product described herein. Tools required for
assembly and service may not be included.
For technical questions or replacement parts, please call 1-800-444-3353.
MANUAL REVISED 10f

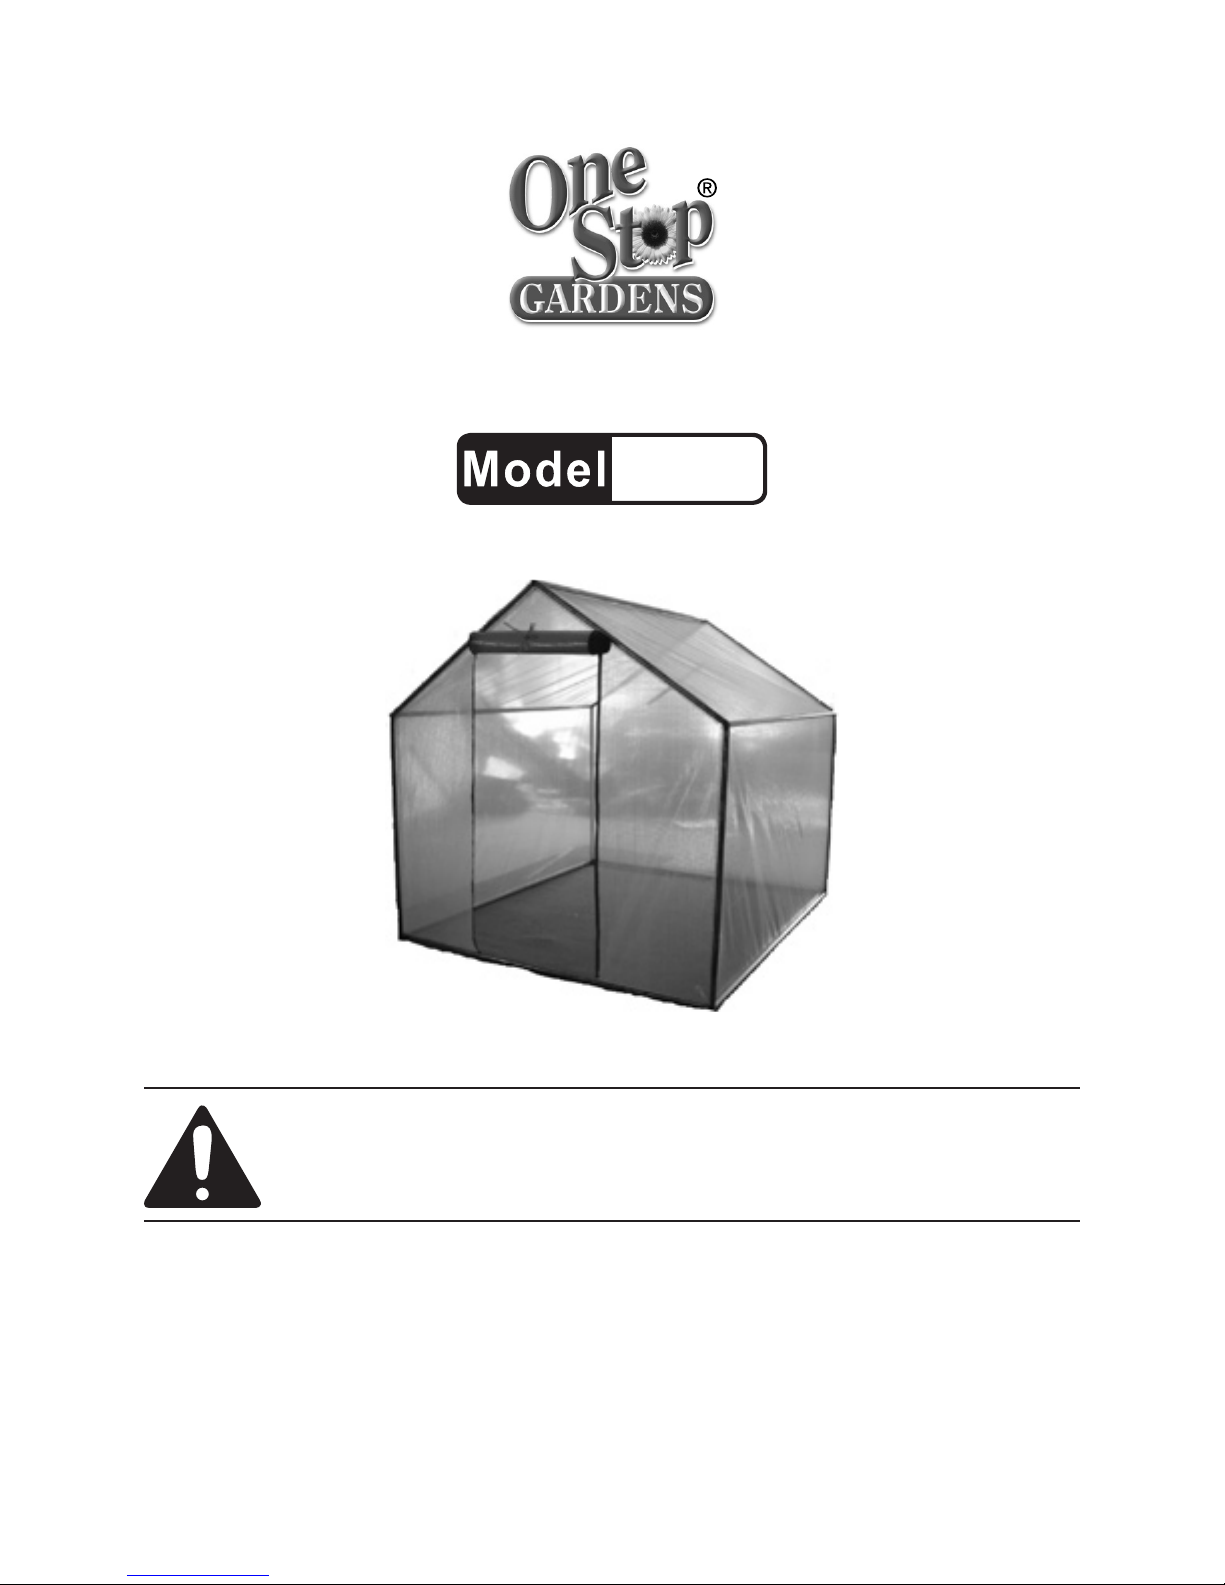
SKU 97439 For technical questions, please call 1-800-444-3353. Page 2
SAVE THIS MANUAL
Keep this manual for the safety warn-
ings and precautions, assembly, operat-
ing, inspection, maintenance and cleaning
procedures. Write the product’s serial
number in the back of the manual near the
assembly diagram (or month and year of
purchase if product has no number). Keep
this manual and the receipt in a safe and
dry place for future reference.
IMPORTANT SAFETY
INFORMATION
In this manual, on the labeling,
and all other information provid-
ed with this product:
This is the safety alert
symbol. It is used to alert
you to potential personal
injury hazards. Obey all
safety messages that
follow this symbol to avoid
possible injury or death.
DANGER indicates
a hazardous
situation which, if not
avoided, will result in death or
serious injury.
WARNING
indicates a
hazardous situation which, if
not avoided, could result in
death or serious injury.
CAUTION, used
with the safety
alert symbol, indicates a
hazardous situation which, if
not avoided, could result in
minor or moderate injury.
NOTICE is used to
address practices
not related to personal injury.
CAUTION, without
the safety alert
symbol, is used to address
practices not related to
personal injury.
WARNING Read all safety
warnings and instructions.
Save all warnings and
instructions for future reference.
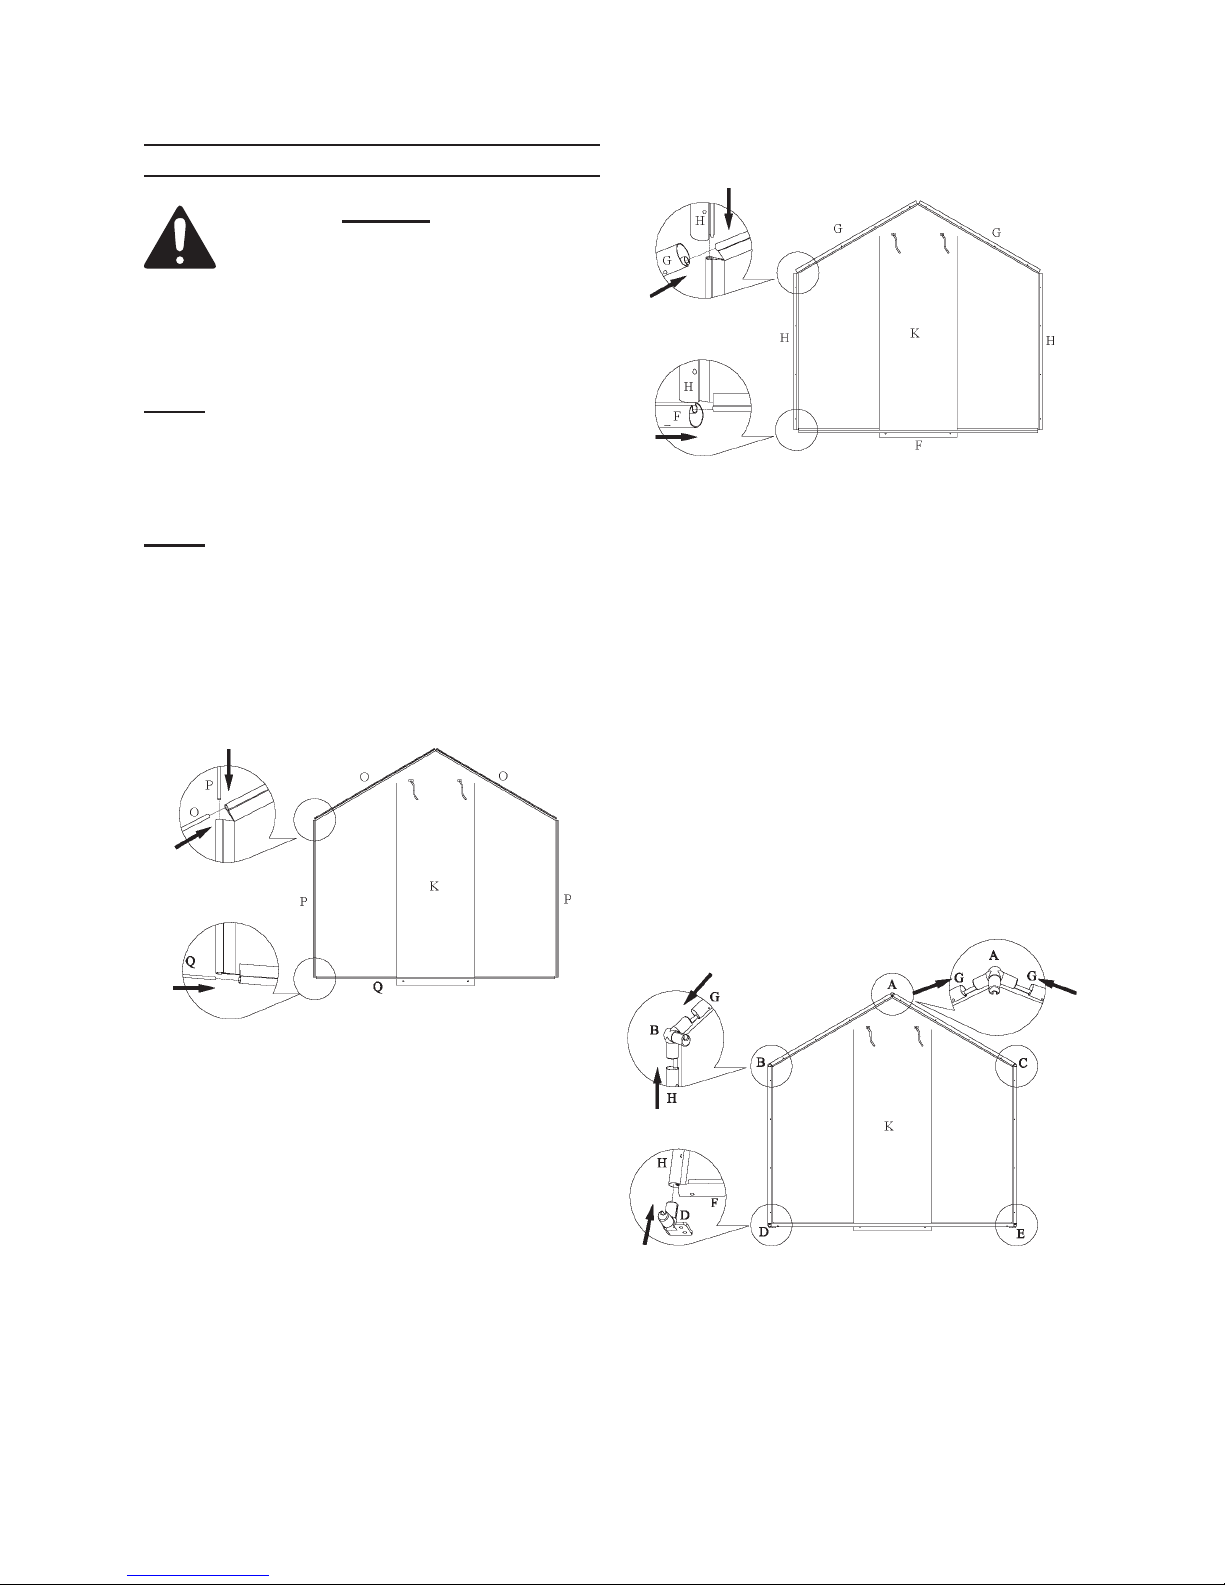
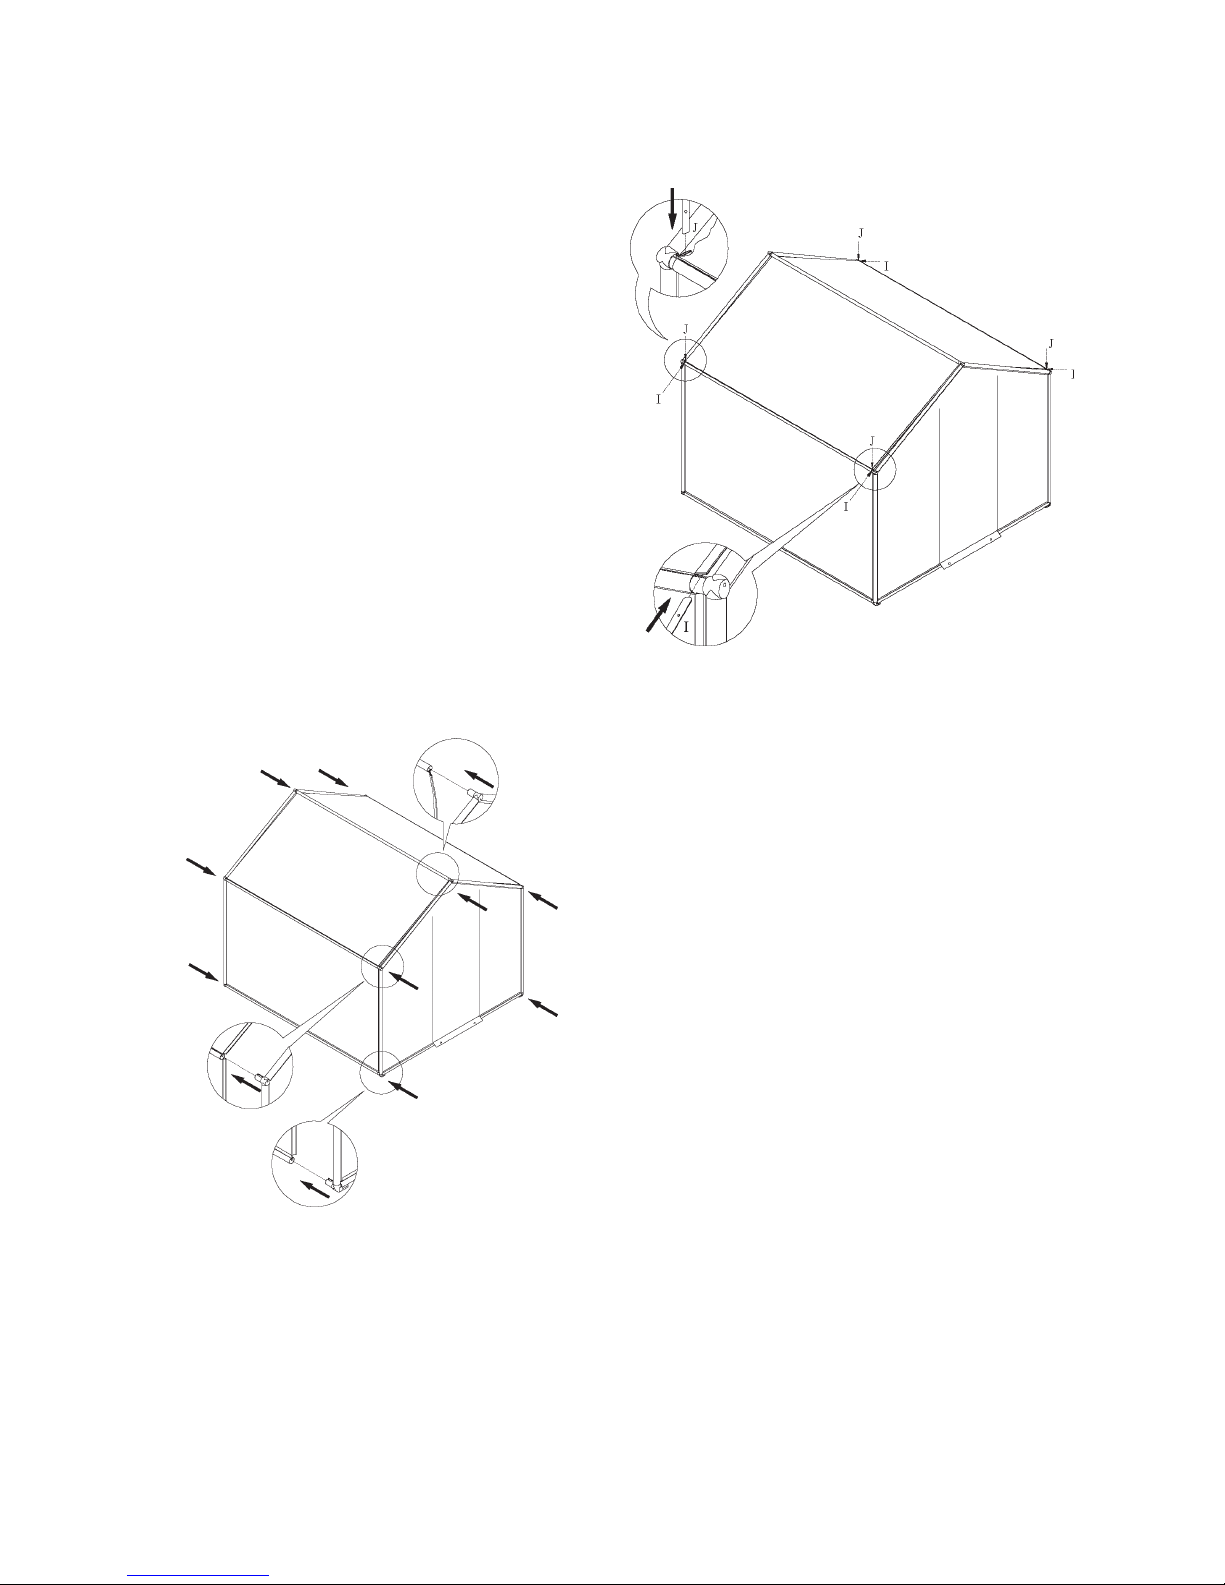
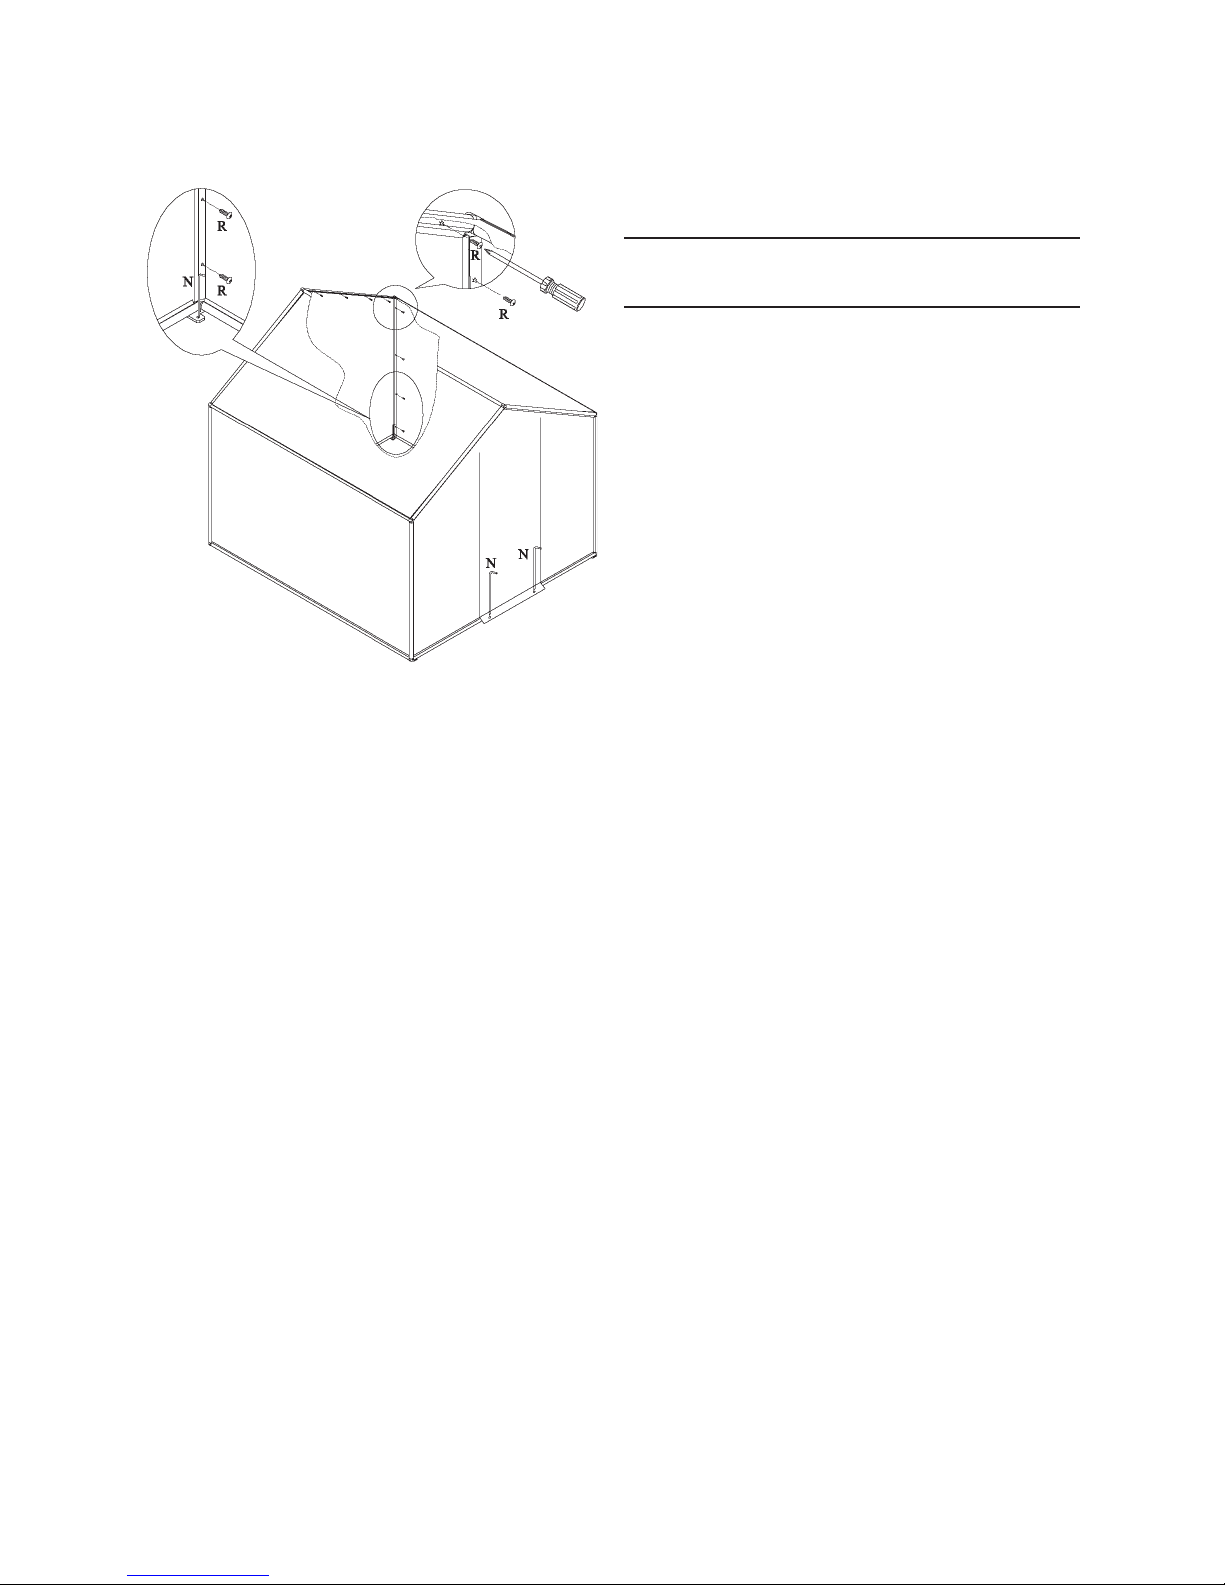
Assembly Precautions
Assemble only according to these1.
instructions. Improper assembly can
create hazards.
Wear ANSI-approved safety goggles2.
and heavy-duty work gloves during
assembly.
Keep assembly area clean and well3.
lit.
Keep bystanders out of the area dur-4.
ing assembly.
Do not assemble when tired or when5.
under the inuence of drugs or medi-
cation.
Use Precautions
Do not operate any fuel burning1.
device inside the greenhouse. As-
phyxiation hazard!
Do not smoke or allow sources2.
of ignition inside the greenhouse.
Risk of re! Greenhouse is not
ame retardant.
Snow/debris accumulation hazard.3.
The heavy weight of accumulated

SKU 97439 For technical questions, please call 1-800-444-3353. Page 3
snow or other debris can cause parts
of this greenhouse to buckle sud-
denly. Do not allow snow or debris
to accumulate on top of the green-
house. NEVER enter a greenhouse
with accumulated debris on top.
Assemble the Greenhouse in a4.
smooth, level area that is sheltered
from the wind.
High winds can tear the Greenhouse5.
loose from the Spikes and could
result in property damage or personal
injury. In case of severe weather or
high winds, take the Greenhouse
apart or move it under cover.
This product is not a toy. Do not al-6.
low children to play with or near this
item.
Use for intended purpose(s) only.7.
Inspect before use; do not use if parts8.
loose or damaged.
Maintain product labels and name-9.
plates. These carry important safety
information. If unreadable or miss-
ing, contact Harbor Freight Tools for a
replacement.
The warnings, precautions, and in-10.
structions discussed in this instruction
manual cannot cover all possible con-
ditions and situations that may occur.
It must be understood by the operator
that common sense and caution are
factors which cannot be built into this
product, but must be supplied by the
operator.
SAVE THESE
INSTRUCTIONS.
UNPACKING
When unpacking, check to make sure
that the item is intact and undamaged. If
any parts are missing or broken, please
call Harbor Freight Tools at the number
shown on the cover of this manual as soon
as possible.

SKU 97439 For technical questions, please call 1-800-444-3353. Page 4
ASSEMBLY INSTRUCTIONS
Read the ENTIRE IMPORTANT
SAFETY INFORMATION section
at the beginning of this manual
including all text under
subheadings therein before set
up or use of this product.
Note: For additional information regarding
the parts listed in the following pages,
refer to the Assembly Diagram near
the end of this manual.
Note: The Greenhouse is heavy and
unwieldy when fully assembled. It
should be assembled near the area
where it will be anchored. The area
should be rm, level, and provide
shelter from the wind.
Figure for Slat Assembly (Steps 1-3)
1. Slide two Rafter Slats (O) into the
sleeves on the top of the Front Panel
(K).
Slide two Side Slats (P) into the2.
sleeves on the sides of the Front
Panel.
Slide Bottom Slat (Q) into the sleeve3.
on the bottom of the Front Panel.
Figure for Pole Assembly (Steps 4-6)
4. Fit the covered Rafter Slats into the
grooves in the Rafter Poles (G) and
slide into place, with the holes on the
Rafter Poles facing toward you (see
insets above).
Fit the covered Side Slats into the5.
grooves in the Side Poles (H) and
slide into place, with the holes on the
Side Poles facing toward you.
Fit the covered Bottom Slat into the6.
groove in the Bottom Pole (F) and
slide into place, with the holes on the
Bottom Pole facing toward you.
Figure for Connector Ass’y (Steps 7-8)
7. Secure the Rafter Poles together at
the peak of the roof using Connector
A. Make sure the unconnected point
on the Connector faces towards you.

SKU 97439 For technical questions, please call 1-800-444-3353. Page 5
Secure both top corners using a8.
Connector B on the left side and a
Connector C on the right side, again
make sure the unconnected point on
the Connectors face towards you.
Secure the bottom left-hand corner9.
of the Panel with Connector D. Use
the Hex Wrench (T) to fasten a Hex
Screw (S) into the hole on the bottom
of the Bottom Pole.
Secure the bottom right-hand corner10.
of the Panel with Connector E. Use
the Hex Wrench (T) to fasten a Hex
Screw (S) into the hole on the bottom
of the Bottom Pole.
Repeat the above steps to assemble11.
the Rear Panel (L).
Figure for Panel Assembly (Step 12)
12. Line up the Connectors on the Front
and Rear Panels and connect to the
Body Panel (M). The uppermost pole
in the Body Panel should be turned
with the connection downward. All
other poles should be turned with the
connection upward, as shown.
Figure for Bar Installation (Steps 13-14)
13. Insert Rafter Bars (I) into the Sleeves
at the top of the Body Panel (M).
Insert Side Bars (J) into the Sleeves14.
at the sides of the Body Panel (M).

SKU 97439 For technical questions, please call 1-800-444-3353. Page 6
Figure for Bar Connection (Steps 15-19)
15. Find the holes in the Bars (I, J) and
line them up with the holes in the
Poles (G, H).
Secure the Bars (I, J) to the Poles16.
(G, H) using four Screws (R) per Bar.
The Screws will be threaded directly
through the cloth surrounding the
Bars.
Choose an area for the Greenhouse17.
that is at, level and free of debris. If
possible place the Greenhouse in an
area that is sheltered from the wind.
High winds can tear the Greenhouse
loose from the Stakes (N) and could
result in property damage or personal
injury. In case of severe weather,
take the Greenhouse apart.
Examine the area where the Green-18.
house is to be placed. Make sure
there are no utility lines beneath the
surface that might be damaged by
the Stakes.
Hammer the Stakes (N) into each19.
corner of the Greenhouse to secure it
to the ground. Use the two remaining
Stakes to secure the door ap.
MAINTENANCE AND
SERVICING
Periodically, inspect the general con-1.
dition of the product. Check for loose
screws cracked or broken parts, and
any other condition that may affect
its safe operation. If any defects are
found have them repaired or the parts
replaced immediately.
C2. lean external surfaces of the prod-
uct with clean, moist cloth.

SKU 97439 For technical questions, please call 1-800-444-3353. Page 7
PLEASE READ THE FOLLOWING CAREFULLY
THE MANUFACTURER AND/OR DISTRIBUTOR HAS PROVIDED THE PARTS LIST AND ASSEMBLY
DIAGRAM IN THIS MANUAL AS A REFERENCE TOOL ONLY. NEITHER THE MANUFACTURER OR
DISTRIBUTOR MAKES ANY REPRESENTATION OR WARRANTY OF ANY KIND TO THE BUYER THAT
HE OR SHE IS QUALIFIED TO MAKE ANY REPAIRS TO THE PRODUCT, OR THAT HE OR SHE IS
QUALIFIED TO REPLACE ANY PARTS OF THE PRODUCT. IN FACT, THE MANUFACTURER AND/OR
DISTRIBUTOR EXPRESSLY STATES THAT ALL REPAIRS AND PARTS REPLACEMENTS SHOULD BE
UNDERTAKEN BY CERTIFIED AND LICENSED TECHNICIANS, AND NOT BY THE BUYER. THE BUYER
ASSUMES ALL RISK AND LIABILITY ARISING OUT OF HIS OR HER REPAIRS TO THE ORIGINAL
PRODUCT OR REPLACEMENT PARTS THERETO, OR ARISING OUT OF HIS OR HER INSTALLATION
OF REPLACEMENT PARTS THERETO.
PARTS LIST
Part Description Qty
A Connector A 2
B Connector B 2
C Connector C 2
D Connector D 2
E Connector E 2
F Bottom Pole 2
G Rafter Pole 4
H Side Pole 4
I Rafter Bar 4
J Side Bar 4
Part Description Qty
K Front Panel 1
L Rear Panel 1
M Body Panel 1
N Stake 6
O Rafter Slat 4
P Side Slat 4
Q Bottom Slat 2
R Screw 32
S Hex Screw 4
T Hex Wrench 1

SKU 97439 For technical questions, please call 1-800-444-3353. Page 8
ASSEMBLY DIAGRAM
Record Product’s Serial Number Here:
Note: If product has no serial number, record month and year of purchase instead.
Note: Some parts are listed and shown for illustration purposes only, and are not avail-
able individually as replacement parts.
M
L
Table of contents
Other One Stop Gardens Greenhouse Kit manuals

One Stop Gardens
One Stop Gardens 94241 User manual

One Stop Gardens
One Stop Gardens 47712 Assembly instructions

One Stop Gardens
One Stop Gardens 93358 Assembly instructions

One Stop Gardens
One Stop Gardens 96909 Parts list manual

One Stop Gardens
One Stop Gardens ONE STEP GARDEN 92050 Quick reference guide
Popular Greenhouse Kit manuals by other brands

Palram
Palram CANOPIA HARMONY 6x4 / 2x1.3 How to assemble

TMG
TMG 1260 product manual

EOS
EOS Junior Mounting instructions

Richel GROUP
Richel GROUP J30602 Assembly instructions and user guide

Vitavia
Vitavia IDA 3300 Assembly instructions

Mercia Garden Products
Mercia Garden Products 04GREEN0406SD-V2 General instructions