manuals.online logo
Brands
  1. Home
  2. •
  3. Brands
  4. •
  5. Openplan
  6. •
  7. Indoor Furnishing
  8. •
  9. Openplan XPAND REACH User manual

Openplan XPAND REACH User manual

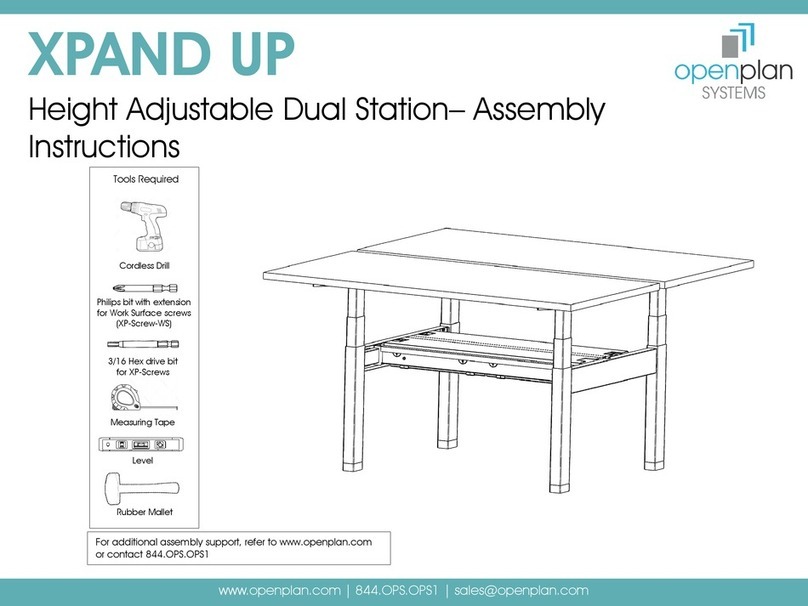
Tools Required
For additional assembly support, refer to www.openplan.com
or contact 844.OPS.OPS1
Cordless Drill
Philips bit with extension
for Work Surface screws
(XP-Screw-WS)
Measuring Tape
3/16 Hex drive bit
for XP-Screws
Level
XPAND REACH
Stretcher Bar Return– Assembly Instructions
www.openplan.com | 844.OPS.OPS1 | sales@openplan.com
Rubber Mallet
XPand Reach – Stretcher Bar Return
XPand Parts Used for Assembly
2
XPand Reach – Stretcher Bar Return
Item Part
name
Part
Description
Image
1 XP-LA Leg Assembly
2 XP-SB-
Bracket
Stretcher Bar
Bracket
3 XP-LR-XX Leg Rail, XX”
4 XP-WSSB Work Surface
Support Arm, Single
5 XP-LRC-
XX” Leg Rail Cover XX”
6 XP-HA-
SCT-XX
Height Adjustable
Single Cable Tray
Item Part
name
Part
Description
Image
7 XP-SB-XX Stretcher Bar, XX”
8 XP-RB Return Bracket
9 XP-CT-SB-
XX
Cable Tray for
Single Bench
10 XP-TXXXX Work Surface XXXX”
11 XP-
SCREWS
5/16-18 x .5” Hex
Socket Cap Screw,
FT, SS
12
XP-
SCREWS-
WS
10-9X1 PH Pan
Head, ST P’bd
Screw, ZP
XPand offers two types of end legs, Tapered legs and Rectangular legs. Though the legs
look different, the assembly process is same.
To assemble the Return components to the Stretcher bar, Return bracket (XP-RB) is used.
The Return components can be assembled to Single bench and Double bench. The
Assembly Instructions to assemble Return components to these configurations are same.
Step 1: Prepare a large floor space to put the XPand order together. Unpack the
parts and check to see if all the XPand parts are present as per the sales order pick
list.
Tapered leg
(XP-LA) Rectangular leg
(XP-LA-RL)
Step 2: To Assemble the Return components, first assemble the
main desk unit, or Spine; refer to Instructions “Double Station-
Assembly Instructions” or “Single Station –Assembly Instructions”.
After the Frame is built, position the Return bracket 9” from the end
of the Stretcher Bar (do not tighten it yet).
3
Note: (1) XP-WSSB will be assembled to the center of XP-SB-XX for lengths greater than 60”.
XPand Reach – Stretcher Bar Return
Step 3: Assemble XP-SB-Bracket
to the XP-RB using (2) XP-Screws.
Step 4: Assemble the XP-SB-XX (Stretcher Bar) to
the XP-SB-Bracket using (2) XP-Screws.
4
Note: The Stretcher bar is 5” shorter than the specified size.
For example, XP-SB-60 is actually 55” long.
XPand Reach – Stretcher Bar Return
Bracket on top/rear
indicates “Top”.
Figure A
(XP-SB-Bracket)
Step 5: Assemble XP-SB-Bracket to the other end of
the Stretcher Bar using (2) XP-Screws.
Step 6: Assemble XP-LA to the XP-LR-XX (Leg
Rail) using (2) XP-Screws.
5
Left leg
Right leg
Step 7: Assemble another leg to the other end of the Leg Rail
using (2) XP-Screws.
XPand Reach – Stretcher Bar Return
6
Step 8: Assemble the Return XP-SB-Bracket to
the center hole of the Leg rail using (2) XP-
Screws
Step 9: Place the Spine Work Surface and the Return Work surface
on the frame, make sure they are perpendicular and flush (don’t
assemble them yet). Align Return Leg Assembly with Return Work
Surface leaving even Overhang on each side.
Remove the Work Surfaces and place (1) Work Surface Support
Bracket (XP-WSSB) on the Stretcher bar such that half of it is
covered by Return Work Surface and half by Spine Work Surface
(See Figure A on page 7). Place another XP-WSSB on the other
end of the Stretcher bar. Secure the XP-WSSB’s to the Stretcher
bars using (1) XP-Screw as a set screw.
Step 10: Secure the Return Bracket to the Stretcher Bar using (1)
XP-Screw.
XPand Reach – Stretcher Bar Return
#10
#9
#9
Step 11: Secure Leg rail cover (XP-LRC-24) to the Leg rail (XP-LR-24).
7
XP-WSSB Return Work Surface
Spine Work Surface
Figure A
XPand Reach – Stretcher Bar Return
Step 12: Place the Work Surfaces on the frame. Center the Work Surfaces by leaving ¼” overhang over sides, and ½” overhang on front and back
for Single/Double Bench. Place the Return Work Surface Perpendicular and flush with the Spline Work Surface. Secure the Work Surfaces to the Work
Surface Support Arms (XP-WSSA-XX) and Work Surface Support Brackets (XP-WSSB) using (4) Work Surface Screws (XP-SCREWS-WS) per Bracket.
www.openplan.com | 844.OPS.OPS1 | [email protected]
8
XPand Reach – Stretcher Bar Return
Step 13: Use Self Tap screws to assemble XP-HA-SCT-XX (HA
Cable tray)/ XP-CT-SB-XX (Single Cable Tray) to the Stretcher
bar.
Step 14: Level the Single and Return Station unit by turning the leveling
feet.
www.openplan.com | 844.OPS.OPS1 | [email protected]
9
XPand Reach – Stretcher Bar Return
Note: Depending on the Stretcher bar length XP-HA-SCT-XX or XP-CT-SB-XX cable tray will be used.

Other manuals for XPAND REACH

1

Other Openplan Indoor Furnishing manuals

Openplan A22 Aspire User manual

Openplan

Openplan A22 Aspire User manual

Openplan DTR-LT User manual

Openplan

Openplan DTR-LT User manual

Openplan C-LEG GRADE 1 BASE Quick setup guide

Openplan

Openplan C-LEG GRADE 1 BASE Quick setup guide

Openplan L2 LUMEN User manual

Openplan

Openplan L2 LUMEN User manual

Openplan XPAND REACH User manual

Openplan

Openplan XPAND REACH User manual

Openplan XPAND UP User manual

Openplan

Openplan XPAND UP User manual

Openplan XPAND User manual

Openplan

Openplan XPAND User manual

Popular Indoor Furnishing manuals by other brands

GIGACLOUD TECHNOLOGY WF299785 Assembly Intructions

GIGACLOUD TECHNOLOGY

GIGACLOUD TECHNOLOGY WF299785 Assembly Intructions

ExBrite 13MC2432V4LX Installation and operating manual

ExBrite

ExBrite 13MC2432V4LX Installation and operating manual

Monarch Specialties I 7135 Assembly instructions

Monarch Specialties

Monarch Specialties I 7135 Assembly instructions

Unfinished Furniture of Wilmington HAMPTON TV-25 Assembly instructions

Unfinished Furniture of Wilmington

Unfinished Furniture of Wilmington HAMPTON TV-25 Assembly instructions

MotionGrey MEMORY KEYPAD user manual

MotionGrey

MotionGrey MEMORY KEYPAD user manual

atmosphera ALDIR 192905 manual

atmosphera

atmosphera ALDIR 192905 manual

Furniture of America CM4353-3PK Assembly instructions

Furniture of America

Furniture of America CM4353-3PK Assembly instructions

Costway JV11370GR-2 manual

Costway

Costway JV11370GR-2 manual

Peka PECASA instructions

Peka

Peka PECASA instructions

Bolia Track Concrete Table Assembly instructions

Bolia

Bolia Track Concrete Table Assembly instructions

OfficeSource PB21271 Assembly instructions

OfficeSource

OfficeSource PB21271 Assembly instructions

TOOMAX ELEGANCE XL 070 Assembly instructions

TOOMAX

TOOMAX ELEGANCE XL 070 Assembly instructions

Next home FLORENCE 848694 Assembly instructions

Next

Next home FLORENCE 848694 Assembly instructions

U-Line H-8343 Assembly

U-Line

U-Line H-8343 Assembly

Notável Móveis PAINEL NT 1010 Assembly instructions

Notável Móveis

Notável Móveis PAINEL NT 1010 Assembly instructions

Hesperide 159197 manual

Hesperide

Hesperide 159197 manual

Arthauss Furniture LAURA Assembly instructions

Arthauss Furniture

Arthauss Furniture LAURA Assembly instructions

J.Burrows MATRIX 1500 JBMDT157WE Assembly instructions

J.Burrows

J.Burrows MATRIX 1500 JBMDT157WE Assembly instructions

manuals.online logo
manuals.online logoBrands
  • About & Mission
  • Contact us
  • Privacy Policy
  • Terms and Conditions

Copyright 2025 Manuals.Online. All Rights Reserved.