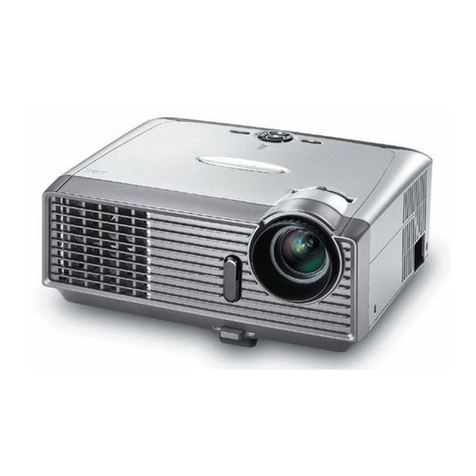
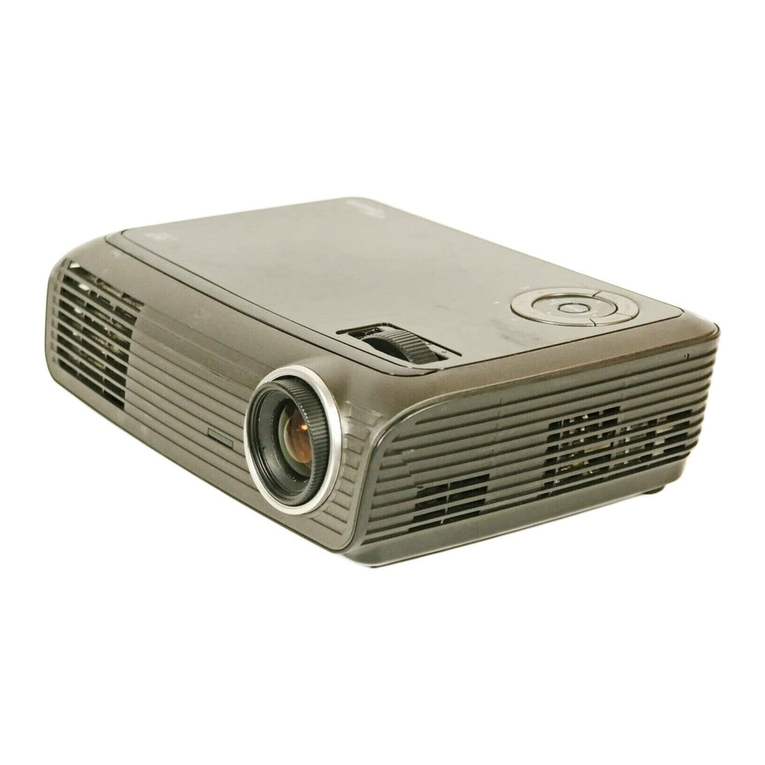
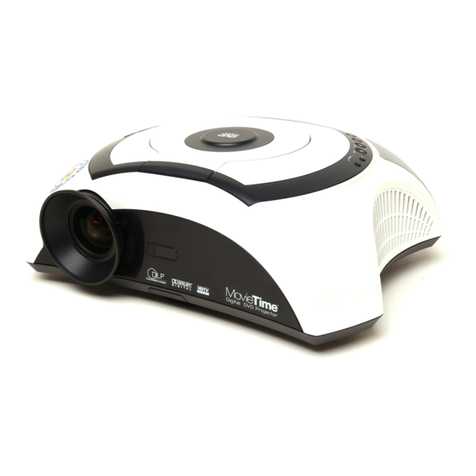
Optoma EP719H User manual

Prepared by SI :
________________________________________
Prepared by TSE :
________________________________________
Checked by :
________________________________________
Approved by :
________________________________________
Model Name : EP719H
Date Version Description
2006/08/22 V1.0 Initial Issue
Copyright August, 2006 . All Rights Reserved . P/N#36.85R03G001 .
SERVICE MANUAL

Preface
This manual is applied to EP719H 0.55” DMD XGA Micro Portable Projection
system. The manual gives you a brief description of basic technical information to help in
service and maintain the product.
Your customers will appreciate the quick response time when you immediately
identify problems that occur with our products. We expect your customers will appreciate
the service that you offer them.
This manual is for technicians and people who have an electronic background.
Please send the product back to the distributor for repairing and do not attempt to do
anything that is complex or is not mentioned in the troubleshooting.
Notice:
The information found in this manual is subject to change without prior notice. Any
subsequent changes made to the data herein will be incorporated in future edition.
EP719H Service Manual
Copyright August, 2006
All Rights Reserved
Manual Version 1.0
P/N#36.85R03G001
EP719H
I
Condential

Table of Contents
Chapter 1 Introduction 1-1
Highlight 1-1
Computer Compatible 1-5
Chapter 2 Disassembly Procedure 2-1
Equipment Needed 2-1
Remove Lamp and Lamp Cover 2-2
Remove Elevator Module 2-3
Remove Rear Cover 2-6
Remove Top Cover 2-7
Remove Keypad Board and Keypad LED Lens Rubber 2-8
Remove Shield and Speaker 2-9
Remove Fan Module 2-10
Remove Front Cover 2-13
Remove Lamp Driver 2-14
Remove LVPS 2-15
Remove Lamp Housing and Lamp Fans 2-16
Remove Engine 2-18
Remove Thermal Switch and Light Cut 2-19
Remove Color Wheel and Photo Sensor 2-20
Remove Zoom Ring and Focus Ring 2-21
Remove DMD Board 2-22
Remove Remove Fan Module and Bottom Cover 2-23
Chapter 3 Troubleshooting 3-1
Equipment Needed 3-1
Main procedure 3-1
II
Condential EP719H

III
Chapter 4 Function Test and Alignment Procedure 4-1
Test Equipment Needed 4-1
Service Mode 4-1
Test Condition 4-2
Inspection Procedure 4-2
Chapter 5 Firmware Upgrade Procedure 5-1
Equipment Needed 5-1
Firmware Upgrade Mode 5-1
Installation Procedure 5-2
Firmware Upgrade Procedure 5-5
Chapter 6 EDID Upgrade 6-1
EDID Introduction 6-1
Equipment Needed 6-1
Setup Procedure 6-2
EDID Key-In Procedure 6-3
Appendix Appendix A 7-1
Exploded Overview 7-1
Appendix B
PCBA Code Denition 8-1
Appendix C
Serial Number System Denition 8-2
Reader’s Response 8-3
EP719H
Condential

1-1 EP719H
Confidential
Chapter 1
Introduction
1-1 Highlight
No Item Description
1 Dimensions (WxHxD) - 230 mm x 215 mm (include focus ring and I/O
connector) x 96 mm
2 Weight - Approx. 4.6 lbs.
3 Cooling system - Advanced air flow
- Two fans with low system acoustic noise level
- Temperature control circuits with adaptive voltage
control fan speed
- Maximum touch temperature follows UL 60950
4 Lamp housing - Lamp could be changed by customer, but should follow
the user manual instruction.
- Replaceable Lamp should be provided by Coretronic or
its authorized agencies
5 Tilt Angle - 6 degree with elevator mechanism
6 Keystone correction - +/ -15 degree
7 Color - Top & bottom cover : Silver painting
- Front & back cover : Dark gray
8 Materials - PC MN3600 for top cover/bottom cover/rear cover
- PC MN3600 for front cover

1-2 EP719HConfidential
NO Item Description
9 Lamp Door Protection - Lamp power supply shut off automatically when door
open
10 Power Supply - Universal AC 100--240V ~ 50 / 60 Hz with PFC input
- 230W for Phoenix Lamp @ normal operation
- Variance FAN speed control ( Depend on temperature
variance)
11 Power Consumption - 307 Watt +/- 10% at normal operation
- Standby mode < 7W
12 Terminals - One 29-pin DVI-I connector for Digital signal with
HDCP
- One D-Sub 15-pin female connector for analog RGB /
HDTV / compoment video / SCART RGBSync
- One separate D-sub 15p connector for 2nd VGA in
- One D-Sub 15-pin female connector for monitor output
- One RCA Jack for Composite Video Input
- One Mini DIN 4-pin for S-Video Input
- One Phone Jack for audio input
- One Phone Jack for audio output
- One Mini DIN 3-pin for RS-232 connecting
13 Input signal spec - PC Signal (analog)
- Hsync Frequency 31.35k ~ 80 kHz
- Vsync Frequency 56 ~ 85 Hz
- Video Signal RGB (PC)
- Analog RGB 0.7Vp-p, 75 ohm
- Analog RGB 1Vp-p, 75 ohm, Sync. signal
- Separate TTL H,V Sync.
- Composite TTL Sync.
- Video
- Composite video 1Vp-p,75 ohm
- S-video Luminance 0.714Vp-p,75 ohm
- Chrominance 0.286Vp-p,75 ohm
14 System Controller - TI DDP2000
15 Video Compatibility - Standards :
NTSC: M (3.58MHz), 4.43 MHz
PAL: B, D, G, H, I, M, N
SECAM: B, D, G, K, K1, L
HDTV: 480i/p, 576i/p, 720p, 1080i

1-3 EP719H
Confidential
NO Item Description
16 XGA / Compression - by using “DDP2000” Chips to compress SXGA image
into XGA display
17 Control Key Pad - Power / Standby
- Directional keys ( UP/DOWN/RIGHT/LEFT keys )
- Enter
- Source ( LEFT key )
- Menu
18 Wireless Remote
Controller - Power-on/off
- AV Mute
- Re-sync
- Wide
- Freeze
- Display mode
- Zoom +
- Zoom -
- Volume +
- Volume -
- Keystone +
- Keystone -
- Enter
- Directional keys ( up[0] / down[3] / left[1] / right[2] )
- Menu
- Clear
- VGA1[4]
- Source Lock[5]
- S-Video[6]
- VGA2[7]
- DVI[8]
- Video[9]
19 Indicator - “ Lamp” Red
- “ Temp” Red
- “ Power” Green & Red
Standby --- Steady Red
Warm Up --- Flashing Green
Normal Operating --- Steady Green
Cooling --- Flashing Red

1-4 EP719HConfidential
No Item Description
20 On-Screen Display
Menu - 18 languages selection
English, French, German, Italian, Spanish, Portuguese,
Dutch, Swedish, Finnish, Greek, Danish, Norwegian,
Polish, Russian , Traditional Chinese, Simplified Chi-
nese, Japanese, Korea
21 Audio - One 8 ohm 2W speaker
22 Projection lens - F# 2.35 – 2.47, f = 21.83 ~ 23.81 mm .
1.10X Manual Zoom Lens.
23 Projection Image Size - Adjustable from 34.67” to 305” (Diagonal)
24 Throw Distance - Suggested throw distance:
1.5~10m (Optical Performance)
1.5~12m (Mechanical travel)
25 Brightness - 2150 ANSI Lumens ( Average )
- 1700 ANSI Lumens ( Minimum )
26 Contrast - 1700:1 Typical (Full on / full off)
- 1000:1 Minimum (Full on / full off)
27 Uniformity - 80% Typical(Japan Standard)
- 70% Minimum (Japan Standard)

1-5 EP719H
Confidential
1-2 Computer Compatible (Analog)
Compatibility Resolution V-Sync (Hz)50
VGA 640 x 350 70
640 x 350 85
640 x 400 85
640 x 480 60
640 x 480 72
640 x 480 75
640 x 480 85
720 x 400 70
720 x 400 85
SVGA 800 x 600 56
800 x 600 60
800 x 600 72
800 x 600 75
800 x 600 85
XGA 1024 x 768 60
1024 x 768 70
1024 x 768 75
1024 x 768 85
SXGA 1152 x 864 70
1152 x 864 75
1152 x 864 85
1280 x 1024 60
1280 x 1024 75

1-6 EP719HConfidential
Compatibility Resolution V-Sync (Hz)50
SXGA+ 1400 x 1050 60
MAC LC 13” 640 x 480 66.66
MAC II 13” 640 x 480 66.68
MAC 16” 832 x 624 74.55
MAC 19” 1024 x 768 75
MAC 1152 x 870 75.06
MAC G4 640 x 480 60
i Mac DV 1024 x 768 75
i Mac DV 1152 x 870 75
i Mac DV 1280 x 960 60

1-7 EP719H
Confidential
1-2 Computer Compatible (Digital)
Compatibility Resolution V-Sync (Hz)50
VGA 640 x 350 70
640 x 350 85
640 x 400 85
640 x 480 60
640 x 480 72
640 x 480 75
640 x 480 85
720 x 400 70
720 x 400 85
SVGA 800 x 600 56
800 x 600 60
800 x 600 72
800 x 600 75
800 x 600 85
XGA 1024 x 768 60
1024 x 768 70
1024 x 768 75
1024 x 768 85
SXGA 1152 x 864 70
1152 x 864 75
1152 x 864 85
1280 x 1024 60
SXGA+ 1400 x 1050 60

2-1 EP719HCondential
2-1 Equipment Needed
Chapter 2
Disassembly Process
Item Photo Item Photo
Screw Bit (+)
:107
Hex Sleeves
5mm
Hex Sleeves
8mm Tweezers
Long Nose
Nipper(Left)
Angle
Cutting
Nipper(Right)
Wrench
(8mm)

2-2 EP719HCondential
No Procedure Photo
1Unscrew 2 screws to remove
Lamp Cover.
(as red circle)
2Unscrew 2 screws to remove
Lamp Module.
(as red circle)
2-2 Remove Lamp and Lamp Cover
Lamp
Lamp Cover

2-3 EP719HCondential
No Procedure Photo
1(1) Unscrew 2 screws .
(as red circle)
(2) Remove the elevator
module.
2-3 Remove Elevator Module

2-4 EP719H
Condential
No Procedure Photo
2Use a nipper to clip out a
small spring and a long spring
front the elevator.

2-5 EP719HCondential
No Procedure Photo
3(1) Use the bottom side of
nipper to push down the
tenon to separate elevator.
(2) Unscrew one screw to
remove the top of elevator.
(as red circle)
(3) Push down to separate the
body of elevator.

2-6 EP719H
Condential
No Procedure Photo
1(1) Unscrew eight screws.
(as red circle)
(2) Pull open from the edge of
the rear cover .
(3) Detach rear cover from the
bottom side.
(as the picture shows)
2-4 Remove Rear Cover
Rear Cover

2-7 EP719HCondential
No Procedure Photo
1(1) Unscerw ve screws.
(Two screws in each side,
one screw in the bottom)
(2) Lift the Top Cover and pull
out the FPC Cable which
connect main board and
control board.
2-5 Remove Top Cover
There are two screws this side.

2-8 EP719H
Condential
No Procedure Photo
1(1) Unscrew four screws.
(as red circle)
(2) Pull up FPC Cable.
2-6 Remove Keypad Board and Keypad LED Lens
Rubber
Keypad Board Keypad LED Lens Rubber
FPC Cable

2-9 EP719HCondential
2-7 Remove Shield and Speaker
No Procedure Photo
1(1) Unscrew two screws to
remove top shield.
(as red circle)
(2) Unscrew two screws to
remove the engine shield.
(as red circle)
Top Shield
Engine Shield
Table of contents
Other Optoma Projector manuals

Optoma
Optoma HD8600 User manual

Optoma
Optoma Optoma PRO150S User manual

Optoma
Optoma HD50 User manual

Optoma
Optoma EX330 User manual
Optoma
Optoma TW695UTi-3D User manual

Optoma
Optoma EX542 User manual

Optoma
Optoma EP735 User manual

Optoma
Optoma DX326 User manual

Optoma
Optoma DX617 User manual

Optoma
Optoma EW631 User manual

Optoma
Optoma EX765W User manual

Optoma
Optoma EW330e User manual

Optoma
Optoma W501 User manual

Optoma
Optoma EP773 User manual

Optoma
Optoma Optoma EP727 User manual

Optoma
Optoma HD72 User manual

Optoma
Optoma Optoma EX525ST User manual

Optoma
Optoma EP731 User manual

Optoma
Optoma TS721 User manual

Optoma
Optoma W401 User manual