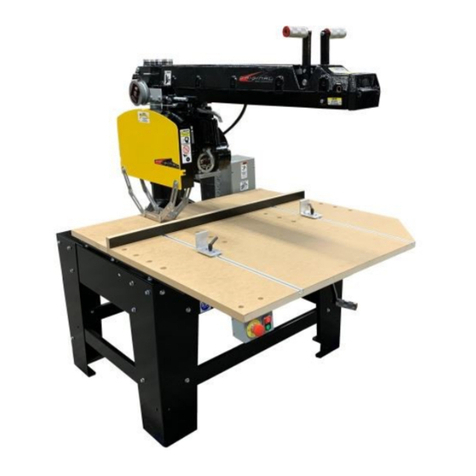
Assembly instrucons:
1. Aach the adjustable feet with the included car-
riage bolts. Pay aenon to install the heads outside
and the lock washer and hex nut in the inside of the
formed channel. Mount the adjustable feet at the
lowest point in the adjustability range and both feet
at the same height; this will make the nal adjust-
ment easier.
2. Aer the adjustable feet have been bolted on
aach the braces (index#3) paying special aenon
to line up the square holes in the leg with the square
hole in the brace. Insert the included carriage bolt (8
pieces) with the head to the outside and the lock
washer and hex nut on the inside of the formed chan-
nel of the leg. NOTE: do not ghten completely unl
leg has been placed and leveled.
3. Adjusng the leg to the proper height will re-
quire assistance from another person. To adjust
the leg to the proper height loosen the hex nuts on
the inside of the adjustable foot, then li the leg
assembly to the proper height and ghten. (Note the
each bolt layout will only allow a few inches of adjust-
ment) If the foot needs to be moved past its range of
moon the bolts may need to be reposioned to the
next slot up or down to achieve the proper height.
040029-00 / 040029-04
Adjustable Leg
Leg height adjusts from 31.9” to 28.2”
Proudly Made in USA
Assembly instrucons:
4. Final step, aach the brace (#8 on diagram p/n
0841749-51 or –53) using the 4 included 1/4” hex
head bolts (item # 10), 1/4” at washer (index# 11)
and 1/4” nylon lock nut (index# 9). Do not ghten
unl the leg has been adjusted to the proper height
and placed in its nal locaon, then ghten bolts for
this brace and the cross braces
If you have any quesons or comments please call or
email us. Thank you for purchasing our American
Made Products
Original Saw Company
465 Third Ave SE - Bri, IA 50423
PH 800.733.4063 641.843.3868 FX 641.843.3869
Email: customerservice@originalsaw.com
www.originalsaw.com


