manuals.online logo
Brands
  1. Home
  2. •
  3. Brands
  4. •
  5. Orion
  6. •
  7. Accessories
  8. •
  9. Orion 52062 User manual

Orion 52062 User manual

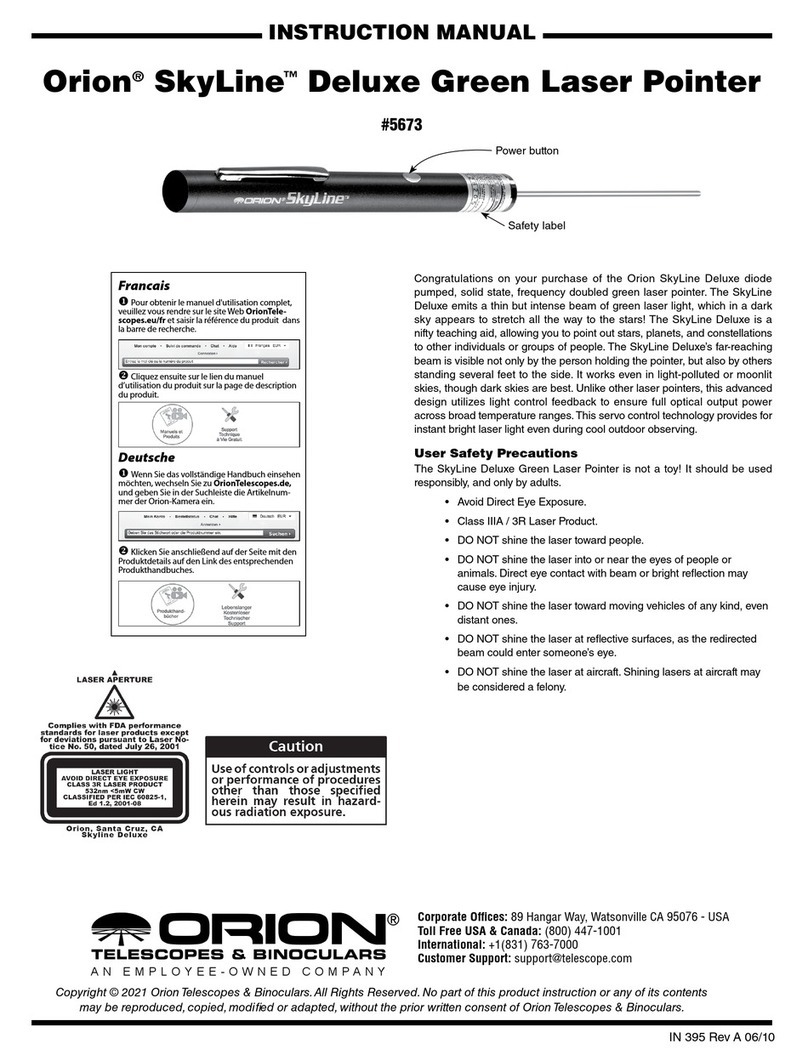
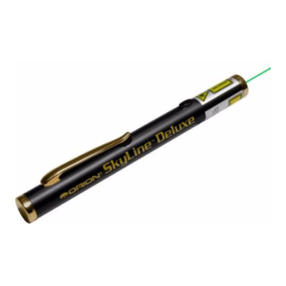
Orion®SkyLine™Deluxe GLP
to Telescope Bracket
#52062
Congratulations on your purchase of a quality product from Orion.
This bracket will couple your SkyLine Green Laser Pointer to your
telescope (and may work with other, similar green laser pointers.)
When properly aligned with your telescope the laser pointer will
indicate where you are currently pointing without having to look
through a nder. This makes nding objects in your telescope
much easier. This also allows you to adjust your telescope from a
more natural, standing position.You will nd aiming your telescope
with the SkyLine Green Laser Pointer is a more rewarding and fun
experience overall.
Parts List (Figure 1)
Bracket (with nylon thumbscrews installed)
On/off collar
3x very small setscrews
Knurled metal thumbscrew
Small hex key
Assembly
1. Install the three small setscrews and the knurled metal
thumbscrew into the on/off collar. Use the small hex key to
install the setscrews.
2. Now, slide the on/off collar onto your SkyLine green
laser pointer. You may need to loosen the setscrews and
thumbscrew to do this. Position the on/off collar so that the
thumbscrew is directly above the laser pointer’s on/off button.
Tighten the three setscrews equally with the small hex key to
secure the on/off collar in place (Figure 2).
3. Loosen the nylon thumbscrews on the bracket, and slide the
laser pointer into the bracket. The rear of the laser pointer
should rst pass through the forward ring of the bracket. To
pass the laser through the rear ring, you must pull the spring
tensioner back with your ngers (Figure 3).
4. Tighten the nylon thumbscrews equally to secure the laser in
the bracket.
5. Attach the GLP Bracket to your telescope as you would
any nder bracket. Insert the base of the bracket into the
dovetail holder located adjacent to the focuser. (An optional
Dovetail Base is available through Orion Customer Service if
your telescope does not include one.) Lock the bracket into
position by tightening the knurled thumbscrew on the dovetail
holder (Figure 4).
Now that the laser and bracket are installed on your telescope,
the laser must be aligned so that it points to the center of the tele-
scope’s eld of view.
Figure 2. The SkyLine green laser pointer with on/off collar attached.
Figure 1. Included parts.
Bracket (includes spring
tensioner and (5) nylon
thumbscrews
On/off collar
Very small
setscrews (3)
Knurled metal
thumbscrew
Small
hex key
Knurled metal
thumbscrew
On/off collar
Very small
setscrews (3)
Forward ring
of bracket
Rear ring
of bracket
Rear of
laser pointer
Spring
tensioner
Knurled
setscrew
Figure 3. To insert the laser into the bracket, the rear of the laser
pointer should rst pass through the forward ring of the bracket. To pass
the laser through the rear ring, you must pull the spring tensioner with
your ngers.
IN 344 Rev B 02/09
Figure 4. Slide the dovetail foot of the Laser Bracket into the dovetail
holder of your telescope and secure it in place with the knurled setscrew
on the side.
INSTRUCTION MANUAL
Aligning the Laser Pointer
Aligning the laser pointer with a telescope is easy to do. It should
be done outdoors by aligning on a xed target or a bright star.
1. Point your telescope at a target that is 100 feet or further
away. Using a low power 25mm eyepiece look through the
telescope, and make sure that the object is centered in the
eld of view.
2. Turn the green laser pointer on by rotating the knurled metal
thumbscrew on the on/off collar clockwise.
3. Use the two larger thumbscrews in the rear ring of the
bracket to adjust the laser until it is pointing to the same
target that the telescope is centered on. Adjust one
thumbscrew at a time, the spring tensioner will ensure that
the laser pointer will stay secure in the bracket. If you cannot
adjust the laser to point where you want by just using the two
larger thumbscrews, then make additional adjustments to the
three smaller thumbscrews in the forward ring of the bracket.
4. If you have a higher power eyepiece you can repeat steps
1-3. The narrower eld of view will increase the accuracy of
the alignment.
Once the laser points to the same target that the telescope is cen-
tered on, the laser is aligned with the telescope. You’re ready to
use the green laser pointer with the telescope under the night sky.
Using the Laser Pointer while Observing.
Turn on the green laser pointer by rotating the metal thumbscrew
on the on/off collar clockwise. You will now see the green laser
beam extending into the night sky. Where the end of the laser
beam terminates is where the telescope is currently pointing to
(if the laser is properly aligned). As you move your telescope the
laser beam will move through the sky along with it. Use constella-
tions or bright stars near the desired object to acquire your target
in the telescope. Be sure to turn off your laser pointer after you
have acquired your target and when not in use.
If you are at a public viewing session you will want to limit your use
of the laser to nding objects only. If there are people nearby astro-
imaging the laser beam could affect their images. Intentionally
pointing a laser at passing aircraft is dangerous and illegal. Please
be aware of this and use caution when pointing any laser into the
s k y.
Corporate Offices: 89 Hangar Way, Watsonville CA 95076 - USA
Toll Free USA & Canada: (800) 447-1001
International: +1(831) 763-7000
Customer Support: [email protected]
Copyright © 2020 Orion Telescopes & Binoculars.All Rights Reserved. No part of this product instruction or any of its contents
may be reproduced, copied, modied or adapted, without the prior written consent of Orion Telescopes & Binoculars.
AN EMPLOYEE-OWNED COMPANY
One-Year Limited Warranty
This Orion product is warranted against defects in materials or workmanship for a peri-
od of one year from the date of purchase. This warranty is for the benet of the original
retail purchaser only. During this warranty period Orion Telescopes & Binoculars will
repair or replace, at Orion’s option, any warranted instrument that proves to be defec-
tive, provided it is returned postage paid. Proof of purchase (such as a copy of the origi-
nal receipt) is required. This warranty is only valid in the country of purchase.
This warranty does not apply if, in Orion’s judgment, the instrument has been abused,
mishandled, or modied, nor does it apply to normal wear and tear. This warranty gives
you specic legal rights. It is not intended to remove or restrict your other legal rights
under applicable local consumer law; your state or national statutory consumer rights
governing the sale of consumer goods remain fully applicable.
For further warranty information, please visit www.OrionTelescopes.com/warranty.

Other Orion Accessories manuals

Orion 9895 User manual

Orion

Orion 9895 User manual

Orion PinPoint 40004 User manual

Orion

Orion PinPoint 40004 User manual

Orion 13036 User manual

Orion

Orion 13036 User manual

Orion VersaGo ii HD User manual

Orion

Orion VersaGo ii HD User manual

Orion 13008 User manual

Orion

Orion 13008 User manual

Orion SkyView Pro GoTo System User manual

Orion

Orion SkyView Pro GoTo System User manual

Orion 8671 User manual

Orion

Orion 8671 User manual

Orion TeleTrack 9441 User manual

Orion

Orion TeleTrack 9441 User manual

Orion 13039 User manual

Orion

Orion 13039 User manual

Orion StarShoot USB Eyepiece II User manual

Orion

Orion StarShoot USB Eyepiece II User manual

Orion 8684 User manual

Orion

Orion 8684 User manual

Orion VersaGo III User manual

Orion

Orion VersaGo III User manual

Orion APEX 9825 Instruction manual User manual

Orion

Orion APEX 9825 Instruction manual User manual

Orion Sirius EQ?G User manual

Orion

Orion Sirius EQ?G User manual

Orion OT-T07 User manual

Orion

Orion OT-T07 User manual

Orion 9019 User manual

Orion

Orion 9019 User manual

Orion 90mm f/10.1 refractor Manual

Orion

Orion 90mm f/10.1 refractor Manual

Orion SkyLine 5696 User manual

Orion

Orion SkyLine 5696 User manual

Orion StarSeek User manual

Orion

Orion StarSeek User manual

Orion 9768 User manual

Orion

Orion 9768 User manual

Orion EQ-1 Equatorial Mount 9011 User manual

Orion

Orion EQ-1 Equatorial Mount 9011 User manual

Orion 52071 User manual

Orion

Orion 52071 User manual

Orion RKS250F-S User manual

Orion

Orion RKS250F-S User manual

Orion Equatorial Mount 9233 User manual

Orion

Orion Equatorial Mount 9233 User manual

Popular Accessories manuals by other brands

Quincy lab 140AE-1 operating manual

Quincy lab

Quincy lab 140AE-1 operating manual

HomePro ZIR000 user manual

HomePro

HomePro ZIR000 user manual

DOL 20SCR Technical user guide

DOL

DOL 20SCR Technical user guide

RAB Smart Task installation manual

RAB

RAB Smart Task installation manual

Kemppi KMS 300 quick guide

Kemppi

Kemppi KMS 300 quick guide

Stearns 57,500 Series Installation and service instructions

Stearns

Stearns 57,500 Series Installation and service instructions

iGuzzini TWILIGHT COPENAGHEN manual

iGuzzini

iGuzzini TWILIGHT COPENAGHEN manual

Adelaide Annexe & Canvas Avan Deluxe installation guide

Adelaide Annexe & Canvas

Adelaide Annexe & Canvas Avan Deluxe installation guide

OHAUS 5000 instruction manual

OHAUS

OHAUS 5000 instruction manual

HOME8 WLS1300 quick start guide

HOME8

HOME8 WLS1300 quick start guide

MAXBOTIX MaxSonar quick start guide

MAXBOTIX

MAXBOTIX MaxSonar quick start guide

ioSmart iSmart56 Installation and user guide

ioSmart

ioSmart iSmart56 Installation and user guide

Focusrite Scarlett 18i8 user guide

Focusrite

Focusrite Scarlett 18i8 user guide

Velleman ED38105 user manual

Velleman

Velleman ED38105 user manual

JumpSport SkyBounce user manual

JumpSport

JumpSport SkyBounce user manual

Prima-Temp PRIYA Instructions for use

Prima-Temp

Prima-Temp PRIYA Instructions for use

Tefcold BC85I-BC85I W user manual

Tefcold

Tefcold BC85I-BC85I W user manual

Vaisala WMS302 user guide

Vaisala

Vaisala WMS302 user guide

manuals.online logo
manuals.online logoBrands
  • About & Mission
  • Contact us
  • Privacy Policy
  • Terms and Conditions

Copyright 2025 Manuals.Online. All Rights Reserved.