3
Polar Alignment with the
Polar Scope
The polar scope can be used in both the Northern and
Southern hemispheres.
For Use in Northern Hemisphere: Rotate the reticle using
the large knurled ring on the polar scope so that the orienta-
tion of the Big Dipper and Cassiopeia match their orientation
in the sky. Locate Polaris (the brightest star near the North
Celestial Pole, or NCP) by viewing through the polar scope,
then use the altitude jackscrew and the two azimuth adjust-
ment knobs to move Polaris to the proper position in the FOV
of the polar scope. The proper position is the center of the
small circle superimposed on the larger circle surrounding the
cross (NCP).
For Use in Southern Hemisphere: In the polar scope’s reti-
cle, notice the string of four dim stars labeled “Octans” (refer to
Figure 2), which represent corresponding stars in the south-
ern constellation of that name. Rotate the large knurled ring of
the polar scope assembly to orient the reticle graphic with the
orientation of the four stars of Octans in the sky. Then use the
mount’s altitude jackscrew and the azimuth adjustment knobs
to carefully move the four stars into the four small circles of the
“Octans” graphic. When you’ve done that, your mount is polar
aligned!
1. With the mount now polar aligned, you can now tighten
the primary locking knob, and then tighten the azimuth
adjustment knobs, the azimuth and altitude lock bolts,
and the altitude lock knobs. (Refer to the manual for the
HDX110 EQ-G.)
2. We recommend removing the altitude jackscrew handle
once the polar-alignment has been done, to prevent
unexpected changes to the polar-alignment from
accidentally bumping it or catching a cable on it.
Another Method for Placing Polaris at the Correct
Offset Position
Because Polaris is not located exactly at the NCP, it is neces-
sary to determine the orientation of Polaris on the circle sur-
rounding the NPC (cross) on the reticle. Another way to do this
is to use the SynScan hand controller as follows:
At the end of the initialization of the SynScan hand control-
ler (see the SynScan manual), after entering the proper local
longitude, latitude, date, time, and daylight-saving time, the
hand controller will display the message: “Polaris Position in
P.Scope=HH:MM”. Imagine the larger circle in Figure 2 as a
clock’s face with 12:00 at the top, with the time indicated by
“HH:MM”, which stands for Hours and Minutes. You want to
position Polaris on the circle where the HOUR HAND would
be pointing at that time. So, for example, if the hand control-
ler displayed, “Polaris Position in P.Scope=03:30,” you would
place Polaris on the large circle at the point where the hour
hand of a clock would be at 3:30 a.m., i.e., halfway between
the imaginary 3 and 4.
Note that with this method there’s no need to rotate the polar
scope’s reticle to adjust the position of the small circle.
Tip: For this clock method to work, you have to be sure you
know where the “top,” or 12-o’clock point, of the large circle
is. This can be tricky to determine if your head is cocked at
a non-vertical angle when viewing through the polar scope.
To find the top of the large circle in the polar scope’s field of
view, use the latitude jackscrew to move Polaris up and down
in the field of view, and rotate the telescope in R.A. to ori-
ent the vertical line of the center cross to be parallel with the
motion of Polaris. When they are parallel, the 12-o’clock posi-
tion of the large circle is where Polaris intersects with the top
of that circle (assuming your mount was level to start with).
Thumbscrews
WARNING: Do NOT look at the Sun without a
professionally made solar filter on the telescope;
serious eye damage may result if you look at the
Sun with any unfiltered optical instrument. Do
not leave the telescope unsupervised around
children. Always cover the lenses when leaving the
telescope in direct sunlight.
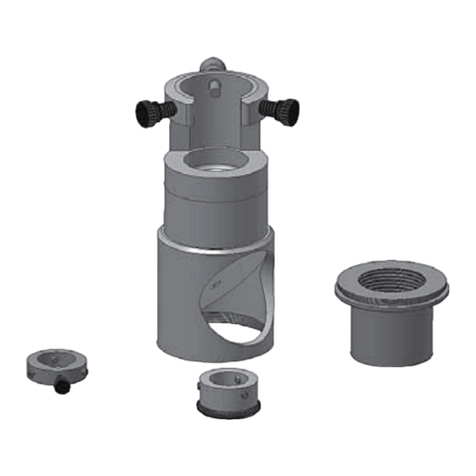
Figure 5. Polar alignment requires adjusting the three thumbscrews
on the back plate of the polar scope.
