Orion 12517 User manual

- 1 -
12517_EN_SE_1b

- 2 -
(GB) DESCRIPTION.
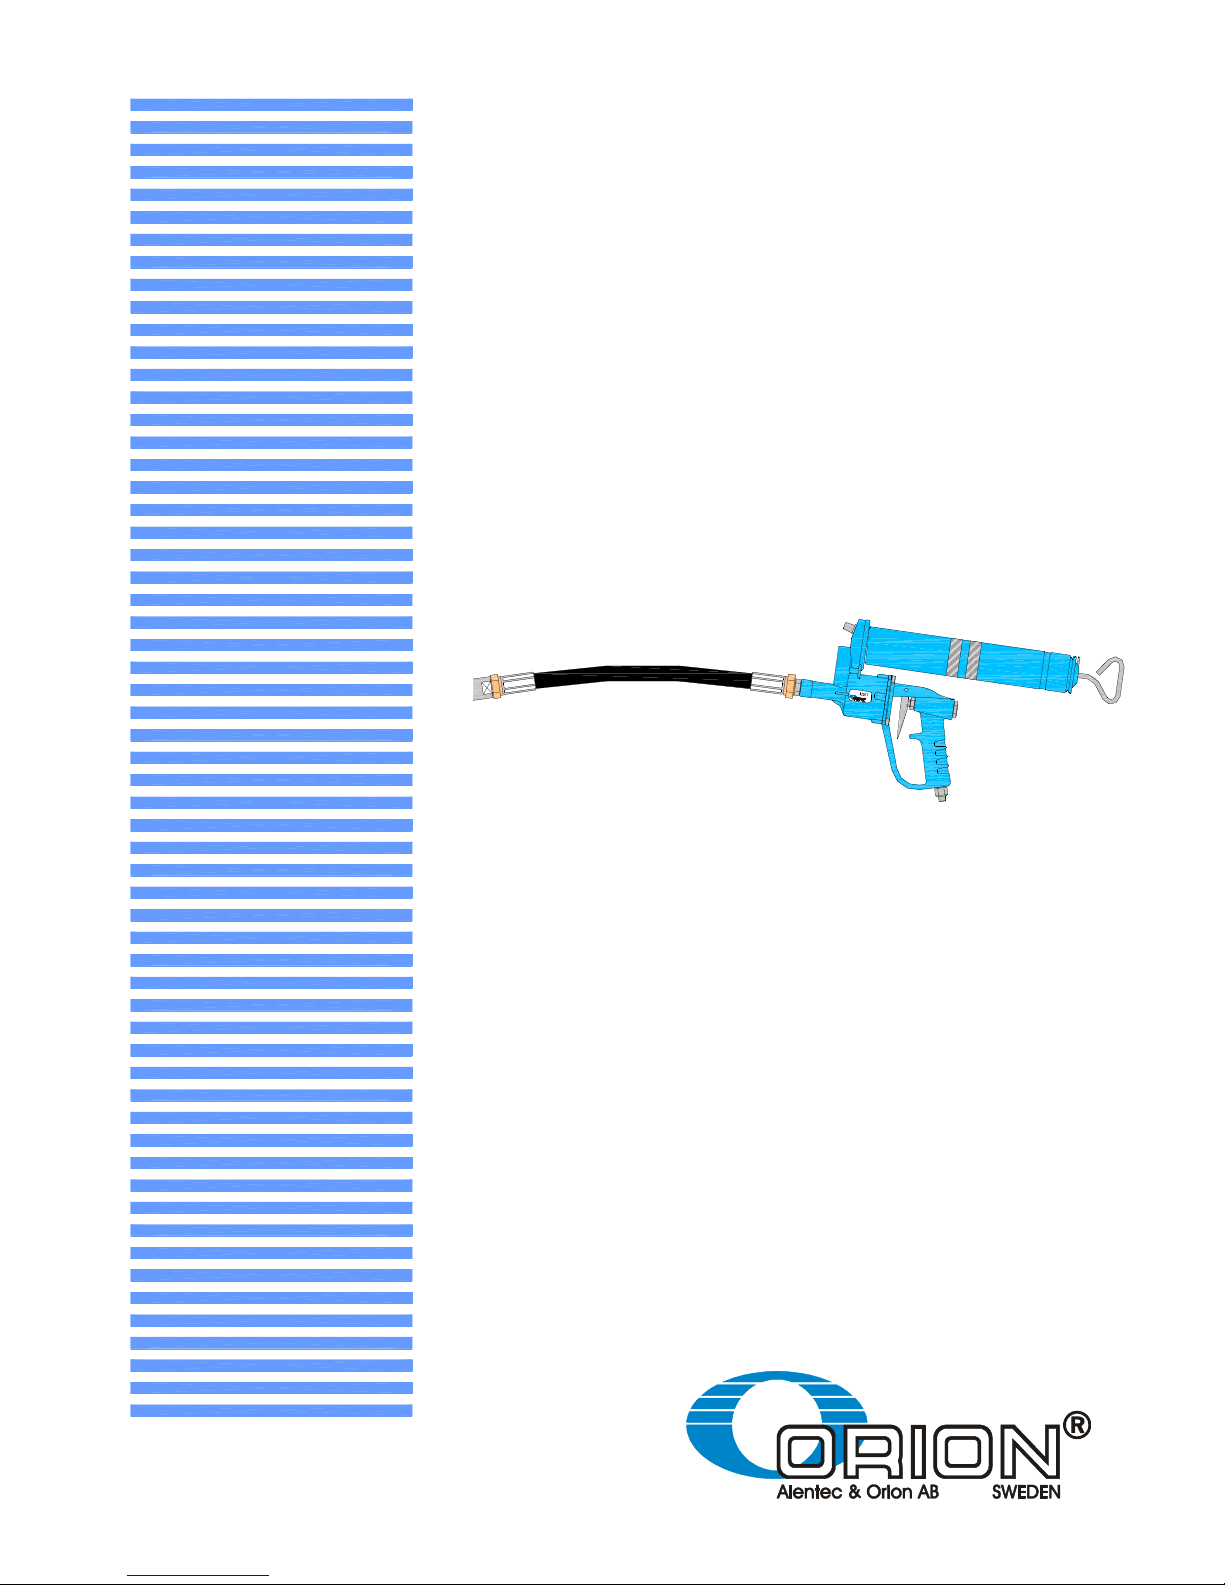
High pressure (60:1 Ratio) compressed air operated grease gun. For use with all types of greases up to NLGI 2. The gun can
be connected to a fixed compressed air line or to a truck circuit. The gun includes a 500 cm
3
container for grease cartridge or
bulk grease, flexible outlet hose and 4-jaw connector.
(S) BESKRIVNING.
Tryckluftdriven fettpistol med tryckförhållandet 60:1. För användning med alla typer av fett upp till NLGI 2. Kopplas direkt till en
tryckluftledning eller tryckluftkretsen på ett fordon. Pistolen levereras med en 500 cm
3
behållare för fettpatron eller löst fett och
utloppsslang med hydrualisk koppling.
(GB) INSTALLATION AND OPERATION.
Connect the hose to the outlet of the gun and tight it well.
Connect the gun to a compressed air line (the use of quick coupler and
connector is recommendable). The air pressure must be between 3 and 10
bar, and 6 –7 bar is ideal.
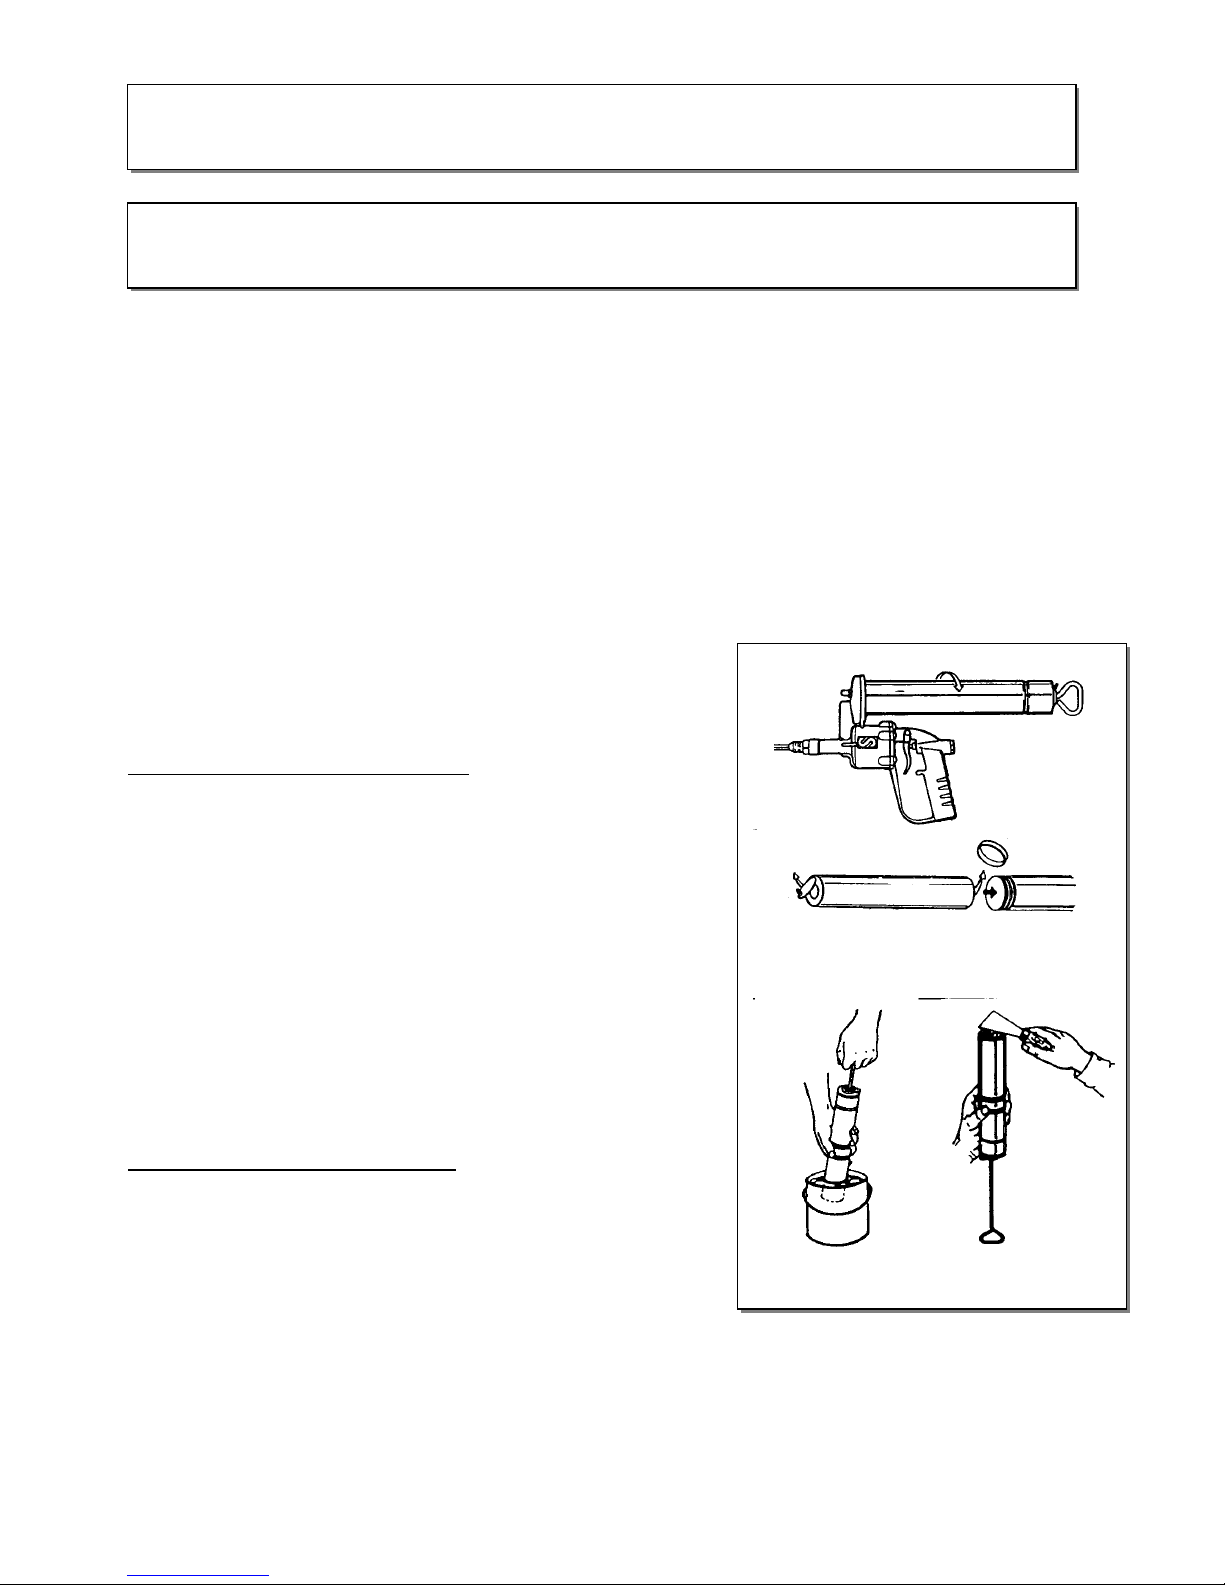
FILLING THE GREASE CONTAINER (Fig. 2)
The grease container can be filled by cartridge, by suction or manually.
Unscrew first the container assembly from the gun (a). For grease cartridge,
pull the rod until it gets blocked, remove the covers from the cartridge and
insert it in the container (b). To fill by suction, put the open end of the
container into the grease and slowly pull the rod until it gets blocked (c). To
fill manually, pull the rod until it gets blocked and fill as in d. Put back the
filled container and unblock the rod.
To begin to use the grease gun, push the trigger repeatedly until grease
appears in the outlet.
(S) INSTALLATION OCH ANVÄNDNING.
Anslut slangen vid pistolens utlopp och dra åt ordentligt.
Anslut pistolen till tryckluftnätet (användandet av snabbkoppling och nippel
rekommenderas). Tryckluften bör ligga mellen 3 och 10 bar, med 6 –7 bar
som rekommenderat tryck.
FYLLNING AV FETTBEHÅLLAREN (Fig. 2)
Behållaren kan fyllas antingen med fettpatron, genom sugning eller manuellt.
Skruva först loss behållaren från pistolen (a). För fyllning med fettpatron,
drag i kolvstången tills den blockeras, tag bort båda locken på fettpatronen
och sätt in den i behållaren (b). För påfyllning genom sugning, för ner den
öppna änden av behållaren i fettet och drag sakta i kolvstången tills den
blockeras (c). För manuell fyllning, drag i kolvstången tills den blockeras och
fyll enligt bild 4. Skruva tillbaka behållaren och lossa kolvstången.
För att börja använda fettpistolen, tryck på avtryckaren flera gånger tills fett kommer ut ur utloppet.
c. d.
Fig.2
IMPORTANT:
Please read this manual carefully before installation or
service work is carried out.
VIKTIGT:
Läs denna bruksanvisning noga före installation eller
användning samt innan något servicearbete påbörjas.

- 3 -
(GB) TROUBLESHOOTING.
Symptom Possible reasons Solution
No grease in the container Fill the container
Air pockets in the gun body or container Compact the grease in the container. Purge the air
with the purger (10).
No grease delivery when the
trigger is pulled
Grease outlet obstructed Disassemble and clean the outlet valve (13-15).
Remove the screw (11) and clean the conduit.
Grease comes out without
pulling the trigger Dirt in the outlet valve (13-15) Disassemble and clean the outlet valve (13-15),
replace in case of damage
Air leaks from the air valve
needle (31) Damaged air valve Replace the air valve
Damaged air valve Replace the air valveThe air motor does not function
when the trigger is pulled Damaged air motor parts Replace the air motor kit
(S) FELSÖKNING.
Symtom Trolig orsak Åtgärd
Inget fett i behållaren Fyll på behållaren
Luftfickor i behållaren eller i pistolkroppen Packa fettet i behållaren. Avlufta med avluftaren (10).
Det kommer inte ut något fett
när man trycker på avtryckaren
Utloppet är täppt Montera isär och gör rent utloppsventilen (12-15).
Skruva bort skruven (11) och gör rent gången
Det kommer ut fett utan att man
trycker på avtryckaren Smuts i utloppsventilen (12-15) Montera isär och gör rent utloppsventilen (12-15), byt
ut defekta delar.
Det läcker luft vid luftventilen
(31) Skadad luftventil Byt ut luftventilsatsen
Skadad luftventil Byt ut luftventilsatsenLuftmotorn fungerar inte när
man trycker på avtryckaren Skadade delar i luftmotorn Byt ut skadade delar
(GB) SERVICE.
ATTENTION: Before starting any kind of maintenance or repairing, disconnect the compressed air supply.
Outlet valve (12-15)
1. Unscrew the outlet nut (12) and remove the spring (14) and the ball (15).
2. Clean these parts as well as the ball seat in the gun body. Replace if necessary.
Air valve
1. Unscrew and remove the threaded plug (4).
2. Remove the spring (3) and the valve (2). Clean or replace.
3. Remove the trigger pin (29) and the trigger (30). Unscrew the needle guide (33) and remove it together with the air
valve needle (31) and the O ring (32). Replace the damaged parts.
Air motor
1. Unscrew and remove the five screws (27) and remove the handle (1) and O ring (26).
2. Pull out the air motor assembly (18-25) and replace the damaged parts.
(S) REPARATION.
OBS: Koppla alltid ifrån tryckluften innan någon typ av underhåll eller reparation påbörjas.
Utoppsventil (12-15)
1. Skruva loss muttern (12) och demontera fjädern (14) och kulan (15).
2. Gör rent dessa delar samt ventilsätet. Byt ut om nödvändigt.
Luft ventil
1. Skruva loss skruven (4).
2. Demontera fjädern (3) och luftventilen (2). Gör rent eller byt ut.
3. Slå ur pinnen (29) och ta bort avtryckaren (30). Skruva loss styrmuttern (33) och demontera den tillsammans med
ventilnålen (31) och o-ringen (32). Byt ut skadade delar.
Luftmotor
1. Skruva loss de fem skruvarna (27) och demontera handtaget (1) och o-ringen (26).
2. Drag ut det kompletta kolvsetet (18-25) och byt ut skadade delar.

- 4 -
(GB) PARTS/ (S) DELAR
Repair kit/ Reservdelssats
Kit
Sats
Part Nº
Art.nr. Including pos
Inkluderar pos Description Beskrivning
A 142 53 65 12 - 15 Outlet valve Utloppsventil
B 142 53 66 17 - 26 Air motor Luftmotor
C 142 53 67 2, 3, 29 - 33 Trigger assy Avtryckare kompl.
D 142 53 71 5 - 9 Container assy Behållare kompl.
Parts available separately/ Separat tillgängliga delar
Pos Part Nº
Art.nr. Description Beskrivning
10 18102 Filling nipple Påfyllningsnippel
37 14042 Outlet hose Utloppsslang
38 14514 Hydraulic connector Hydrualisk koppling
Other Orion Paint Sprayer manuals
Popular Paint Sprayer manuals by other brands

Graco
Graco RAZOR 288588 Instructions-parts list

Graco
Graco GMax 308870 Instruction & repair manual

AirCom
AirCom A81 Series instruction manual

Titan
Titan 0290032 operating manual

The Fountainhead Group
The Fountainhead Group SMITH PERFORMANCE NL403 use and care manual

Earlex
Earlex SPRAY SYSTEM HV 1900 Operating instructions manual