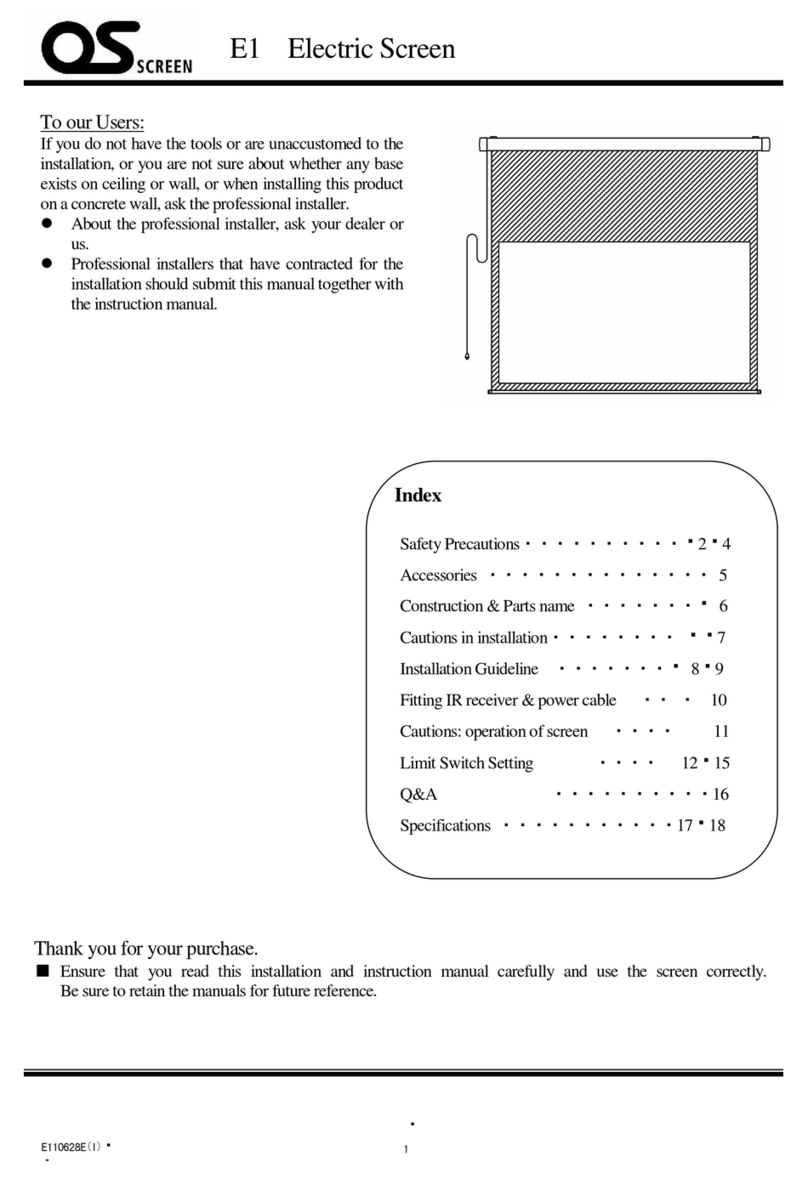
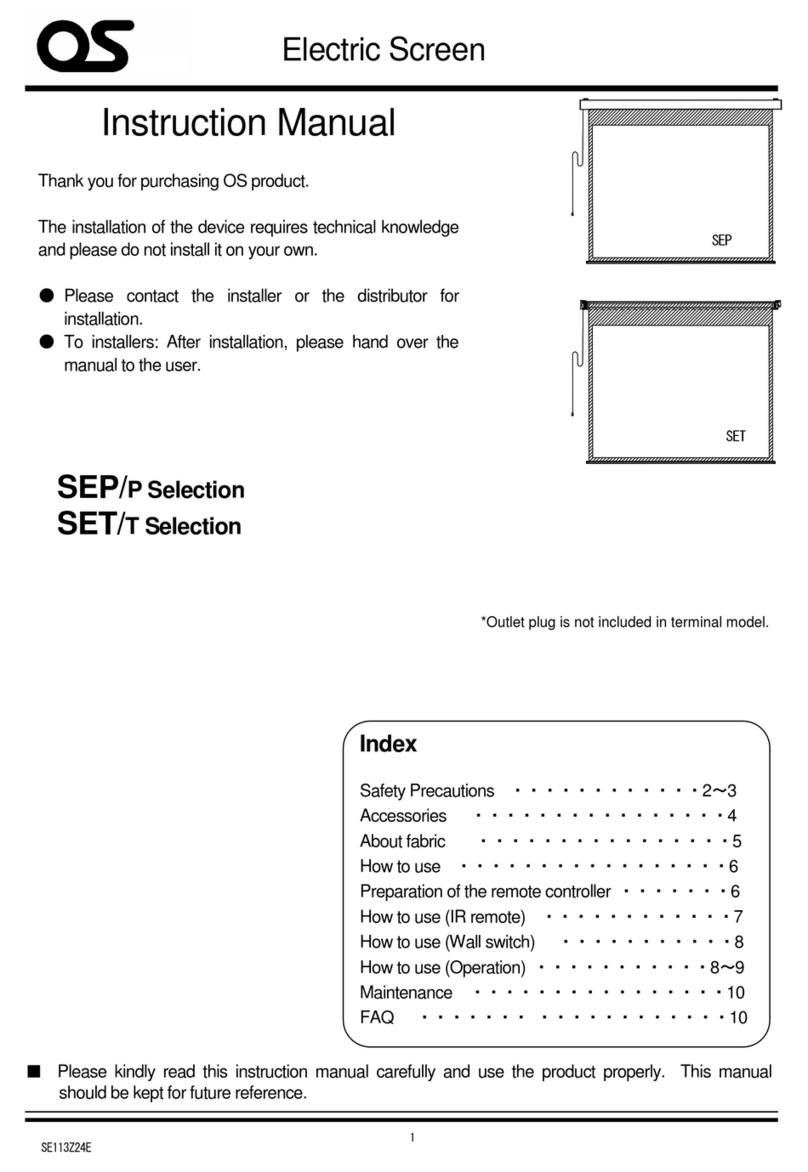
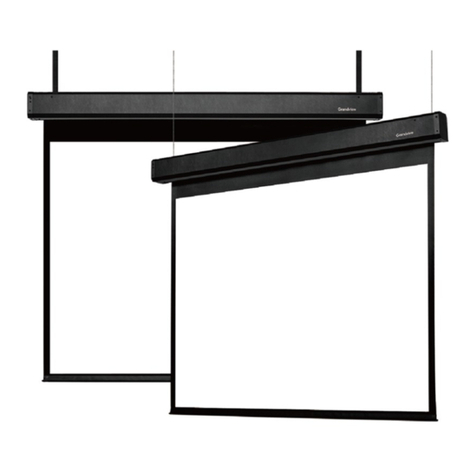
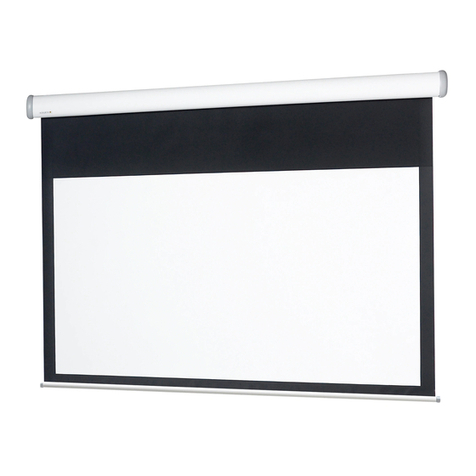
OSI CO E1 User manual

1
E110628E
E1 Electric Screen
Thank you for your purchase.
Ensure that youread this instruction manual carefully and usethe screencorrectly.
Be sure to retain this instruction manual for future reference.
Index
SafetyPrecautions ・・・・・・・ 2〜4
Accessories ・・・・・・・・・・・・・5
Construction &PartsName・・・・・・・6
Cautions in handling ・・・・・・・・7
Usage ・・・・・・・8〜11
●Operation of DOWN button
●Operation of UP button
●Apply tension to the screen
Q&A ・・・・・・・ 12
Specifications ・・・・・・・ 13〜14
INSTRUCTION MANUAL
To our Users:
This instruction manual describes handling of
the screen.
Refer to the Installation Manual for installing
the screen.
Before Use:
The screen surface may have an odor at first. Please ventilate enough by opening the window.
Any such odor will gradually fade. When the odor is strong, please keep the screen pulled out,
even not in use. (It might take several days tillthe screendoes not have anodor anymore.)

2
E110628E
This indicatesthat failure to followthese safety precautionscould
result in deathor serious injury.
Take offthe dust,etc. ofthepowerplug regularly.
It causes an insulation failure due to moisture etc. when dust
is piled up on the power
plug, and might cause a fire.
●Please pull out the power plug, and wipewitha drycloth.
This indicatesthat failure to followthese safety precautions
could result in bodily injuryordamage to property.
Do not hang fromthe screen orsuspendanythingtoit.
It maydamage the main unit or screenfabric with danger.
Do not forcefullypull outthe screen
.
The main unit or screen fabric may fall out.
Important Safety Instructions
Ensure you follow the below instructions for safety.
This manual explainsthe necessary precautionsto prevent the harmto the user or the othersand any damage
toproperty.
■The marks show the level of harm and damage caused by the mal-handling or the disregard to the
precautions.
■These marksexplain the precautioncontents.
Prohibition: you areprohibited todoso
Force : you are forced not to do so.
Do not damagethepowercableand plug.
(Do
not damage, process, twist, pull, put a heavy item on, bring close to the high
temperature or bundle the power cord.)
It causes the electric shock, the short, and a fire when used with damage.
WARNING
WARNING
CAUTION

3
E110628E
Do not operatethepowerplug withawethand.
It maycause an electric shock.
Stop using, when anything like metal, water, or liquid goesinto the screen, and pull
outthe powerplug.
The continuous use maycause a fireand anelectric shock.
●Stopusing it, and consult withthe dealer or us.
Pull out the powerplug, when smoke, heat,smell or strangenoise happens.
The continuous use maycause a fireand anelectric shock.
●Stop using it, and consult with the dealer or us.
Makesurethepowerplug isinserted tightly.
When insertion is not enough, it maycause a fire by the electric shock and heat.
Takethepowerplugtoconnect, notthe powercable.
It maydamage the power cable andcause a fire andan electric shock.
Do not disassemble, repairand/or modify the screen.
It maycause a fire and an electric shock.
Do not touchthepowerplug when thundering.
It maycause an electric shock.
WARNING

4
E110628E
Pull out the powerplug, when the screen isnot used for long.
The leak maycause a fire.
Do not pull out the screen more than theSTOP labelpoint.
The screenfabric mayfallout.
Do not putanythingorfragile thingbelowthescreen.
Anything could block the movement ofthe screencausing damage.
Do not usethesharp cutleryorpointed metalnearthe screen.
It might damage the screenfabric.
We are not responsible fortheaccidents ordamagescaused by mal-handlingsand natural
disasters, etc
Exchangethe same two new batteries.
Whenanold batteryis mixed, it maycause heat, liquid leakage andthe explosion.
CAUTION

5
E110628E
Accessories
Hexagonal spanner x1
Hexagonal spanner x1
(Nominal 4for limitadjustment) (Nominal 3for mountingbracket)
Infrared remotecontroller x1 AAA drybatteries x2 Infrared receiver x1 Sparesticker x1
Mountingbrackets x2
Stoppersx2
Bolts(M4x10) x4
Screw(4x40)x4
Washer(M4) x4

6
E110628E
Construction & Parts name
The screenis composed of partsas below. Please confirm beforeuse.
Power supply (left)
UP buttonto storethe screen.
Refer
topage 9.
STOP
button to stop the screen.
Refer to page 8-9
DOWN
button to use the screen.
Refer to page 8.
Screen Fabric
Mounting bracket
Infraredremote
controller
Screen main unit
STOP label
Ifthe screen fabric is pulled
down more thanthe STOP
label, it maycause the
fall-out or reverse rolling.
Do not pull out the screen
more thanthe STOP label
point.
Under pipe
STOP Label
Infrared
receiver (Refer
topage 7)
Operating switch (on left side)
Refer to page 9
Input (large)
for FS-1(Option)
Input (small)
for Infrared
receiver
Case
Adjustment knob
(Refer to page 10)

7
E110628E
Please pull out the back panelof the remotecontroller, and put two drybatteries
(size AAA).
Cautions in handling
The surface ofthe screen is speciallyprocessed to enhance projection image. The contaminationordamage may
result in poor projection image. Pay close attention to the followingswhen handling this product.
Do not touch the screen surface.
Do not draw anything onthe screensurface.
Do not ruborscratchthe surface withanything hard.
Gentlywipethe dust offthe surface withthe soft dryclothorremove with a soft brush.
※ The screen surface may have an odor at first. Please ventilate enough byopening the window. Anysuch
odor will graduallyfade. Whenthe odor is strong, pleasekeep the screenpulled out, even not in use.
Never use a moist clothor chemicals such as benzene, thinner etc.
It maycause the poor projection image.
Dry batteries
Change the two batteries to the new ones when
the signal is weak.
Take out all the batteries when you do not use
it for long to avoid the liquid leakagedamage
Do not use rechargeable batteries.
Preparation of the remote controller
Take-out direction Infrared remote
controller
(backside)
Make sure + or –
are
correct.
Remote controller
Do not drop, throwaway, or put water on it, or it may
cause the breakdown.
Handlethe remote controller carefully.
Please operate it to the direction of the infrared
receiver.
CAUTION
TheoperationrangeofIRremotecontroller
IRreceiver

8
E110628E
CAUTION : operations of screen
Be careful in repeating the screen goingupand down.
The continuous use of the
up and down operations may cause the heat prevention circuitry work, and stop the
screen. When this happens, please operate after some time (15 – 20 minutes) for cooling off.
- This is not the breakdown.
Operation of screen: DOWN button
Please confirm the screen is stored, and pushthe DOWN buttonofthe remotecontroller.
The screen is drawnout to a prescribed projection position, and it stops automatically.
Please pushthe STOP buttonwhenever youwant tostop the operation.
⇒
Usage
Projection
position
Push STOPbutton,
TO stopoperation.
Push DOWNbutton.

9
E110628E
Operation of screen: UP button
Whenthe screen is drawnout, pushthe UP buttonofthe remote controller.
The screen is rolledup and stored, and it stops automatically.
Please pushthe STOP button when you want to stop operation.
Storedposition ⇒
In case remote controller cannot be used
When the remote controller cannot be used because of the damage or loss, use the operation switch on the screen
cap.
Howtodo
Please insert the tip of the ballpoint pen in the hole on the left side ofthe screencap and push the operation switch.
Everytime this switch is pushed, the screenrepeats 【U P →DOWN 】operations.
CAUTION: the operation switch cannot stop the
operation.
Pullout the power plug, whenthe screenis not used for long.
The leak maycause a fire.
Push UPbutton.
Push STOPbutton,
tostopoperation.
CAUTION

10
E110628E
Applying tension to the screen
Ifthe screen fabric is less tensioned around the under bar area
after use, adjust the tensionusing the tension adjustment mechanism.
Turnthe knobs attached on both edgesofthe under pipeto the
right, and thenthe fabric is tightened.
* Do not turnthe knobs more thanthree rounds,
clock-wise (CW) or counter-clock-wise (CCW).
Whenadjusting the knobs, make sure youturn bothknobs same times.
Ifone side is adjustedonly, it maycause wrinkles, and poor projection image.
Ifexcesstension has beenapplied, turnthe knobsto the
left (CCW), and loosenthe tension. Leave it for a few
days, and thenreadjust. ■ CCW ⇒ To releasetension
■ CW ⇒ To give tension
CAUTION

11
E110628E
Introduction to Option
FS-1 Contact-typeSwitch
Possible to use it together with the remotecontroller.
The screencanbeoperated even ifthe remote controller
is not inuse becauseof low battery.
-Just connect the special mini plug to the jack
onthescreencap.

12
E110628E
Q&A
Please do the following checksbeforerequesting forrepair when malfunction happens.
Please pull out the power plug before you check. If the malfunction cannot be remedied even after all the checking
points as below areconfirmed, consult with the dealer or us.
Symptom Check Remedy
The projected image becomes
inclined. Is the screen mounted horizontally?
Check the mounting holes.
Is power plug fixed to the mains
correctly? Fix theplugtightly.
Is the remote controller directed to
thereceiver? Direct the remote controller to the
receiver.
Anything blocking between remote
andthe receiver? Take off the blocking item, or
change the receiver position.
Is the sun or lights reflected on the
receiver? Changethe positionofthe receiver.
Batteriesofremote low? Change the two batteries in the
remote. (AAA type)
The screendoes not operate.
Is the heat prevention circuitryon? Cool off the motor and operate
again after 15-20 minutes.
The screen is stored, but the
motor does not stop. Is the limit volume (Upper limit)
turnedtoo much CCW?
Stop the operation. Readjust the
upper limit referring to page 12 of
InstallationManual.

13
E110628E
Specifications
■Mounting Bracket■Side view
TotalLengthA
From screw to screwG
Power cable (Approx.2.0m)

14
E110628E
Model Size
W×H(mm) UBB
U(mm) T. Length
A(mm) From screwtoscrew
G(mm) T. Height
T(mm) Weight
(kg)
Power
Consumption
(VA)
E1-080H-064 1771×996 640 2046 9.4
E1-090H-051 1992×1121 510 2267 1350 or above 10.3
E1-100H-039 2214×1245 390 2489 11.2
E1-110H-027 2435×1370 270 2710 1800 or above 12.1
E1-120H-014 2657×1494 140 2932 2250 or above
1812
13.0
92
E1-080H-110 1771×996 1100 2046 10.0
E1-090H-097 1992×1121 970 2267 1350 or above 10.9
E1-100H-085 2214×1245 850 2489 11.8
E1-110H-073 2435×1370 730 2710 1800 or above 12.7
E1-120H-060 2657×1494 600 2932 2250 or above
2272
13.6
92
E1-080V-088 1626×1219 880 1901 9.5
E1-090V-072 1829×1372 720 2104 1000 or above 10.3
E1-100V-057 2032×1524 570 2307 11.1
E1-110V-042 2235×1676 420 2510 1350 or above 12.0
E1-120V-027 2438×1829 270 2713 1700 or above
2272
12.8
92
E1-100L-064 2337×995 640 2612 1800 or above 10.0
E1-110L-054 2571×1094 540 2846 2250 or above 1812 12.5 92
Specifications and design may change without prior notice.
OSI CO., LTD.
Room 1605, 16/F, Seaview Centre, 139 Hoi Bun Road,
Kwun Tong, Kowloon, Hong Kong
PHONE:+852-3580-0087FAX:+852-2367-4300
E-mail:info-hk@os-worldwide.com
URL:http://hk.os-worldwide.com
Other manuals for E1
1
Table of contents
Other OSI CO Projection Screen manuals
Popular Projection Screen manuals by other brands
AVstumpfl
AVstumpfl Magnum user manual
Screen Int
Screen Int MAJOR PRO-C installation manual
EliteProAV
EliteProAV Yard Master Pro 2 Series user guide
Stewart Filmscreen
Stewart Filmscreen Luxus Deluxe ScreenWall owner's manual
HunterDouglas
HunterDouglas ZIP 135 Installation and Maintenance
Elite Screens
Elite Screens Evanesce B Series Product White Paper
