manuals.online logo
Brands
  1. Home
  2. •
  3. Brands
  4. •
  5. Draper
  6. •
  7. Projection Screen
  8. •
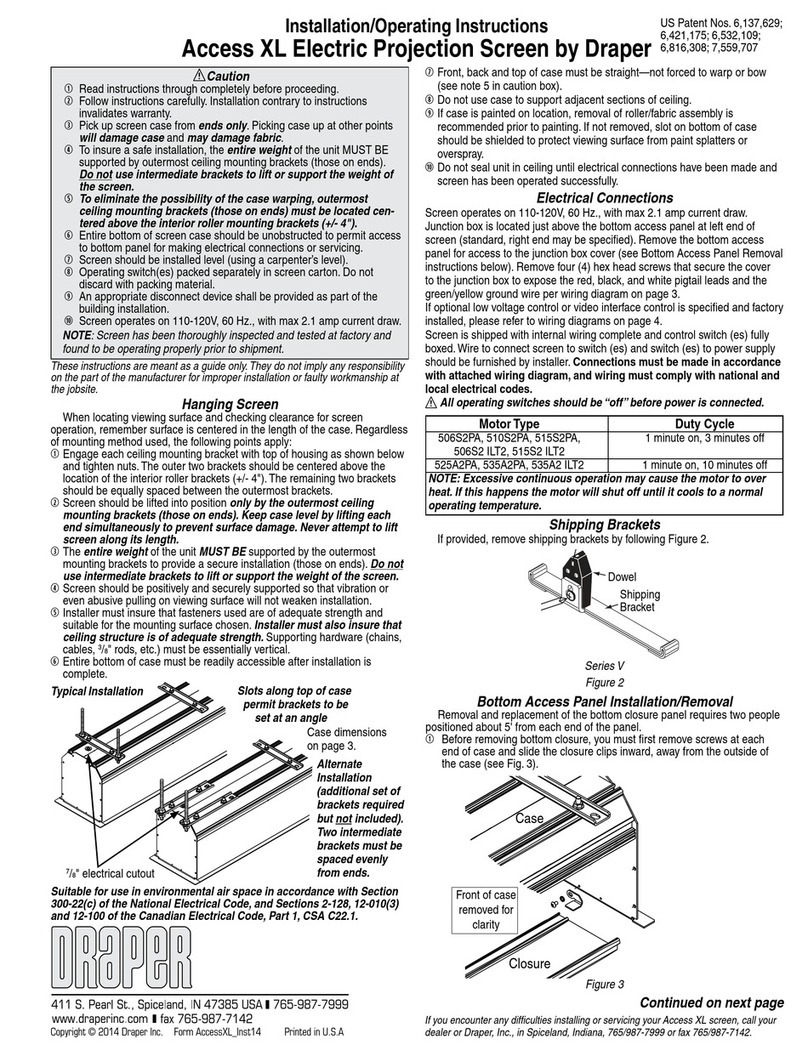
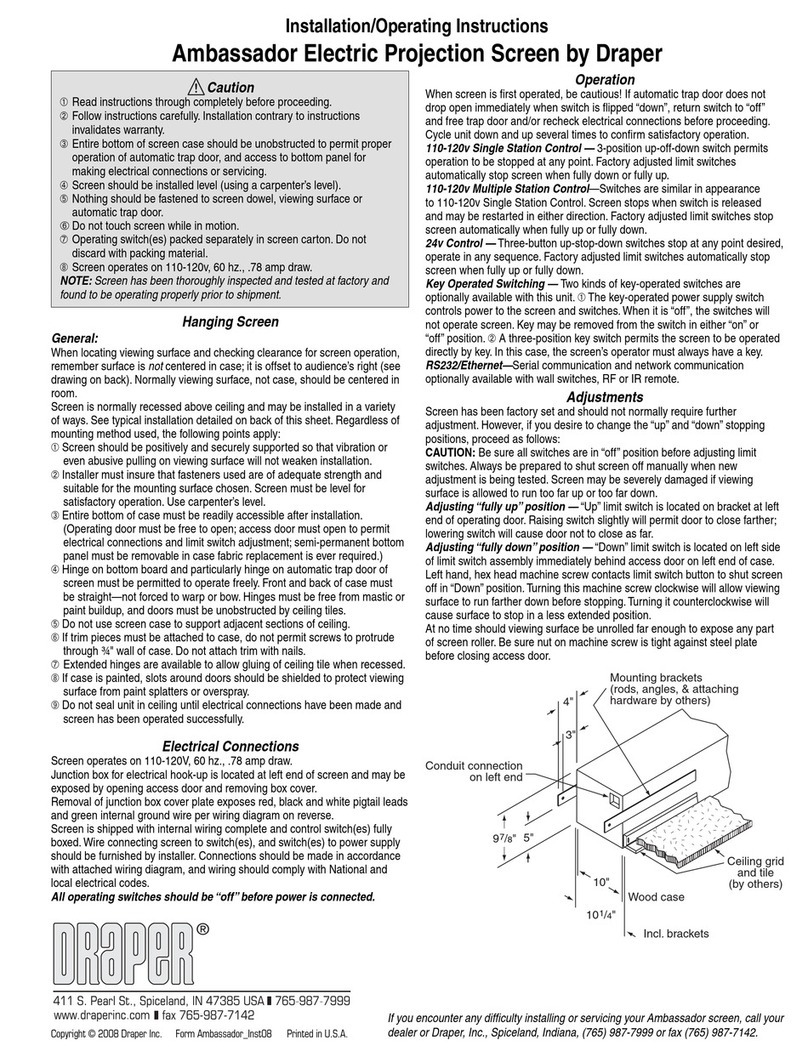
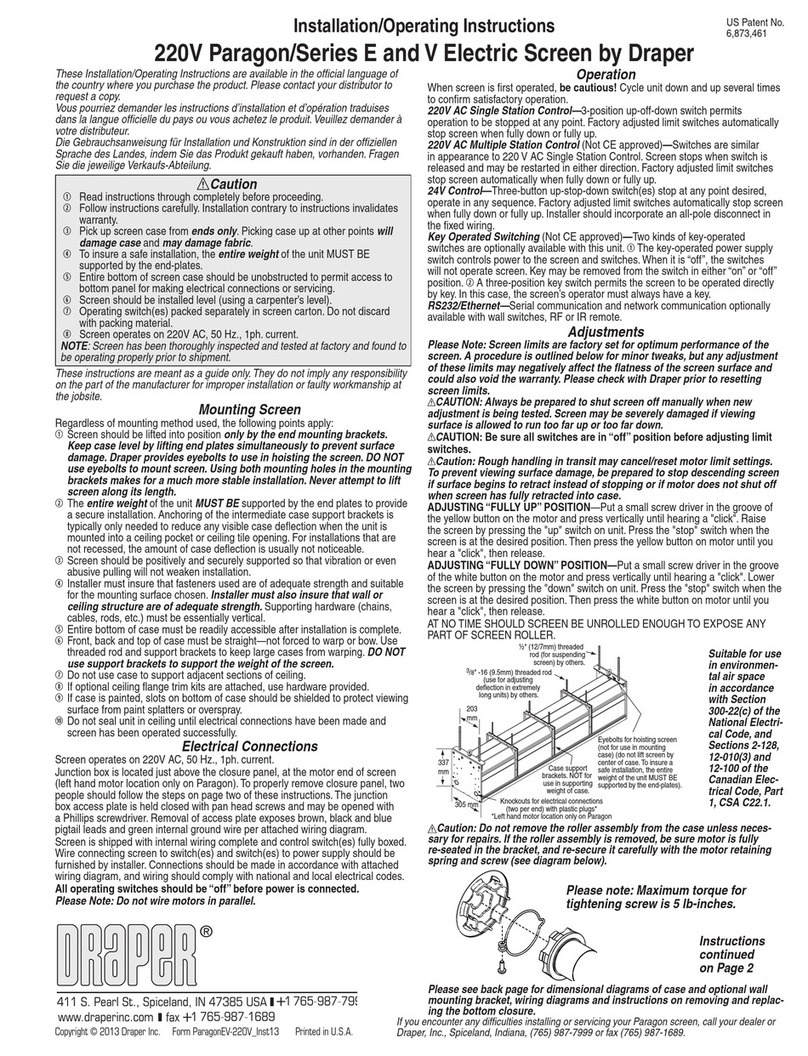
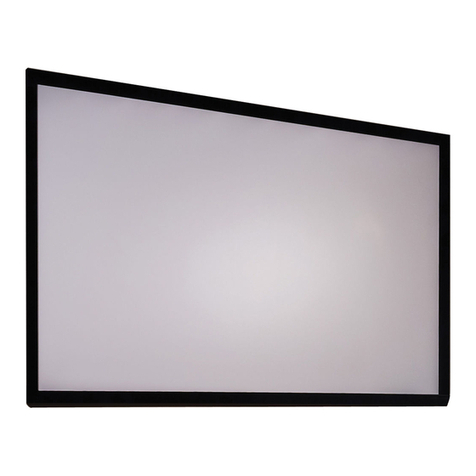
  9. Draper FocalPoint User manual

Draper FocalPoint User manual

Section 1 - Frame
/
Screen Assembly
1. Remove tarp from case and place on the ground.
2. Remove frame pieces from case and place in the appropriate locations on the tarp.
Please Note: For screens with Viewing areas of 18’ or larger Draper ships a special corner labeled “Large
Screen Corner”. If you did not order a complete screen do not use the standard “corner” for
the large screens. Contact Draper if needed.
Please Note: Each piece is color-coded: refer to FocalPoint™ Assembly Map included with screen for
correct layout (see reverse side).
Please Note: Frame pieces should be placed with “forks” running counter-clockwise and DuraLoop™
Attachment Lugs facing out.
3. Assemble frame by inserting “forks” of each piece into extrusions on the adjoining piece (see Fig. 1).
Tighten by turning color-coded attachment knobs (see Fig. 2).
4. Remove leg pieces from case and place in the appropriate locations on the tarp.
Modular
Frame Sections
Viewing
Surface
DuraLoop
™
Bungee
Attachment
Black
Border
Figure 1
Figure 2
FocalPoint™
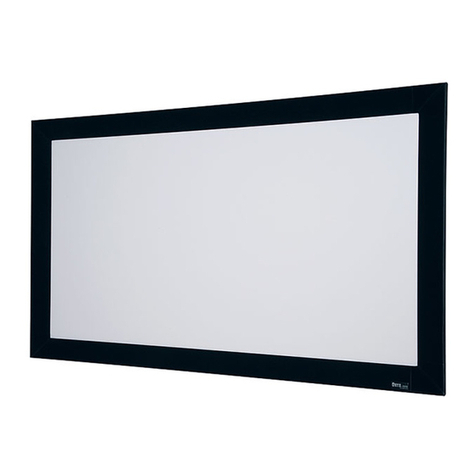
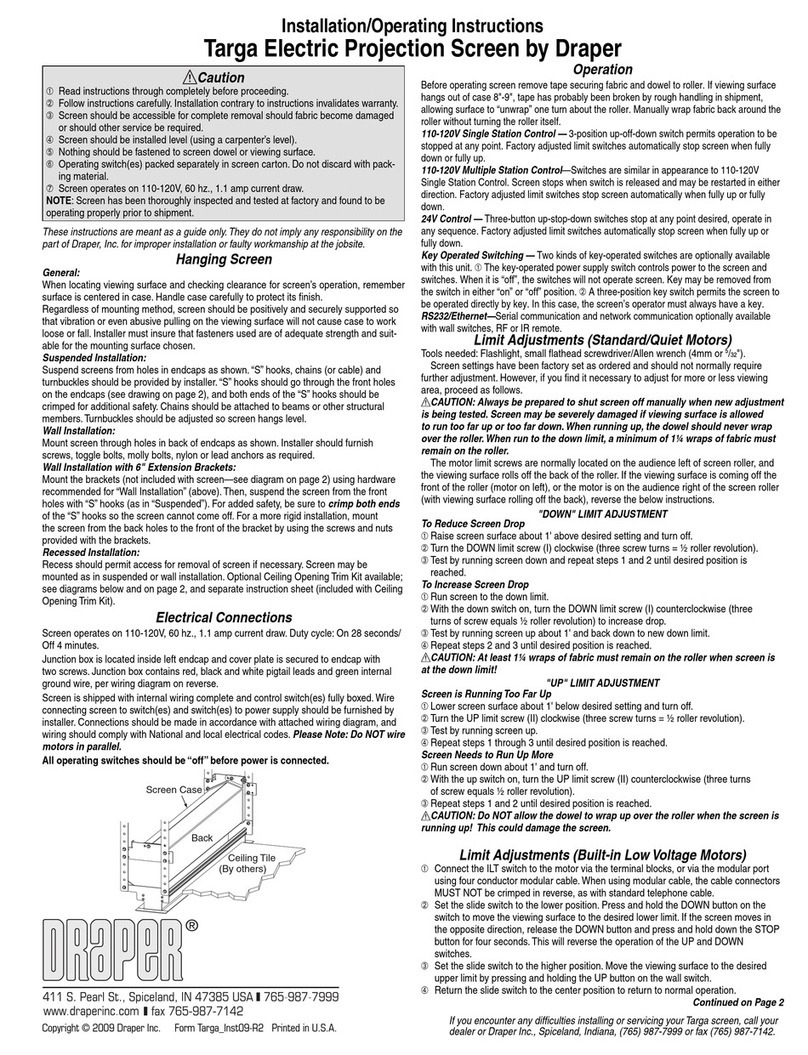
Extremely rigid, durable, lightweight and modular framed projection screen.
INSTRUCTIONS
INSTALLATION & OPERATION
CAUTION
Caution
1. Read instructions through completely before proceeding;
retain for future reference.
2. Handle viewing surface with care; do not allow it to come
in contact with sharp or dirty objects.
3. These instructions are based on assembly by a minimum
of two people.
4. Make sure screen is level.
5. Do not write on viewing surface.
6. The ideal temperature range for assembling folding
screens to prevent damaging the surface is 68°-78° F
(20°-26° C). Assembling below recommended
temperatures may damage surface and void warranty.
7. Do not permit screen fabric to contact border material or
loops when folded. Store in pouch provided.
8. Please read the following installation guidelines
thoroughly and follow them carefully. Failure to do so
invalidates warranty.
Please Note: Custom products/installations may not be reflected
by this document. Call Draper, Inc. if you have questions about your
installation.
If you have any difficulties installing or servicing your
FocalPoint, call your dealer or Draper, Inc.
Draper, Inc. | 411 S. Pearl St. Spiceland, IN 47385
draperinc.com | 765.987.7999 | 800.238.7999
© 2018 All Rights Reserved | FORM: FocalPoint_Inst17
5. Assemble legs according to color-coded assembly map by inserting “forks” of front extension into
extrusion on the leg base and tighten color-coded attachment knobs.
Also, attach vertical frame members in the same manner.
Do not yet attach the back extension to the leg base (see Fig. 3).
6. Place the screen frame on top of the legs (see Fig. 4).
7. Attach legs to frame (see Fig. 4) using provided Leg Cranks as follows:
Package A: 3 cranks per leg;
Package B: 4 cranks per leg; and
Package C: 5 cranks per leg.
Leg Cranks should be placed as follows:
1 at the lowest attachment point, 1 at the highest attachment point,
and the rest evenly spaced between the two.
8 Attach viewing surface to frame (see Fig. 5).
9 Raise FocalPoint into place (this step requires at least two people) (see Fig. 6).
10. Attach the back extensions to the leg bases (see Fig. 7).
Section 2 - Attaching Anti-Sway Bars
If provided, attach Anti-Sway Stabilizers to the frame and legs.
1. Unhook the viewing surface from the bottom of the frame near the attachment points.
2.Attach ends with threaded hole through the square extrusion to the fifth visible hole in from each
end of the screen.
3. Attach end with metal extension to the closest leg extrusion hole (see Fig. 8).
Please Note: You may need to use the built-in adjustment knob to shorten or lengthen the Anti-Sway
Stabilizer so it will reach holes (see Fig. 9).
4. If provided, attach HD Leg Braces to frame and legs. Attach ends with threaded hole through the
square extrusion to the frame. Attach end with metal extension to the back foot extrusion (see Fig. 10).
Figure 3
Figure 4
Figure 5
Figure 7
Figure 6
Figure 8
Adjustment
Knob
Figure 9
Figure 10
page 2 of 2
FocalPoint

Other Draper Projection Screen manuals

Draper Envoy Manual

Draper

Draper Envoy Manual

Draper M Series User manual

Draper

Draper M Series User manual

Draper Baronet HW Manual

Draper

Draper Baronet HW Manual

Draper Salara User manual

Draper

Draper Salara User manual

Draper nocturne+ c Programming manual

Draper

Draper nocturne+ c Programming manual

Draper Targa Manual

Draper

Draper Targa Manual

Draper 220V Access Electric Projection Screen User manual

Draper

Draper 220V Access Electric Projection Screen User manual

Draper Silhouette Series M Manual

Draper

Draper Silhouette Series M Manual

Draper Acumen Recharge E Programming manual

Draper

Draper Acumen Recharge E Programming manual

Draper AKT 315 IX Manual

Draper

Draper AKT 315 IX Manual

Draper VCB Silhouette E series User manual

Draper

Draper VCB Silhouette E series User manual

Draper Signature Series E User manual

Draper

Draper Signature Series E User manual

Draper Paragon V Series Manual

Draper

Draper Paragon V Series Manual

Draper Acumen XL E Programming manual

Draper

Draper Acumen XL E Programming manual

Draper Odin User manual

Draper

Draper Odin User manual

Draper Rolleramic Manual

Draper

Draper Rolleramic Manual

Draper Clarion User manual

Draper

Draper Clarion User manual

Draper Premier PRE-28 User manual

Draper

Draper Premier PRE-28 User manual

Draper Artisan Series Manual

Draper

Draper Artisan Series Manual

Draper Paragon Large Electrically Operated Projection... User manual

Draper

Draper Paragon Large Electrically Operated Projection... User manual

Draper E Series Manual

Draper

Draper E Series Manual

Draper Clarion User manual

Draper

Draper Clarion User manual

Draper Access MultiView Series Manual

Draper

Draper Access MultiView Series Manual

Draper Luma 2 Guide

Draper

Draper Luma 2 Guide

Popular Projection Screen manuals by other brands

DirectConnect Reel View DC84FS16x9 user guide

DirectConnect

DirectConnect Reel View DC84FS16x9 user guide

Seymour Screen Excellence TAM Assembly manual

Seymour Screen Excellence

Seymour Screen Excellence TAM Assembly manual

EPV Marquee Tension Series installation guide

EPV

EPV Marquee Tension Series installation guide

Acumen E Installation & operation instructions

Acumen

Acumen E Installation & operation instructions

DQE MC5032 instructions

DQE

DQE MC5032 instructions

displayit 1010G-01 Assembly instructions

displayit

displayit 1010G-01 Assembly instructions

Multibrackets lescreen 7350022731882 installation manual

Multibrackets

Multibrackets lescreen 7350022731882 installation manual

Kimex SLIM Series user manual

Kimex

Kimex SLIM Series user manual

REMACO TECHNOLOGIES PRO-L3030 manual

REMACO TECHNOLOGIES

REMACO TECHNOLOGIES PRO-L3030 manual

Remaco SAS-1515 installation guide

Remaco

Remaco SAS-1515 installation guide

Grandview CB-Mxx user manual

Grandview

Grandview CB-Mxx user manual

Haworth Belong Assembly instructions

Haworth

Haworth Belong Assembly instructions

Elite Screens VMAX2 (Plus) Series user guide

Elite Screens

Elite Screens VMAX2 (Plus) Series user guide

Elite Screens ezFrame Plus Series user guide

Elite Screens

Elite Screens ezFrame Plus Series user guide

strex 5M user manual

strex

strex 5M user manual

Enwork Skyline installation guide

Enwork

Enwork Skyline installation guide

Vizio E50X-E1 installation guide

Vizio

Vizio E50X-E1 installation guide

Elite Screens Yard Master 2 Series user guide

Elite Screens

Elite Screens Yard Master 2 Series user guide

manuals.online logo
manuals.online logoBrands
  • About & Mission
  • Contact us
  • Privacy Policy
  • Terms and Conditions

Copyright 2025 Manuals.Online. All Rights Reserved.